This manual describes the Giant Oil Tools ERP system, built on Odoo 19. It covers every
application in daily use — Sales, Purchasing, Inventory, Repair & Redress, the Giant Oil
Tools custom operations suite, and Accounting — plus the administration screens used to
configure them.
Every screenshot in this manual was captured from the live system, so what you see here is
exactly what you will see on your screen. Screens are shown from the test environment, which
is a byte-for-byte copy of production, so figures and layouts match the real system.
Every video on this site was recorded from the live system — the screens, the
numbers and the buttons are the real ones. Hover a video to play it, click it for
full screen, and click any screenshot to enlarge it.
The narration burned into the videos is in English, matching the
Odoo interface. The written steps under every video are translated.
Conventions
Element
What it means
Breadcrumb path
Menu paths are written as App > Menu > Sub-menu, for example Accounting > Customers > Invoices.
New button
The purple New button at the top-left of any list creates a new record.
Saving
Unsaved changes show a cloud icon in the breadcrumb. Click it, or press Alt + S, to save. The discard icon next to it reverts your changes.
Status bar
The coloured bar at the top-right of a form shows the record's stage. Click a stage to move the record forward where that is allowed.
Search & filters
The search box supports free text; the dropdown arrow opens Filters, Group By and Favorites. Favourites can be saved and shared.
Views
Icons at the top-right switch between list, kanban, pivot, graph and calendar views of the same data.
Chatter
The panel below or beside a form records the full history of the document, including messages, tracked field changes and attachments.
Empty screens
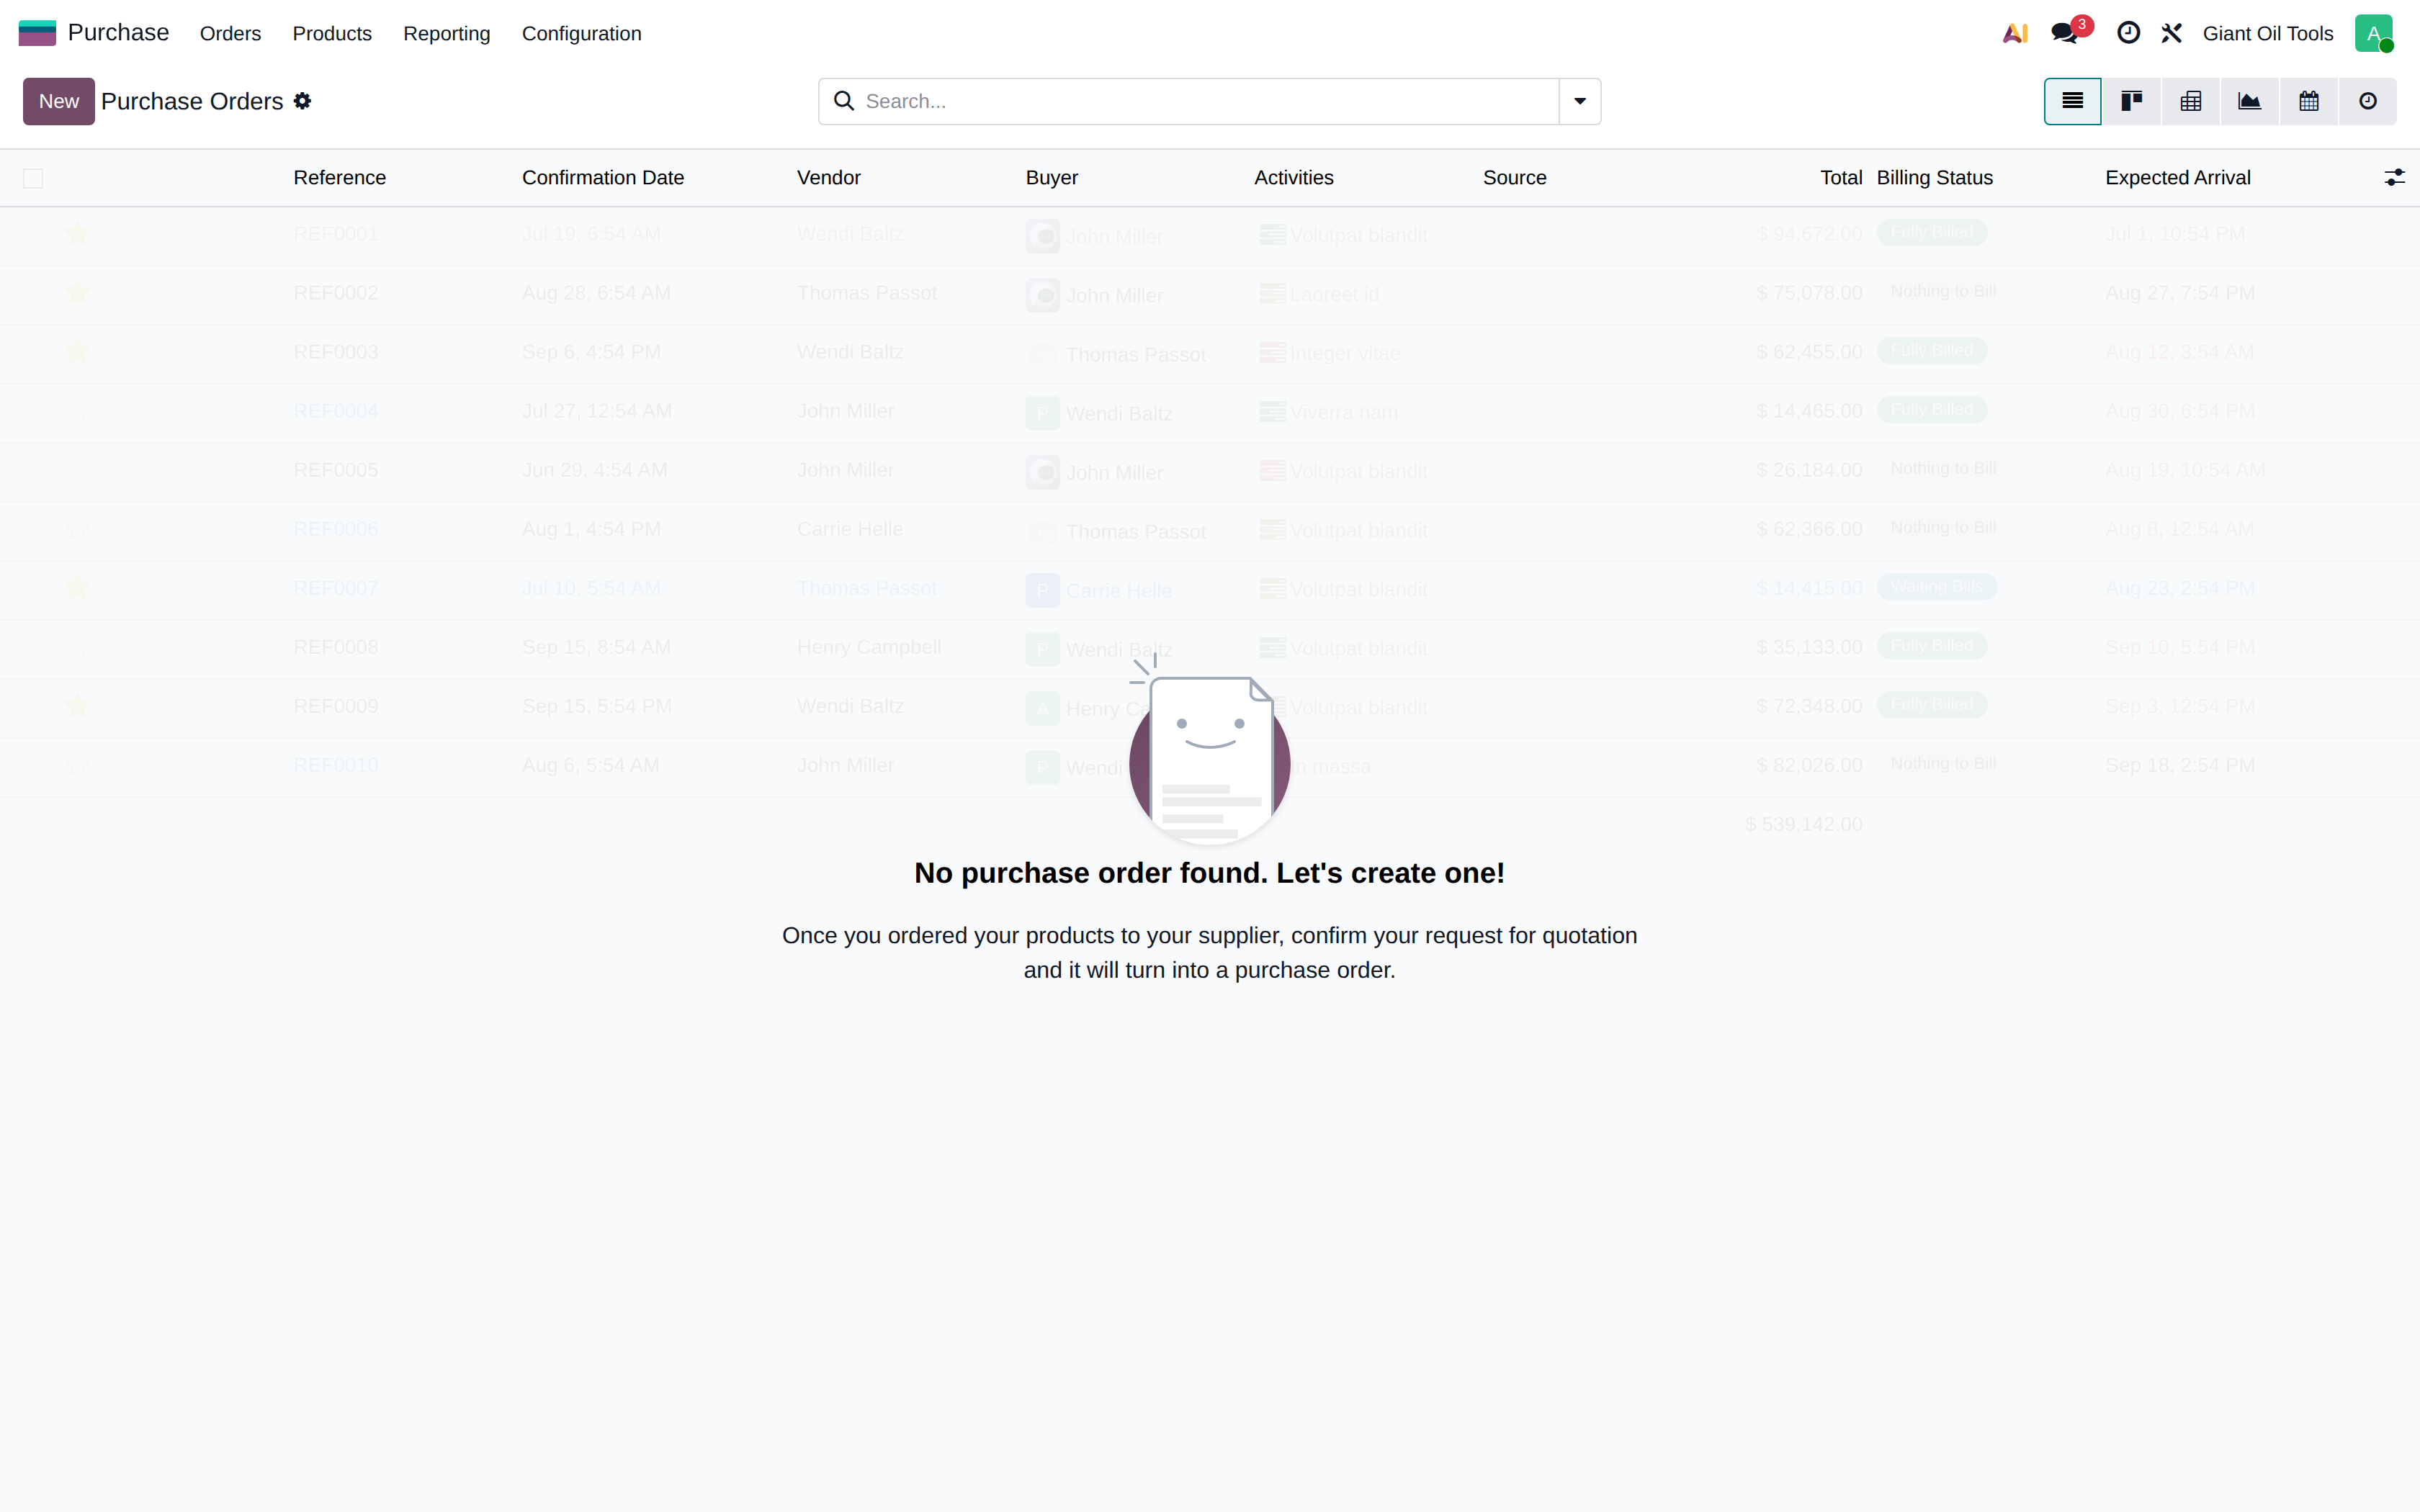
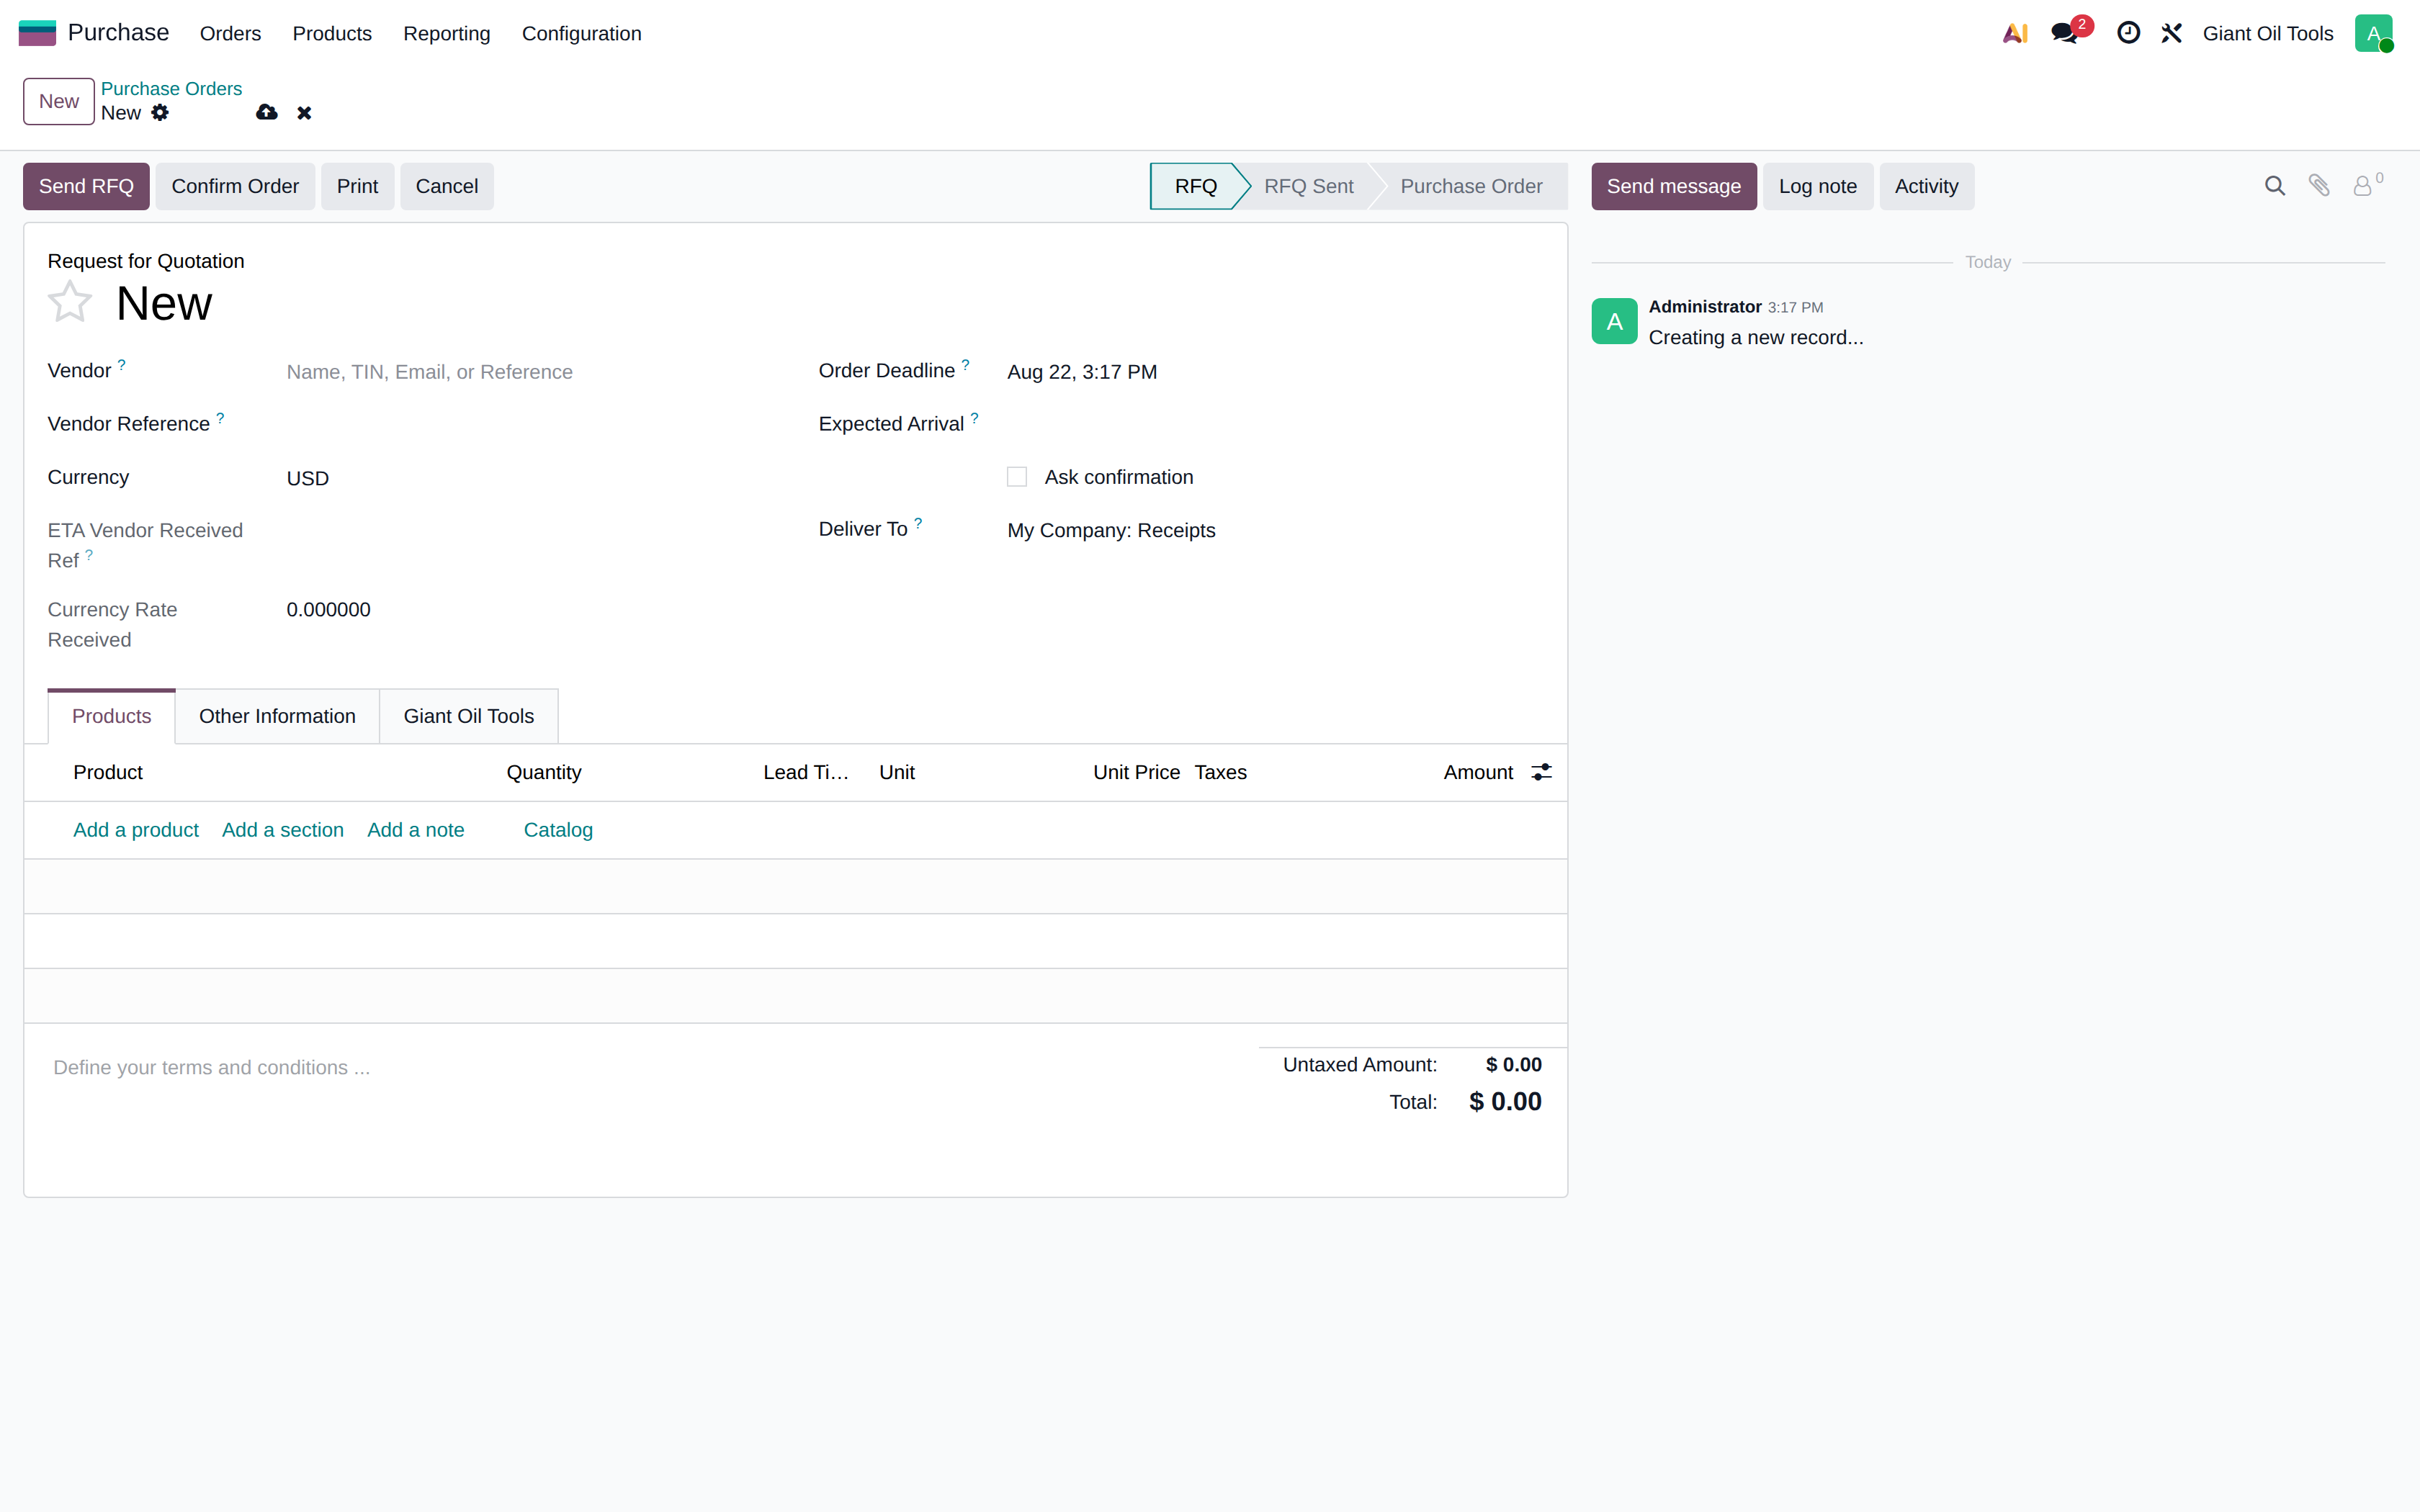
Some lists in this manual appear empty — purchase orders, internal transfers, projects. That is not an error: the system was rebuilt with master data, opening balances, stock, invoices and fixed assets, and those processes have not been used in it yet. The screen layout, buttons and filters shown are exactly what you will see once records exist. For those screens the manual shows the blank entry form, which is what you need when creating the first record.
Practise safely. The test environment at
test.erpgiant.com is a full copy of production with e-mail sending disabled.
Use it for training and for trying anything you are unsure about.
Access the system at https://erpgiant.com using the credentials issued by your system
administrator. The test environment, used for training and trials, is at
https://test.erpgiant.com — data there is a copy of production and no e-mails are ever
sent from it, so it is the safe place to practise.
Screens
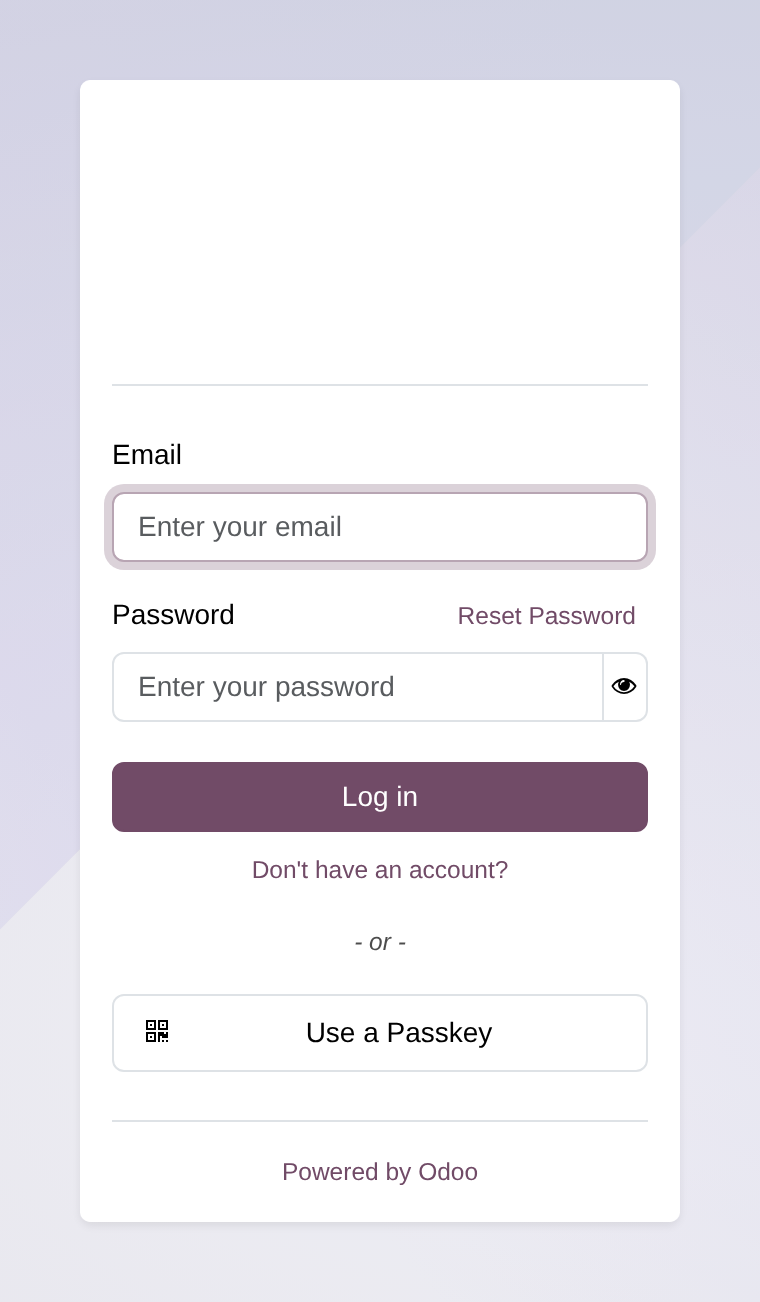
The login screen
Enter your e-mail address and password, then click Log in. Use Reset password if you have forgotten it — a reset link is sent to your registered e-mail. If you are logging into a shared machine, always log out from the user menu when you finish.
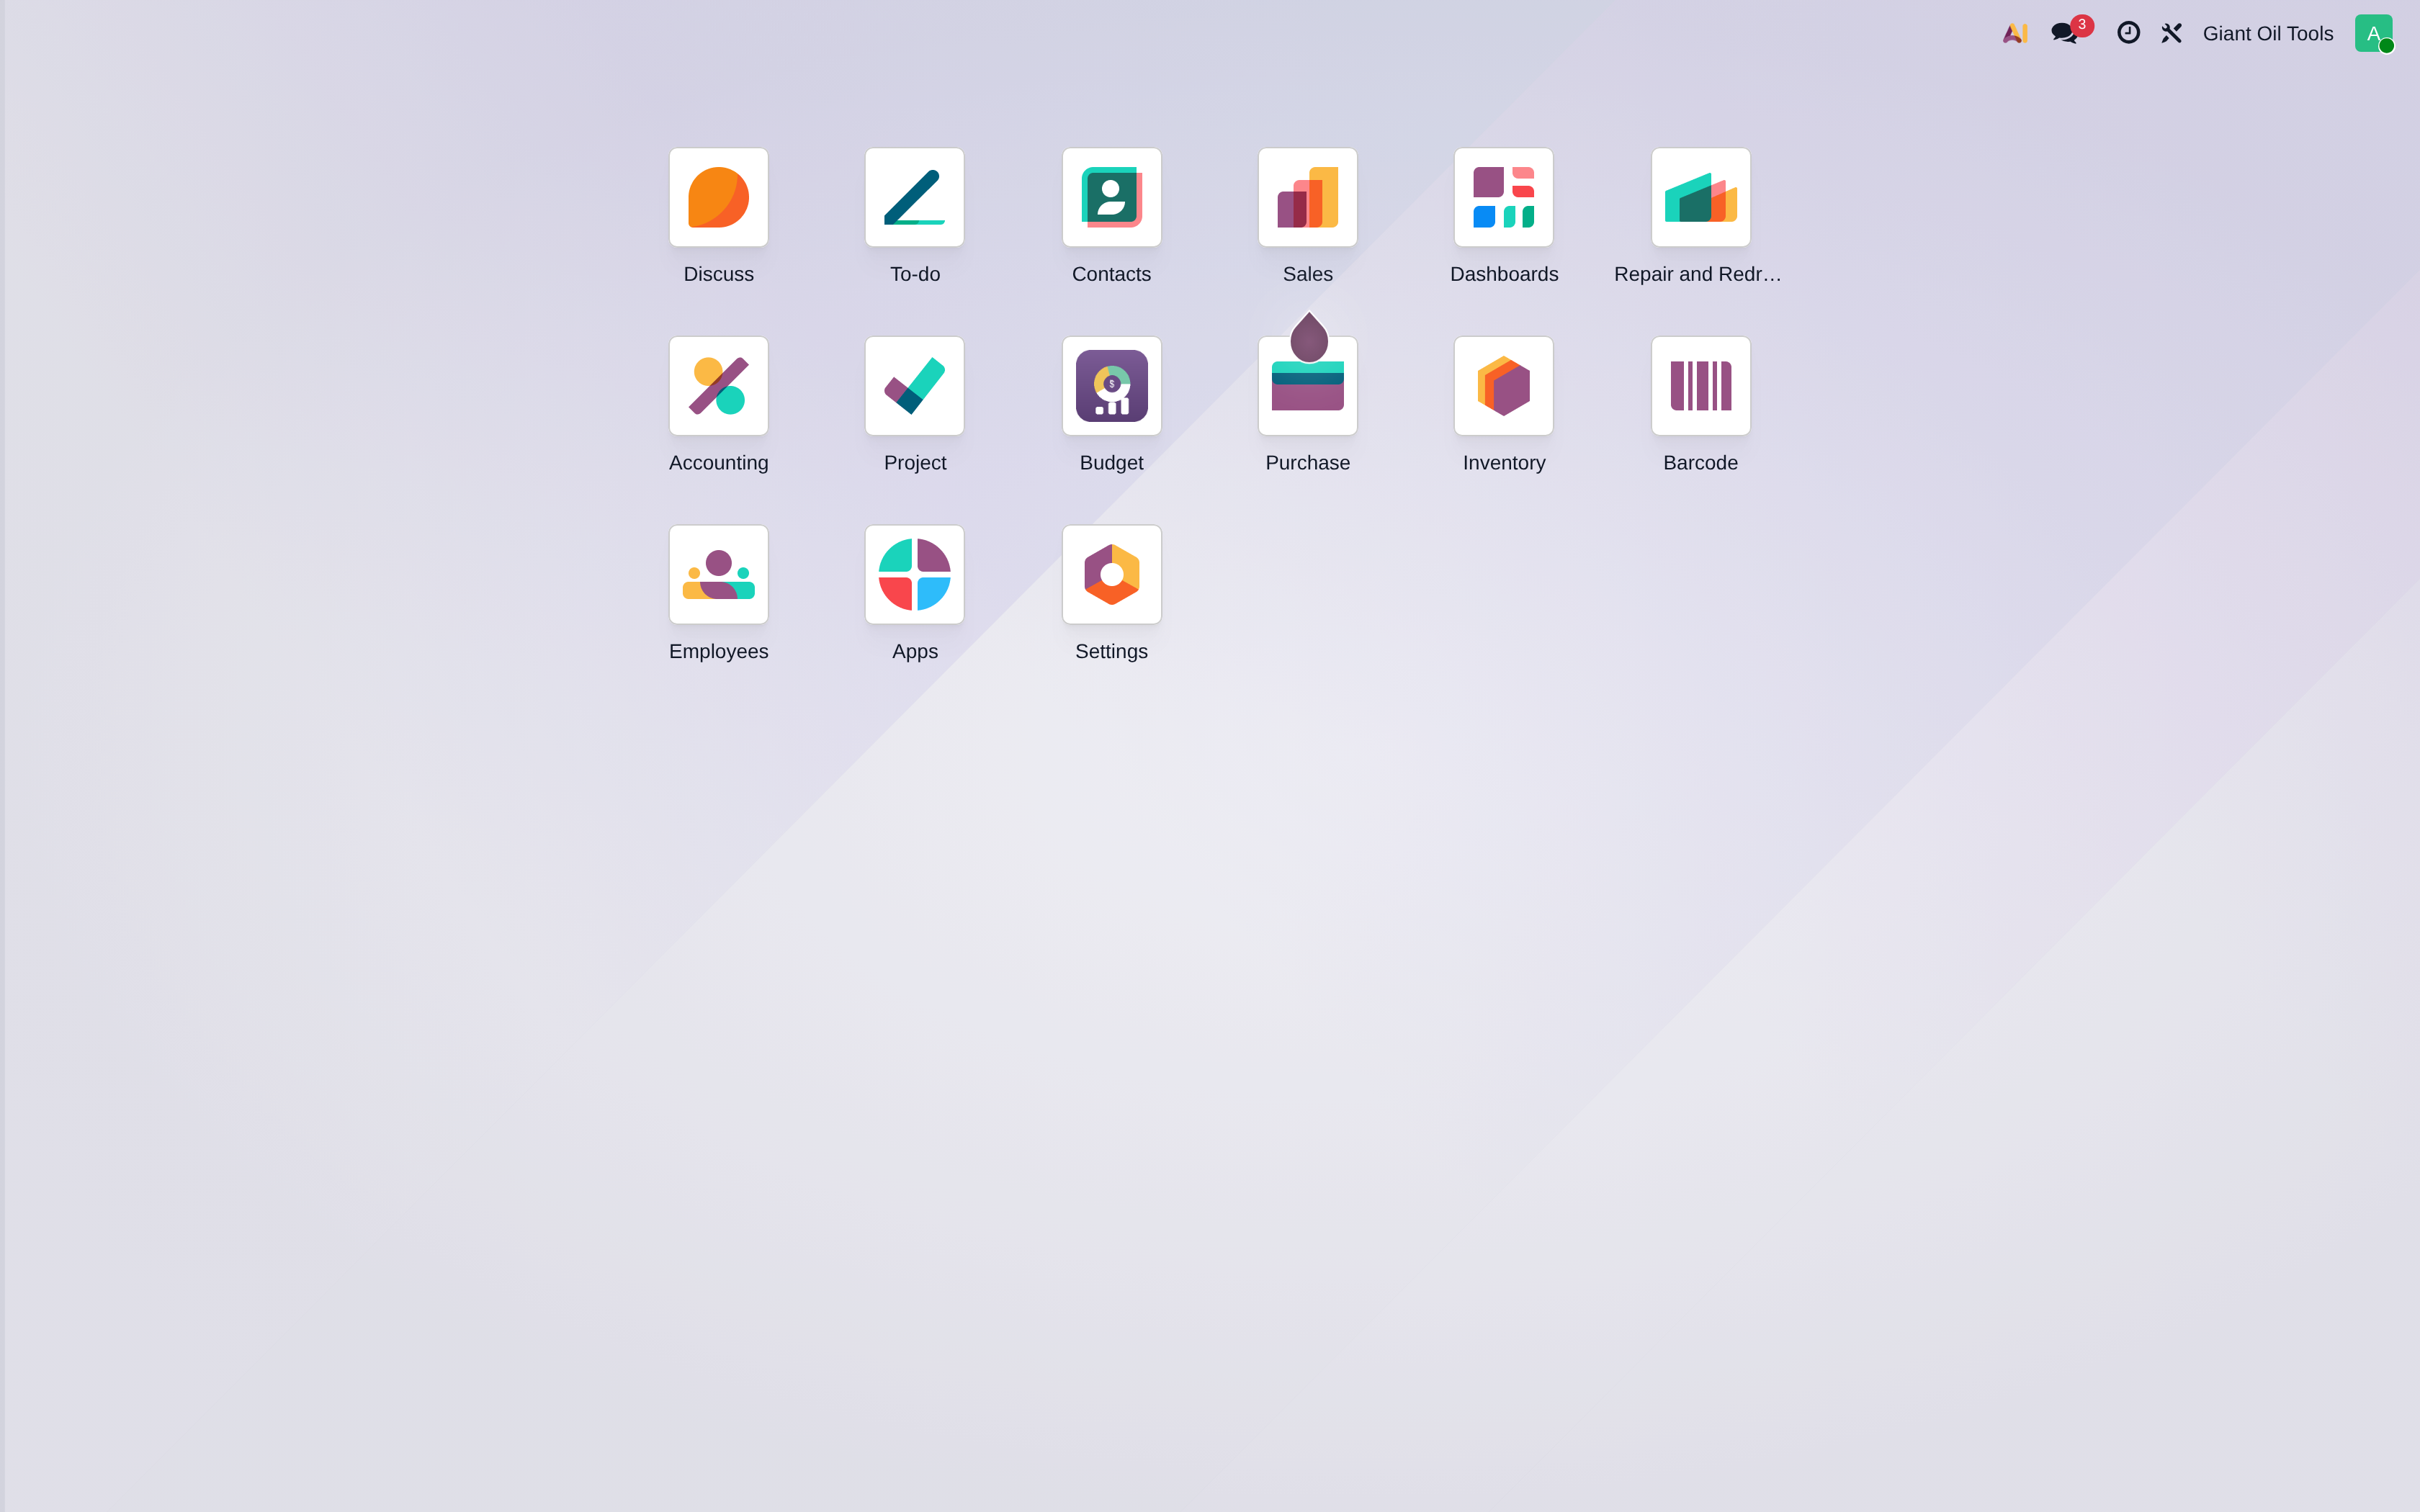
The Apps home screen
After login you land on the Apps screen. Each tile opens one application. The applications used at Giant Oil Tools are Accounting, Sales, Purchase, Inventory, Repair and Redress, Giant Oil Tools (custom operations), Contacts, Employees, Project, Discuss, Dashboards and Settings.
The top bar is always available: the clock icon shows your scheduled activities, the speech bubble opens Discuss messages, and your name at the far right opens the user menu with My Profile, Preferences (language, time zone, notification settings) and Log out.
2Contacts
Contacts is the shared address book. Every customer, vendor, bank and employee-linked partner
lives here, and Sales, Purchase and Accounting all read from the same records — so a correction
made once is correct everywhere.
Screens
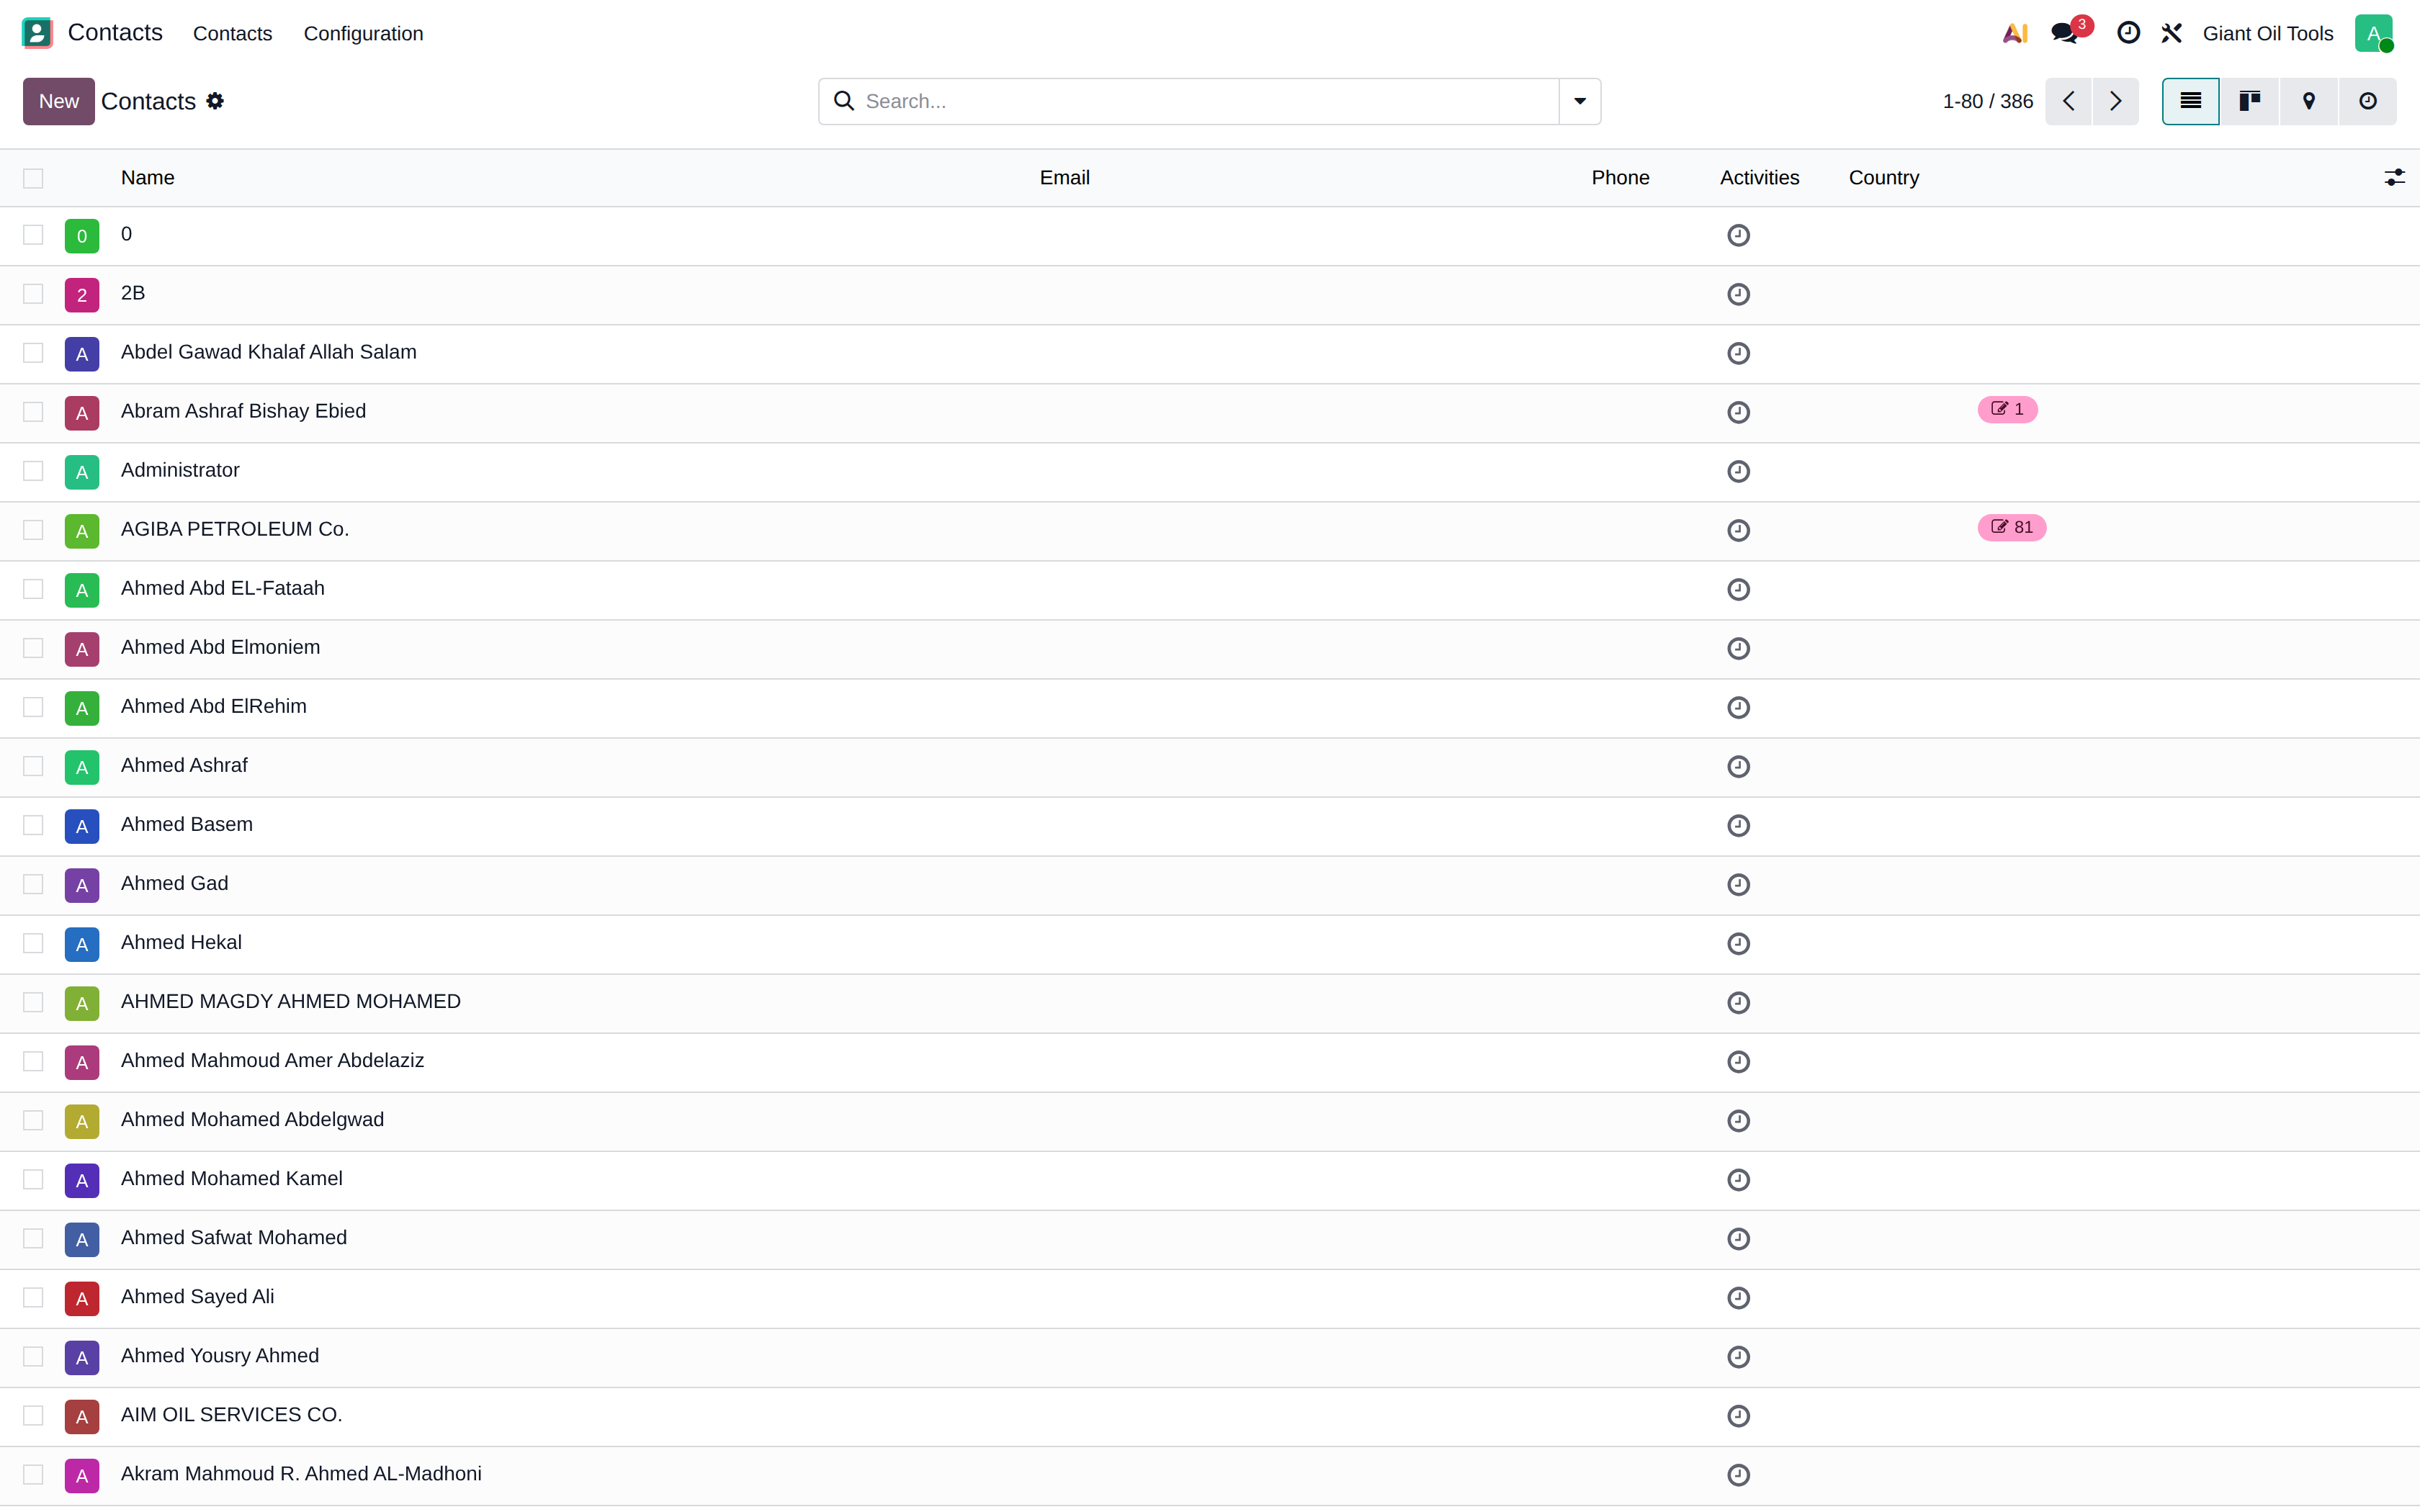
The contact list
The list shows all partners. Use the search filters to narrow to Customers or Vendors, and Group By > Country or Company to organise large lists. Switch to kanban view for a card layout with photos.
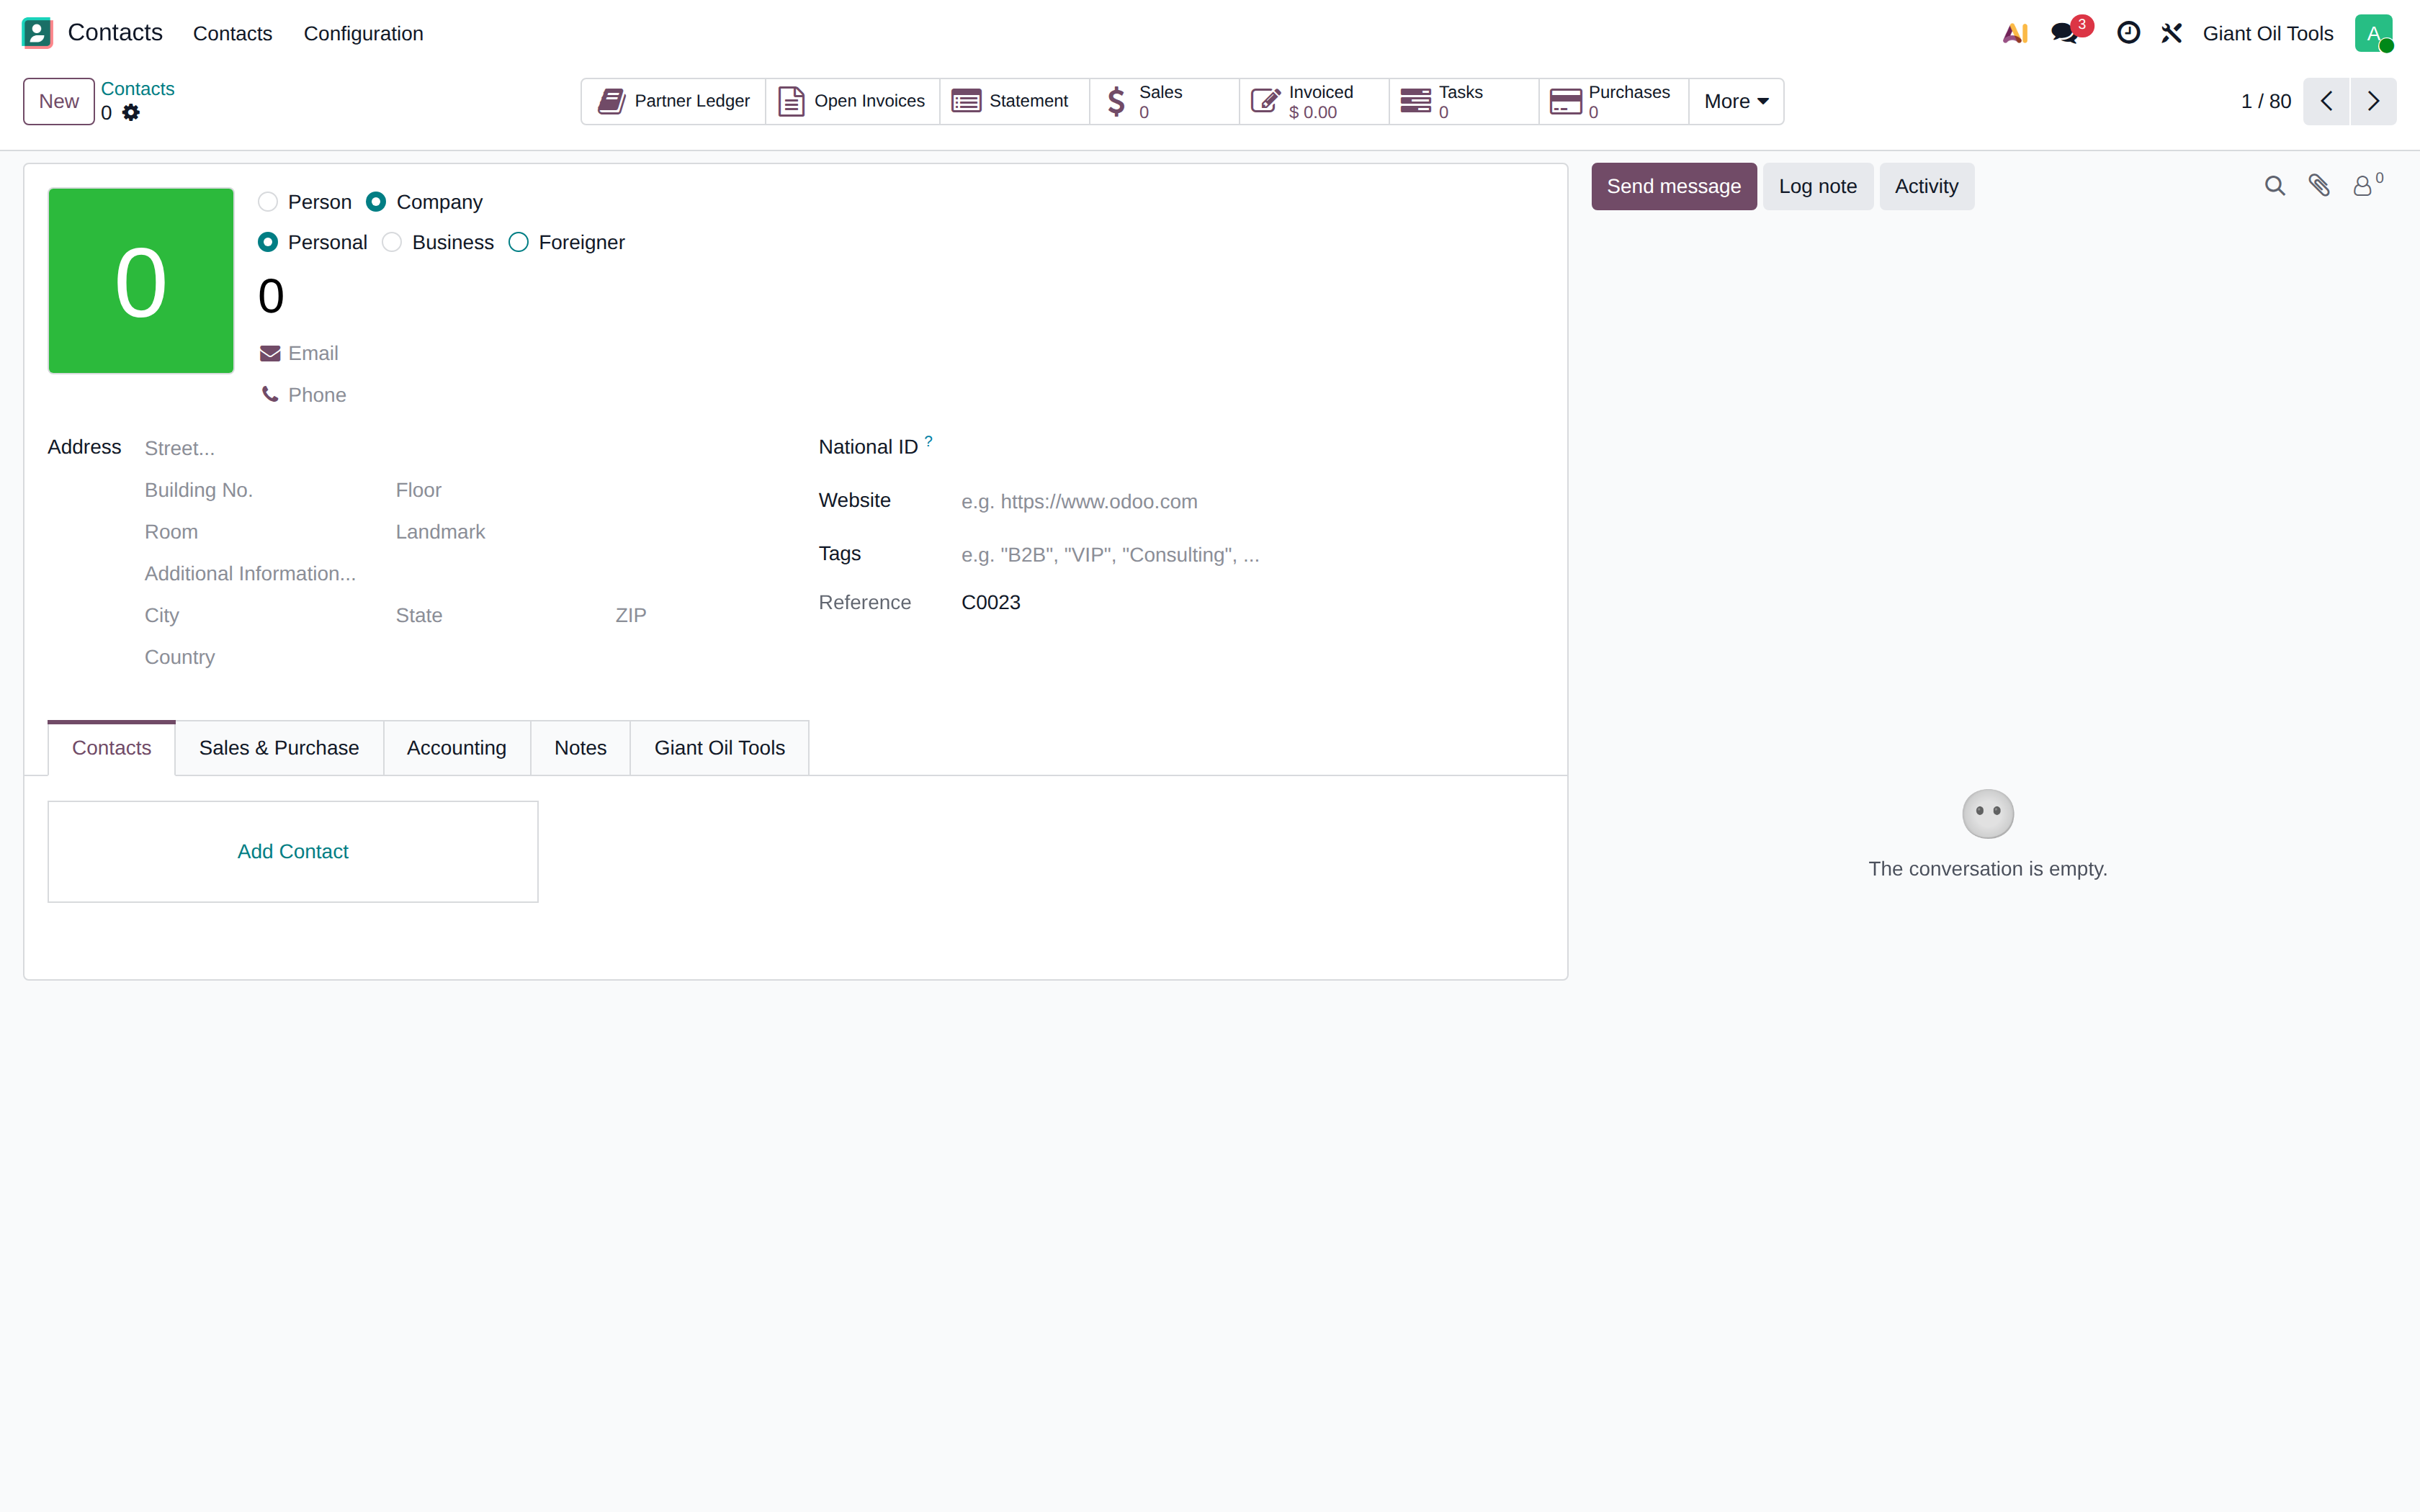
A contact record
A contact is either an Individual or a Company; individuals can be linked to a parent company so that invoices and deliveries roll up correctly.
Key tabs: • Contacts & Addresses — additional delivery, invoice and other addresses. • Sales & Purchase — salesperson, payment terms, pricelist, and the fiscal position that determines which taxes apply. • Accounting — bank accounts and the receivable/payable accounts used for this partner. • Internal Notes — free-text notes visible only to internal users.
The buttons across the top of the form give instant access to that partner's meetings, sales, purchases, invoices and outstanding balance.
3Sales
The Sales application handles quotations, sales orders, customer pricing and the Giant Oil Tools
customer contracts. Confirmed orders feed deliveries in Inventory and invoices in Accounting.
How it is done
hover to play · click for full screen
Creating a quotation
From an empty quotation to a priced, saved offer for a customer.
Open Sales > Orders > Quotations
Click New for a blank quotation
Pick the customer — KOPCO
Add a product line
Choose the product
Open the line description
Record the customer reference VS-Q-1001
Set the quantity to 6
Enter the agreed unit price — 4500
The line amount and the order totals recalculate at once
Read the untaxed amount and the total under the order lines
Save — Odoo assigns the quotation number
The quotation has a number and sits in the Quotation stage
Show the steps
hover to play · click for full screen
Confirming a sales order
Turning a quotation into a sales order and finding the delivery it creates.
Open Sales > Orders > Quotations
Click New for a blank quotation
Pick the customer — GEMEPETCO
Add a product line
Choose the product
Open the line description
Record the customer reference VS-Q-1002
Set the quantity to 4
Enter the agreed unit price — 5200
The line amount and the order totals recalculate at once
Confirm the order — this books the sale and creates the delivery
The status bar moved to Sales Order and a Delivery smart button appeared
Open the Delivery button to see the transfer Inventory must ship
The delivery waits in Inventory for the warehouse to pick and validate
Show the steps
hover to play · click for full screen
Invoicing a sales order
Creating the customer invoice from a confirmed order and posting it.
Open Sales > Orders > Quotations
Click New for a blank quotation
Pick the customer — OSOCO
Add a product line
Choose the product
Open the line description
Record the customer reference VS-Q-1003
Set the quantity to 3
Enter the agreed unit price — 6100
The line amount and the order totals recalculate at once
Confirm the order so it can be invoiced
Click Create Invoice
Keep Regular Invoice and create the draft
Odoo copies the ordered lines onto a draft customer invoice
Confirm the invoice — this posts it to the accounts
The invoice is posted and the customer now owes the amount due
Show the steps
hover to play · click for full screen
Creating a customer contract
Agreed contract prices and a discount step for one customer.
Open Sales > Customer Contracts
Click New to start a contract
Pick the customer — the customer name fills itself
Enter the signed contract reference
Set the contract start date
and the end date
Choose the price list the contract is based on
The Products tab holds the agreed prices
Add a contract product line
Choose the product covered by the contract
Enter the agreed contract price
Note the basis of the rate
Calculation Steps are the rules applied on top of that price
Add a calculation step
Set the step type to Discount
Apply it on the base price, not on earlier steps
Give the discount a value of 5%
Limit the discount to one specific item
Pick the item it applies to
Save — the contract gets its number
Activate the contract so its prices take effect
A product may sit in only one active contract per customer
Show the steps
hover to play · click for full screen
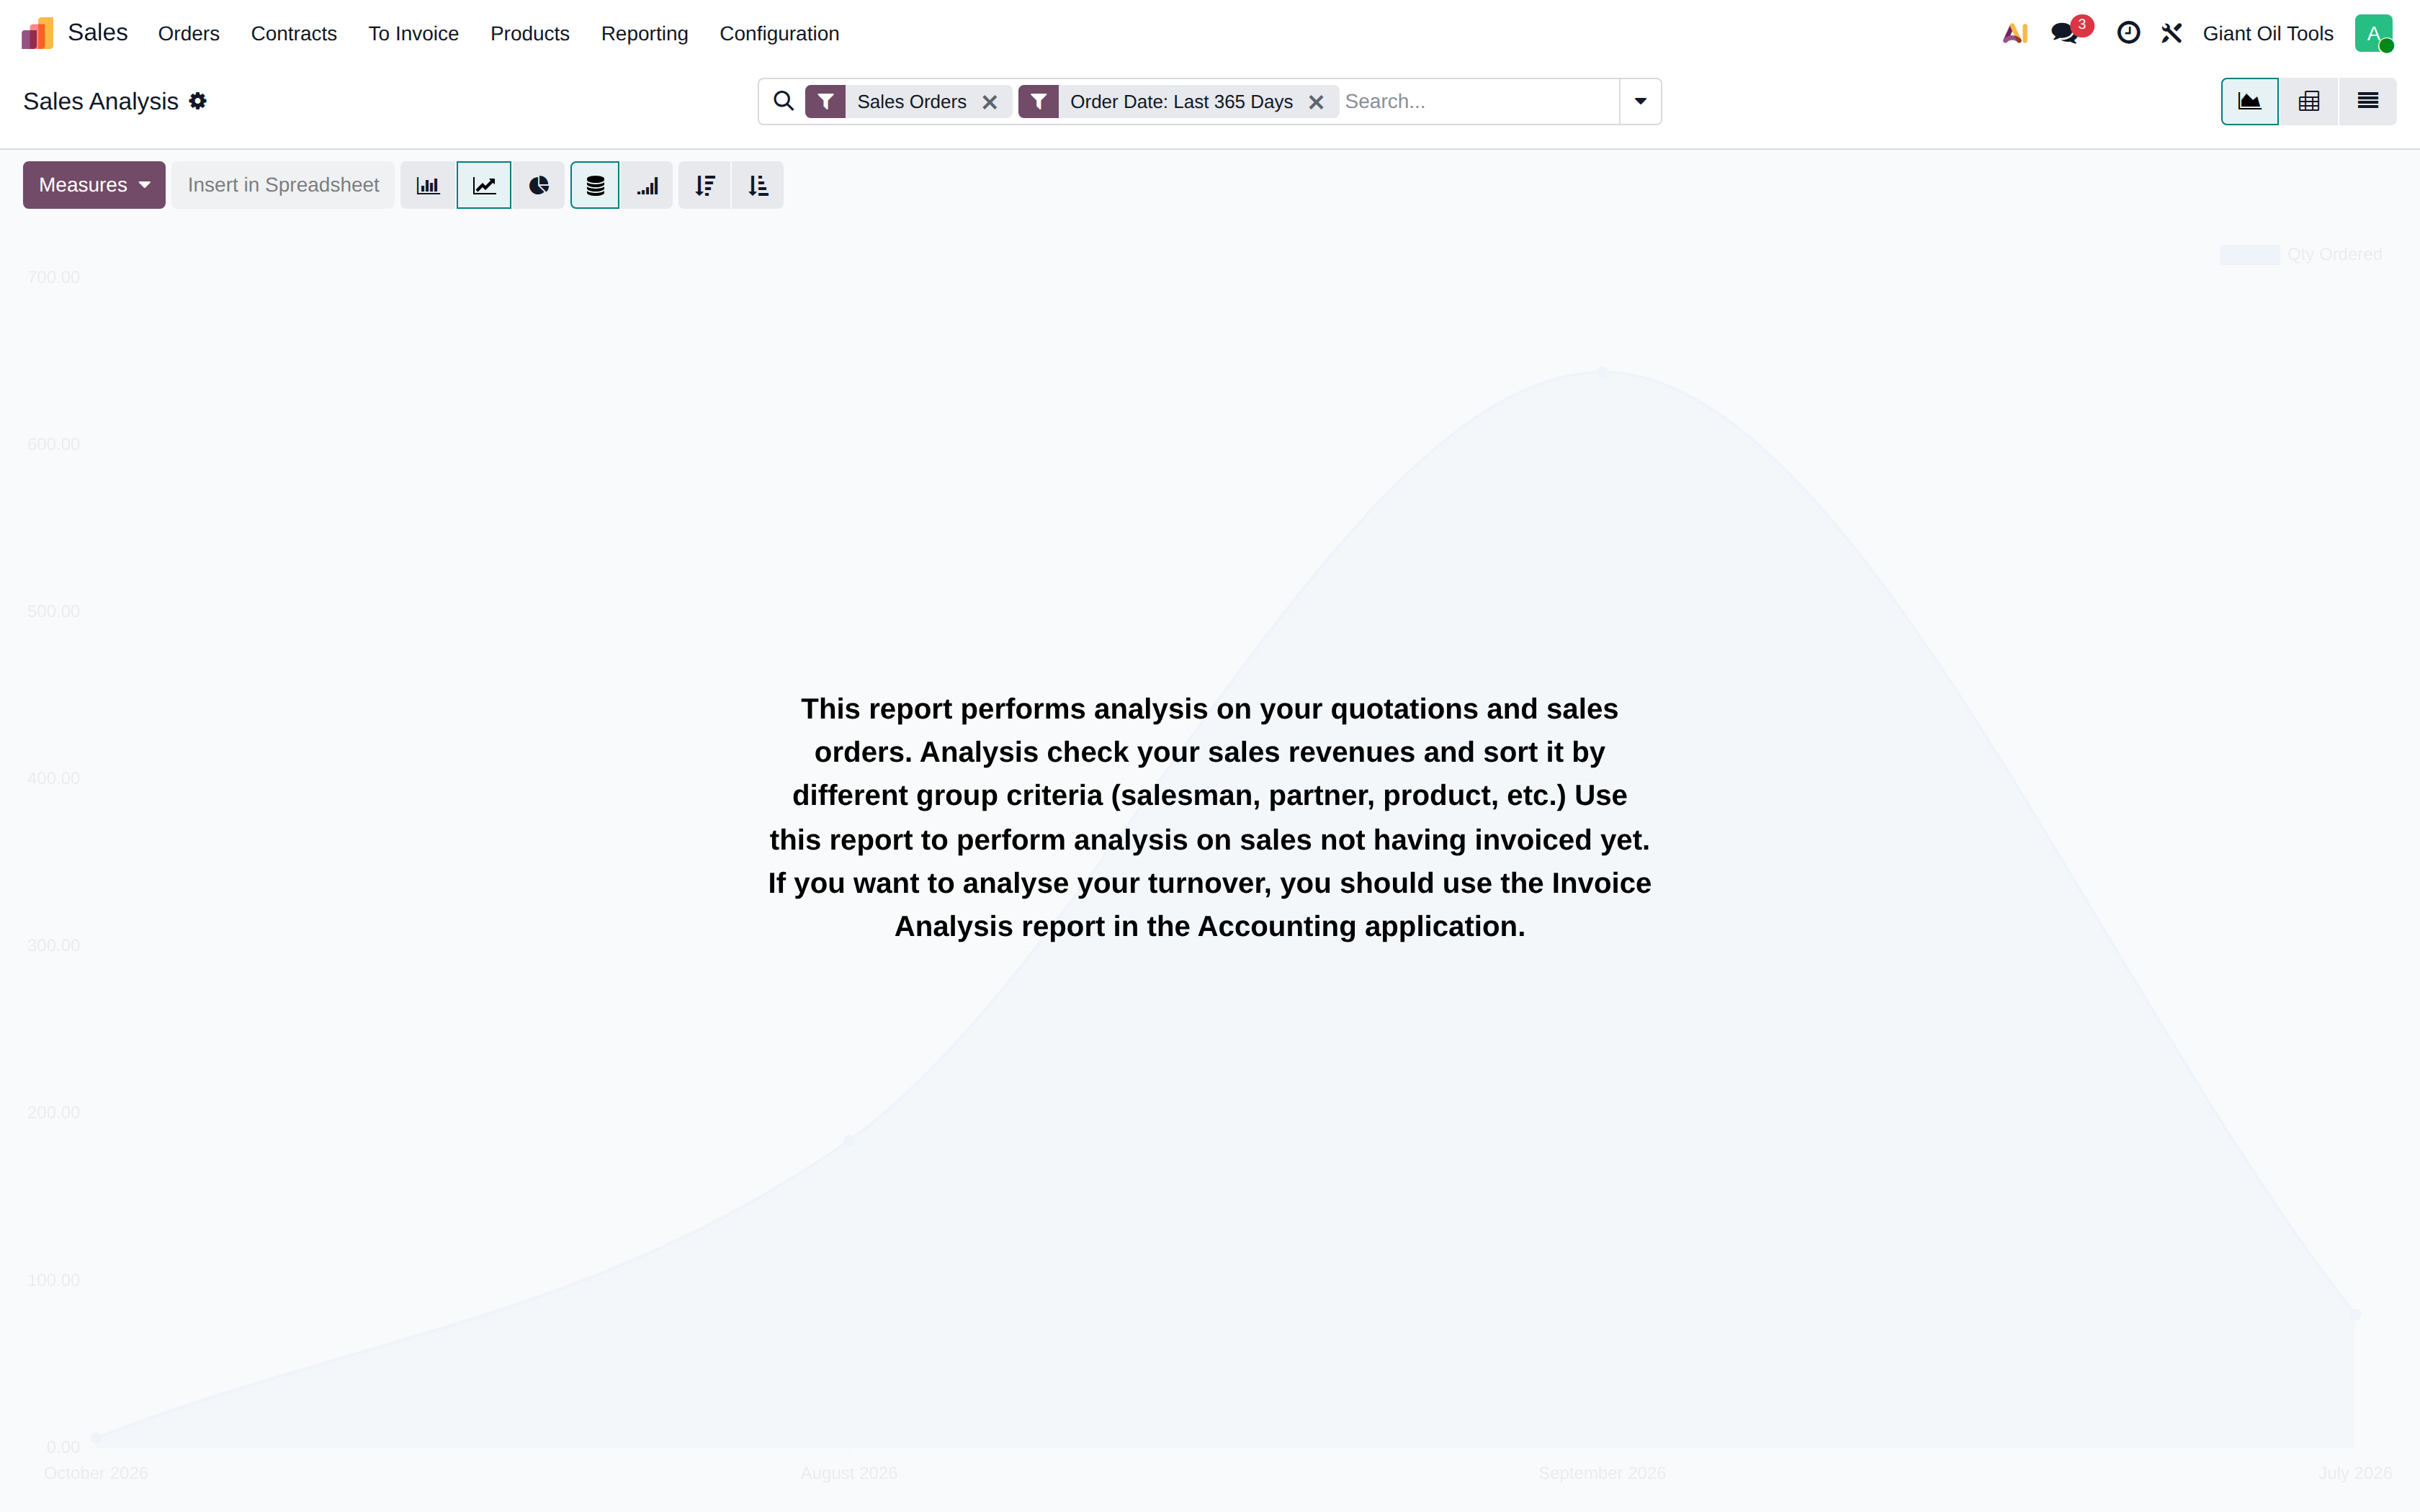
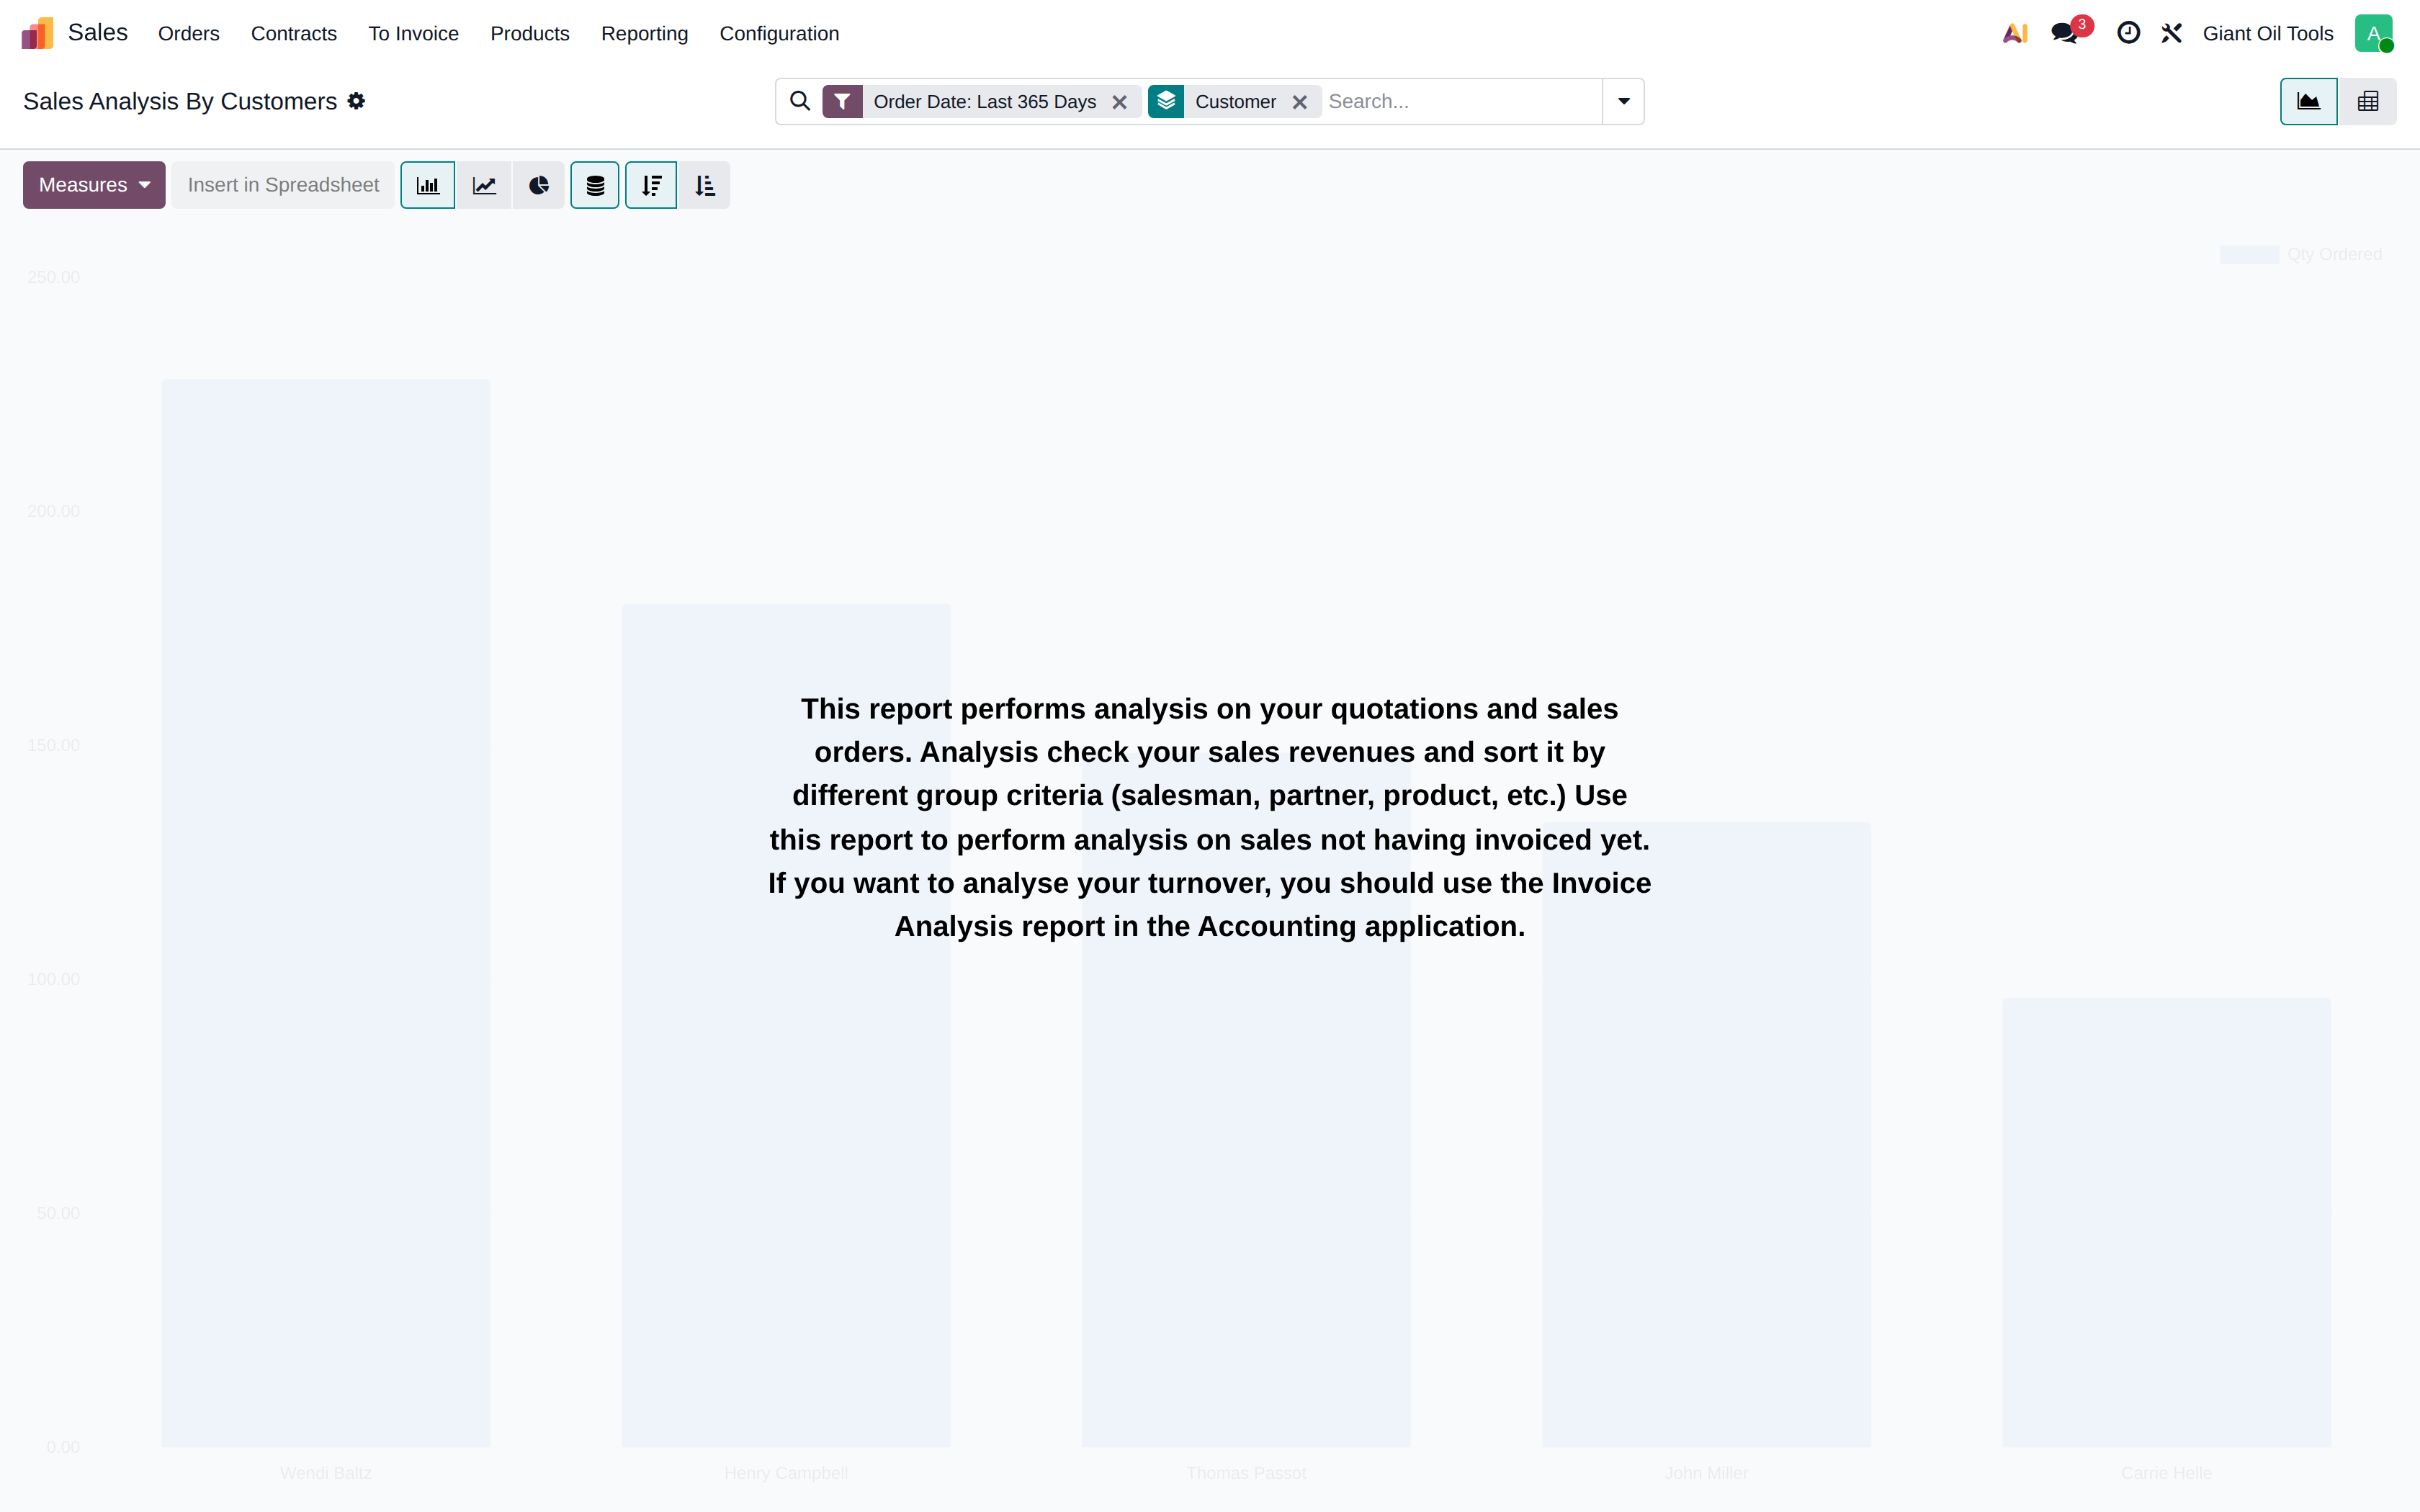
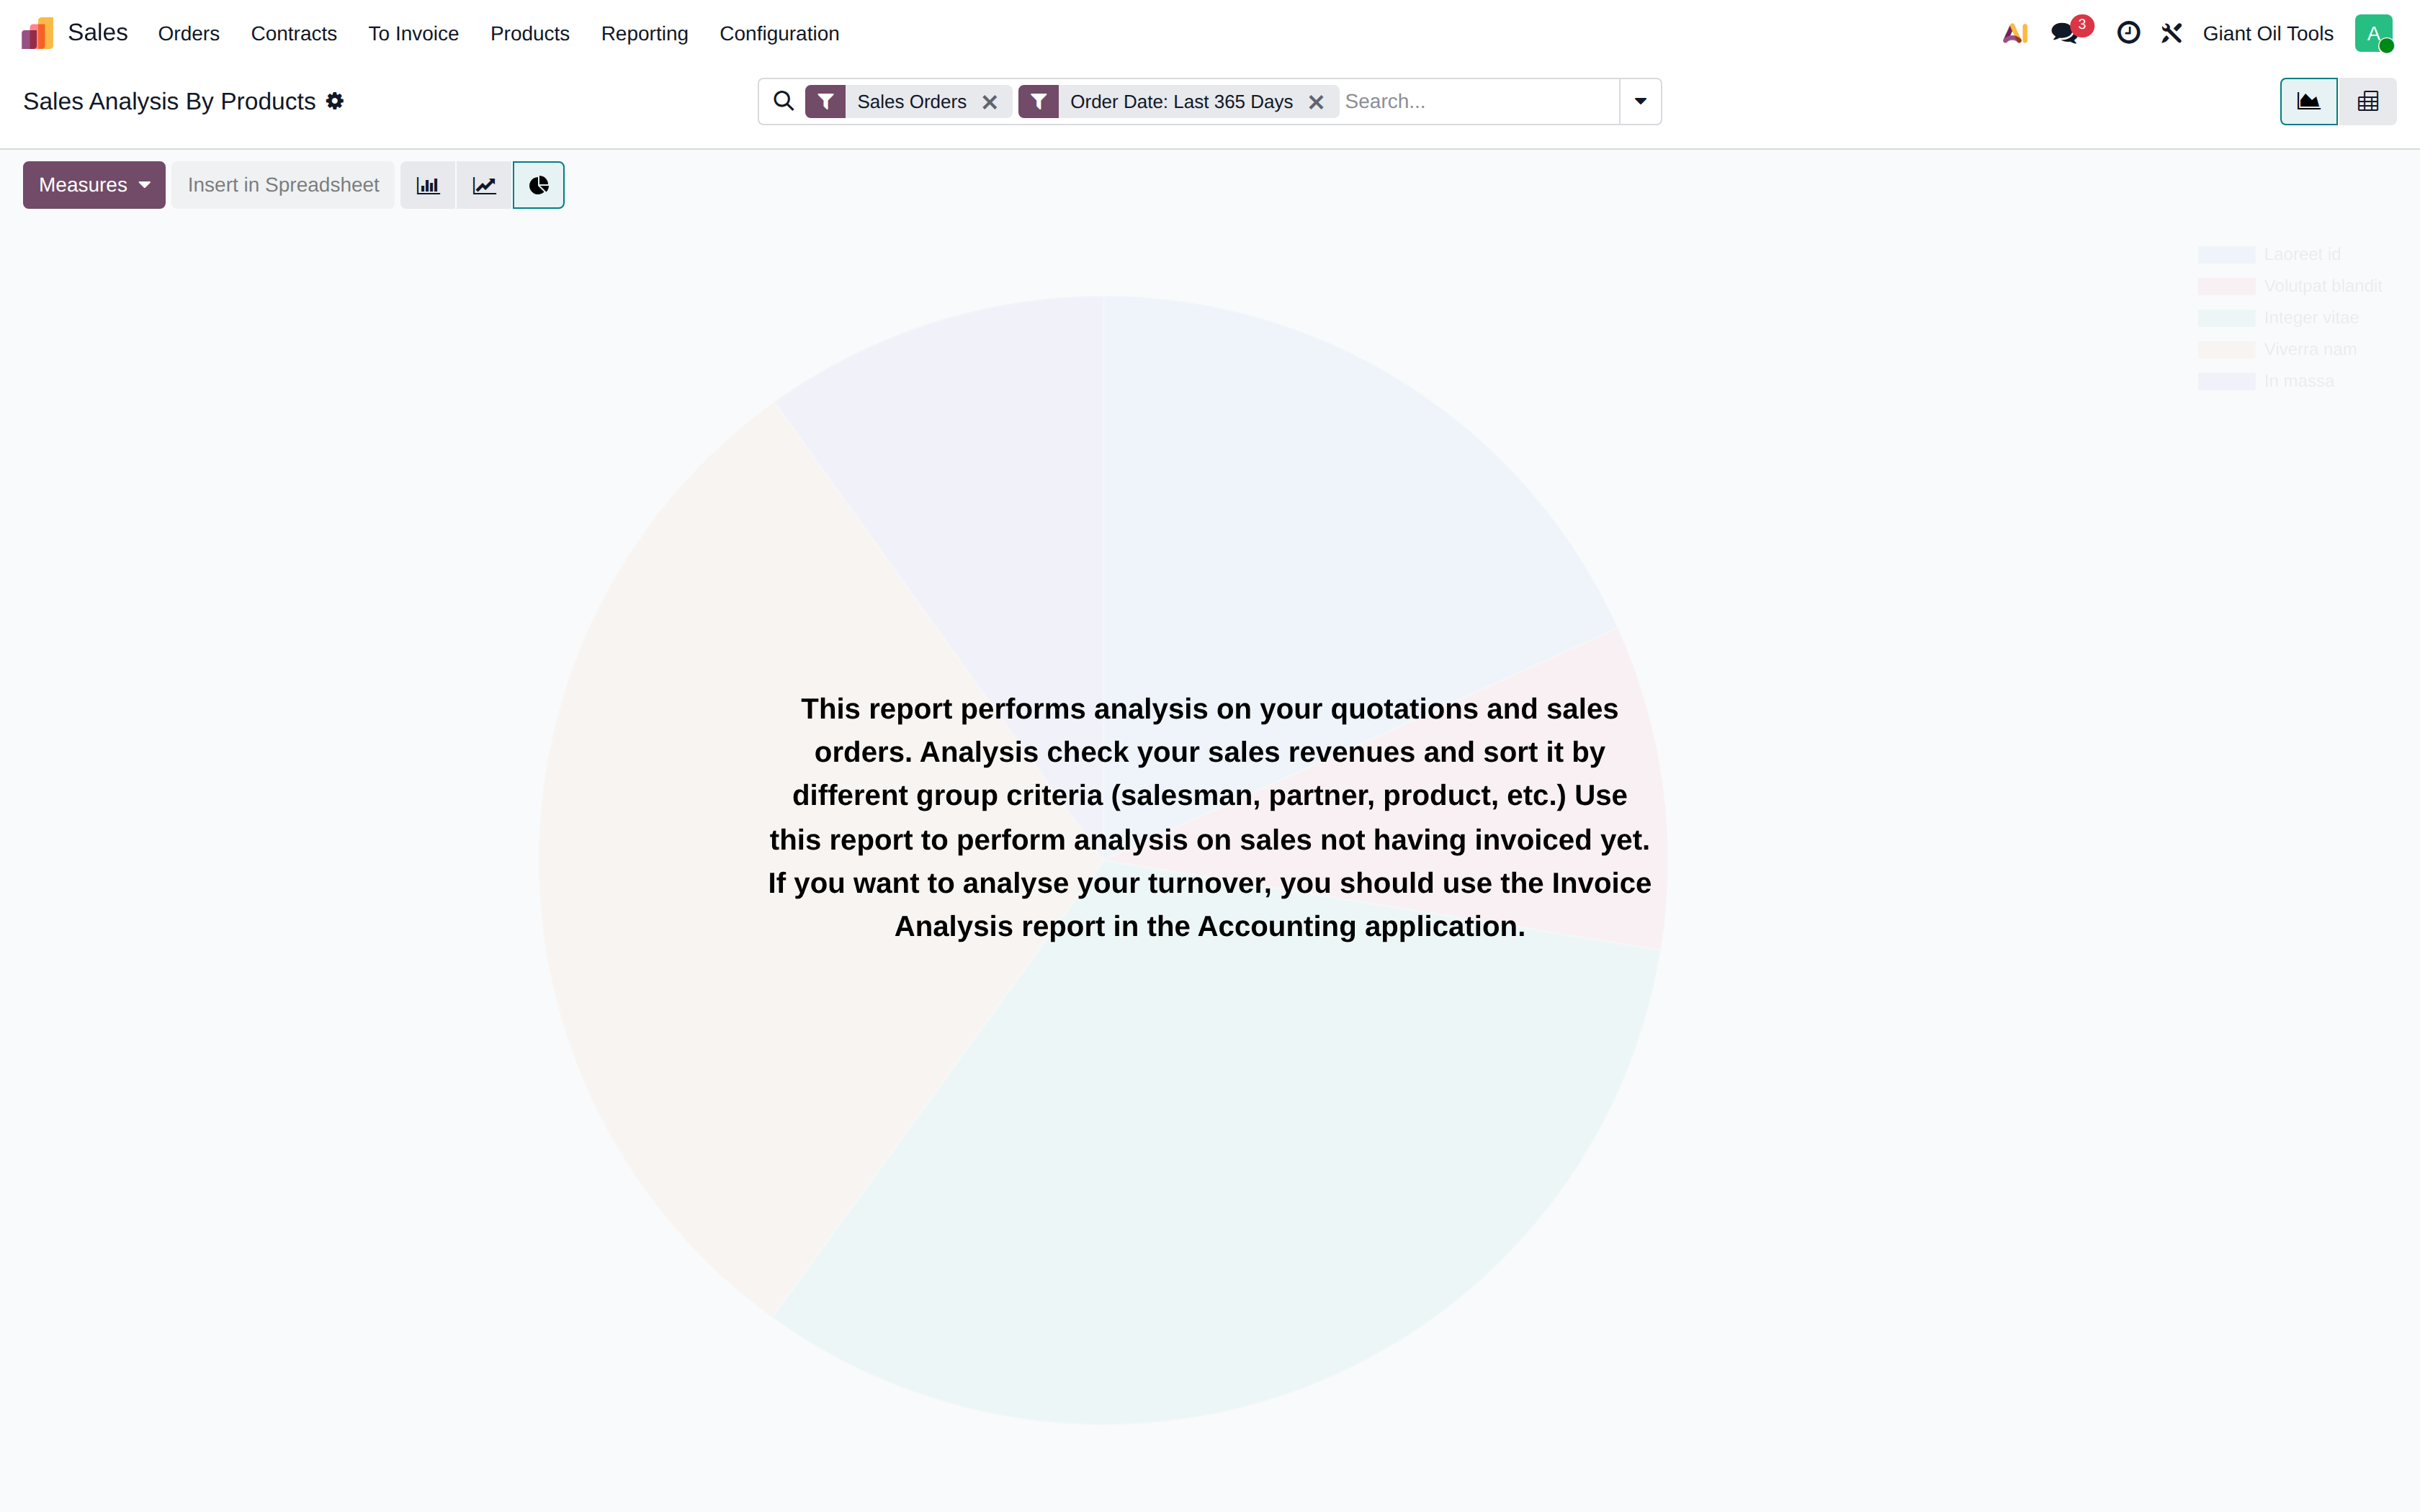
Reading the sales analysis report
Graph, pivot and grouping in the Sales Analysis report.
Open Sales > Reporting > Sales Analysis
The report opens as a graph of confirmed orders over time
Switch to the pivot view to read the same data as a table
Click a header to break the figures down
Group by Customer to compare customers side by side
The same breakdown works by product, salesperson or period
Switch back to the graph to present the result
Show the steps
Screens and reference
Sales overview
The overview groups quotations and orders by sales team and shows the key figures for each. Use it as the daily starting point for the sales desk.
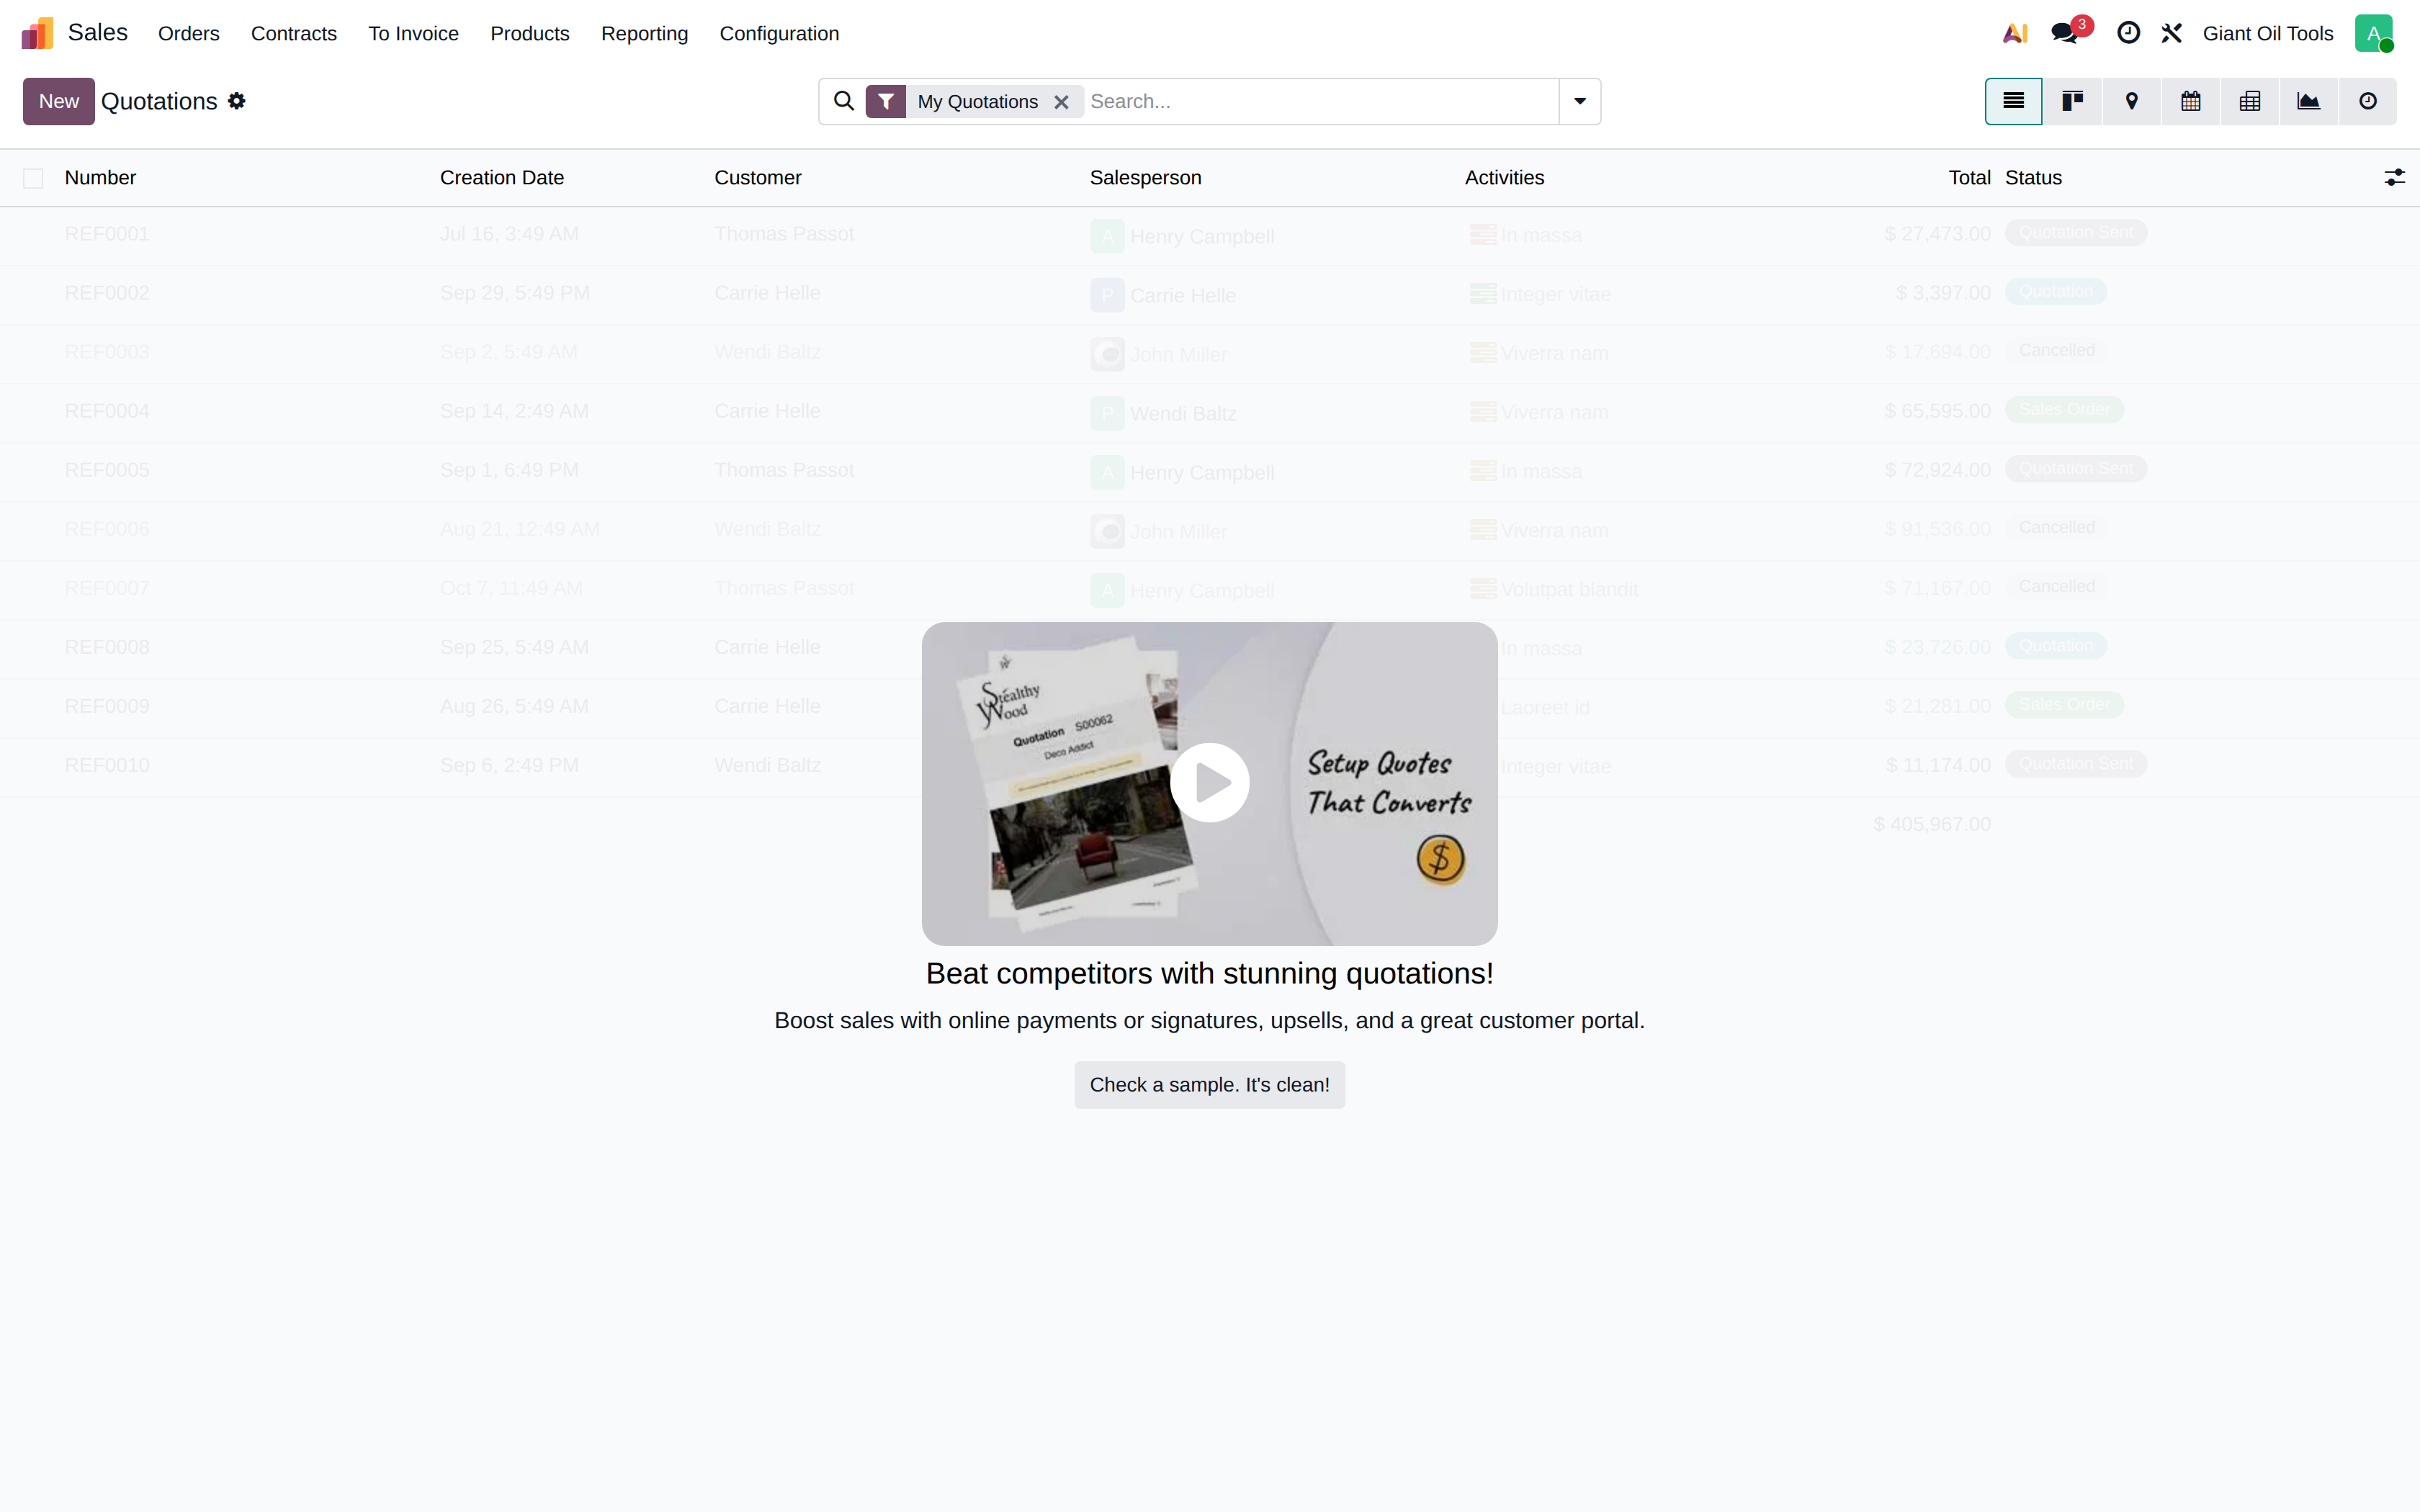
Quotations
Quotations are draft sales documents. They carry no accounting effect until confirmed. From a quotation you can send the document by e-mail as a PDF, and the customer's acceptance converts it into a sales order.
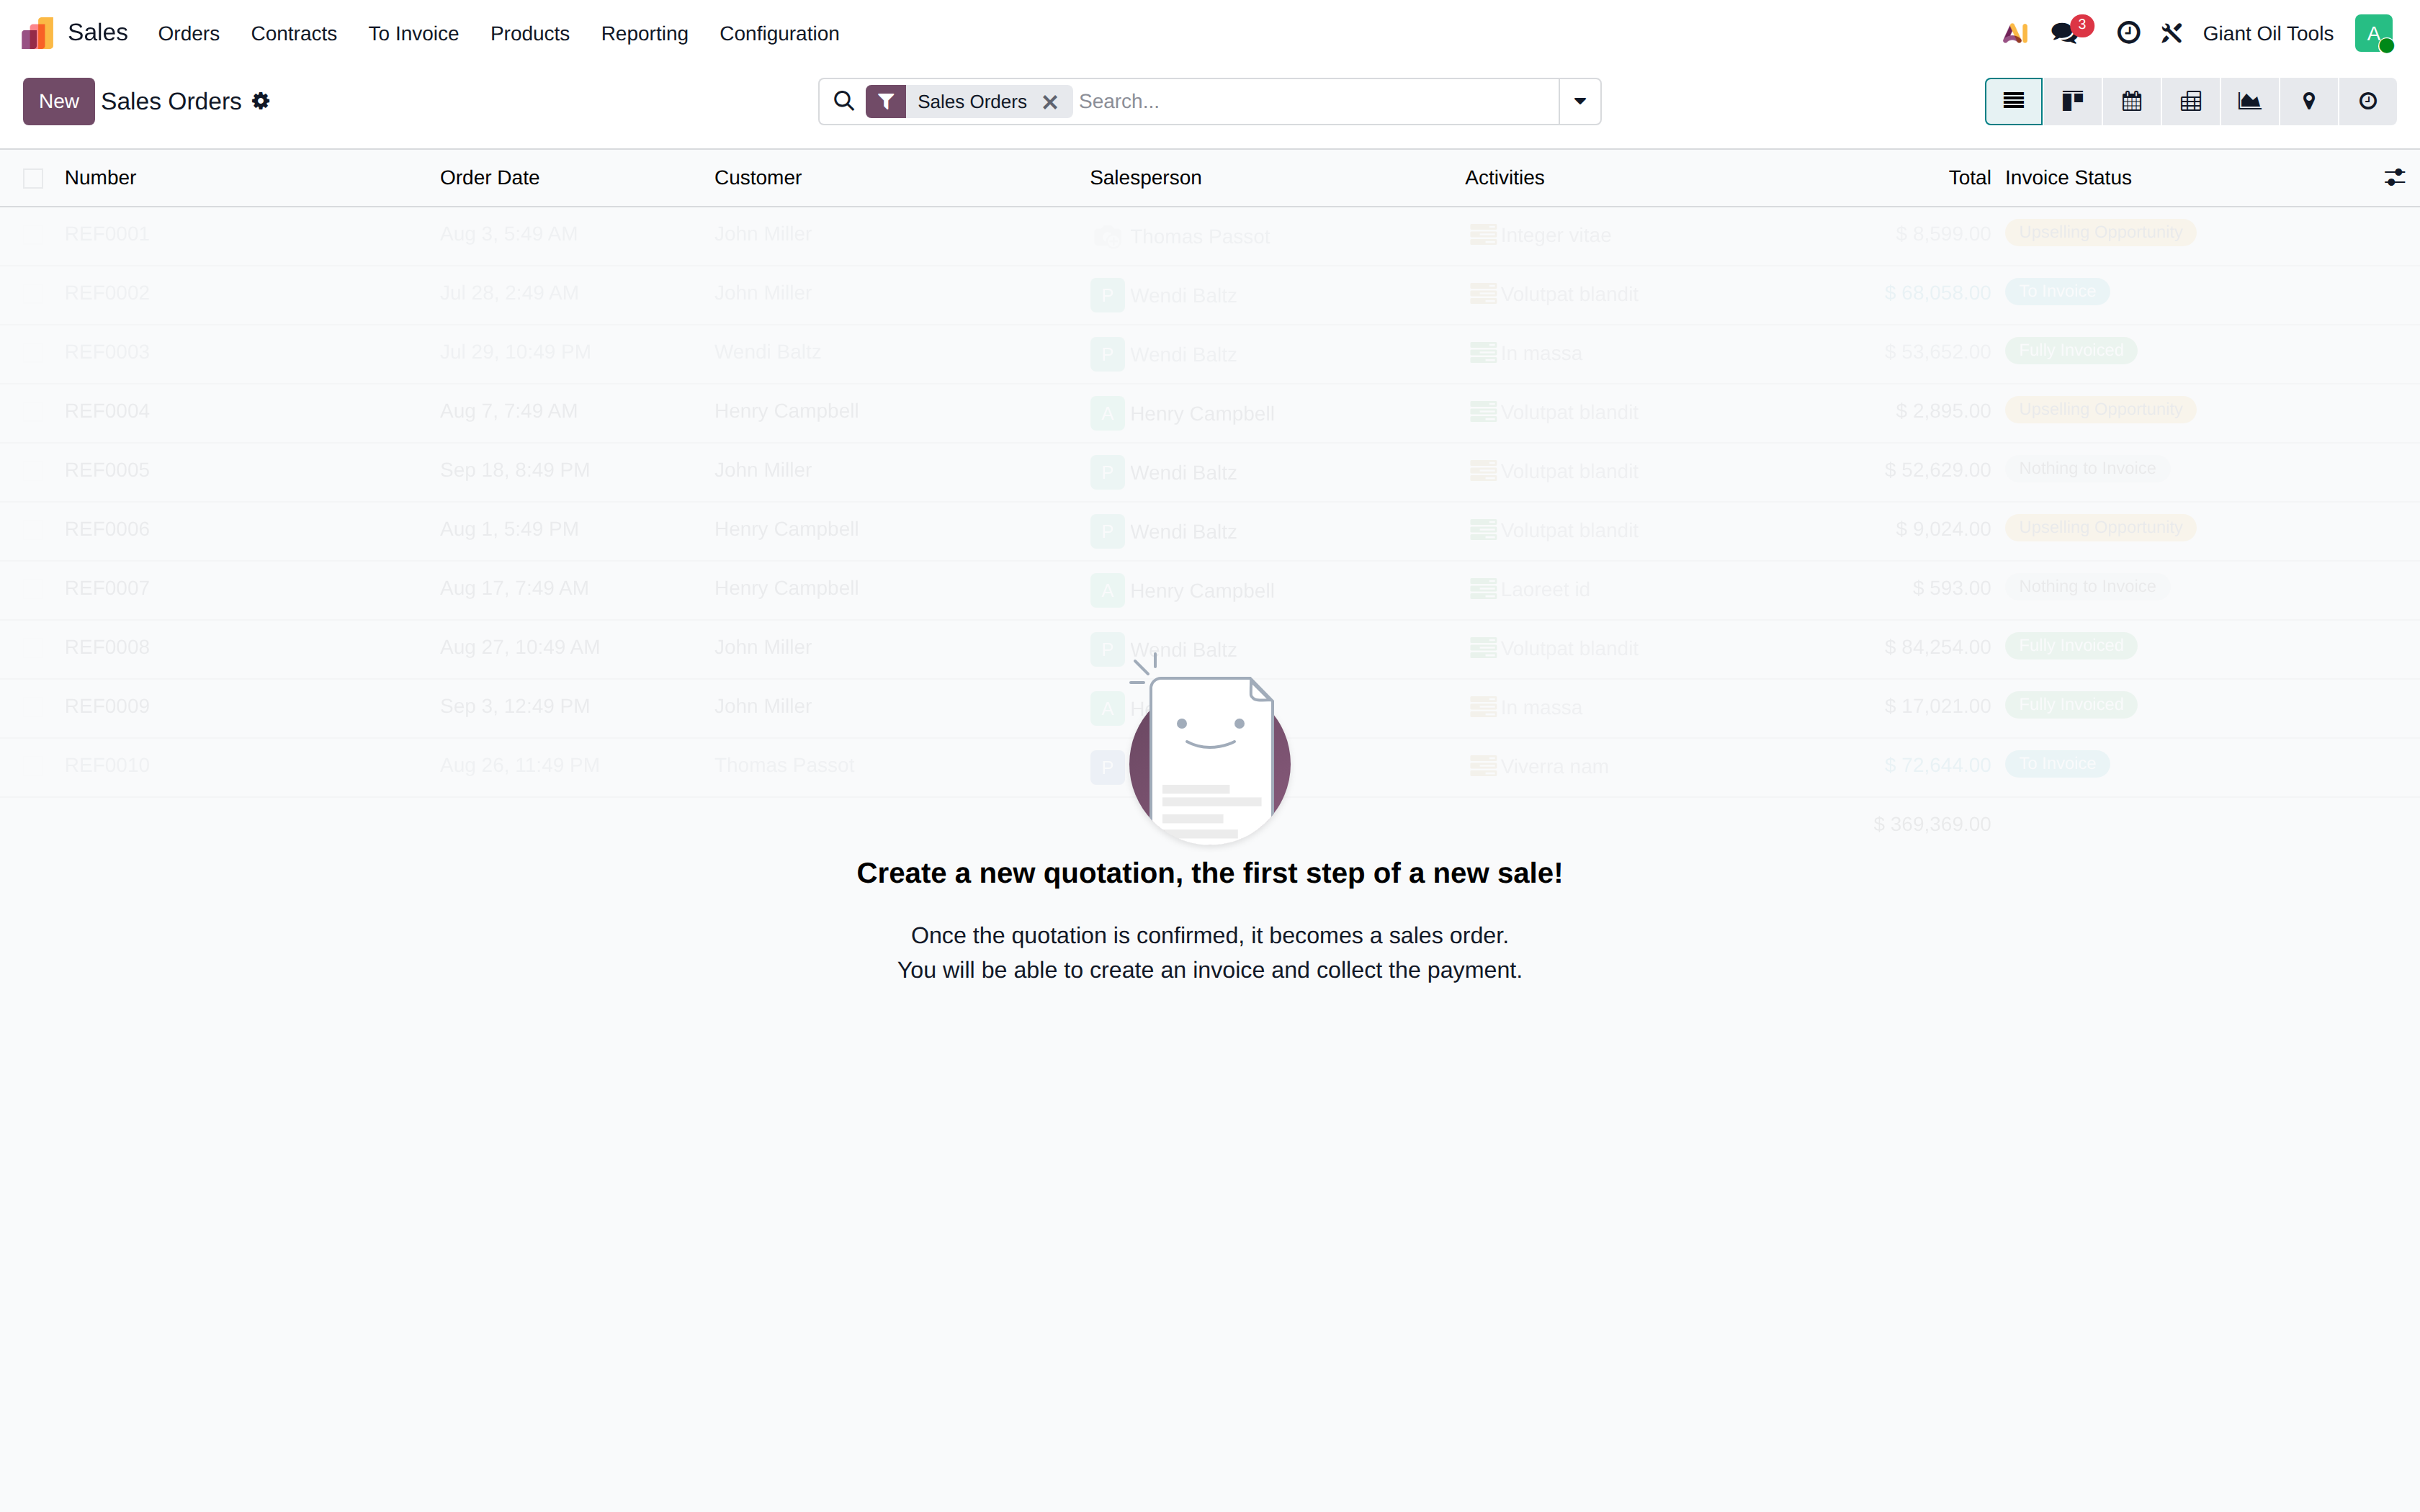
Sales orders
Confirmed orders appear here. The status column tracks the order through delivery and invoicing. Filters let you isolate orders that are ready to invoice, late, or partially delivered.
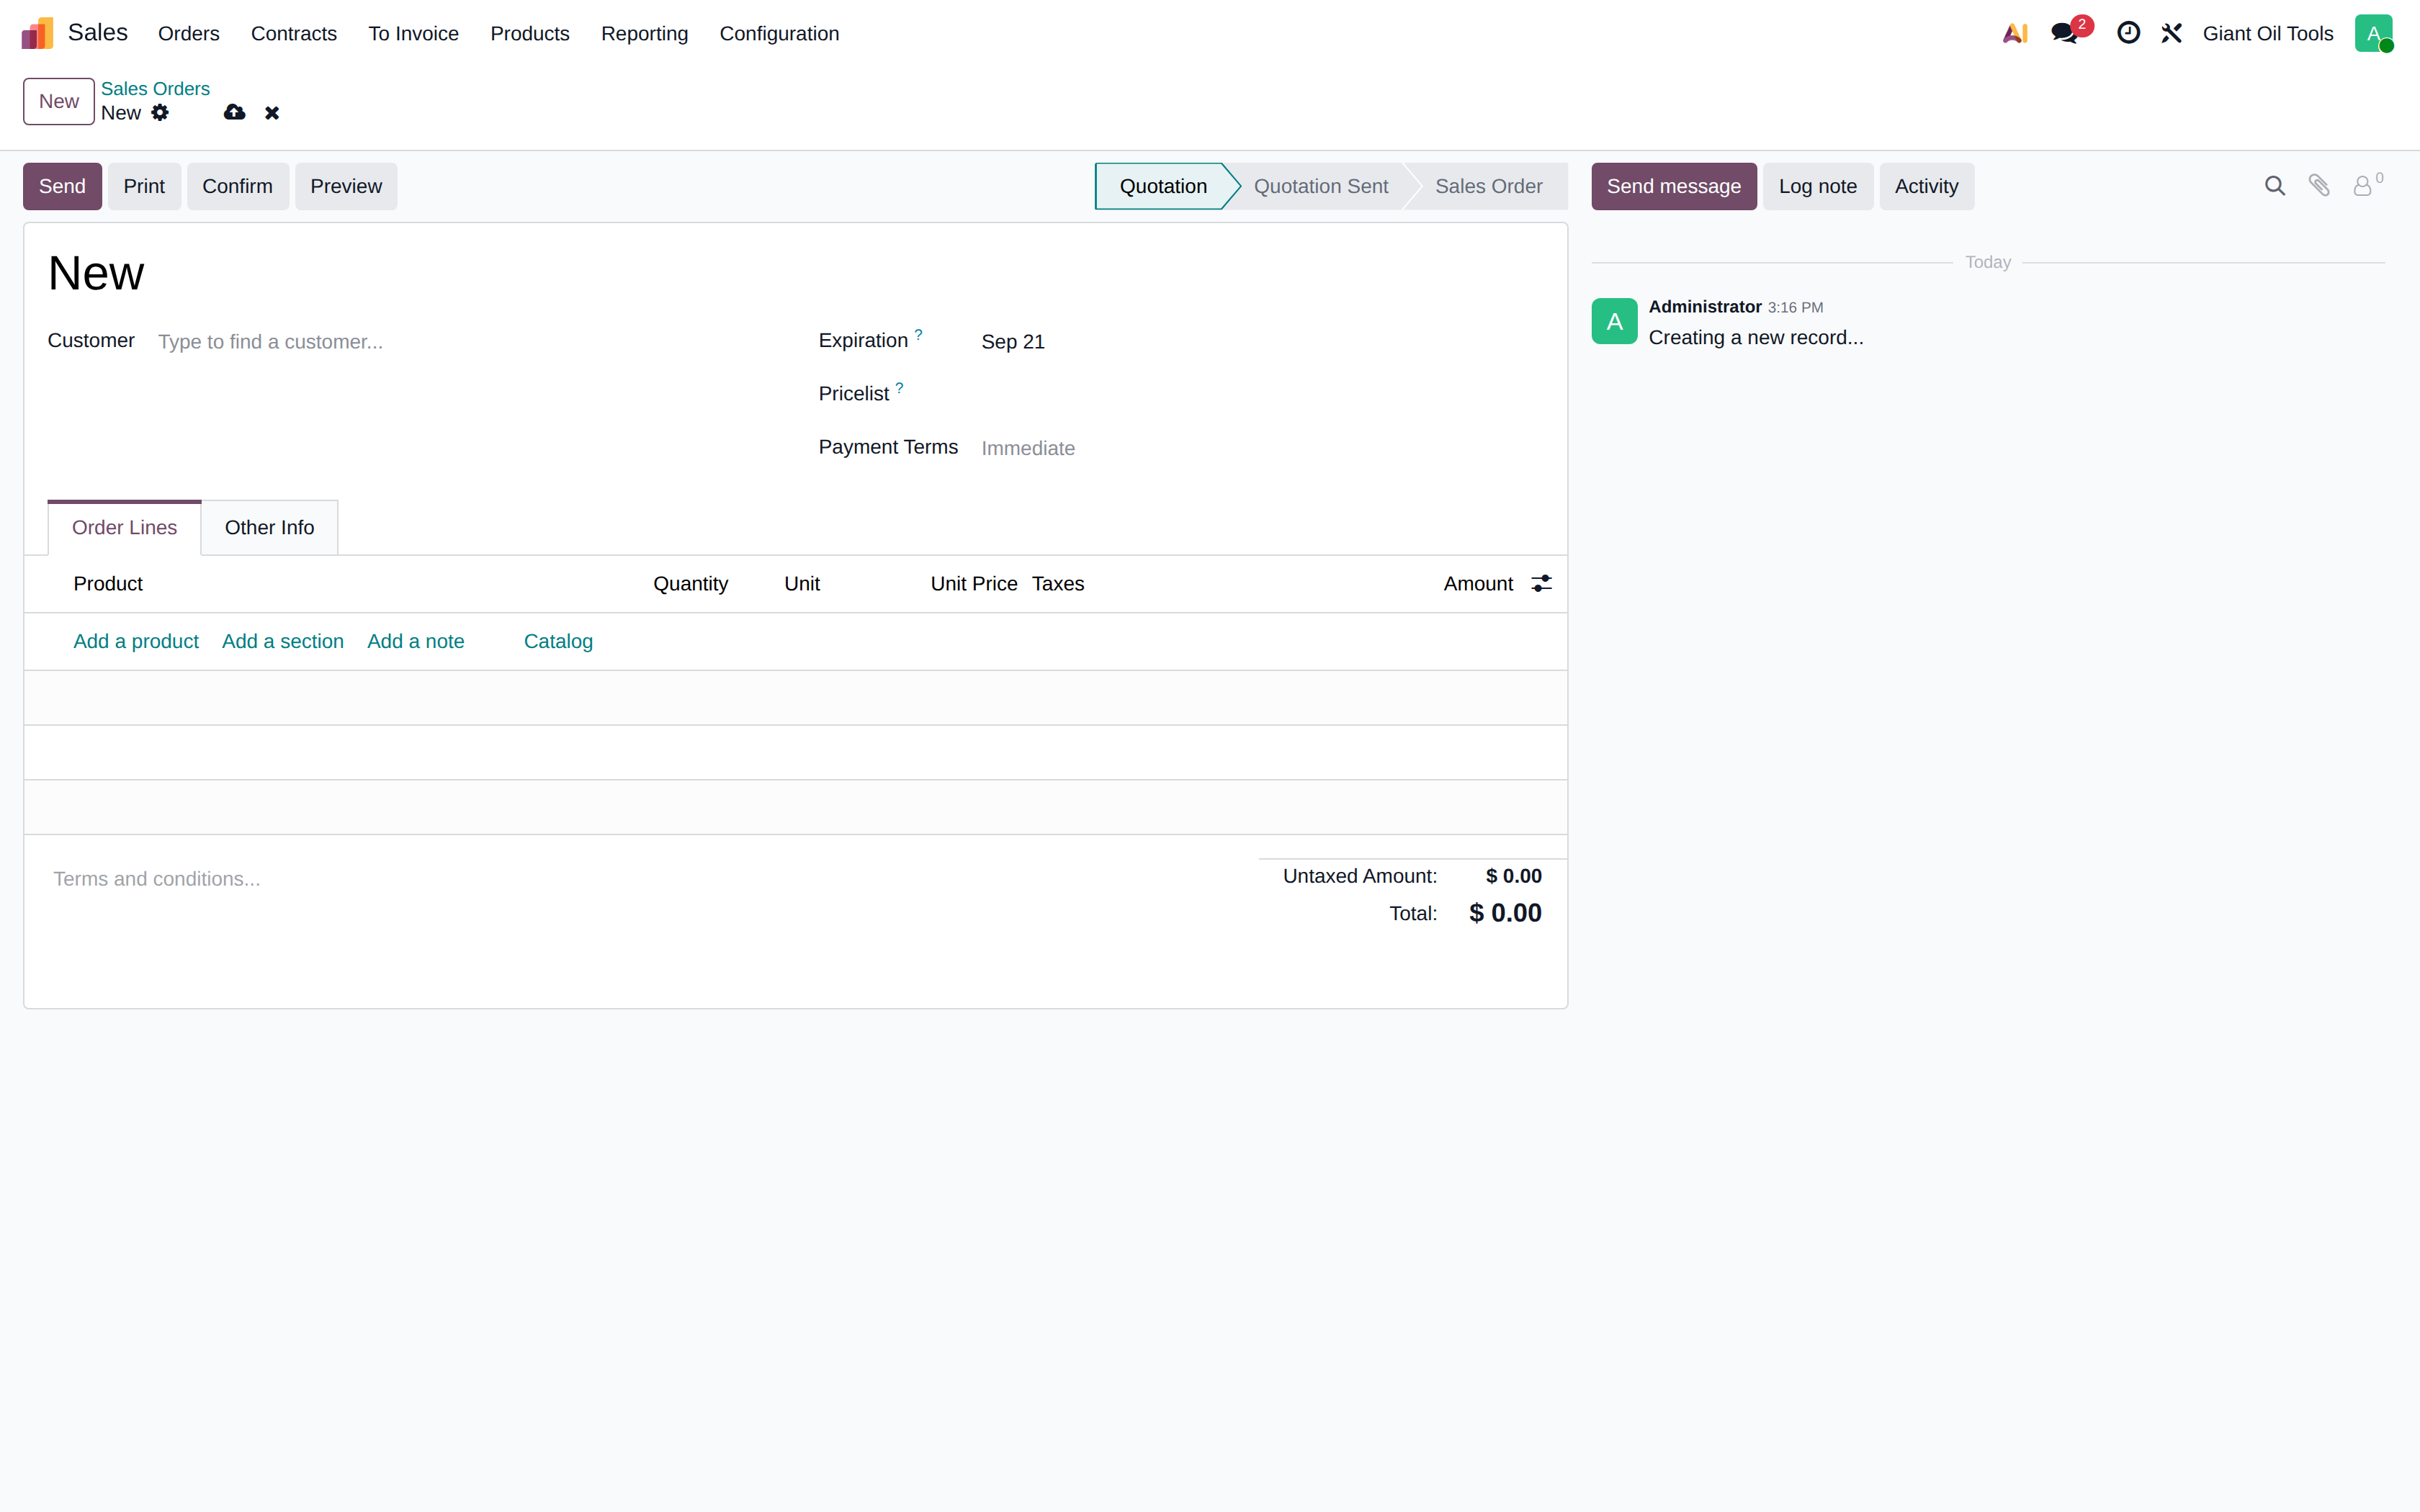
The sales order form
Fill the Customer, and the pricelist, payment terms and fiscal position default from the contact record. Add products on the Order Lines tab — quantity, unit of measure, unit price and taxes.
Buttons along the top drive the process: Send by Email, Confirm (which creates the delivery order), and Create Invoice once goods are delivered. The Other Info tab holds the delivery date, incoterm and the salesperson responsible.
Customers
A filtered view of Contacts showing only customers, with the outstanding balance and the salesperson assigned to each.
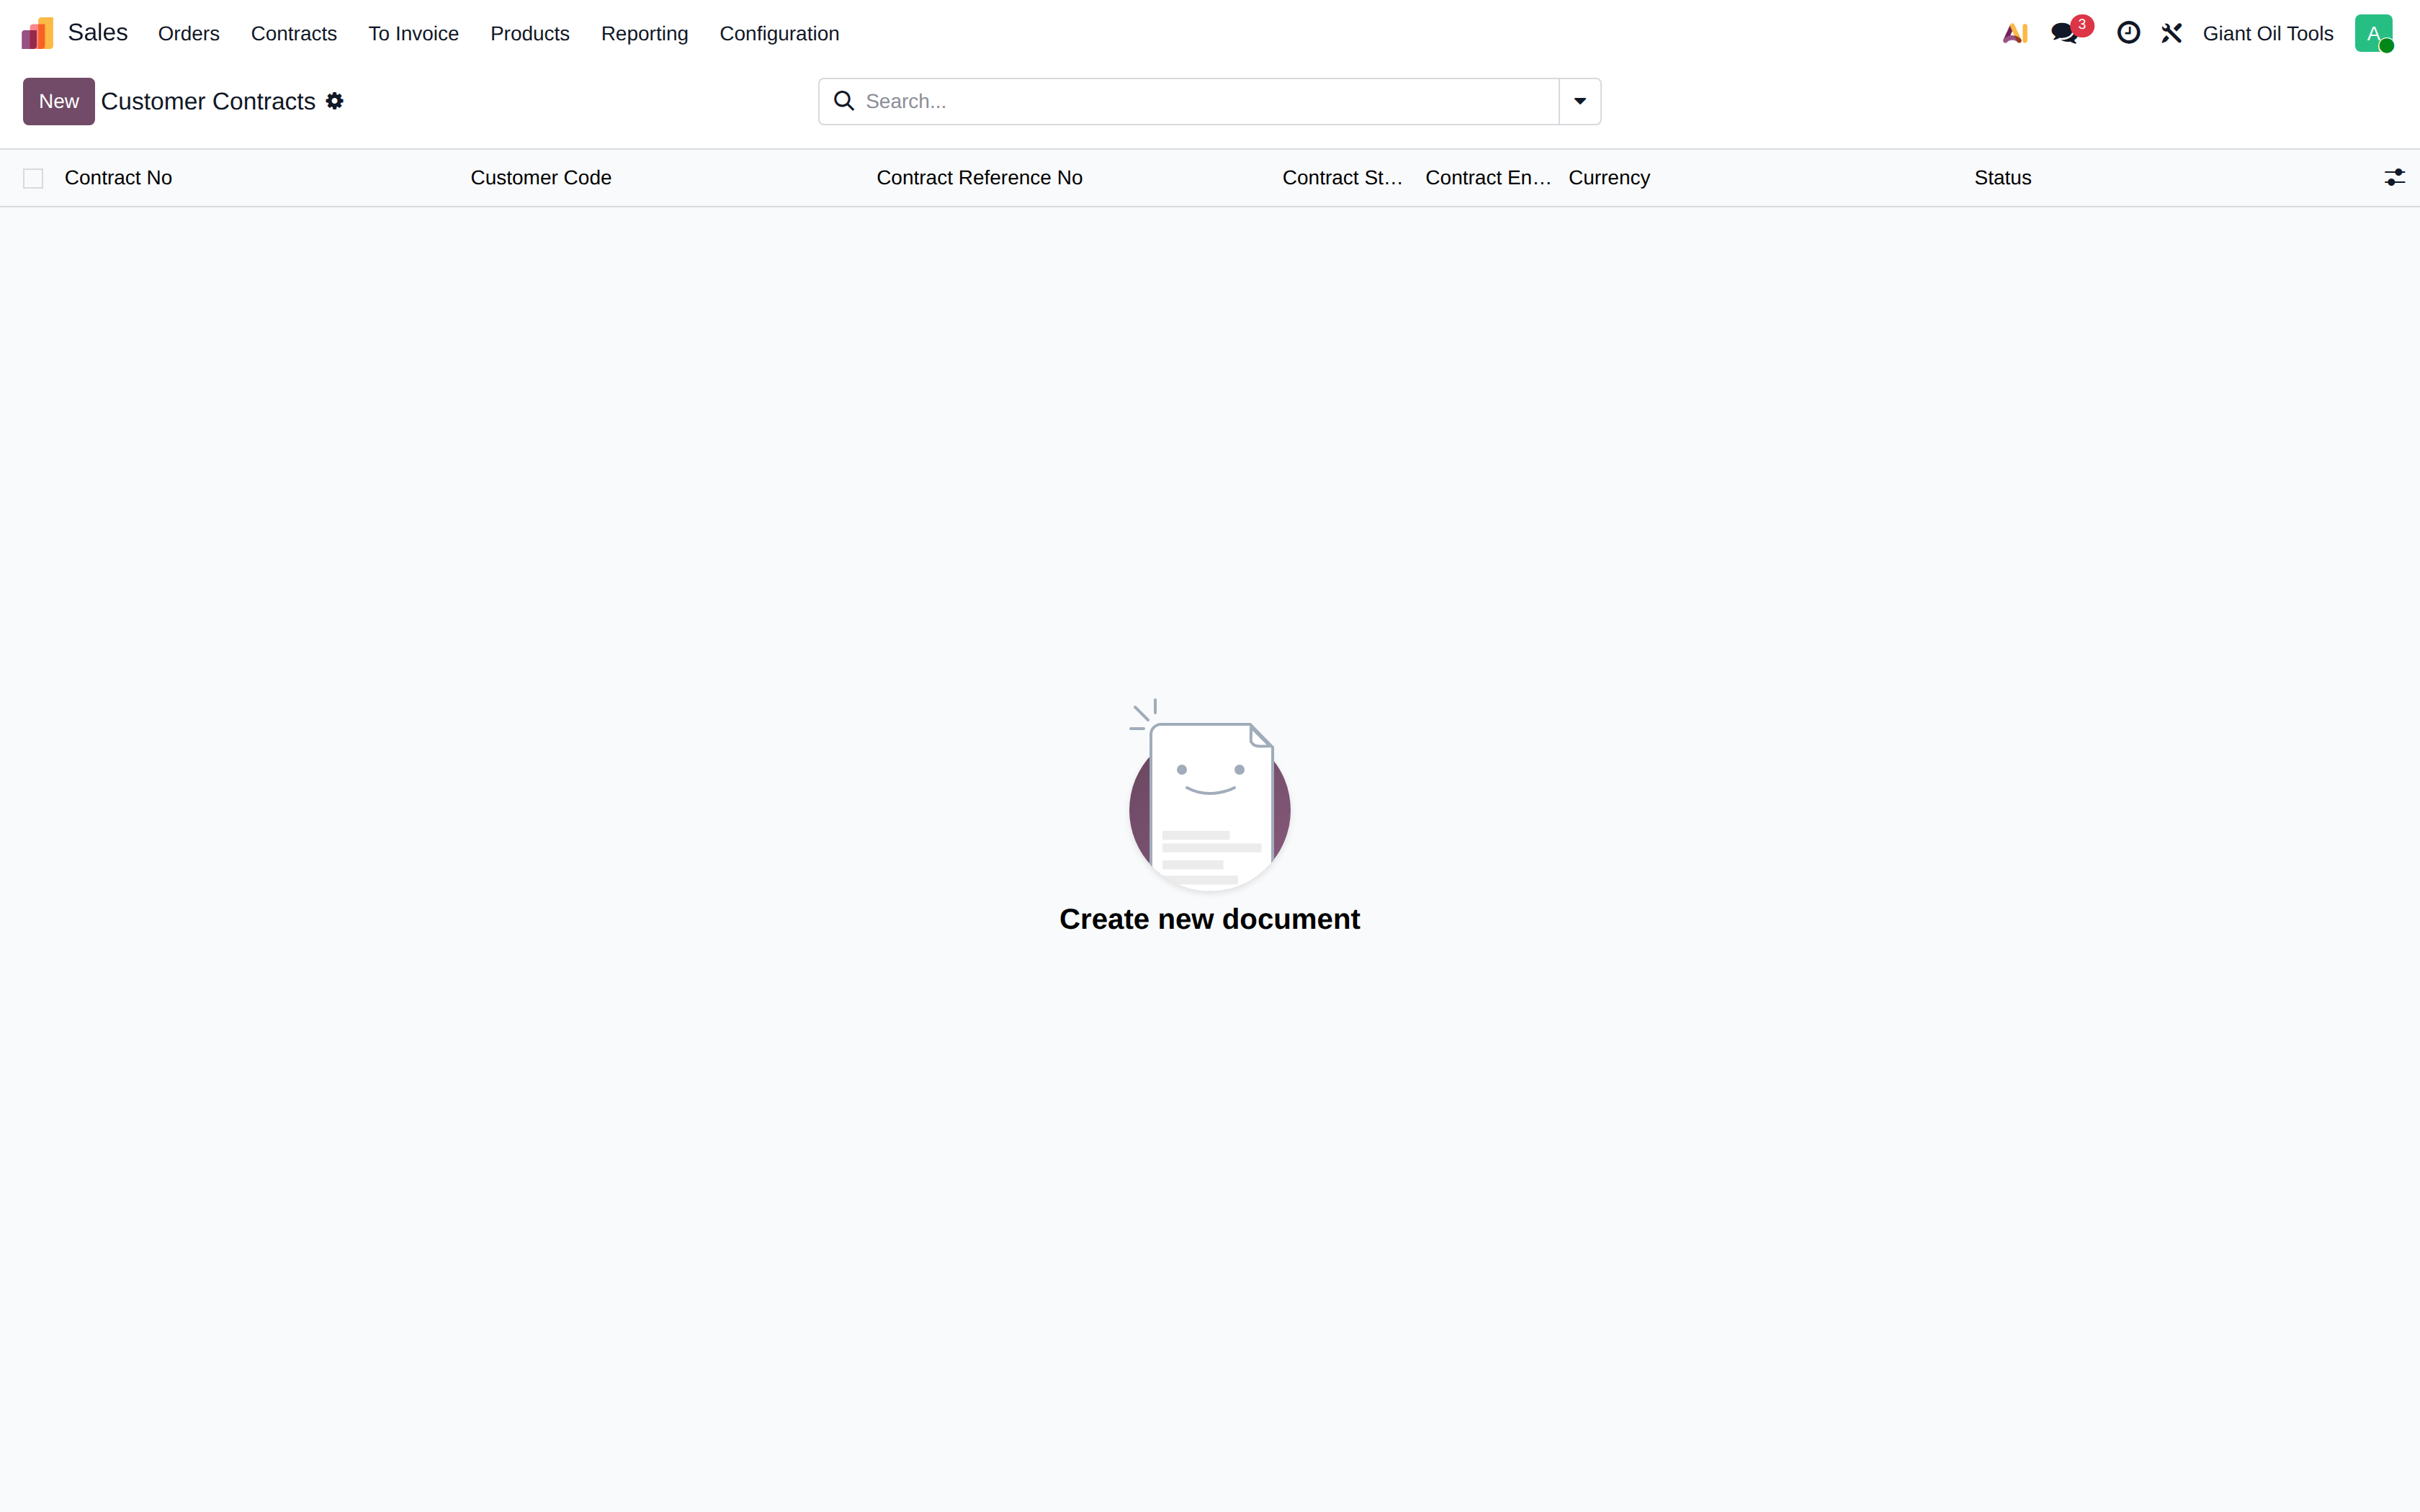
Customer contracts
A Giant Oil Tools extension. A contract fixes the agreed prices with one customer for a defined period, so that repeat orders and rental invoices are priced consistently without re-negotiation on every transaction.
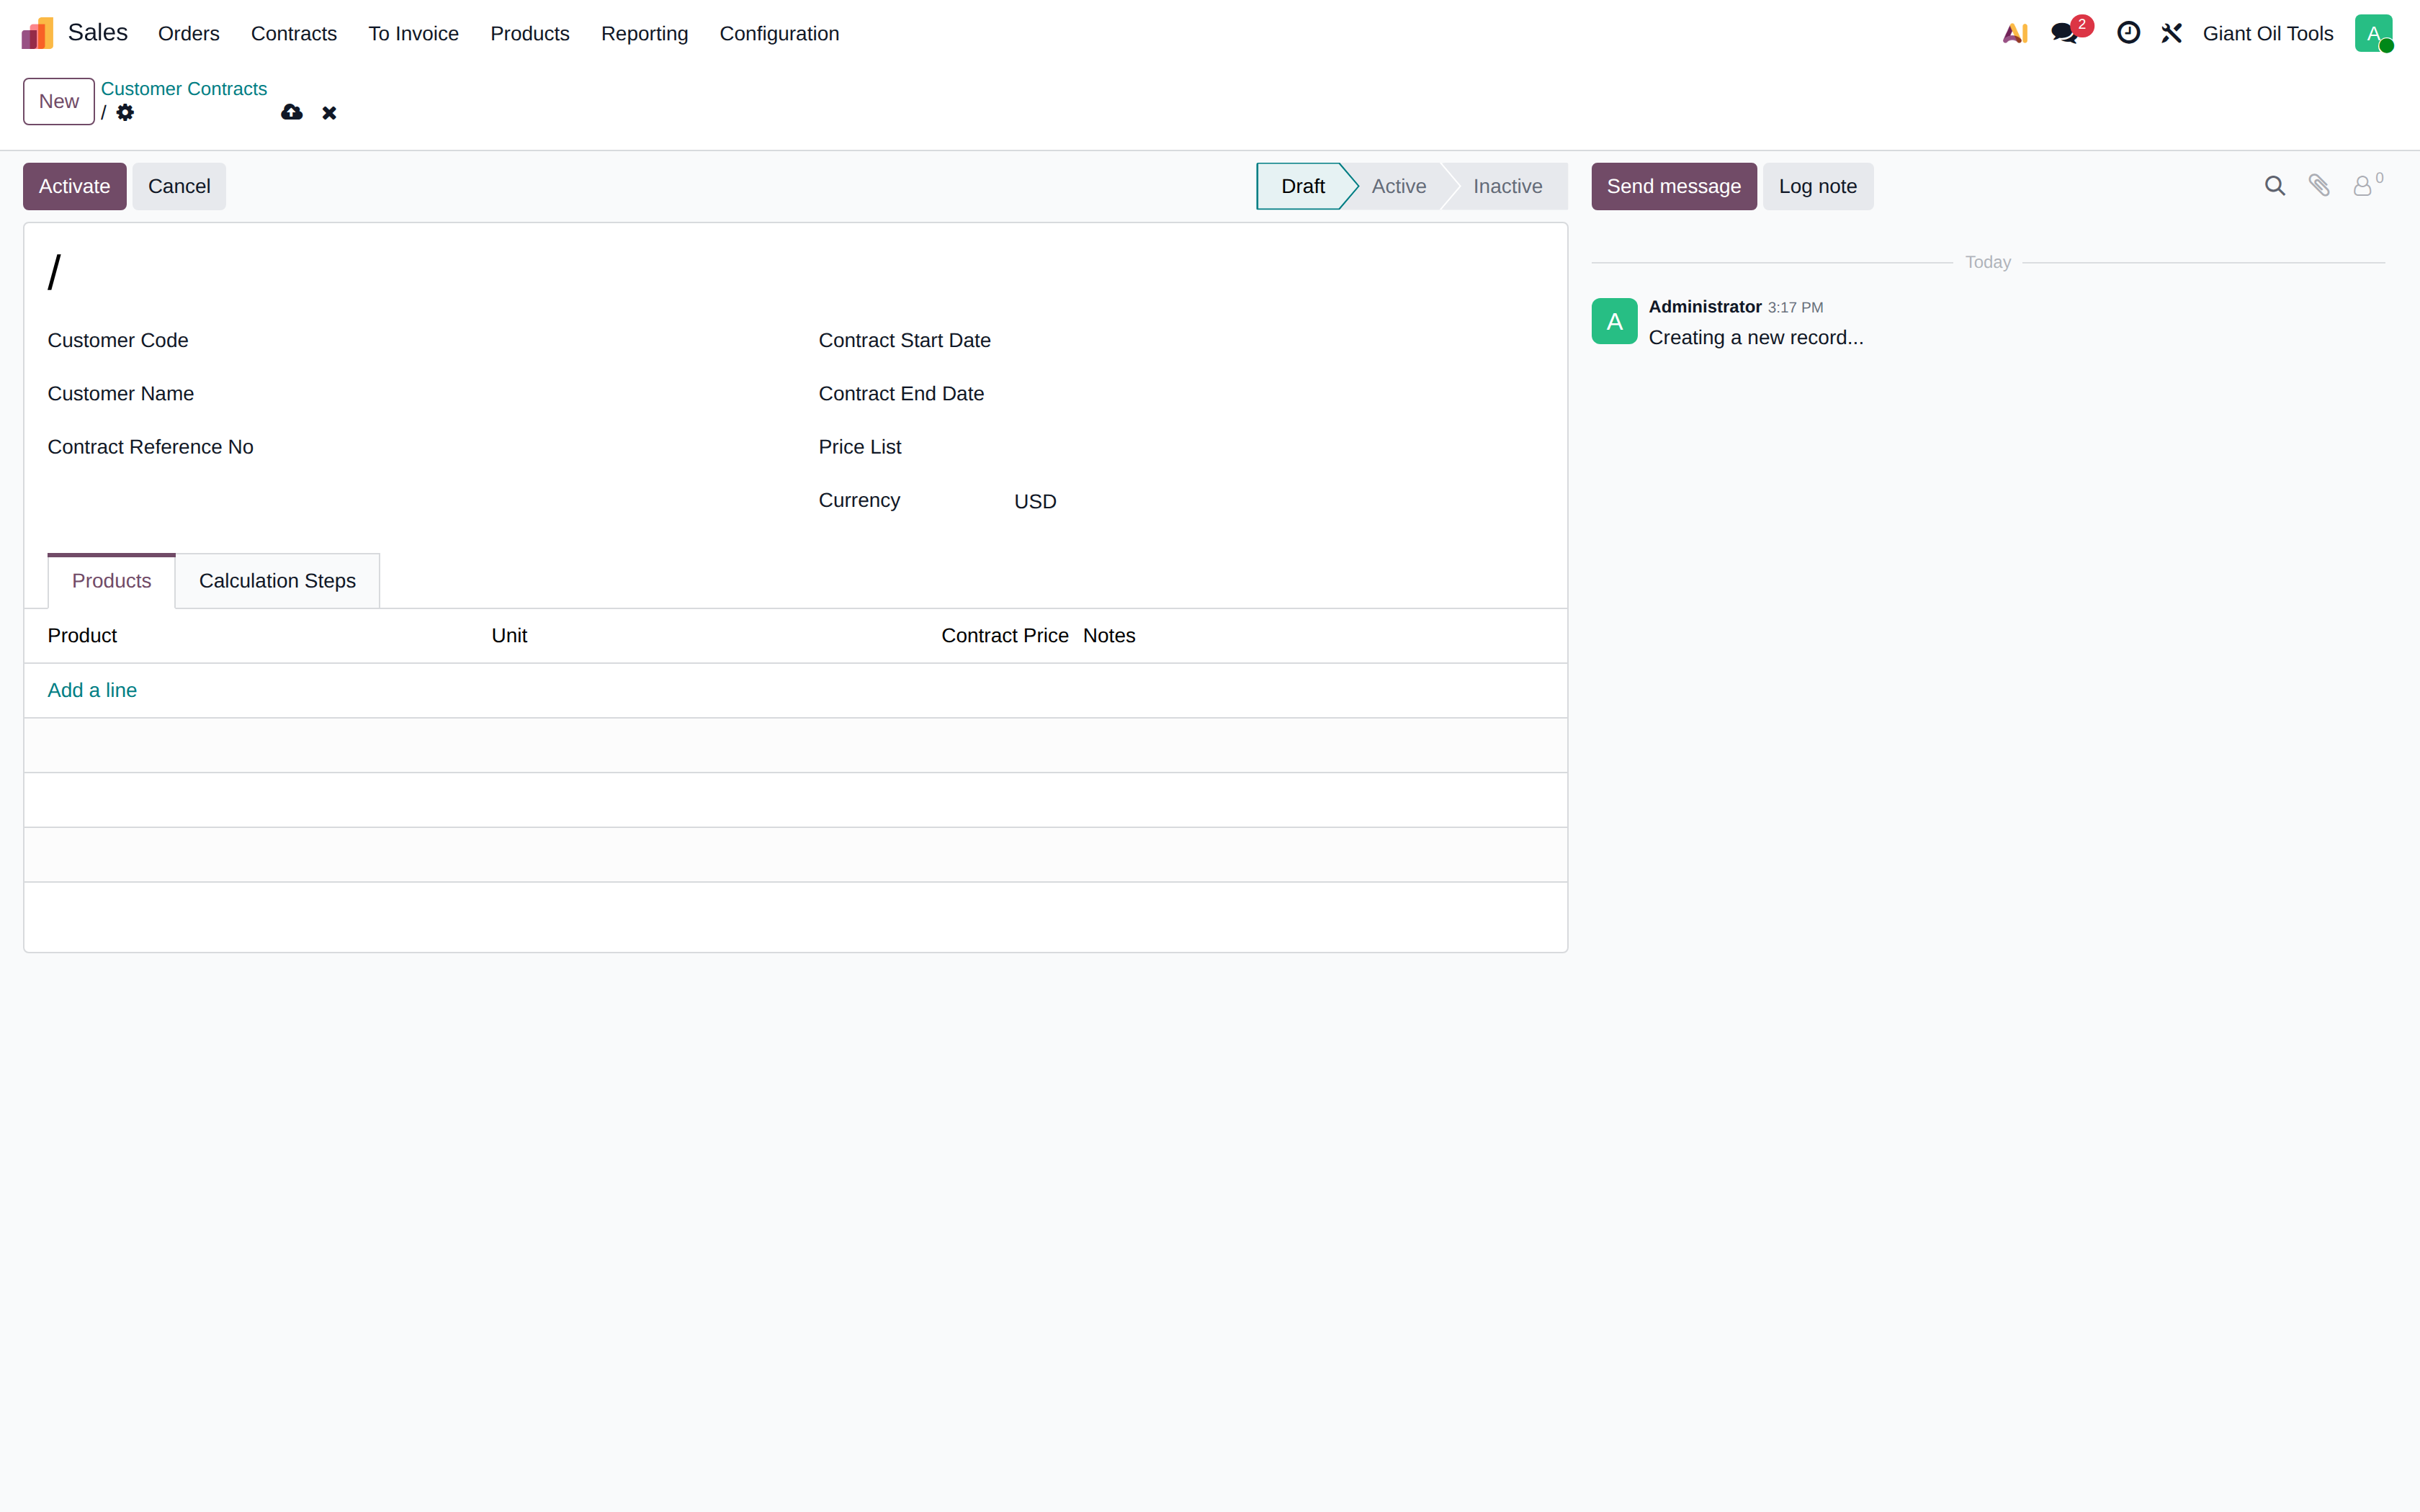
The customer contract form
Header fields: Contract No (assigned automatically), Customer Code and Customer Name, Contract Reference No (the customer's own reference), Contract Start Date and Contract End Date, the Price List and Currency.
Two tabs carry the pricing logic: • Product Lines — one agreed price per product, with unit and notes. • Calculation Steps — ordered adjustments applied on top of the base price. Each step is a Discount, Increase or fixed adjustment, applied either on the Base Price or on the result of Previous Steps, and scoped to a specific item, an item group, or the whole contract.
A contract moves through Draft → Active → Inactive/Cancelled. Only active contracts are used for pricing.
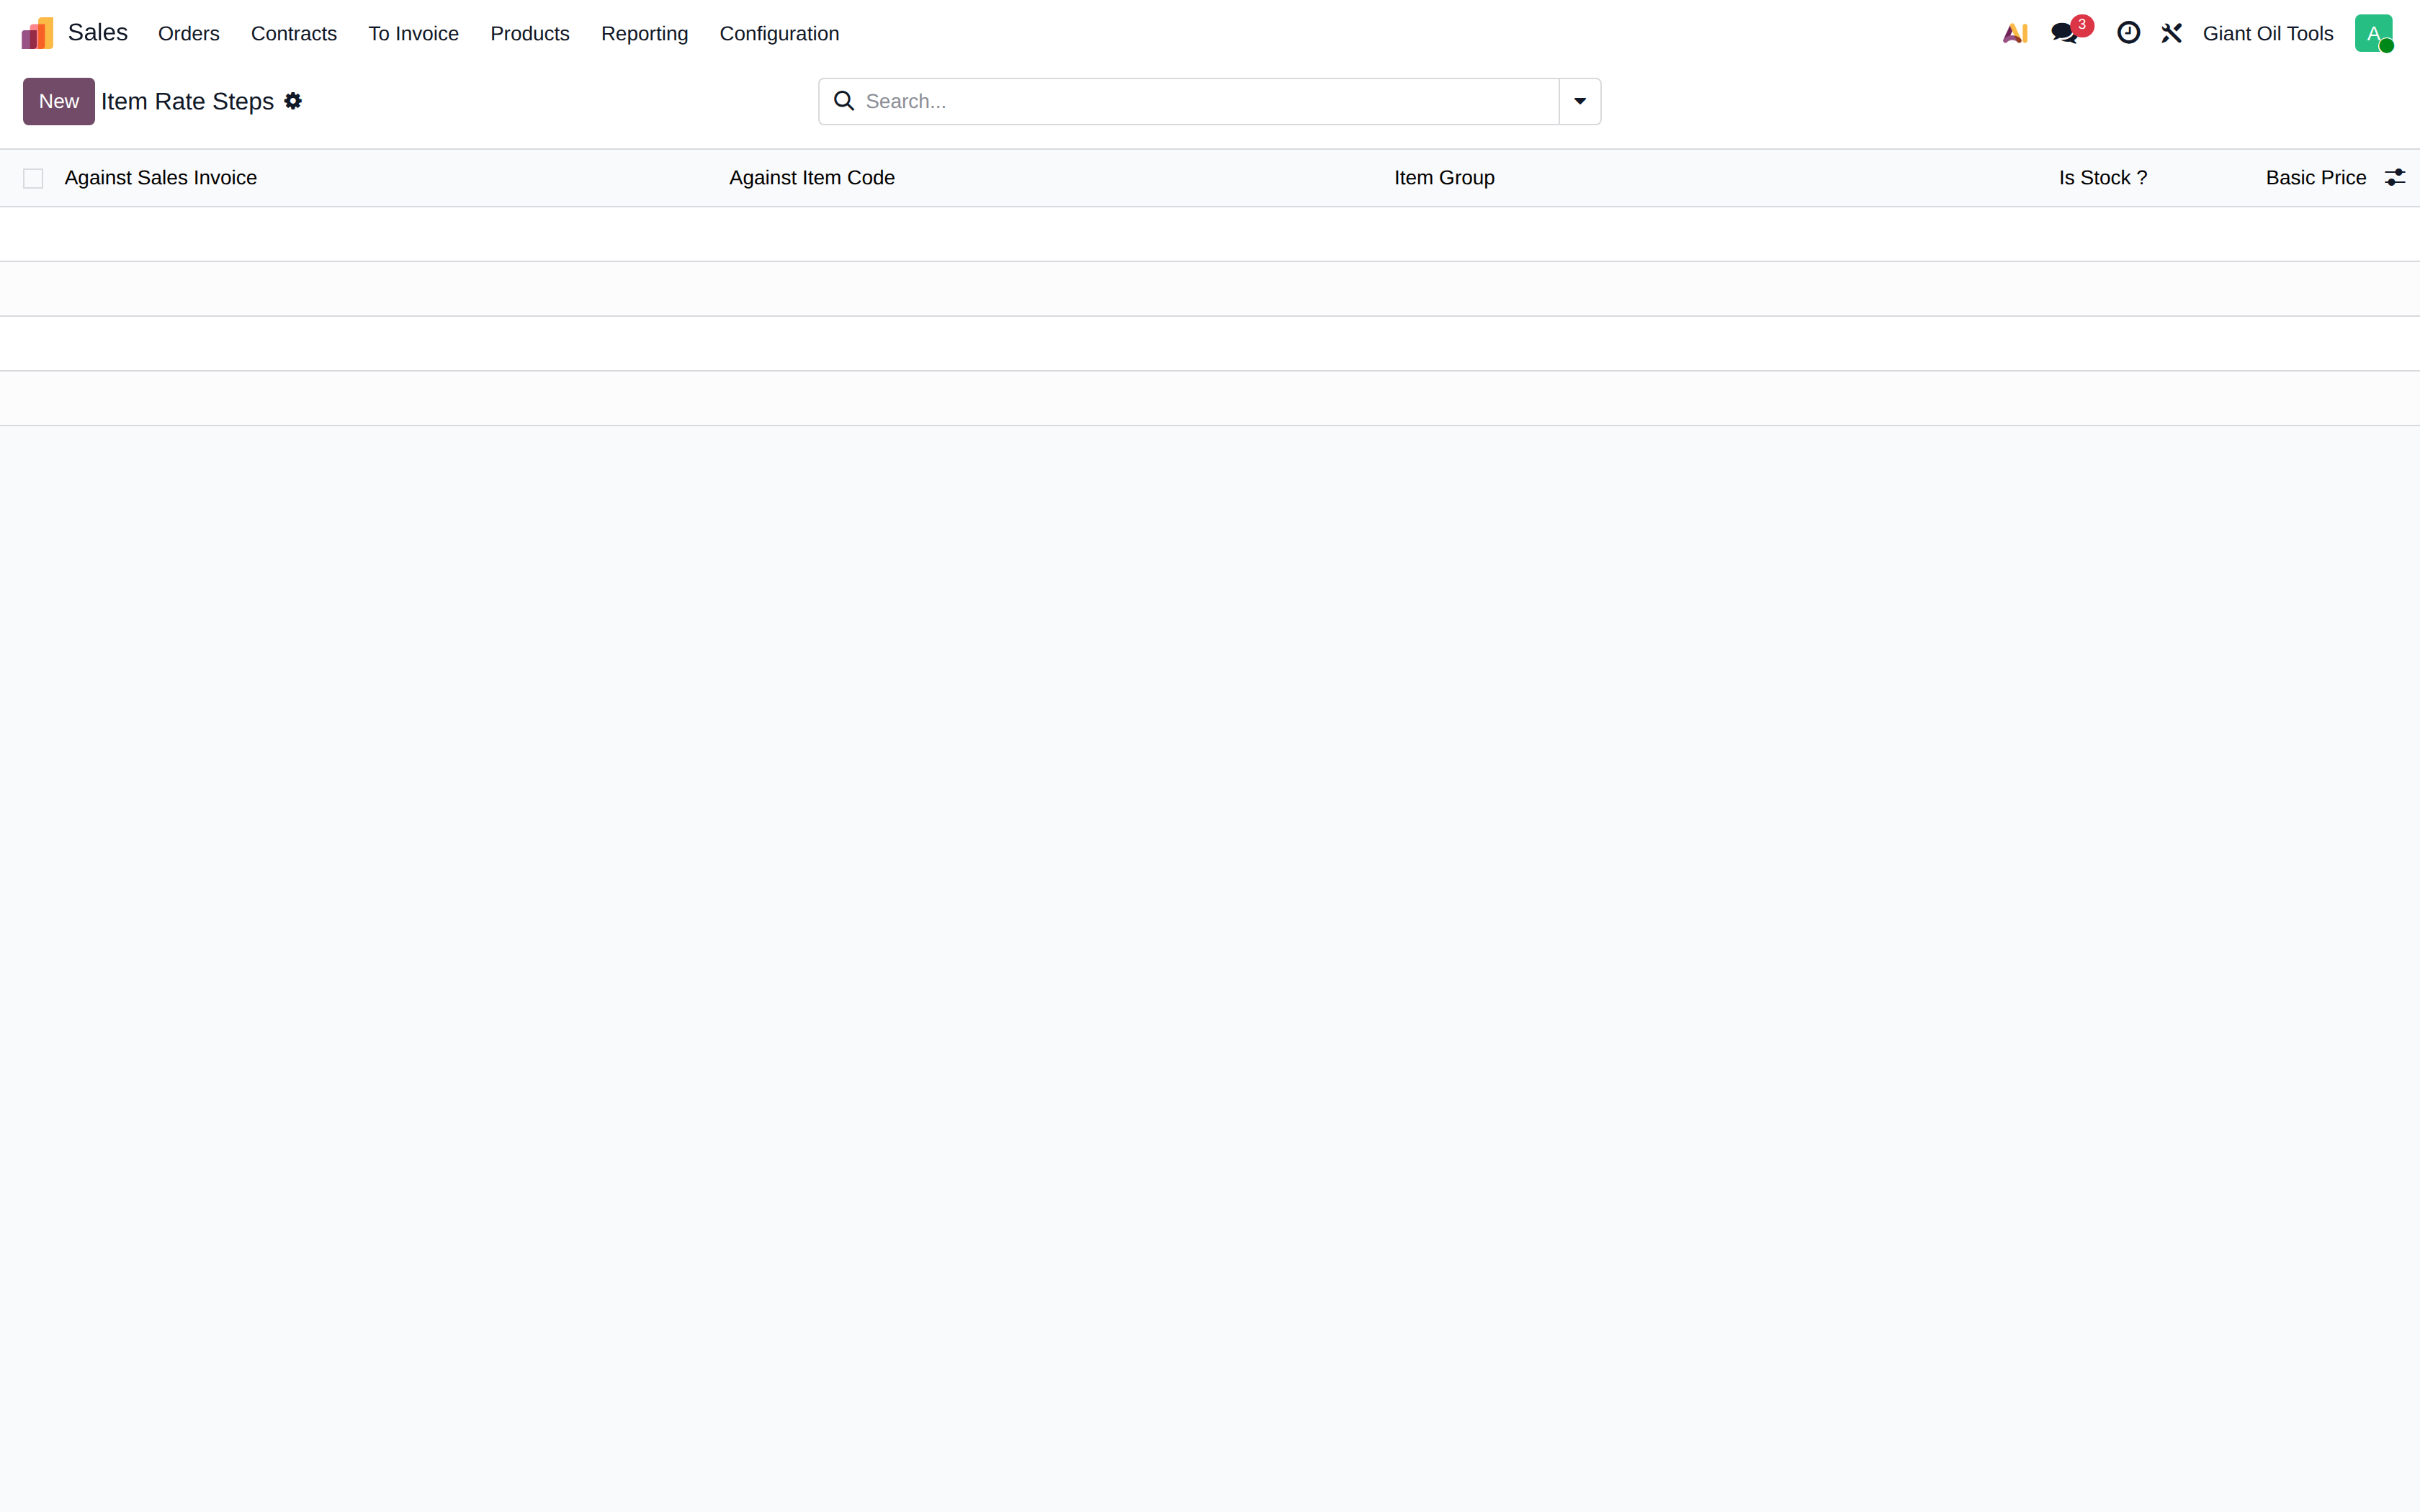
Item rate steps
The reusable rate-step definitions that contracts draw on, so a standard discount ladder is defined once and applied to many contracts.
Products (Sales view)
The sellable catalogue. Each product carries its sales price, unit of measure, taxes and the income account used when it is invoiced.
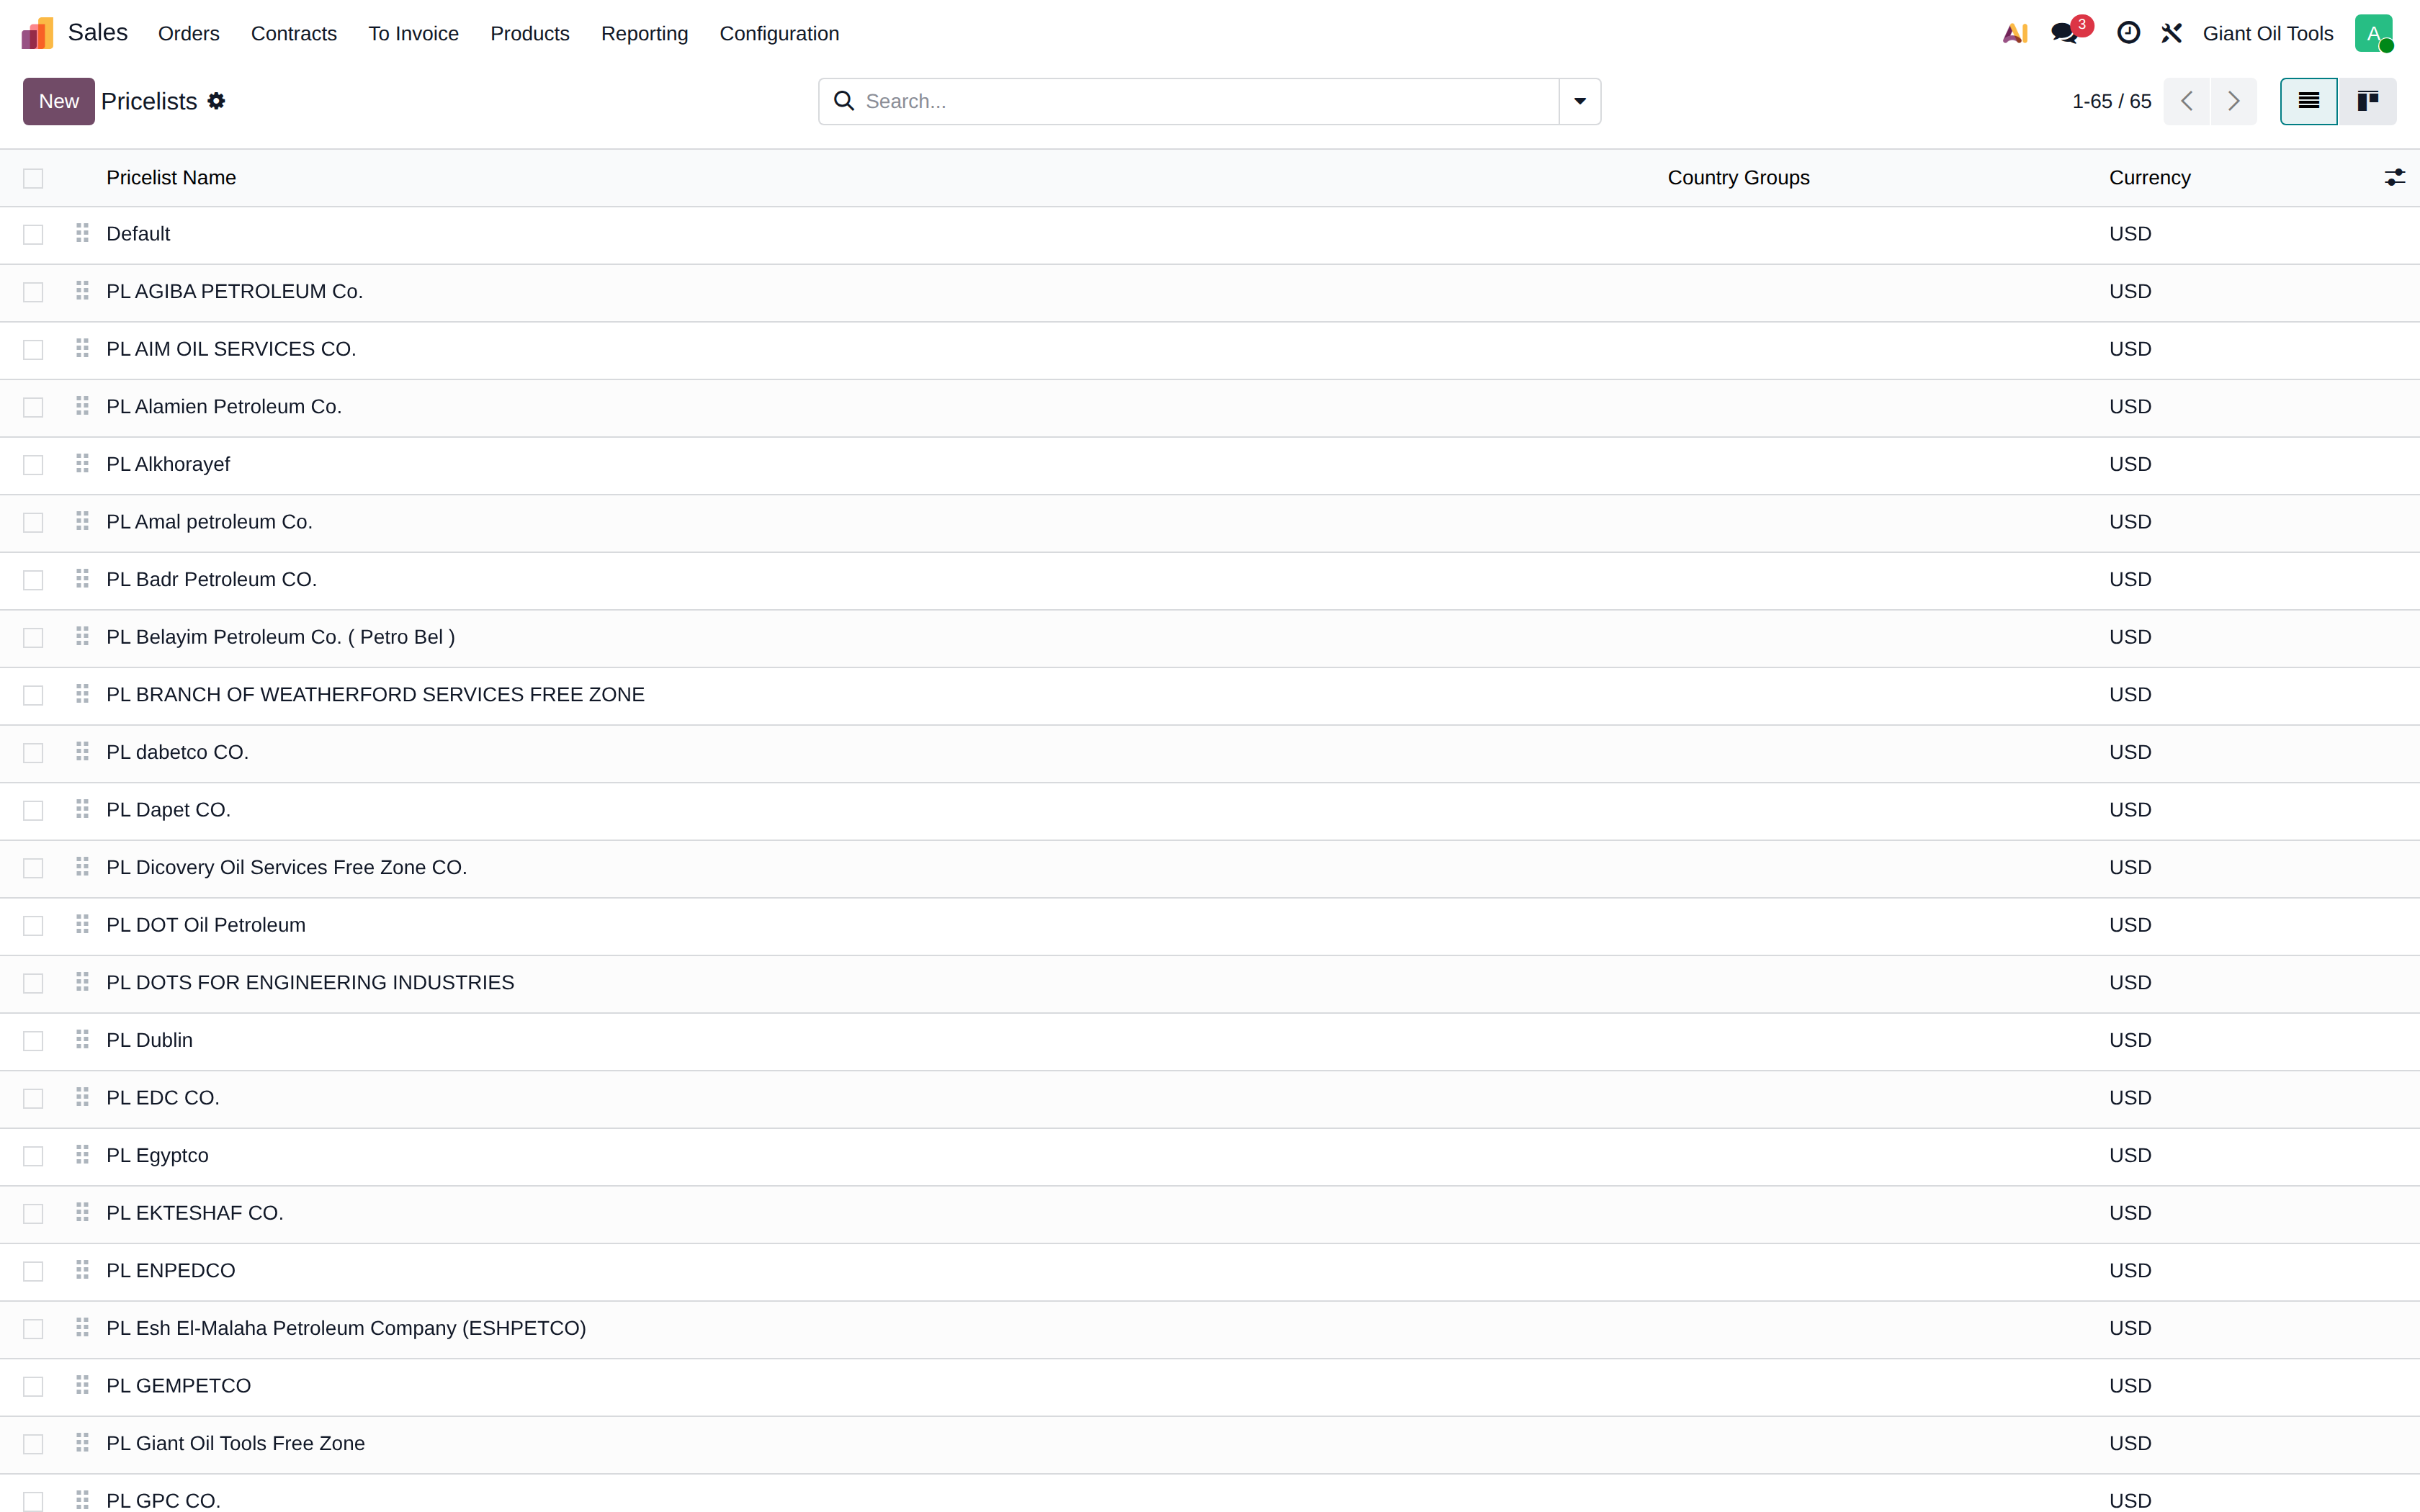
Pricelists
Pricelists set prices per customer group, currency, quantity break or date range. The pricelist on the customer record is applied automatically to their orders.
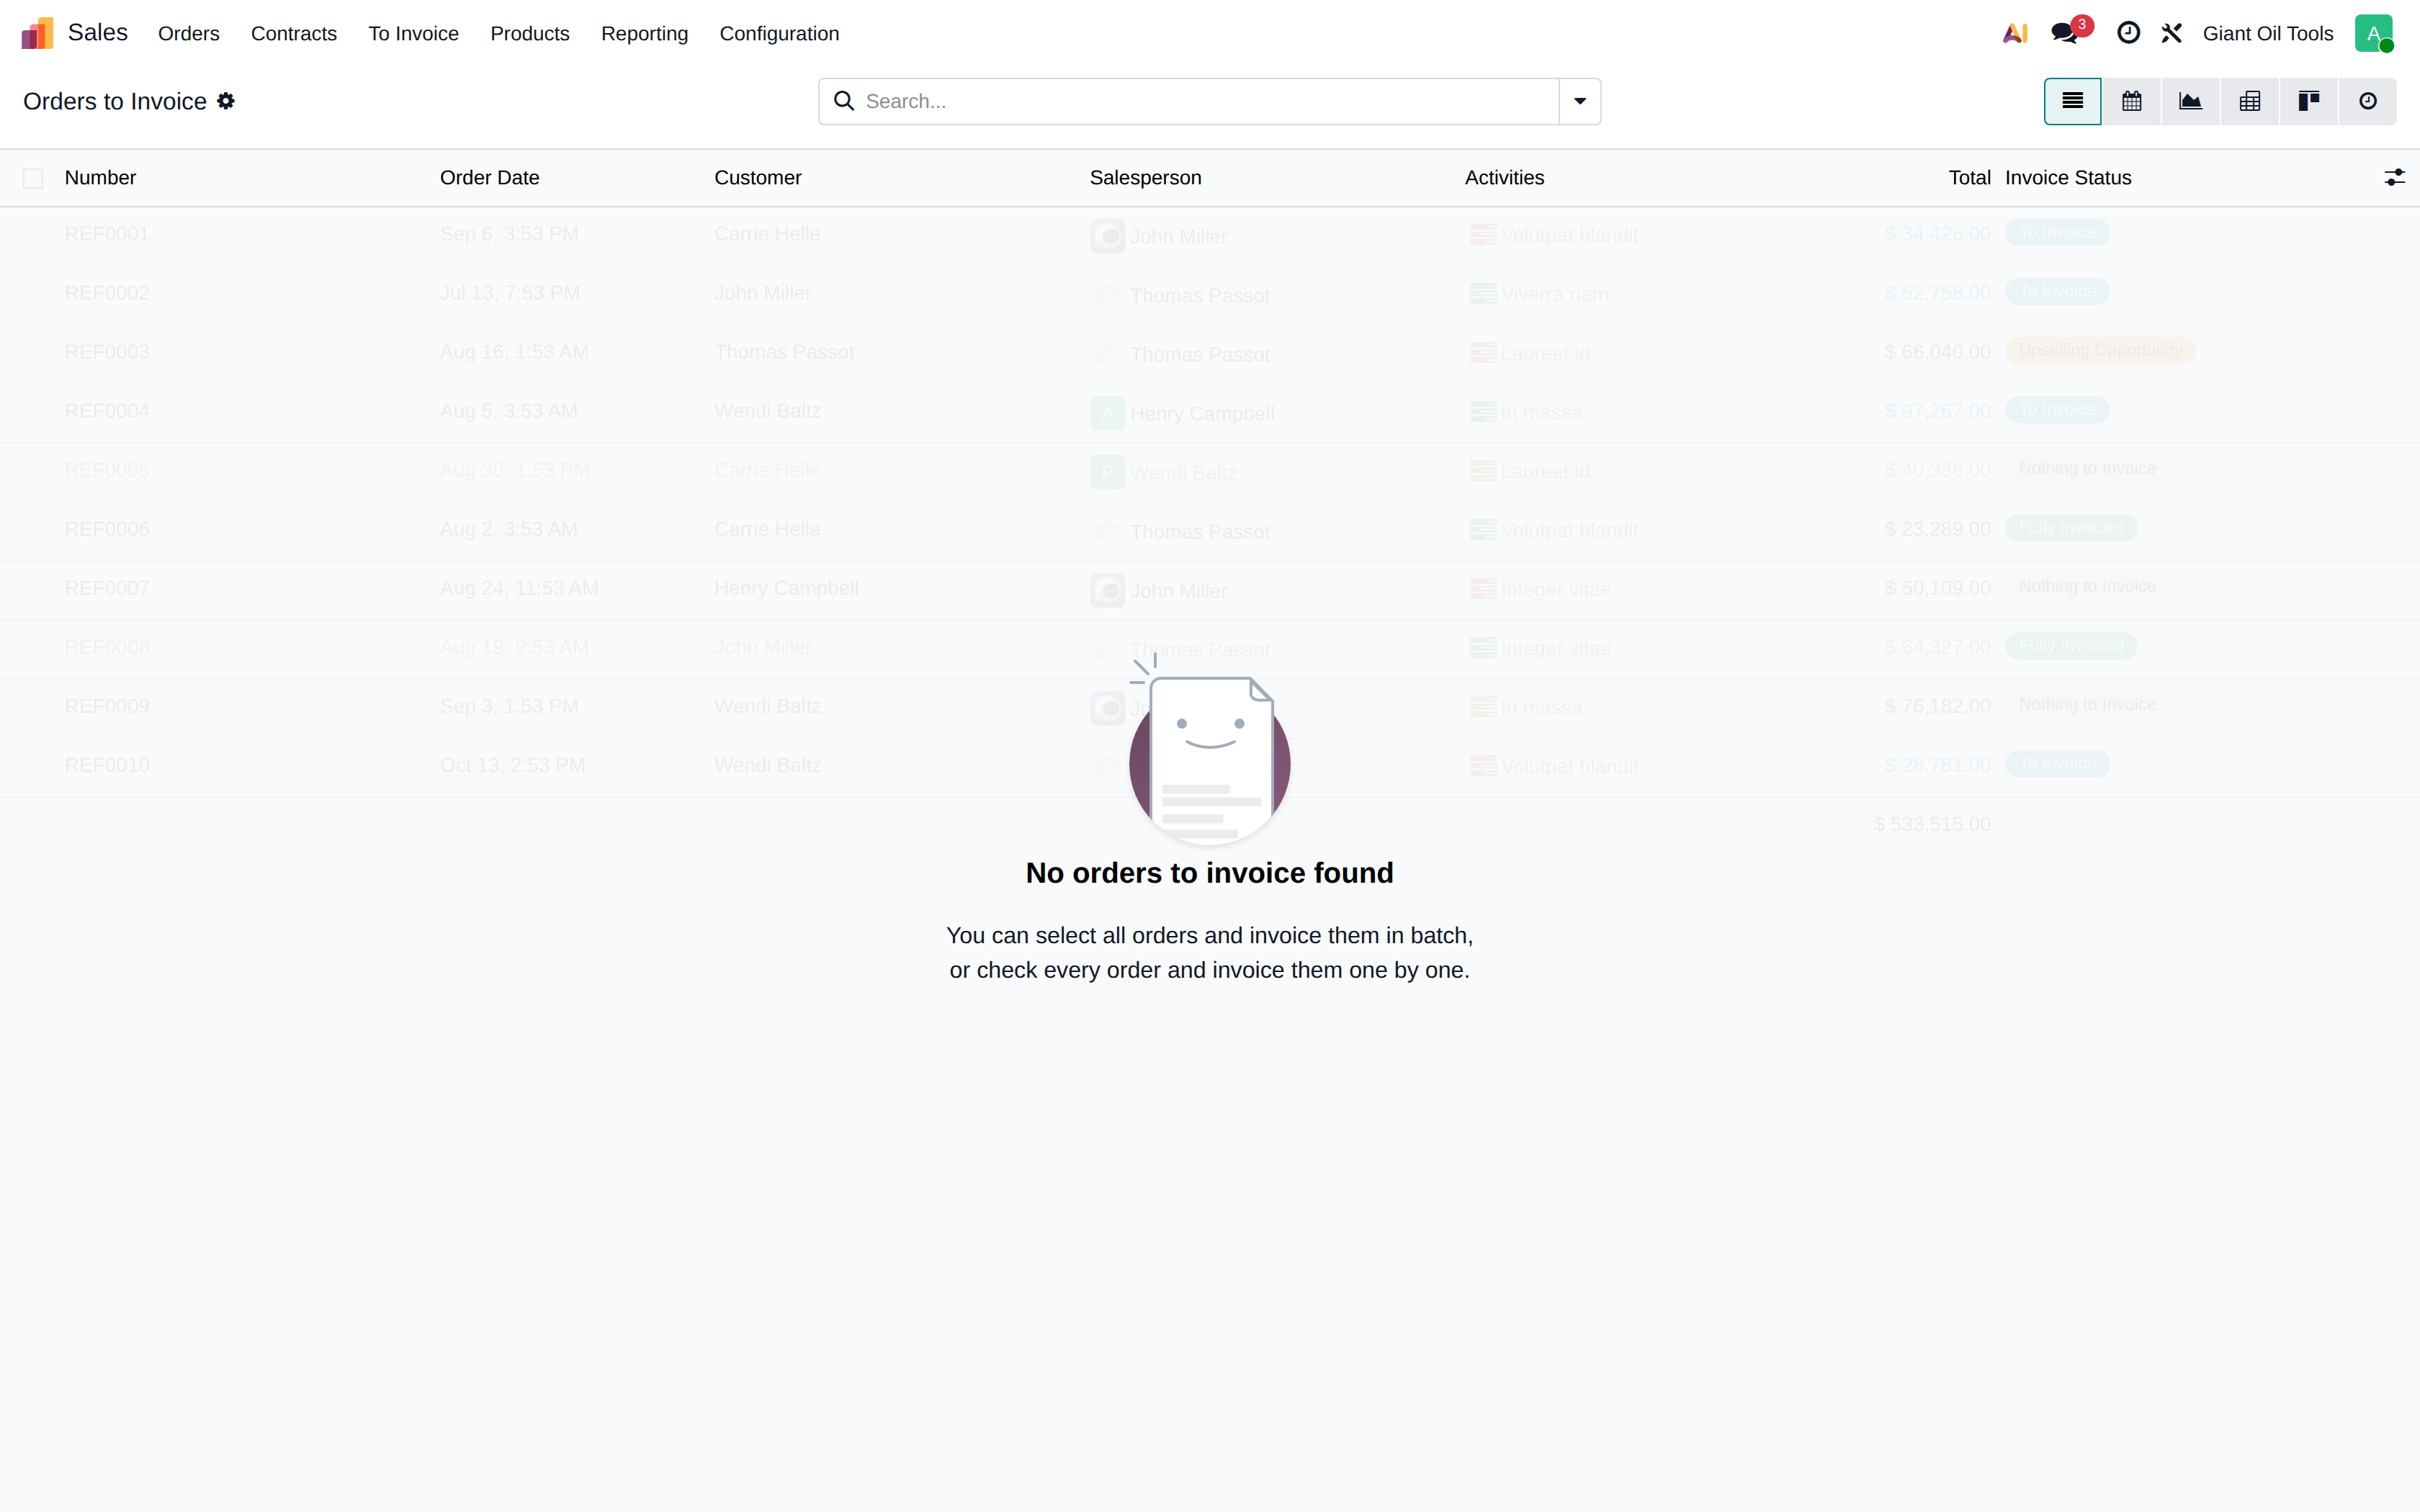
Orders to invoice
A working list of confirmed orders where goods or services have been delivered but no invoice has been issued yet. Review this list before every invoicing run so nothing is missed.
4Purchase
Purchasing runs from a request for quotation through a purchase order to receipt and vendor bill.
Giant Oil Tools has extended the purchase order with the shipping and delivery details the
business needs, and receipts automatically raise the customs-duty landed cost described in
Chapter 5.
How it is done
hover to play · click for full screen
Raising a request for quotation and confirming the order
From a request for quotation to a confirmed purchase order with a receipt waiting in Inventory.
Purchase > Orders > Requests for Quotation
Click New to raise a request for quotation
Pick the vendor from the supplier records
Record the vendor's own quotation reference
Open Other Information
Deliver To sets the receiving warehouse
Back to Products
Add a product line
Choose the product by part number
Enter the quantity ordered
Enter the agreed unit price — never leave the total at zero
Confirm — this creates the receipt in Inventory
The Receipt smart button is the incoming transfer waiting in Inventory
Show the steps
hover to play · click for full screen
Receiving the goods against a purchase order
Set the received quantity, give the goods a lot number, and validate the receipt.
A confirmed order for 10 units is waiting to be received
Open it from Purchase > Orders > Purchase Orders
Open the Receipt smart button
Enter the quantity that actually arrived
Every item is lot tracked — no lot, no validation
Open Details to record the lot
Type the lot number — it is created on the fly
Save
Validate — stock is now on hand and valued
The transfer is Done; the order shows 10 received
Show the steps
hover to play · click for full screen
Free Zone receipt and the automatic customs duty
Imports are received into the Free Zone, where the system raises the customs-duty landed cost by itself.
An import order has been placed on the Free Zone warehouse
Deliver To is Free Zone: Receipts — that is where imports land
Open the Free Zone receipt
Record the quantity received
Open Details for the lot number
Enter the lot for the imported batch
Save it
Validate — and watch what the system does on its own
Customs applies only to Free Zone receipts — that is where imports arrive. Local purchases never get it.
Inventory > Operations > Landed Costs — created automatically
Open the landed cost the receipt produced
2% of the received value, charged to 21150 and spread over the items
Valuation Adjustments: the duty is added to each item's cost
Create the vendor bill from the order, date it, post it, and see the GR-IR account clear.
The goods on this order have already been received
Receiving debited 11525 GR-IR, waiting for the vendor's invoice
Purchase > Orders > Vendor Bills
Click New
Pick the vendor
Auto-Complete pulls the bill from the order — billing what was received
Set the Bill Date from the vendor's invoice — it drives the period
Enter the vendor's bill number so duplicates are caught
Post the bill
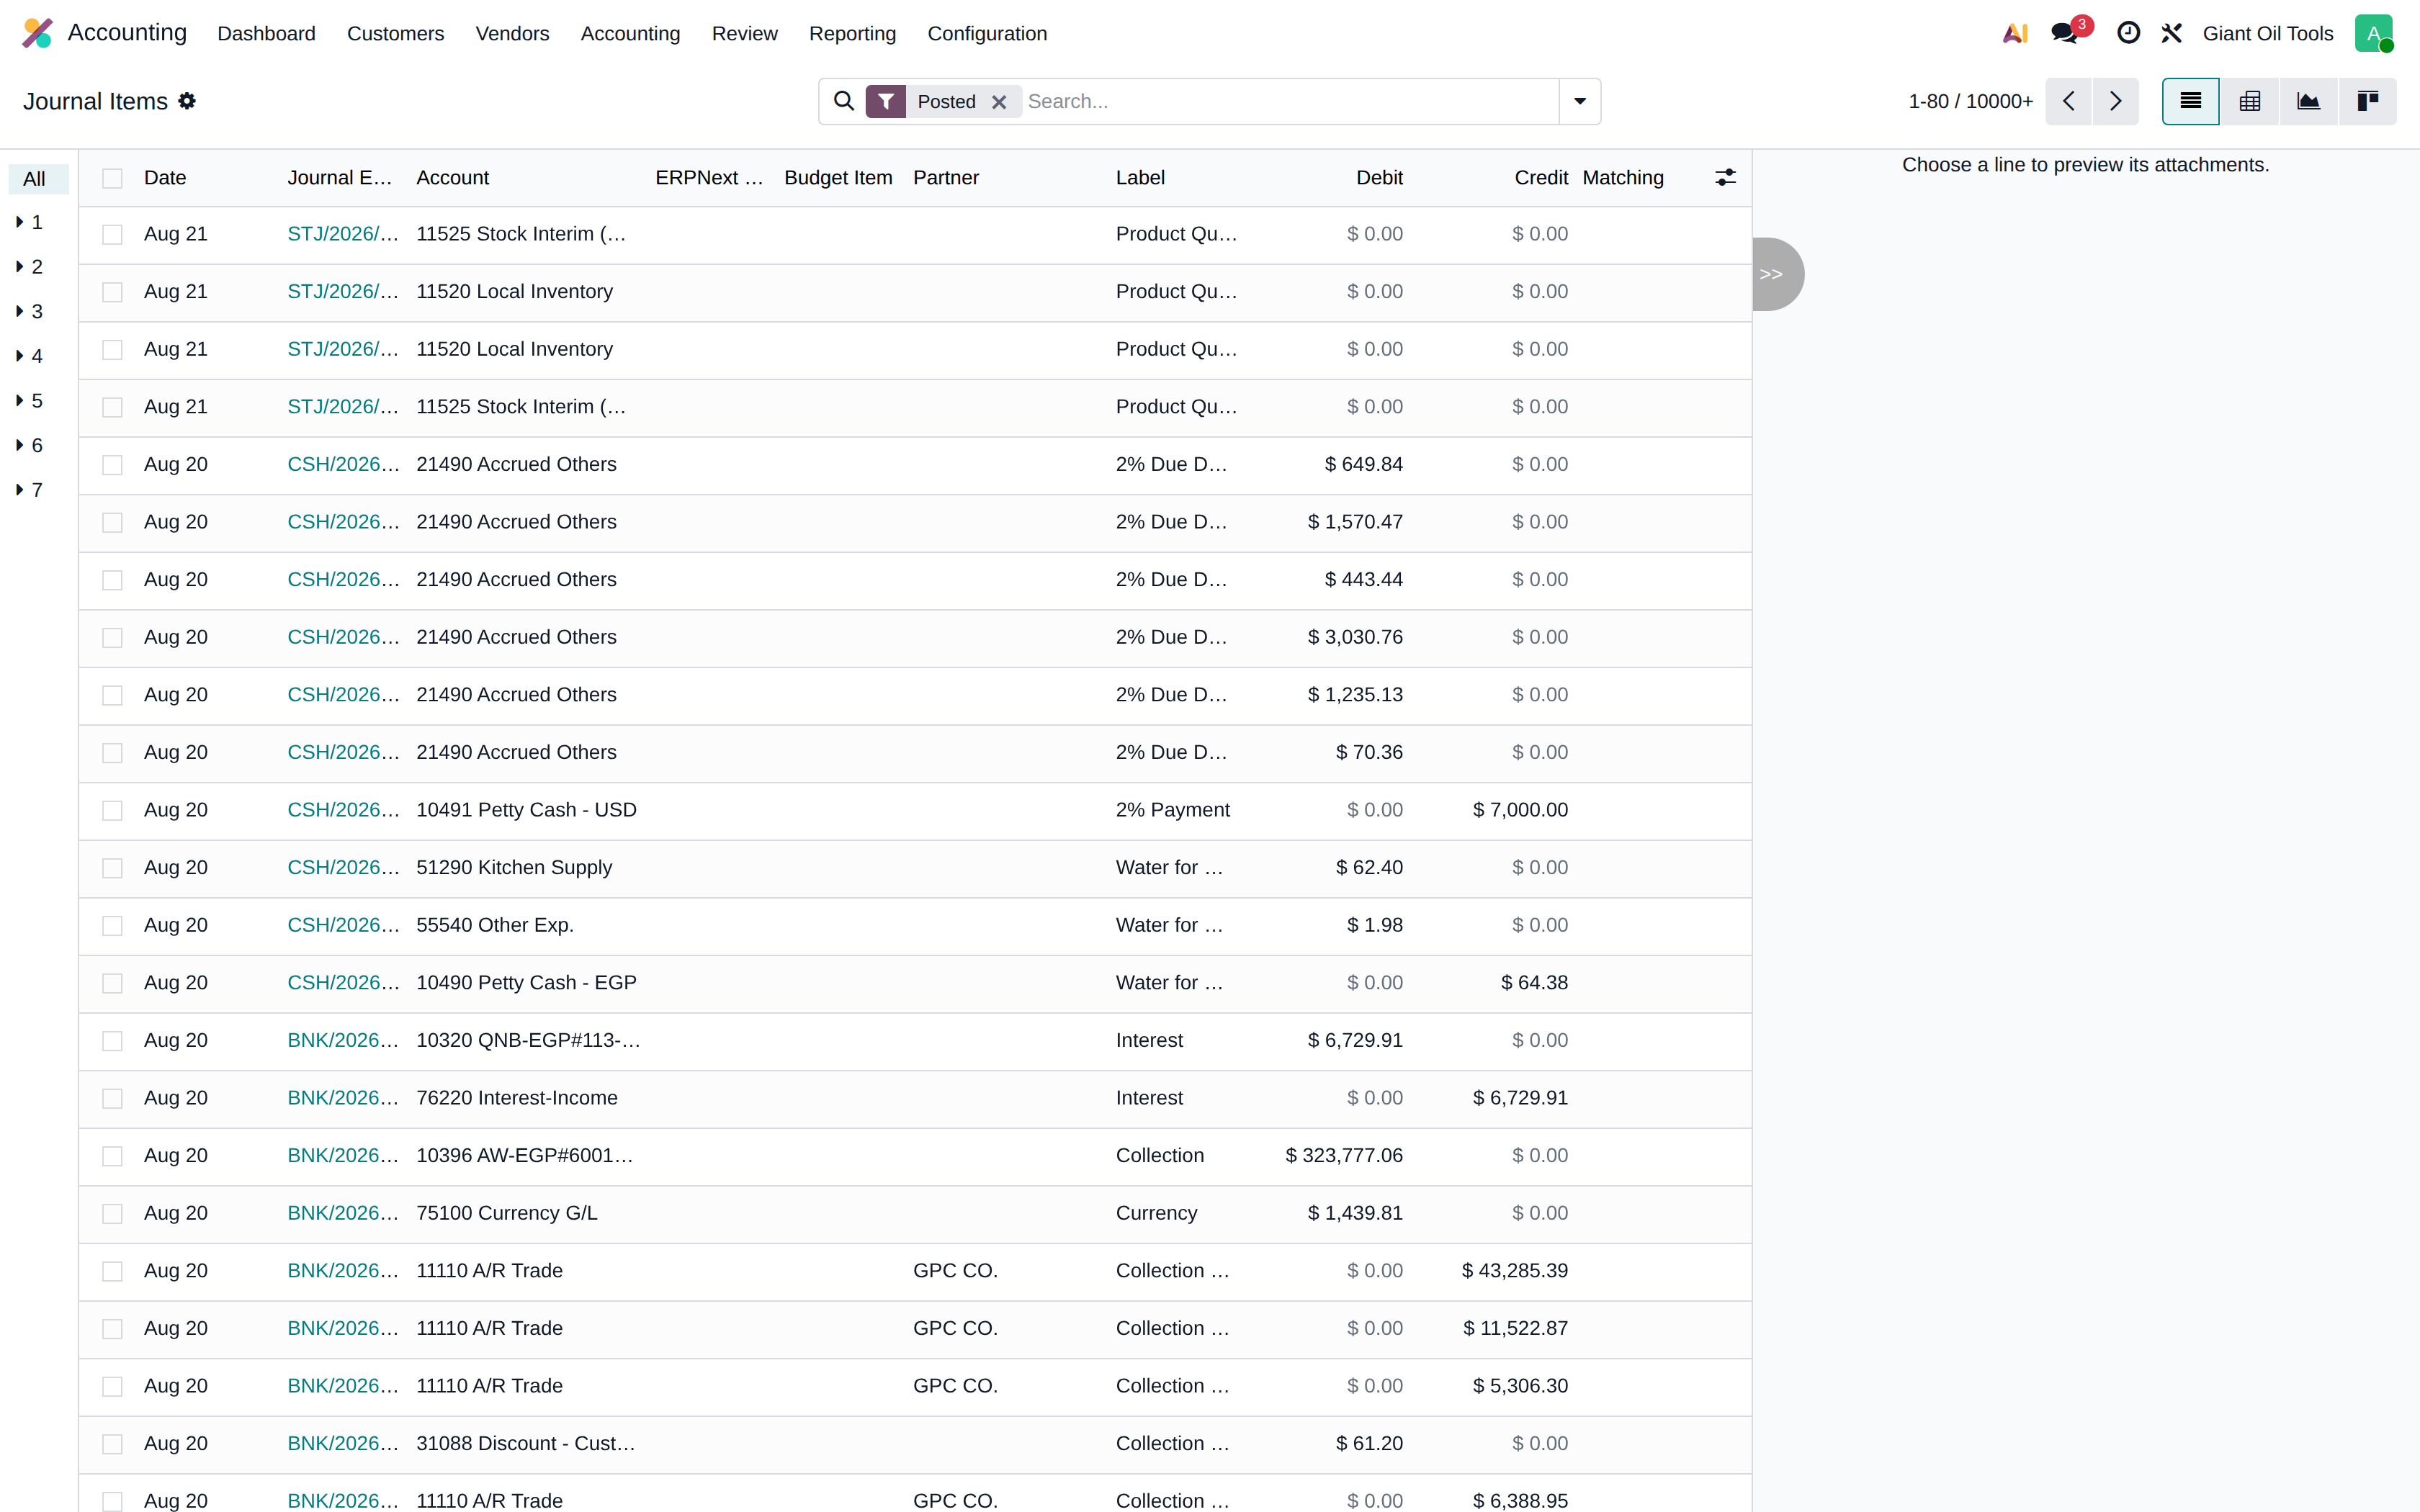
Open Journal Items
Debit 11525 GR-IR (clearing the receipt), credit 21110 A/P Trade — GR-IR nets to zero
Show the steps
hover to play · click for full screen
Recording an agreed purchase price for a vendor
Store the negotiated price on the vendor pricelist so it defaults onto every new purchase order line.
Purchase > Configuration > Vendor Pricelists
Click New
Pick the vendor
Pick the product
The vendor's own part number — printed on the order they receive
Enter the agreed unit price
Save
Now raise a new RFQ with the same vendor
Click New
Same vendor
Add a line
Same product
The price filled itself in from the vendor pricelist
Show the steps
Screens and reference
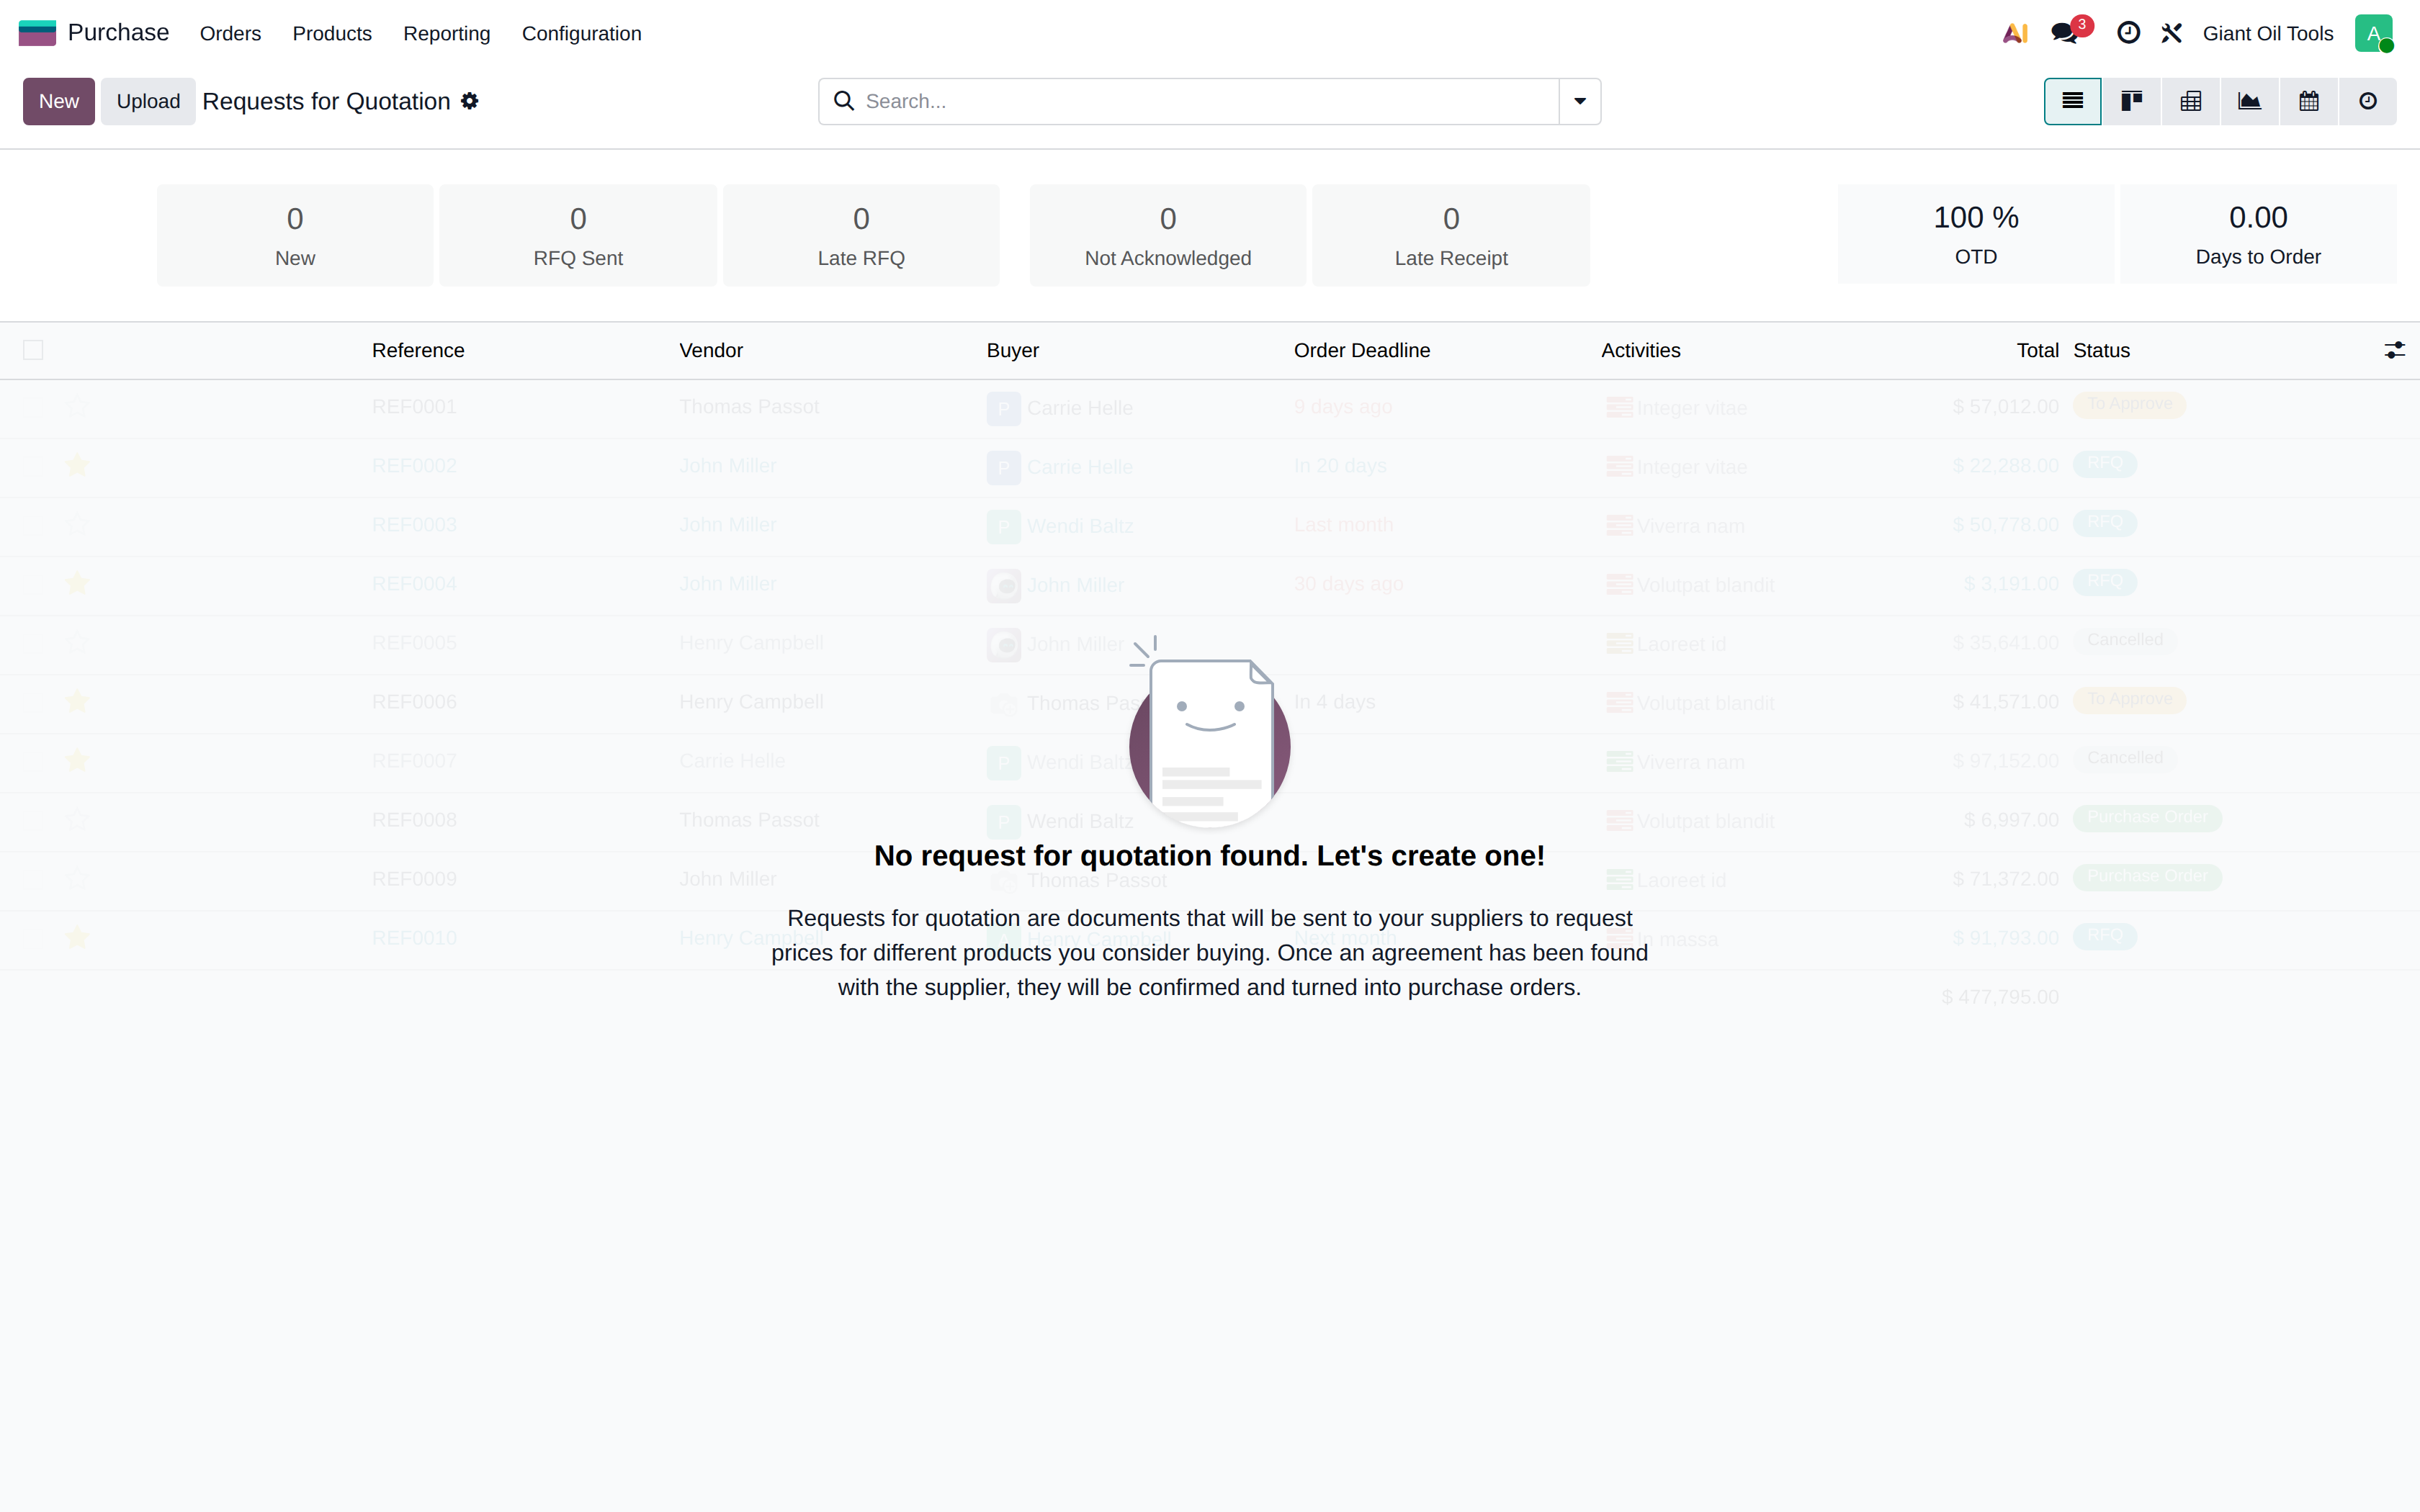
Requests for quotation
An RFQ is a draft purchase document sent to one or more vendors. Confirming it turns it into a purchase order and creates the expected receipt in Inventory.
Purchase orders
All confirmed orders, with vendor, order date, expected arrival, total and billing status.
The purchase order form
Standard fields cover the vendor, order deadline, currency and order lines.
The Giant Oil Tools extension adds: Receiving Customer (who the material is ultimately for), Delivery Point, Delivery Time, Marking (case markings for shipment) and Expected Delivery Date. Product lines also carry a Lead Time used by material planning.
Confirm Order creates the receipt, and the Receipt button at the top of the order opens it.
There is no Create Bill button on the order in this system. The vendor bill is entered from Accounting > Vendors > Bills: create a new bill, choose the vendor, then use Auto-Complete to pull in the purchase order — the lines, quantities and prices come across, billed against what was received.
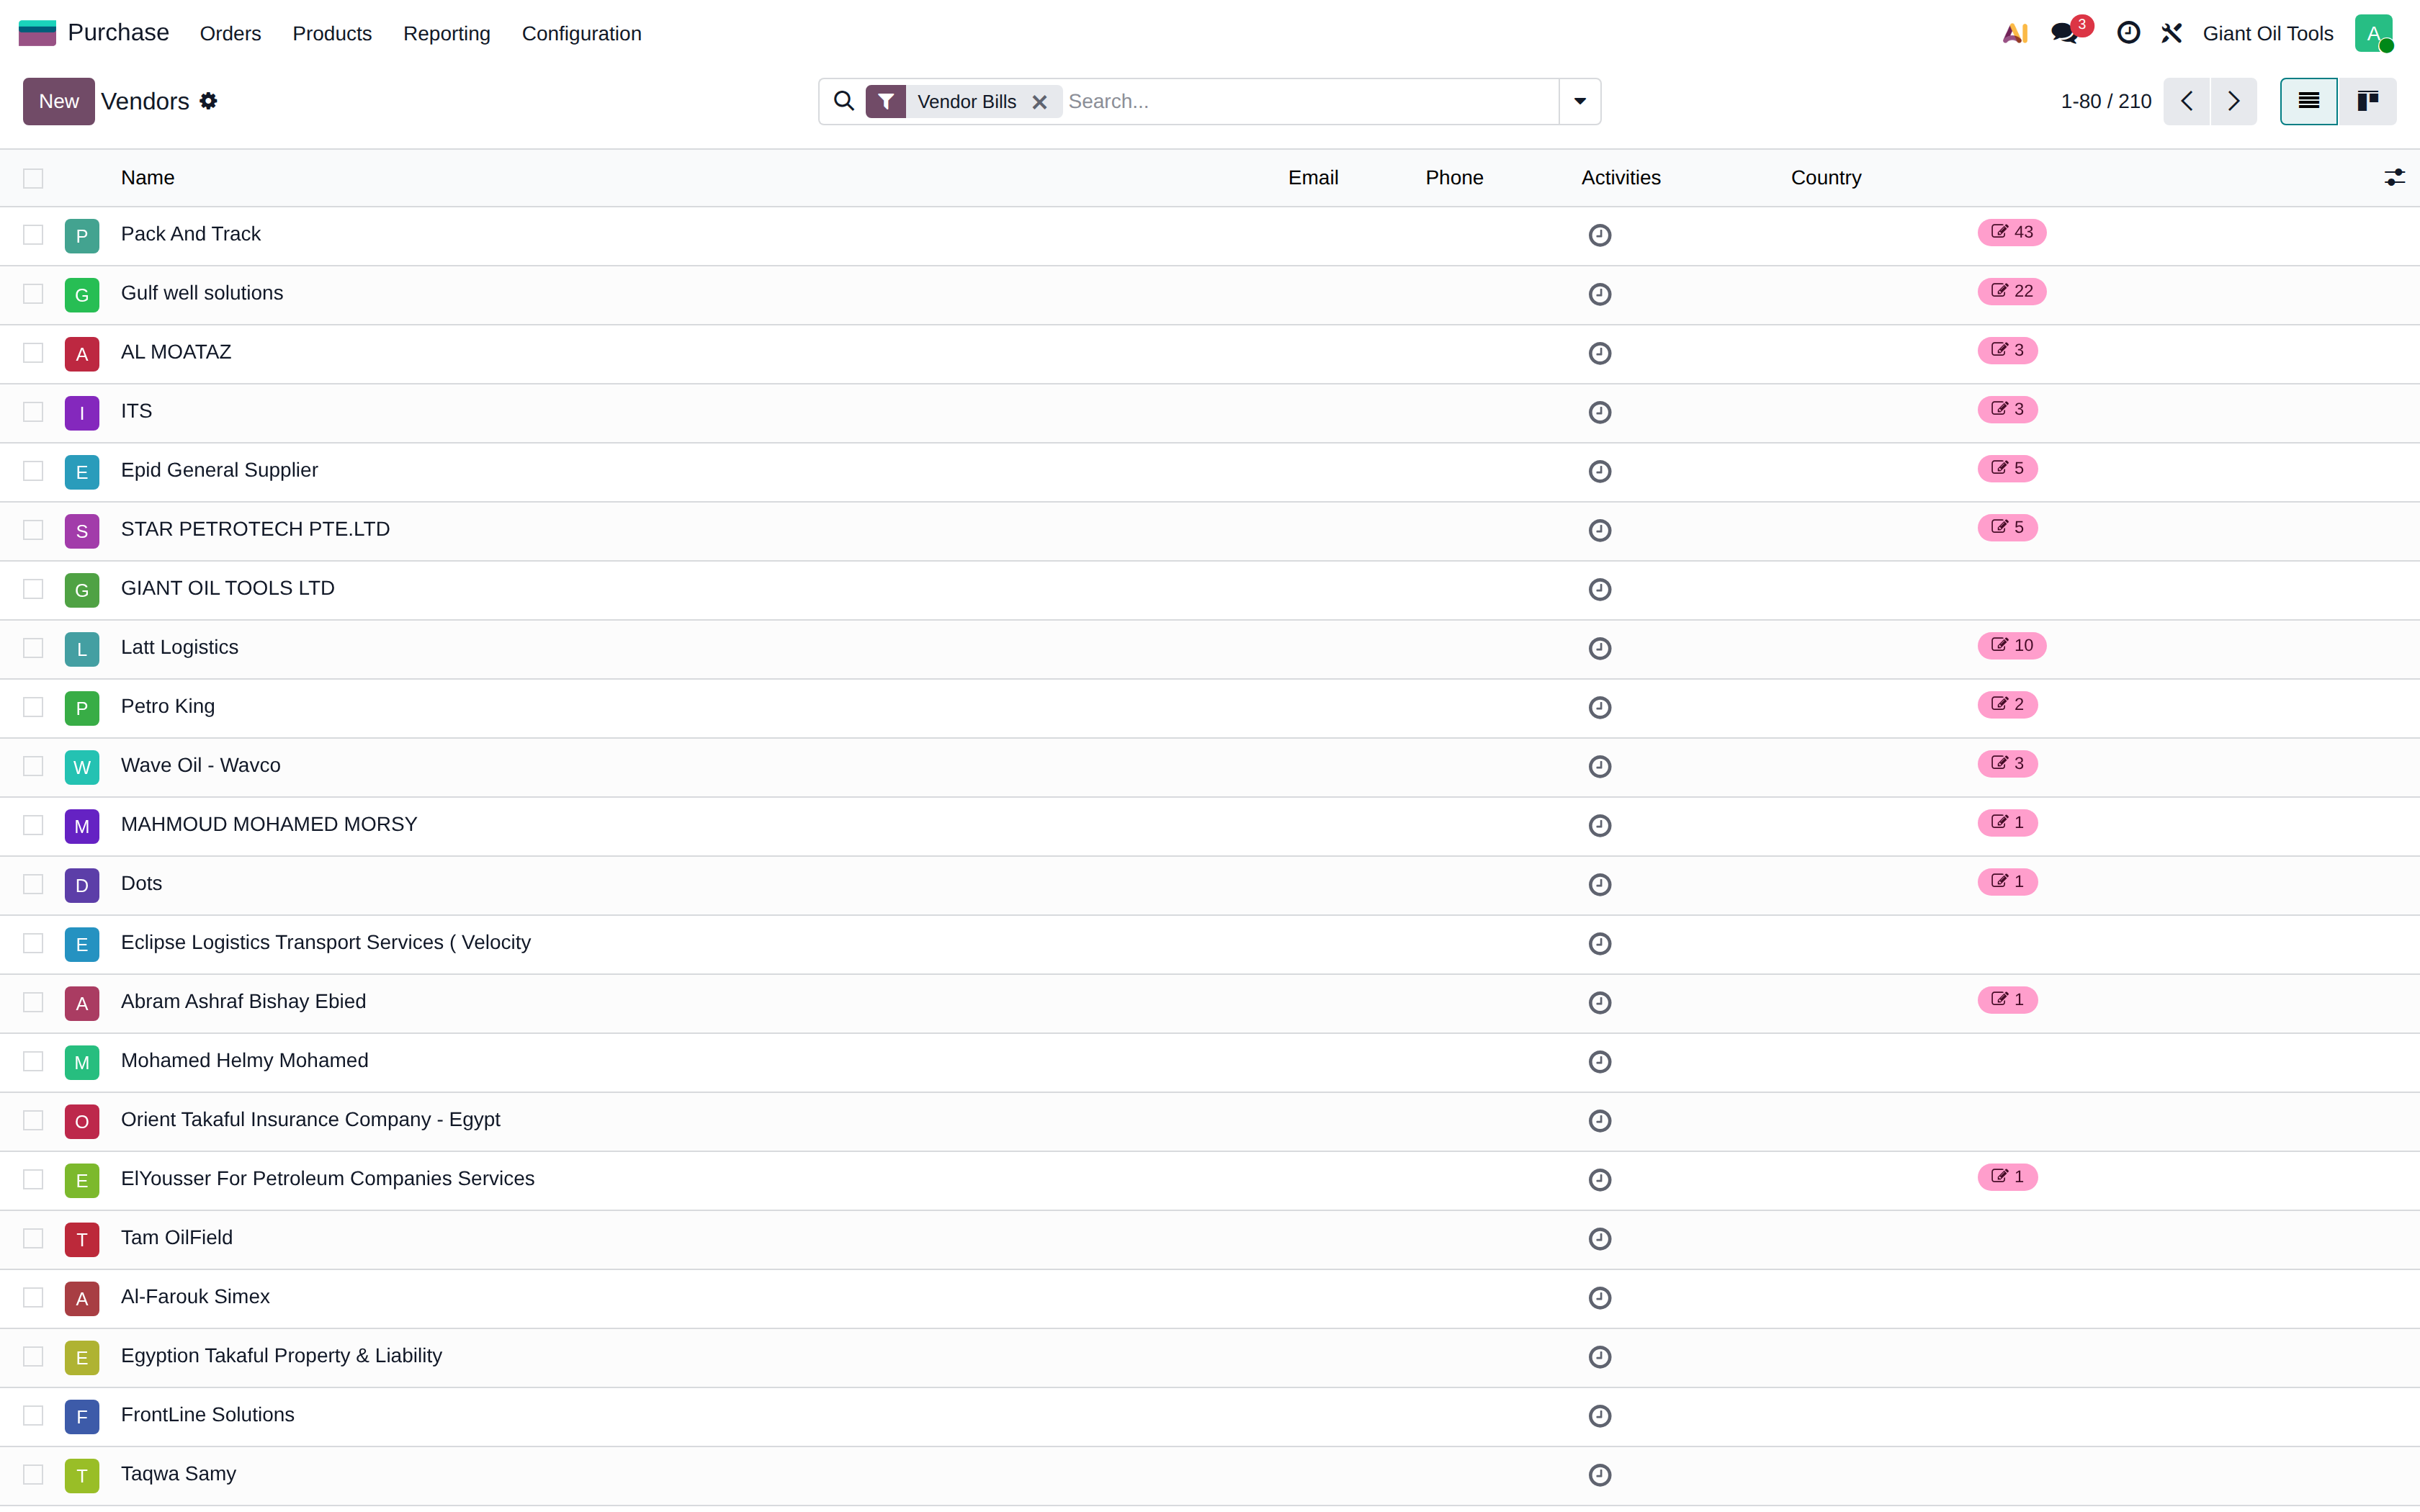
Vendors
Contacts filtered to suppliers, showing the amount currently payable to each.
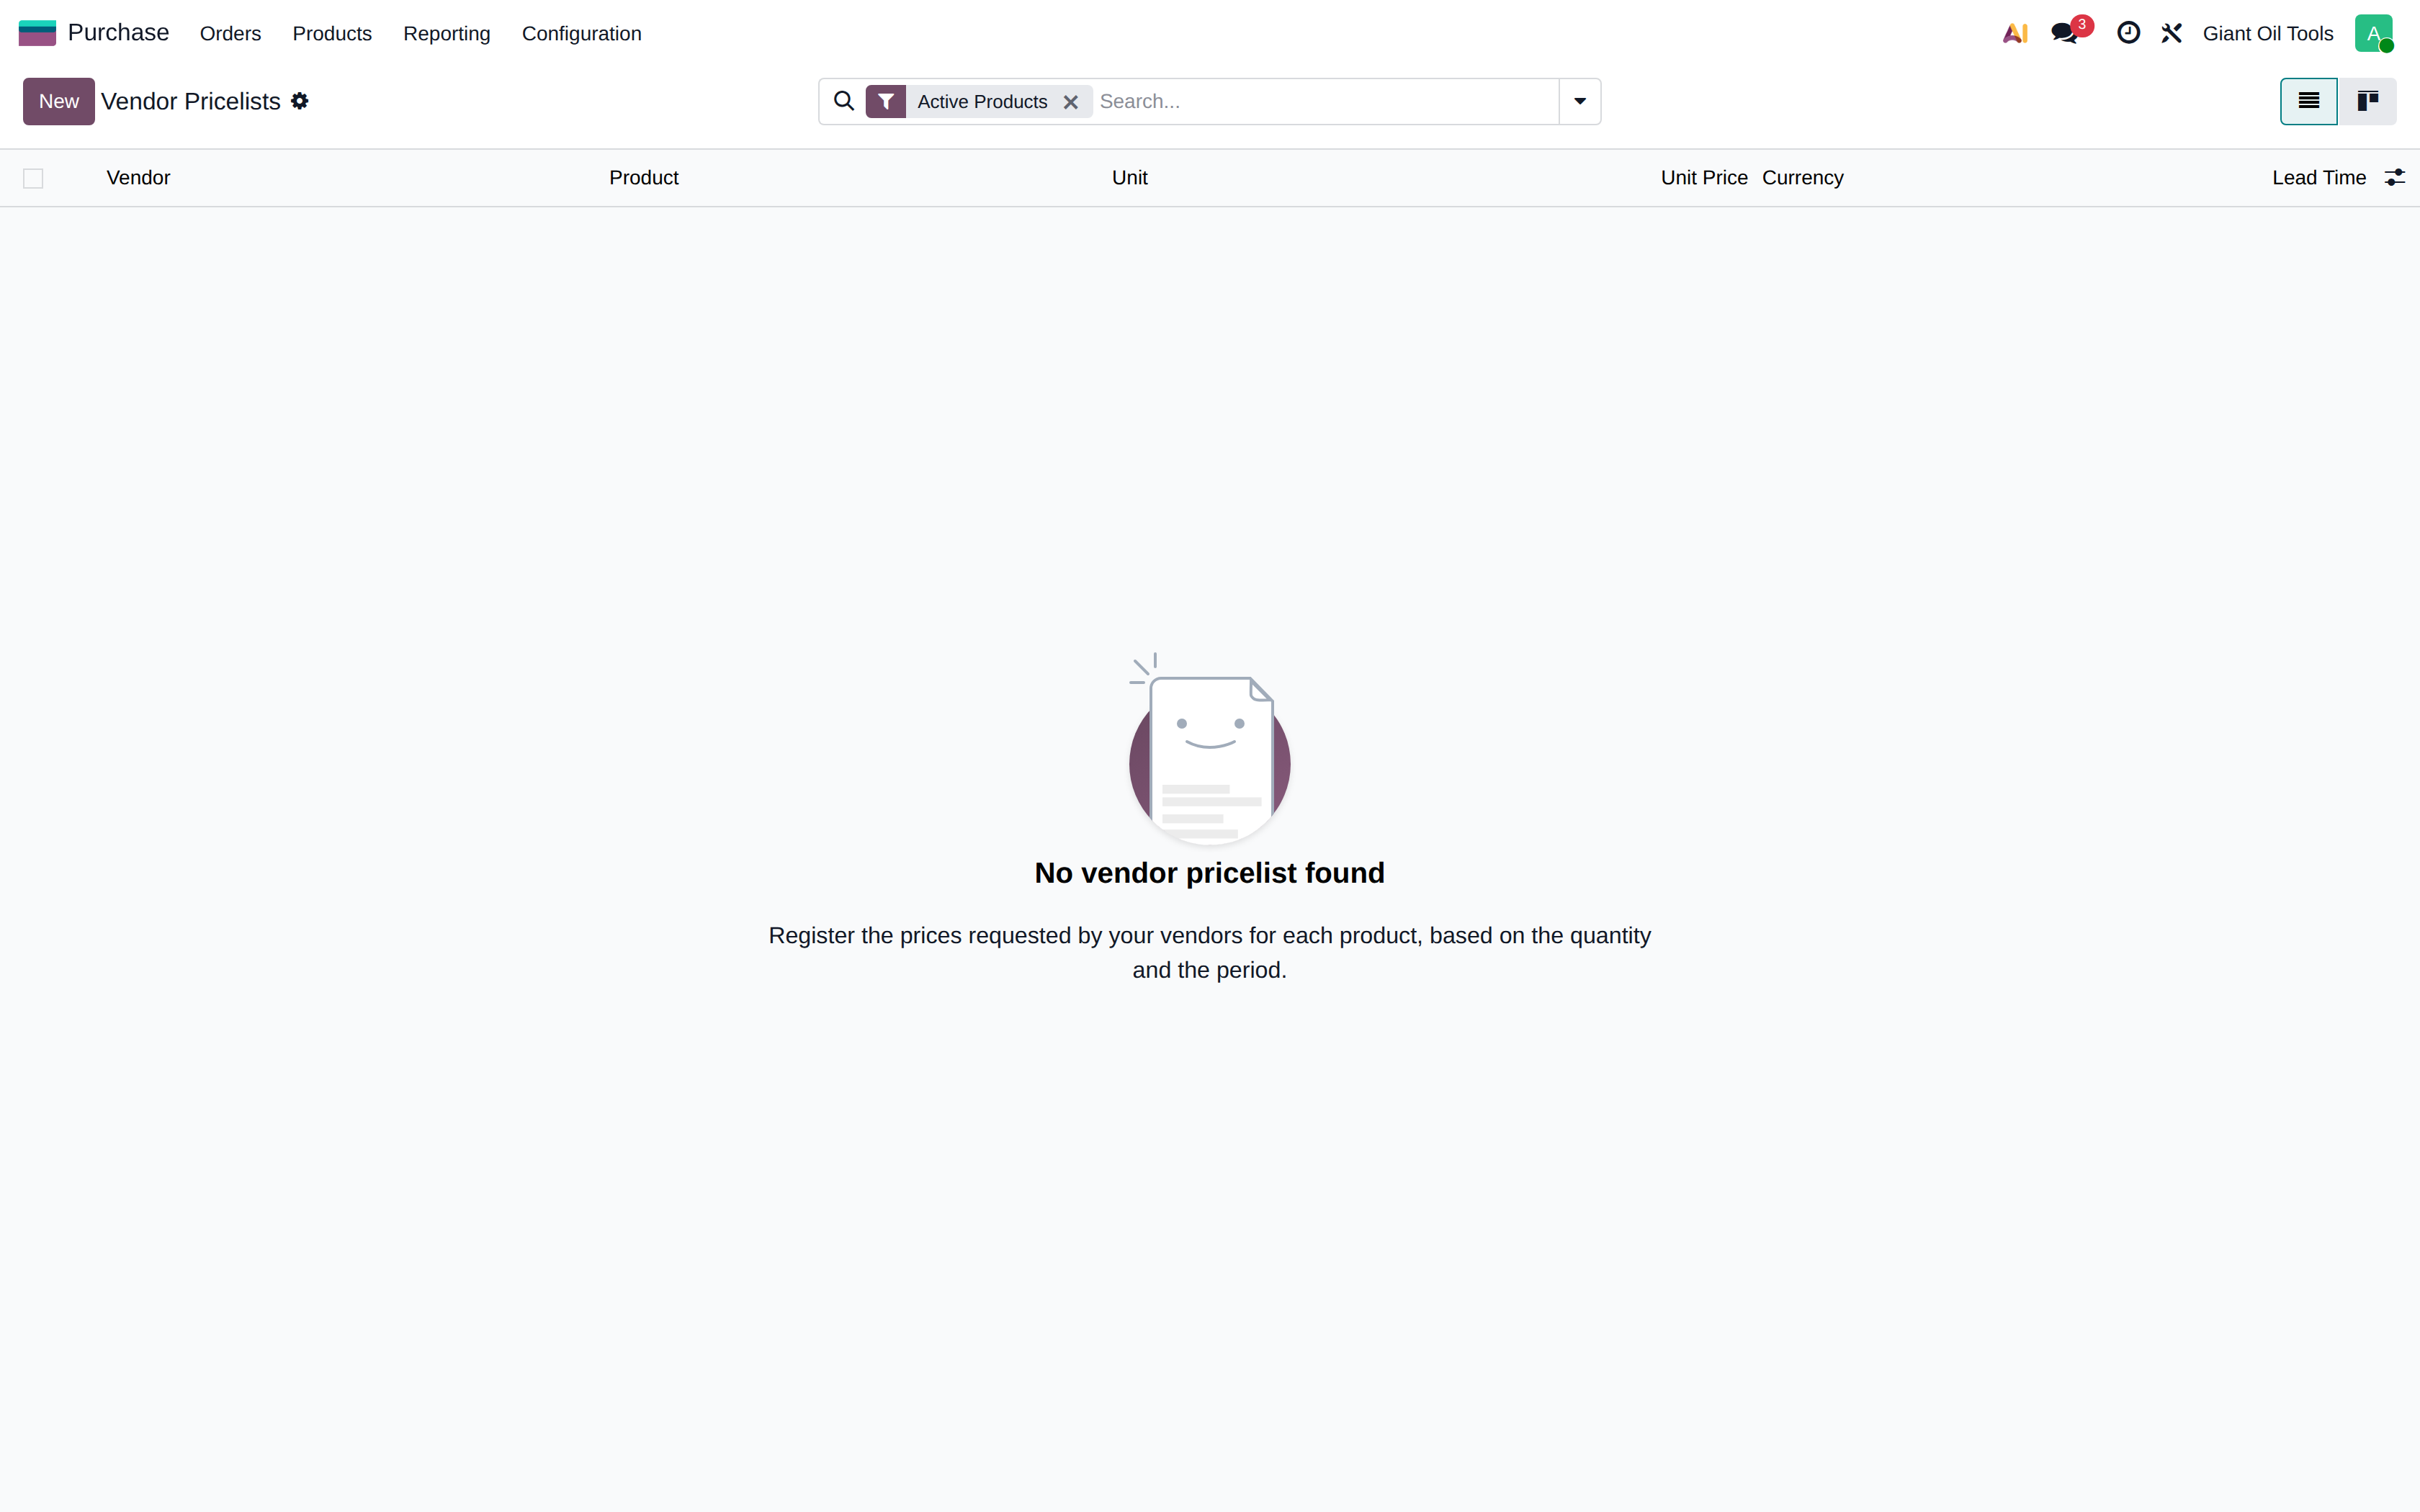
Vendor pricelists
Agreed purchase prices per vendor and product, with minimum quantities and validity dates. These prices default onto new purchase orders.
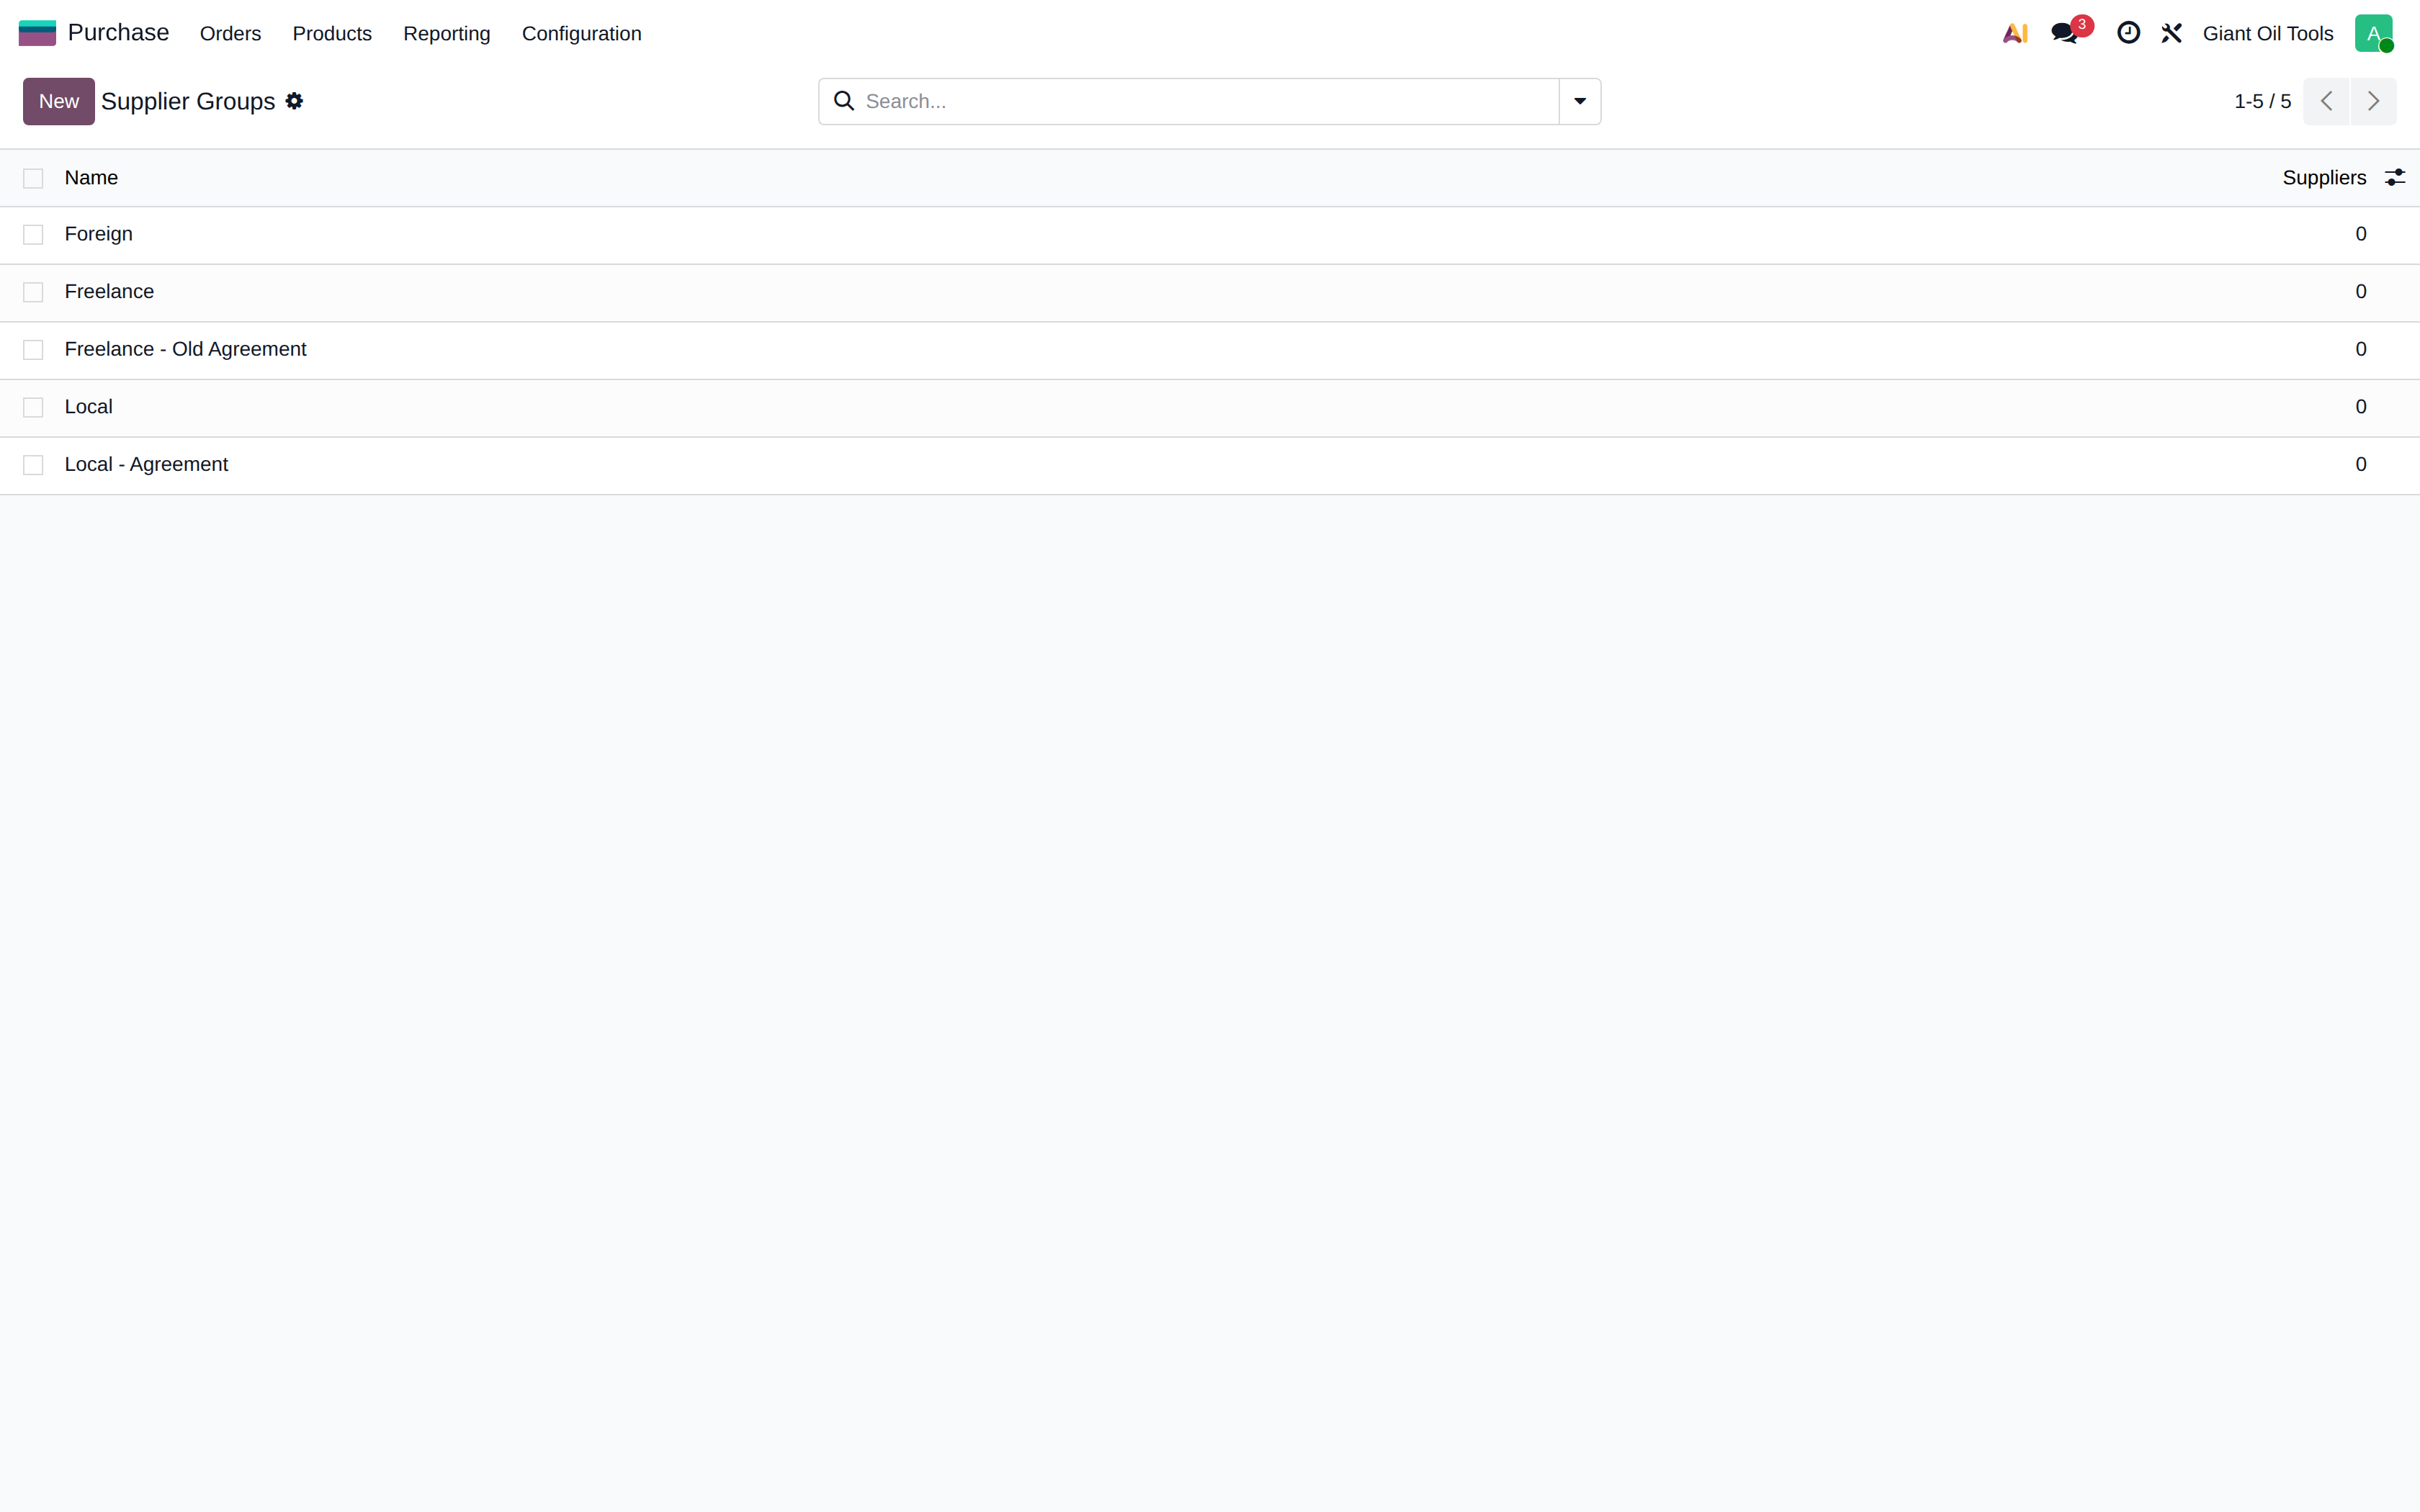
Supplier groups
A Giant Oil Tools classification used to group vendors for reporting and analysis.
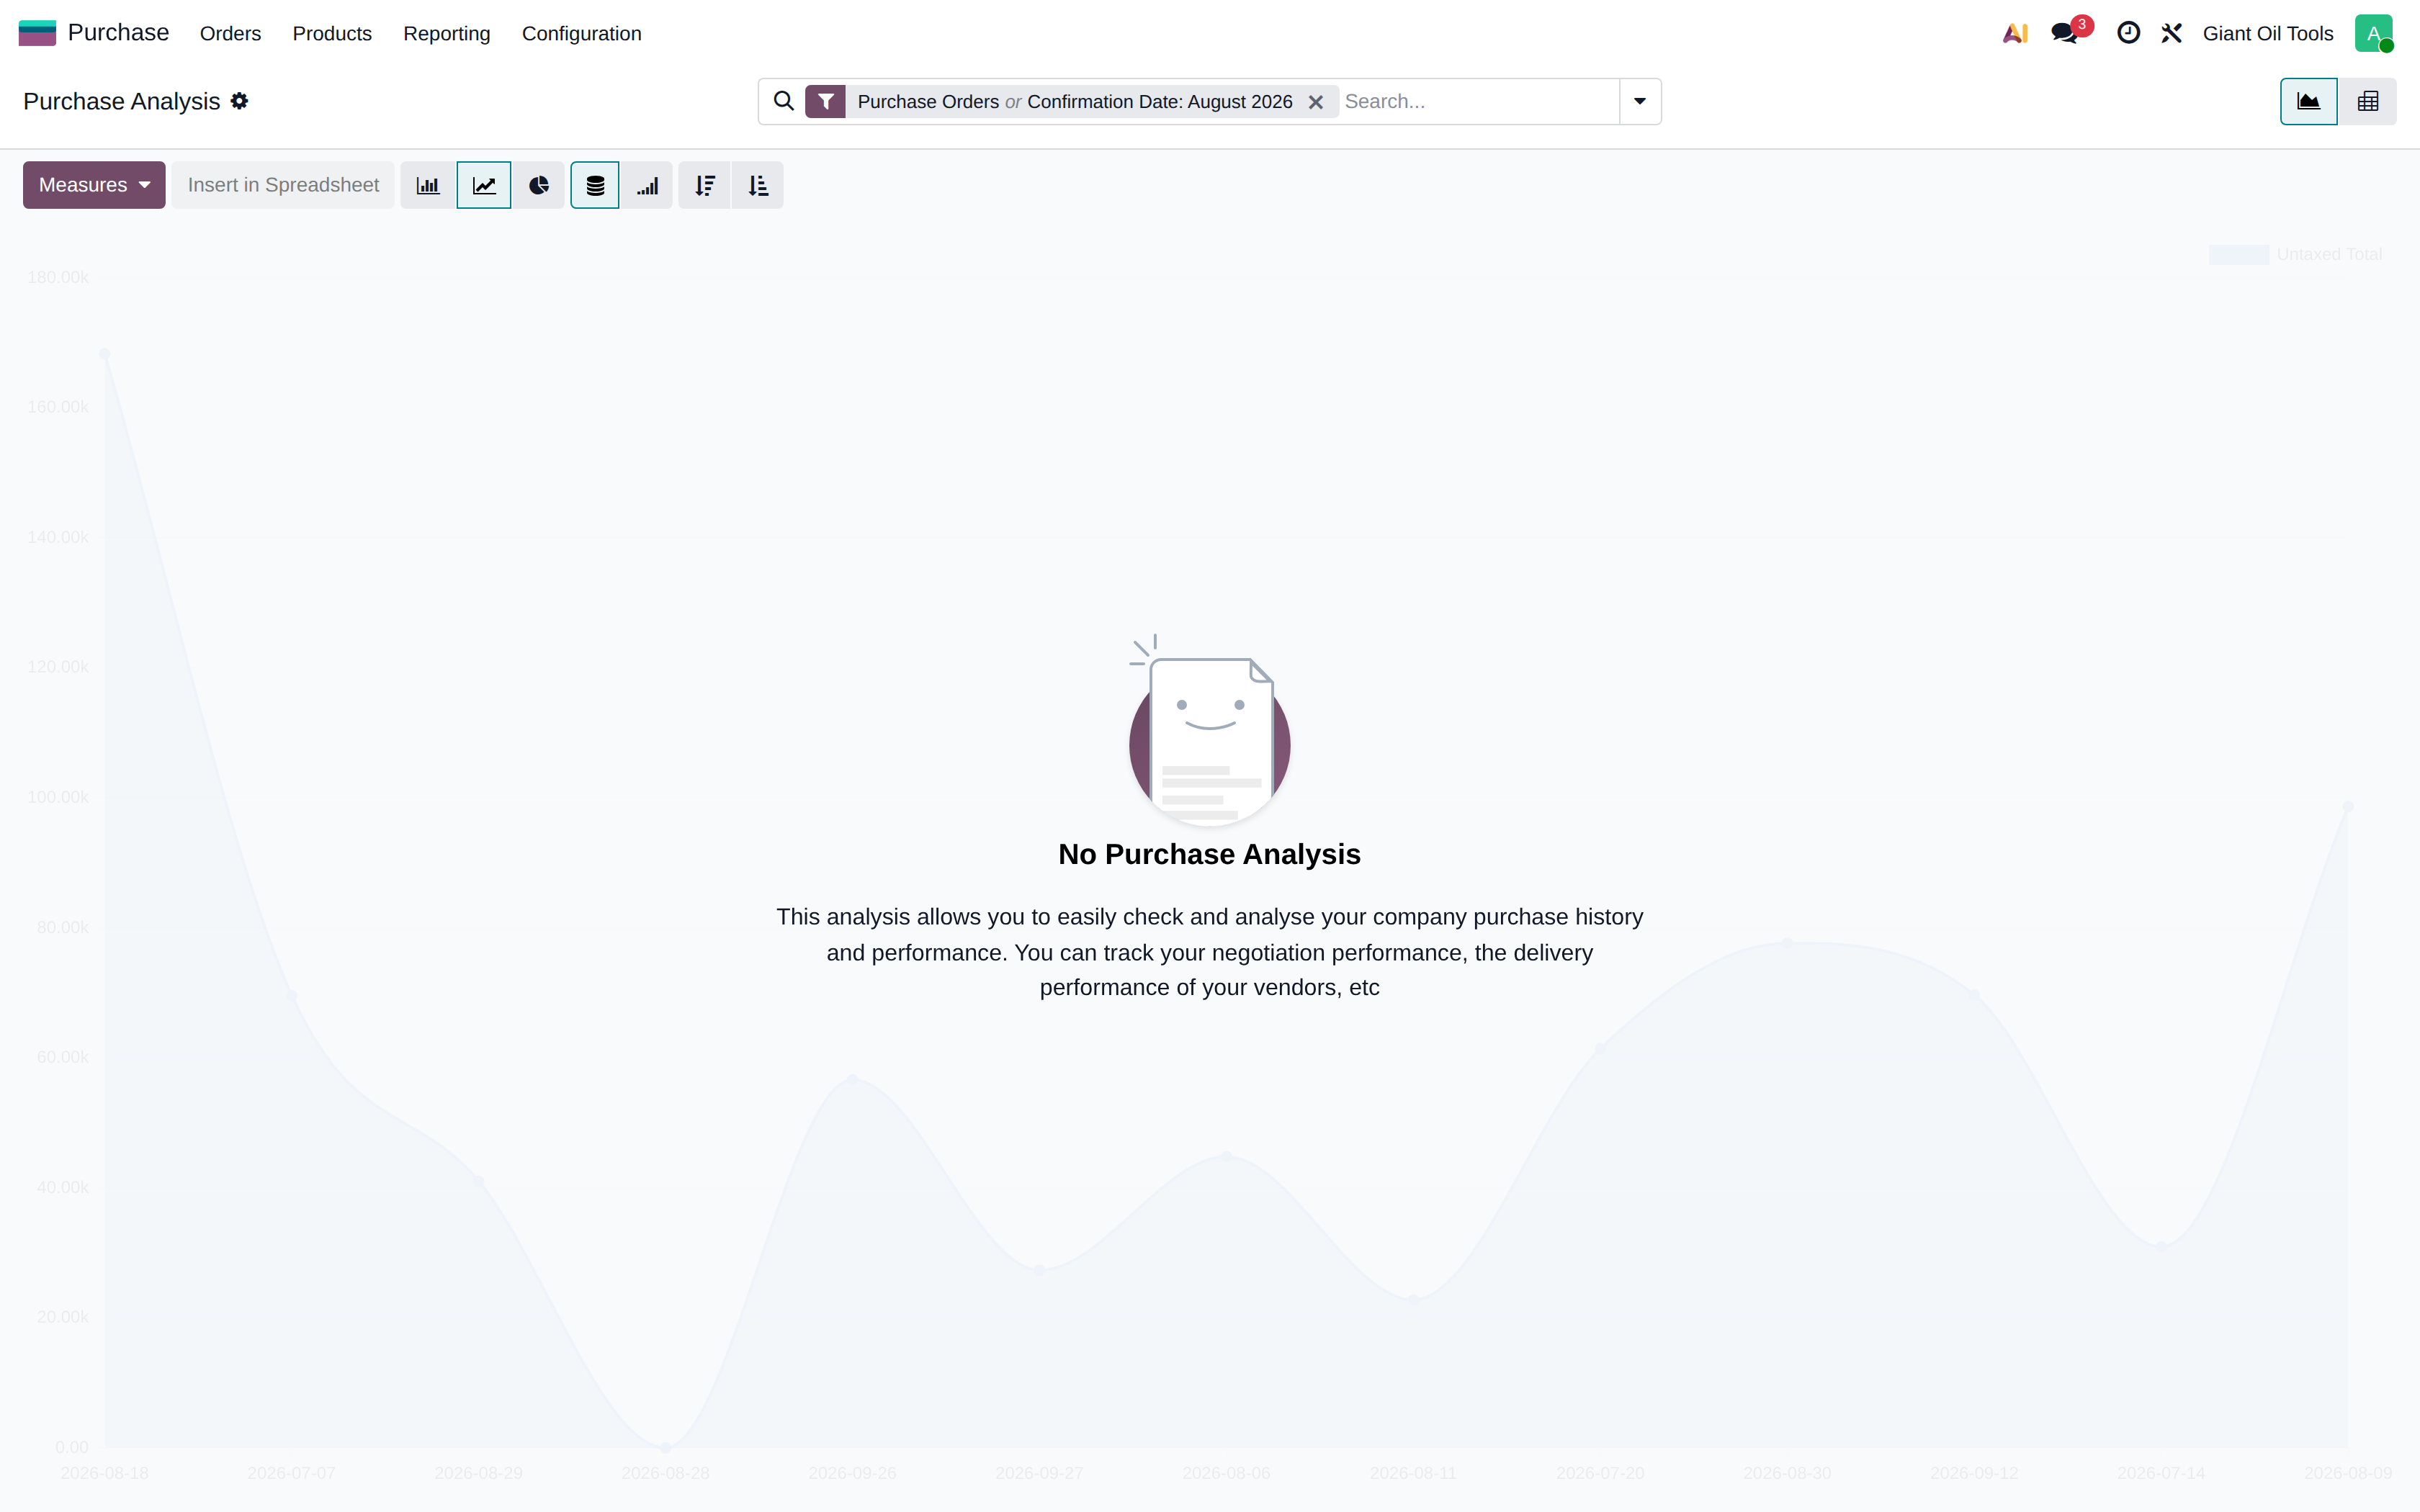
Purchase analysis
A pivot and graph report over purchase orders — spend by vendor, product, category or period. Drag fields onto rows and columns to build the view you need, then download it to Excel.
5Inventory
Inventory manages stock movements, lot traceability and stock valuation. Giant Oil Tools operates
perpetual (real-time) valuation with FIFO costing, so every stock movement posts its
accounting entry immediately through the stock journal. All tool stock is tracked by lot,
where the lot number is the part number (PartNu).
How it is done
hover to play · click for full screen
Moving stock between warehouses
An internal transfer from the Free Zone to New Cairo, and the inventory reclassification entry Odoo posts behind it.
Inventory starts at the Overview — one card per operation type, per warehouse
Open Operations > Internal Transfers
Click New to start a transfer
Pick the Free Zone operation type — the source location follows it
Send the goods to NEWCA/Stock — this is what makes it an inter-warehouse move
Reference the transfer so the warehouse can trace it later
Add the item being moved
Choose the item — at Giant Oil Tools the lot number is the part number
Enter the quantity to move: 10 units
Mark as Todo — Odoo reserves those 10 units and their lot in the Free Zone
Validate the transfer — the stock now sits in New Cairo
Free Zone stock is valued in 11530, local warehouses in 11520 — and Odoo never values an internal move
So the system posts the correction itself: open the Giant Oil Tools tab
Open the Inventory Reclassification entry
Debit 11520 Local Inventory, credit 11530 Inventory FZ — the value follows the goods
Show the steps
hover to play · click for full screen
Counting stock — physical inventory
Enter a counted quantity, apply it, and read the stock move the adjustment created.
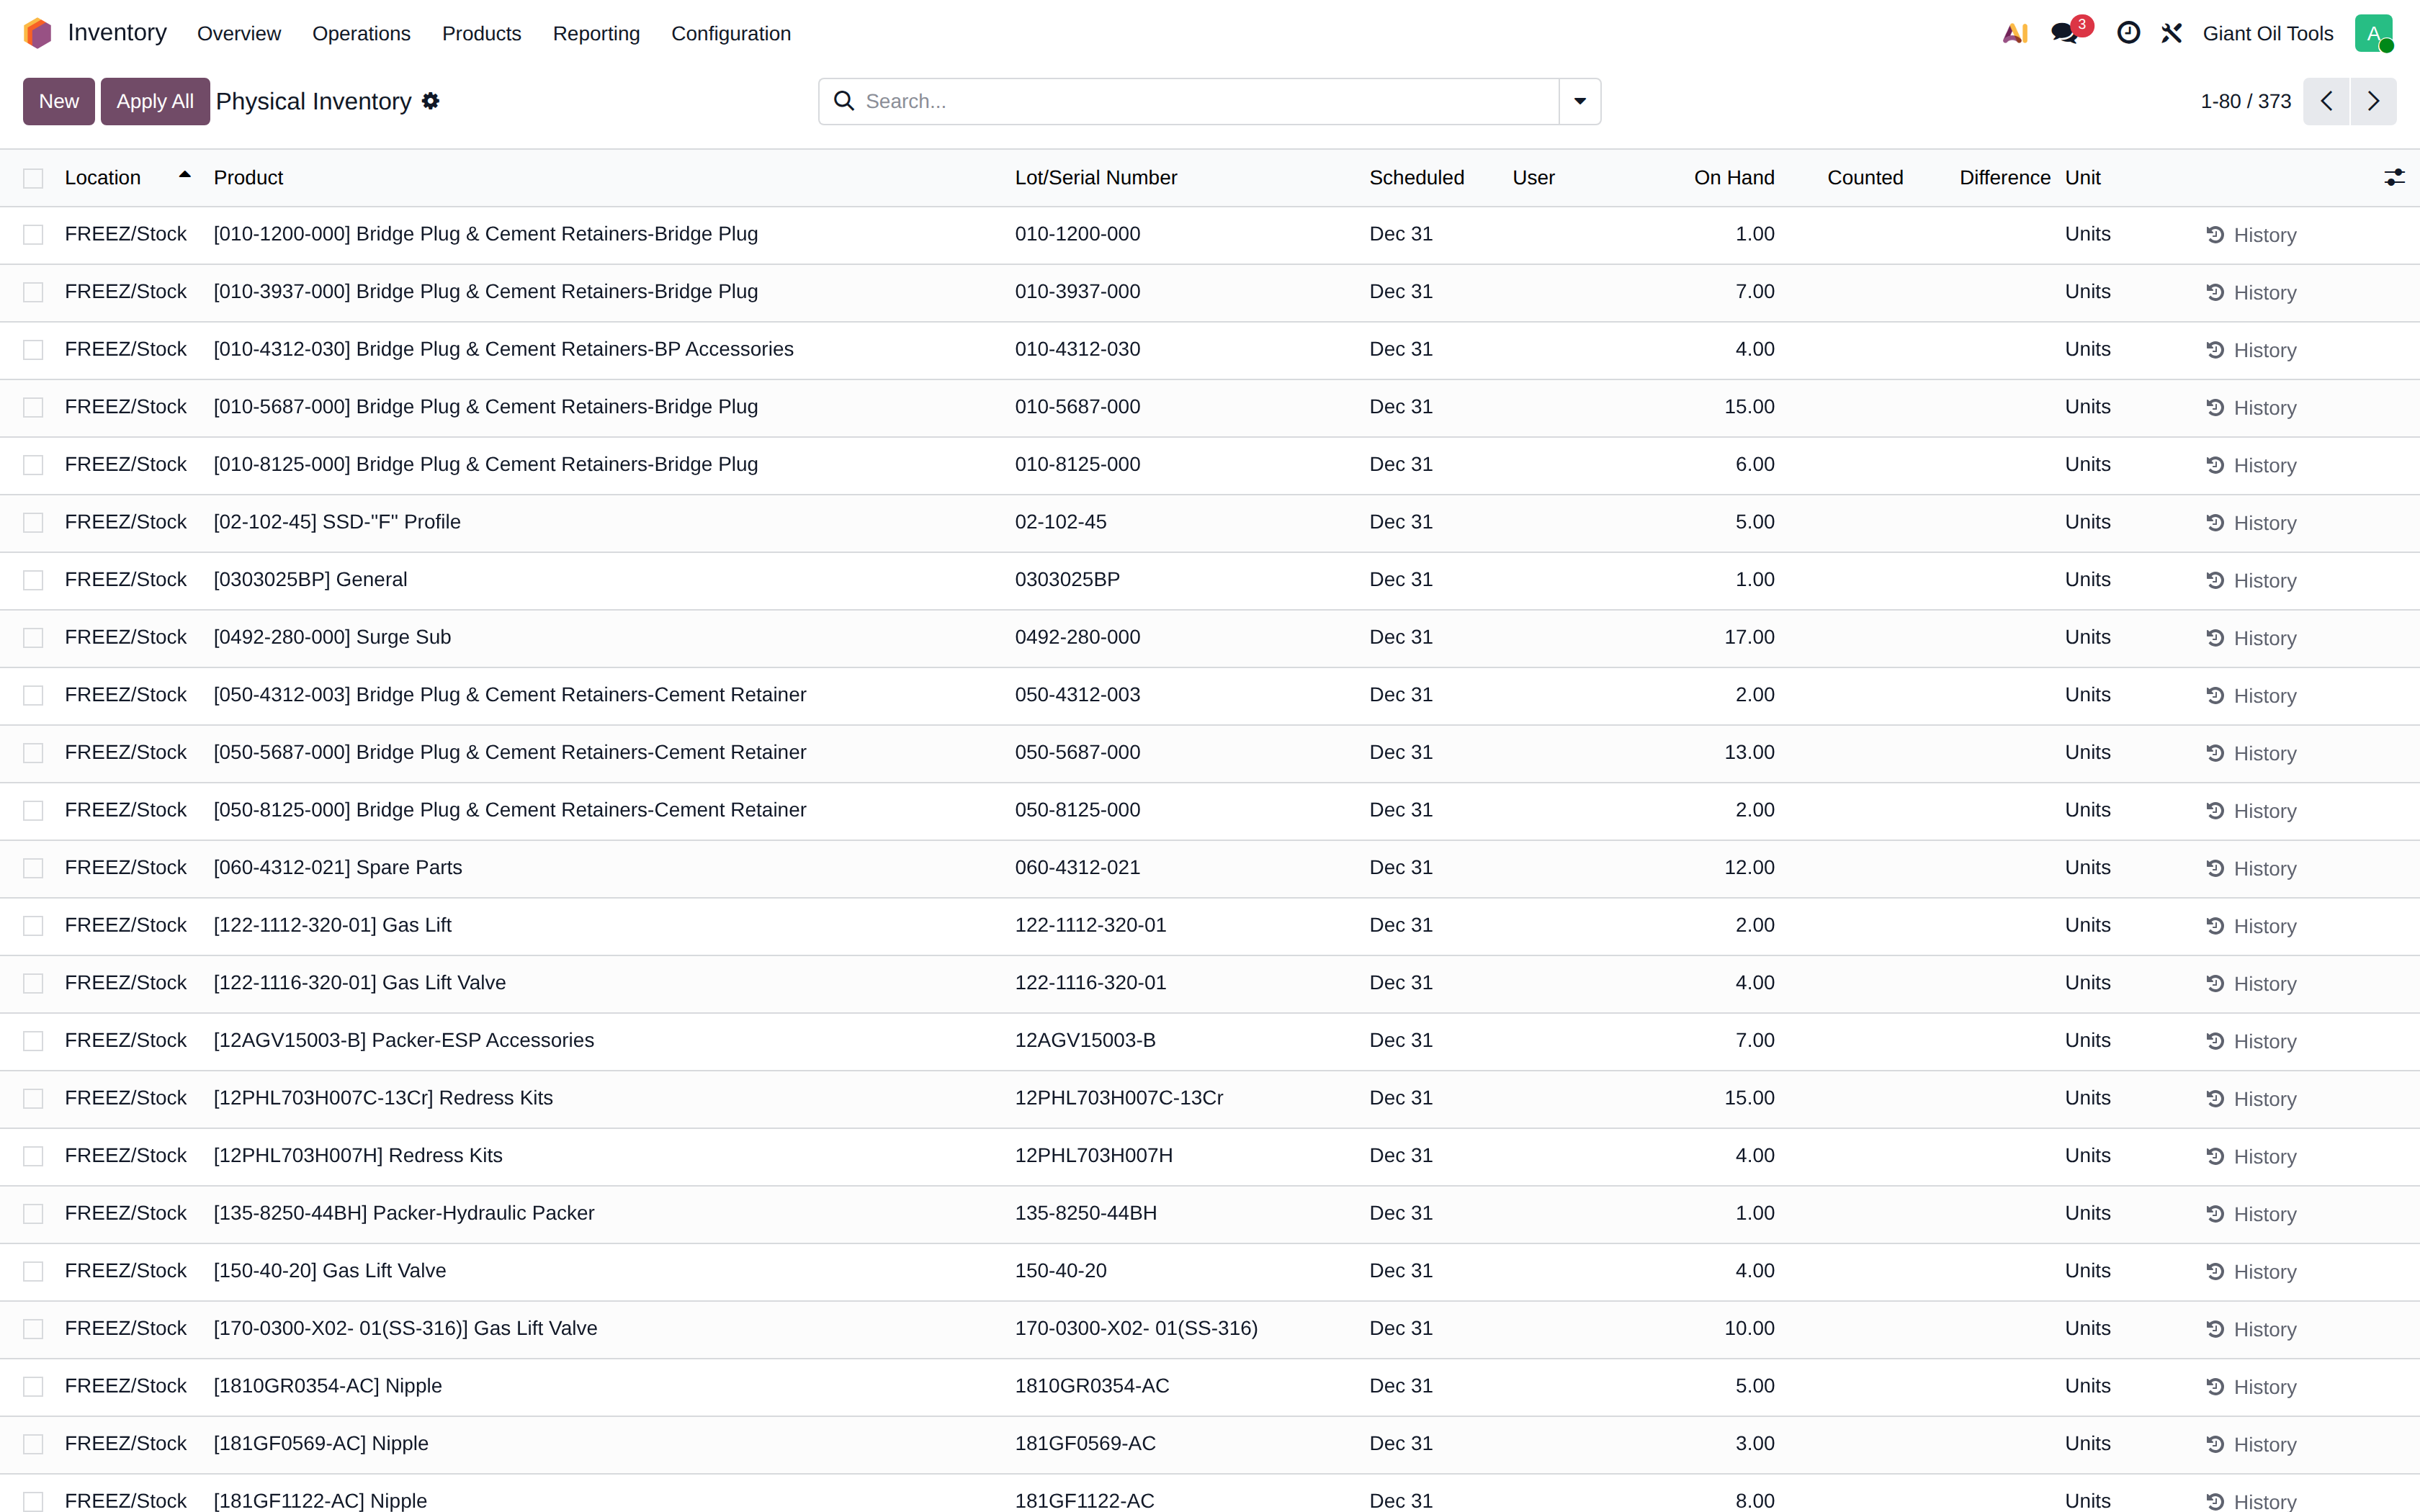
Operations > Physical Inventory lists every quantity the system believes it holds
Search the item you have just counted on the shelf
One line per location and lot — count the Free Zone line
Click the Counted column on the Free Zone line
Type what you actually counted — one reel less than the system shows
Difference is computed for you — this is what the adjustment will book
Save the count
Apply the count — this is the moment stock actually changes
Open History to see what the adjustment did
The count became a real stock move against the Inventory adjustment location
Show the steps
hover to play · click for full screen
Tracing a lot through the system
Every item is lot tracked — the lot number is the part number, and it carries its own history.
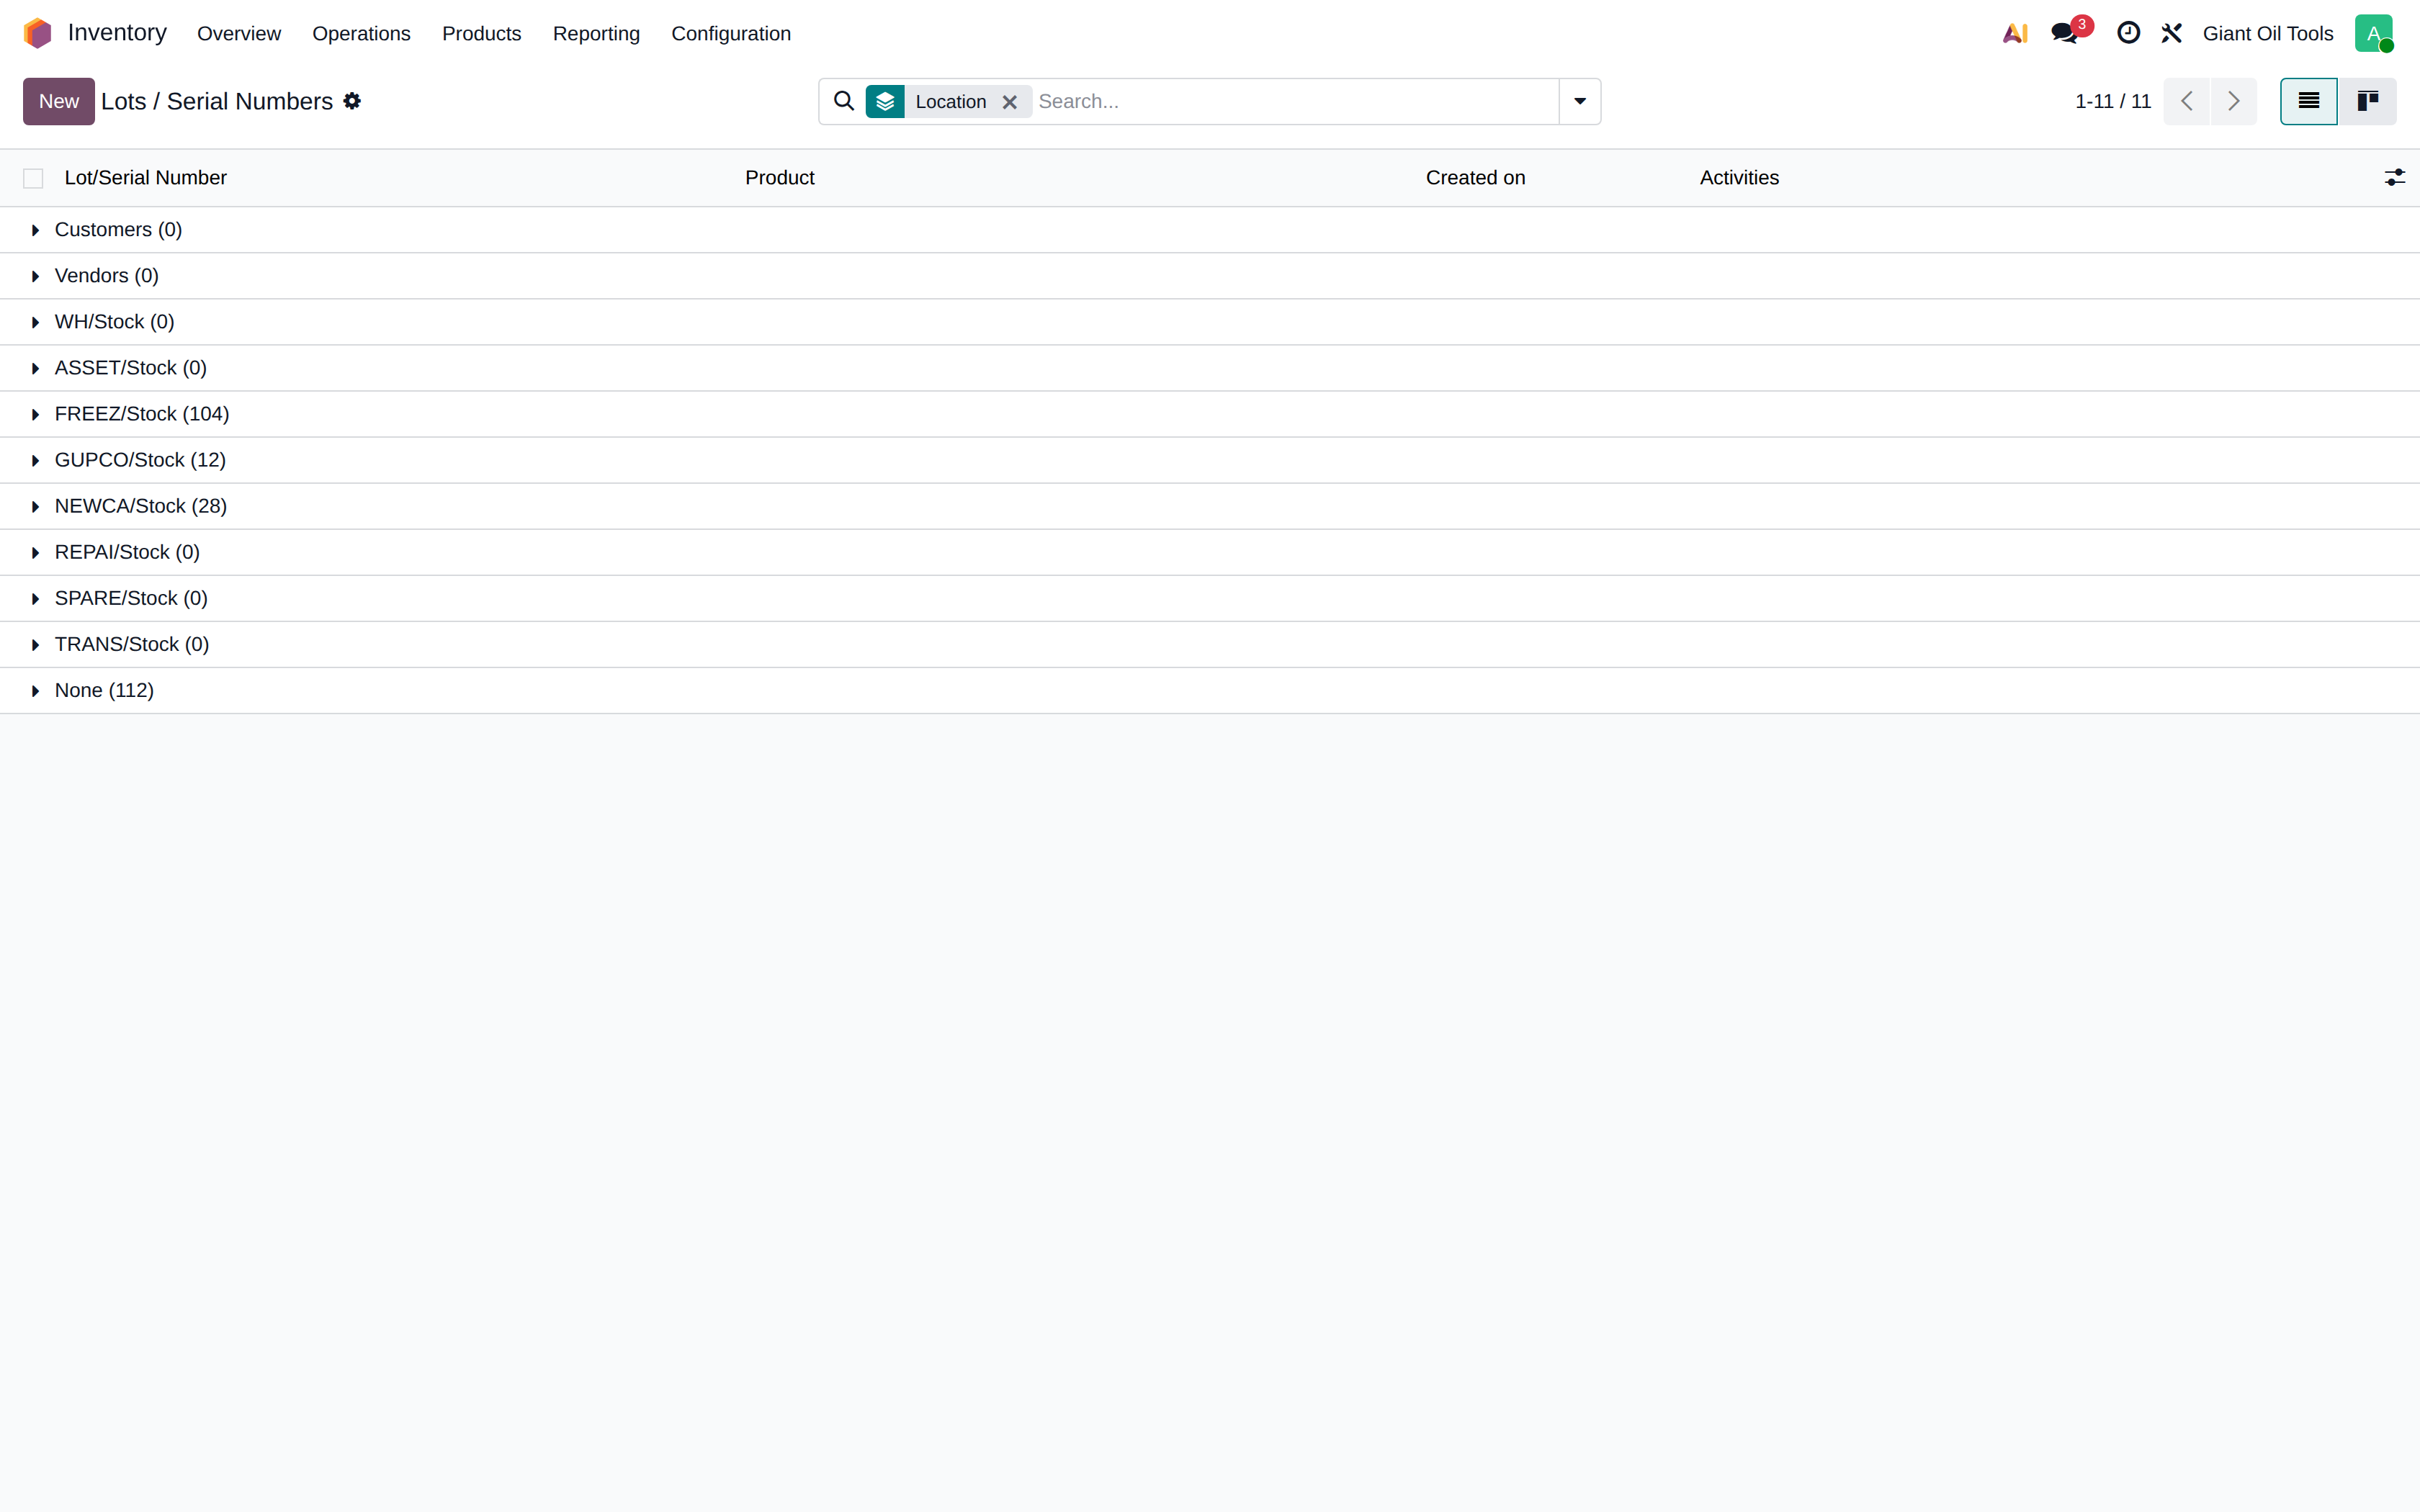
Products > Lots / Serial Numbers — every storable item here is lot tracked
The list opens grouped by location, so you can see where each lot sits
Drop the grouping to search the whole list
Search the lot — at Giant Oil Tools the lot number IS the part number
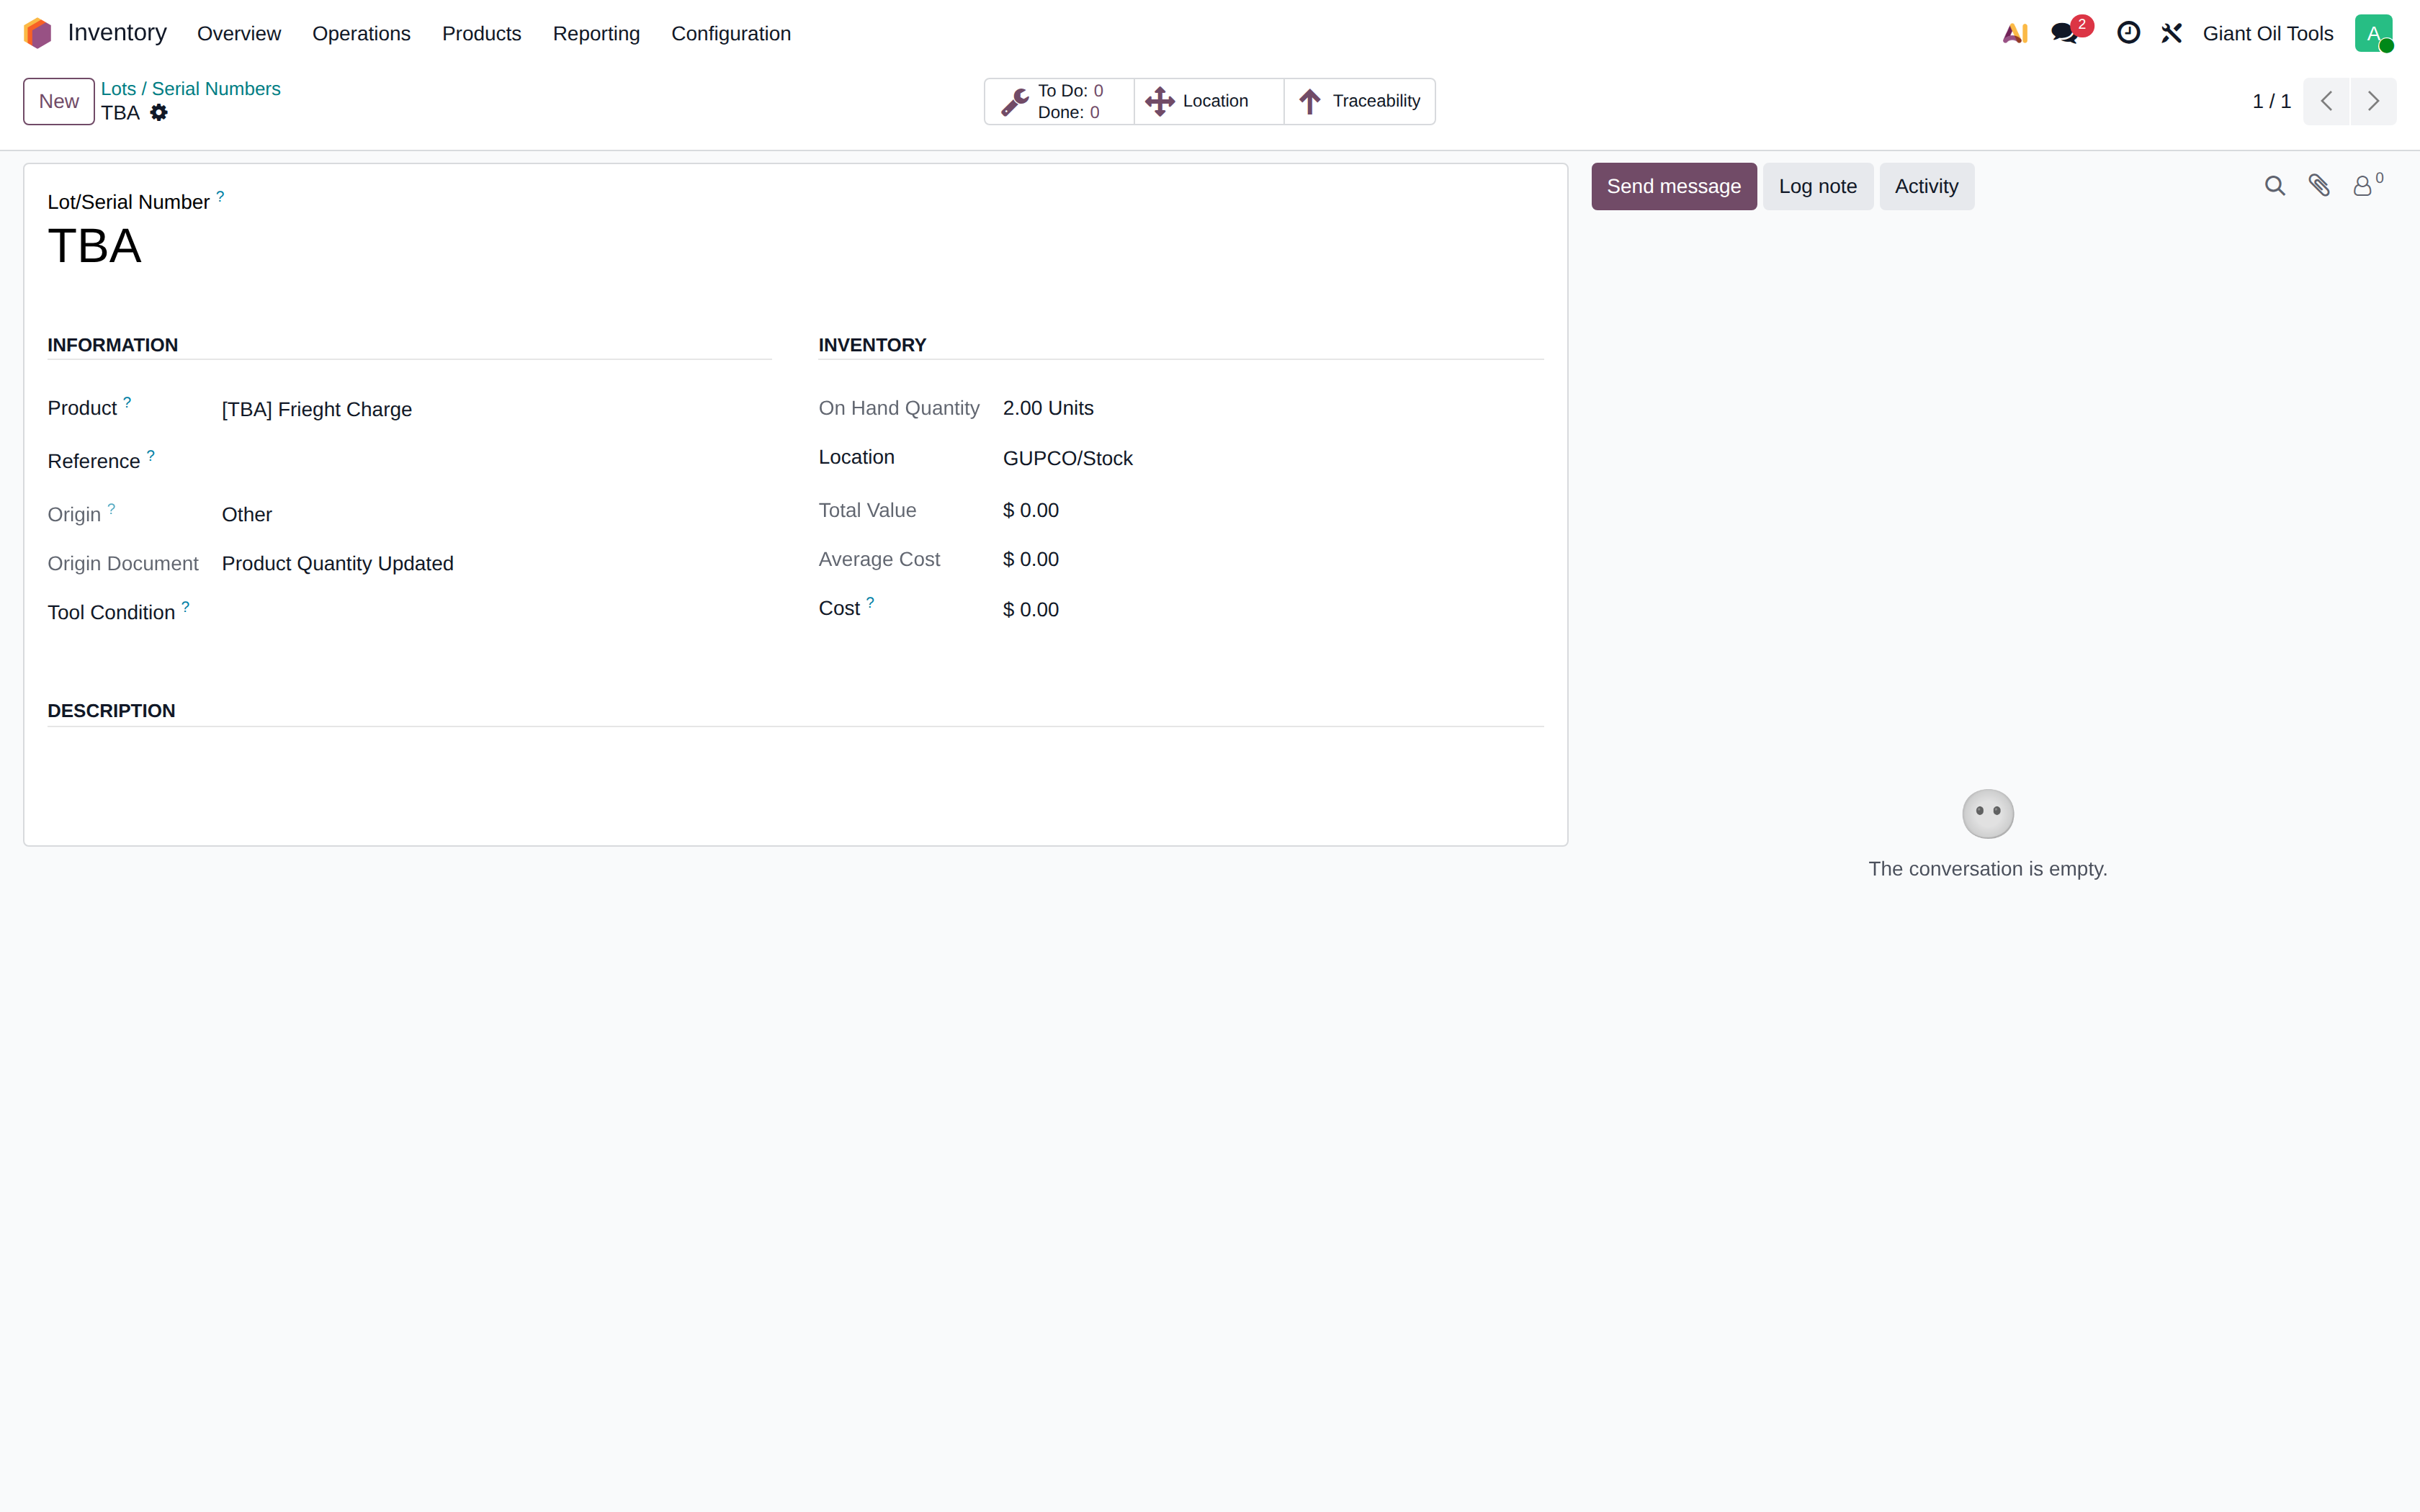
Open the lot
The lot carries its product, its on-hand quantity and its own valuation
Traceability lists every move this exact lot has been through
Receipts, internal transfers, deliveries and adjustments — with dates and locations
This is how a tool is followed from the vendor to the well and back to Repair
Show the steps
hover to play · click for full screen
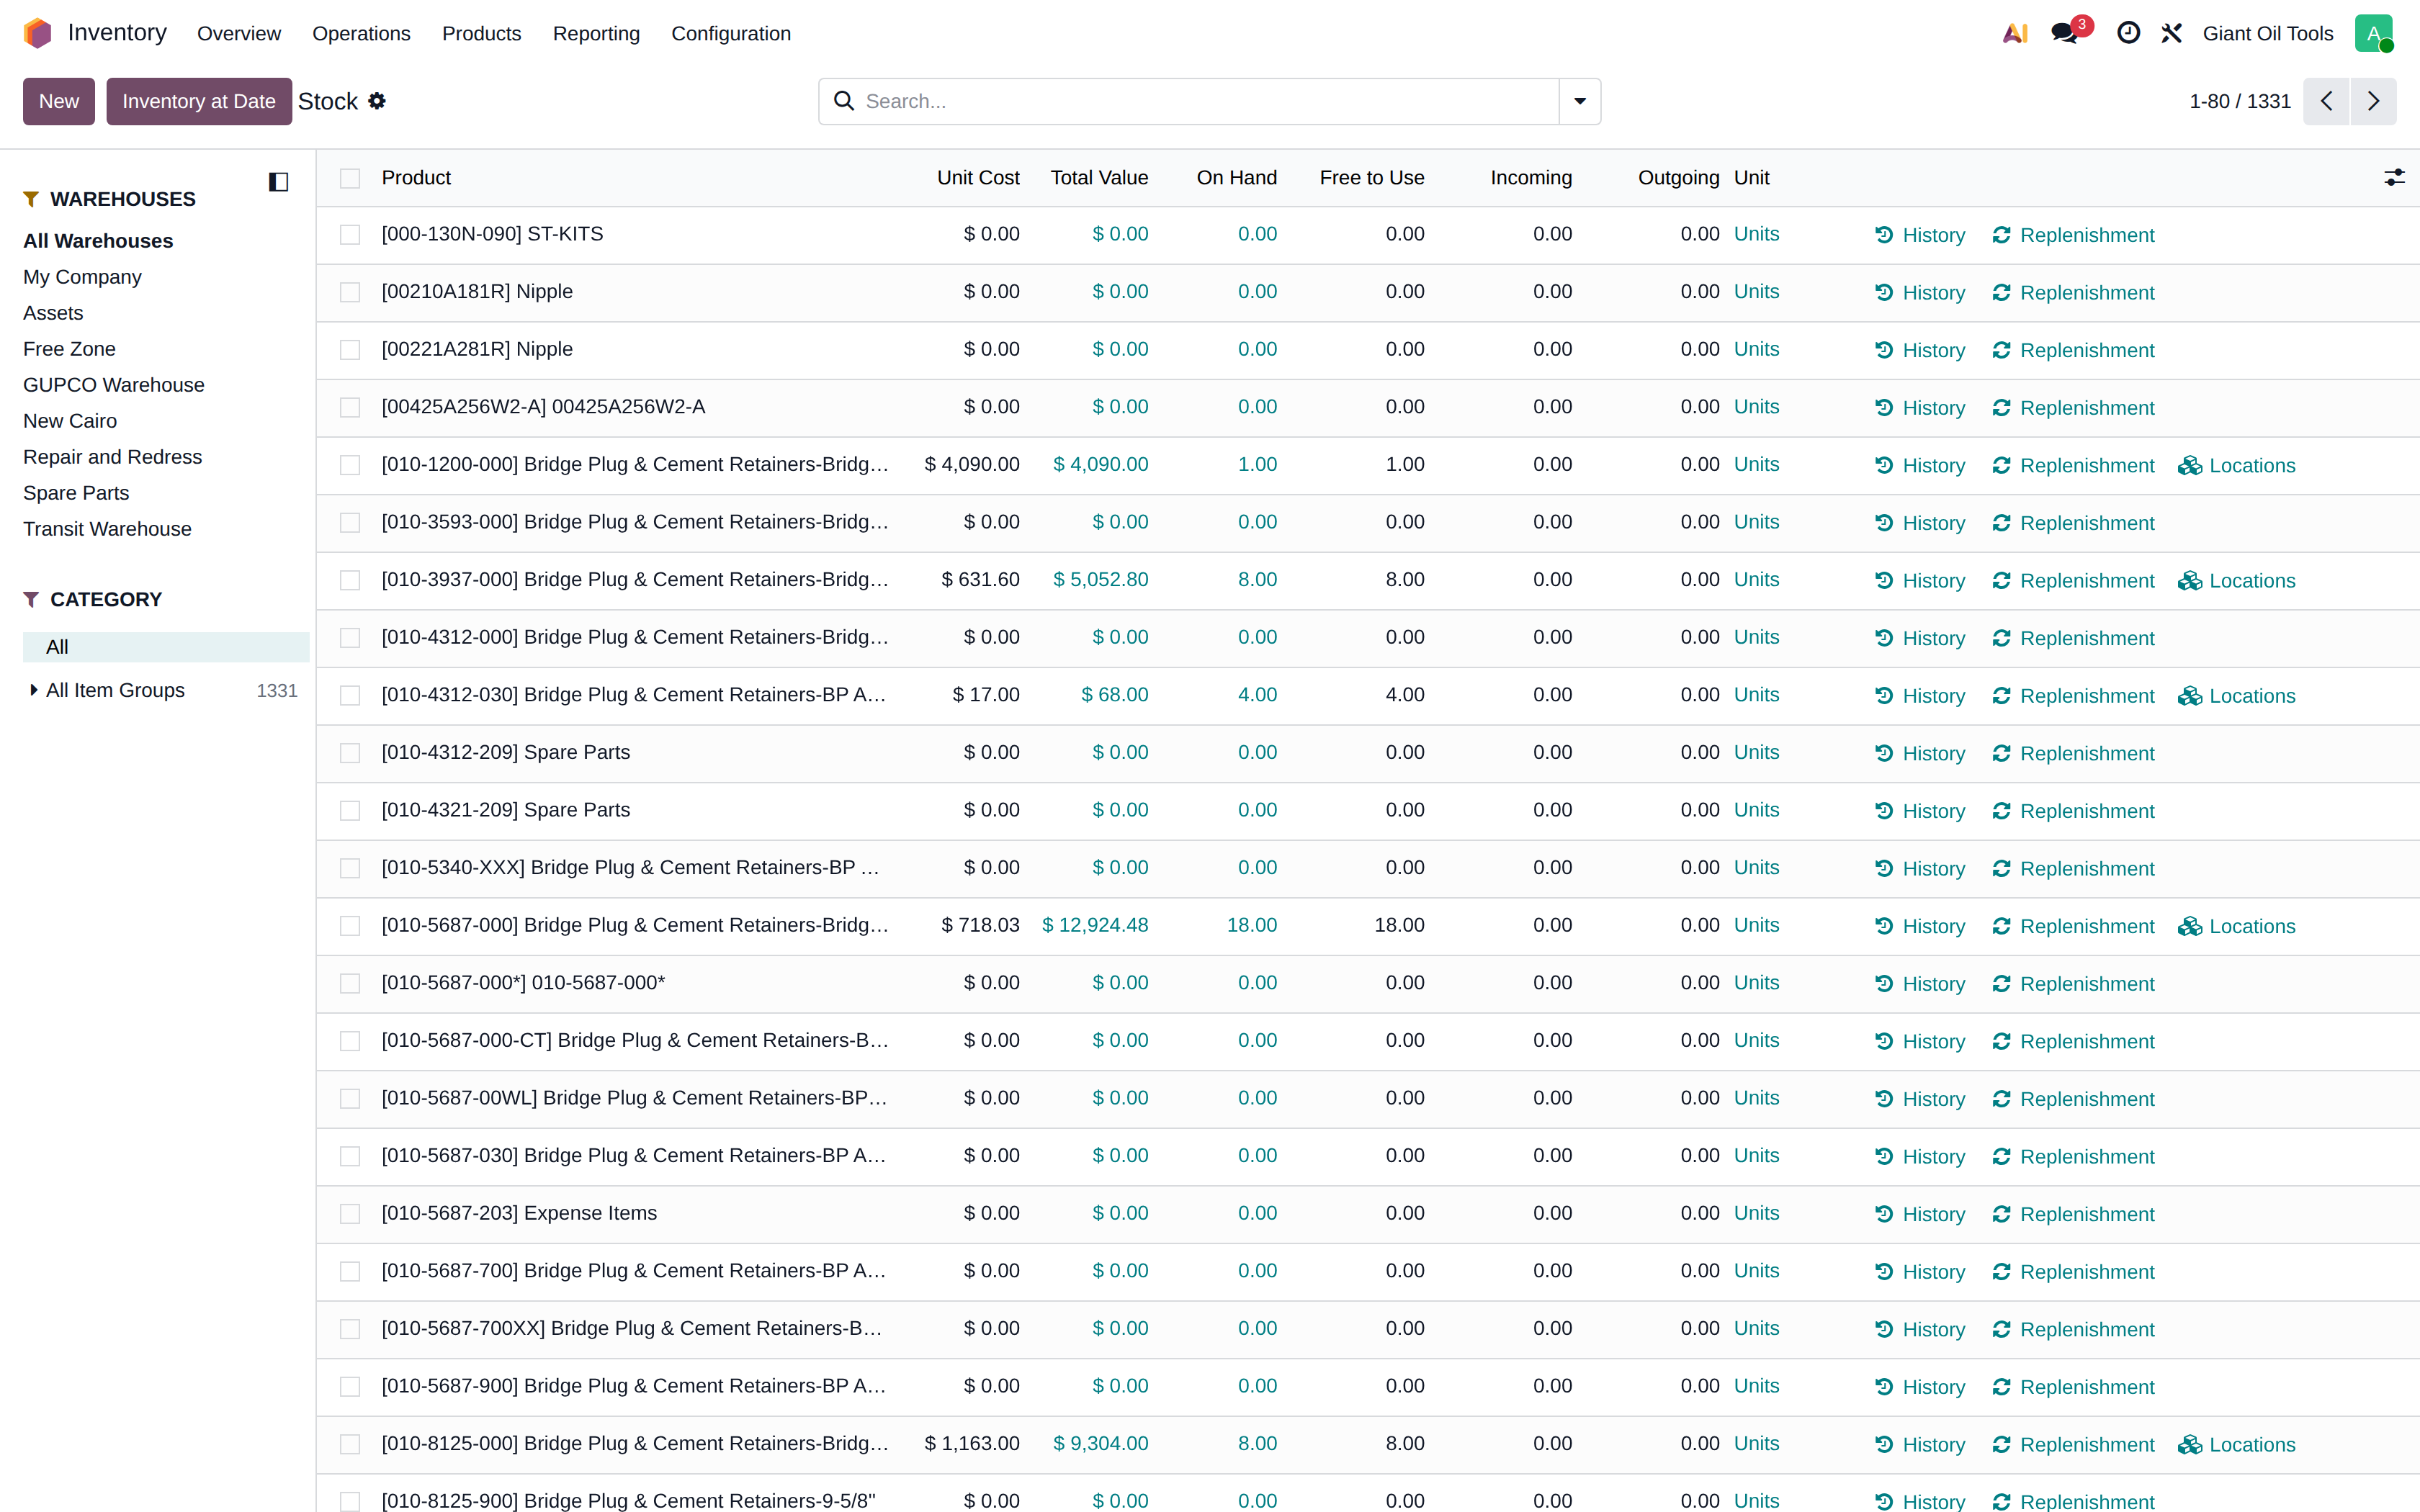
Stock on hand per warehouse
The same item in several warehouses — and why the warehouse matters to Accounting.
Reporting > Stock shows quantity and value for every item
Search one item to follow it across the company
This is the company total: on hand, unit cost and total value
Filter to the Free Zone warehouse
Free Zone stock is valued in account 11530 Inventory FZ
Now the GUPCO warehouse — the same item, a different quantity
Each warehouse maps to its own inventory account, so the split is an accounting split too
Back to all warehouses
Locations breaks the same quantity down location by location
Always ask which warehouse before you quote a stock figure
Show the steps
hover to play · click for full screen
Scrapping a damaged item
Take a lot-tracked item out of stock when it can no longer be used.
Operations > Scrap holds every item written off
Click New to scrap an item
Choose the item that failed inspection
Scrap it out of the warehouse that holds it — the Free Zone
Pick the lot: the lot number is the part number
Enter the quantity being scrapped
Reference why it is leaving stock
Validate — the item moves to the Scrap location and leaves on-hand stock
Scrapping is a real stock move, so the value leaves the warehouse inventory account too
Show the steps
Screens and reference
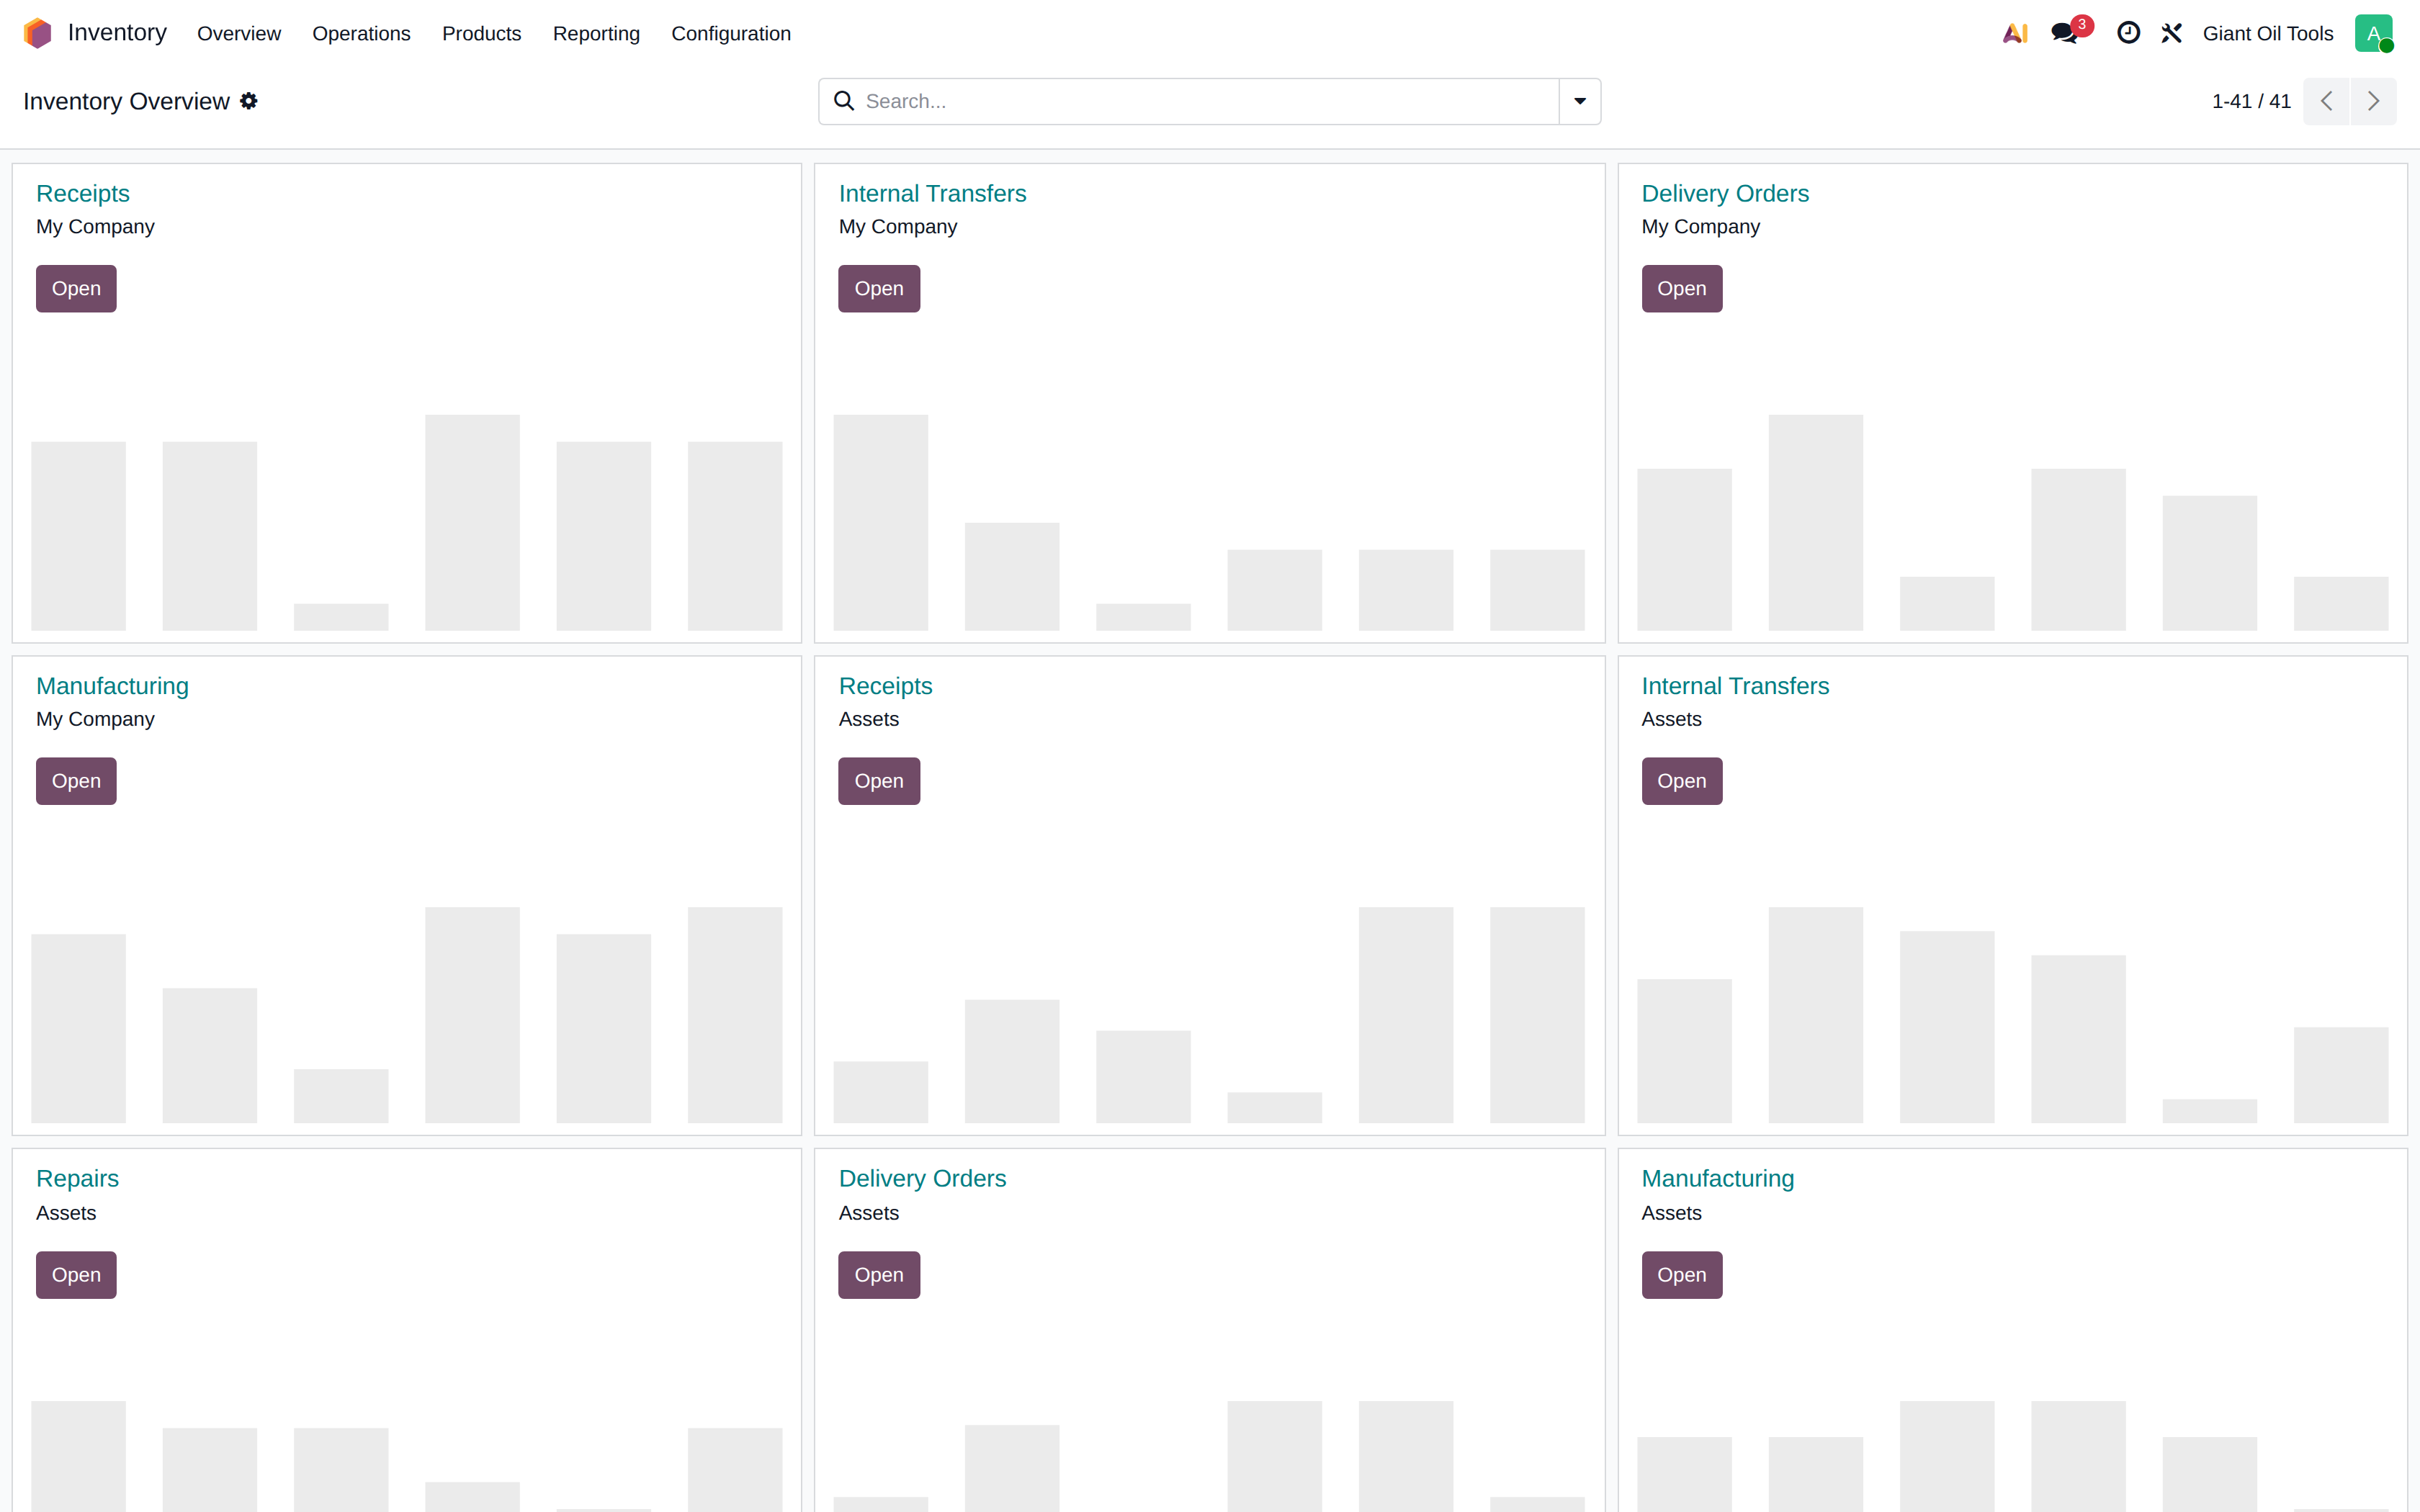
Inventory overview
One card per operation type — receipts, deliveries, internal transfers, repair. Each card shows how many transfers are waiting and how many are late, and clicking it opens that list.
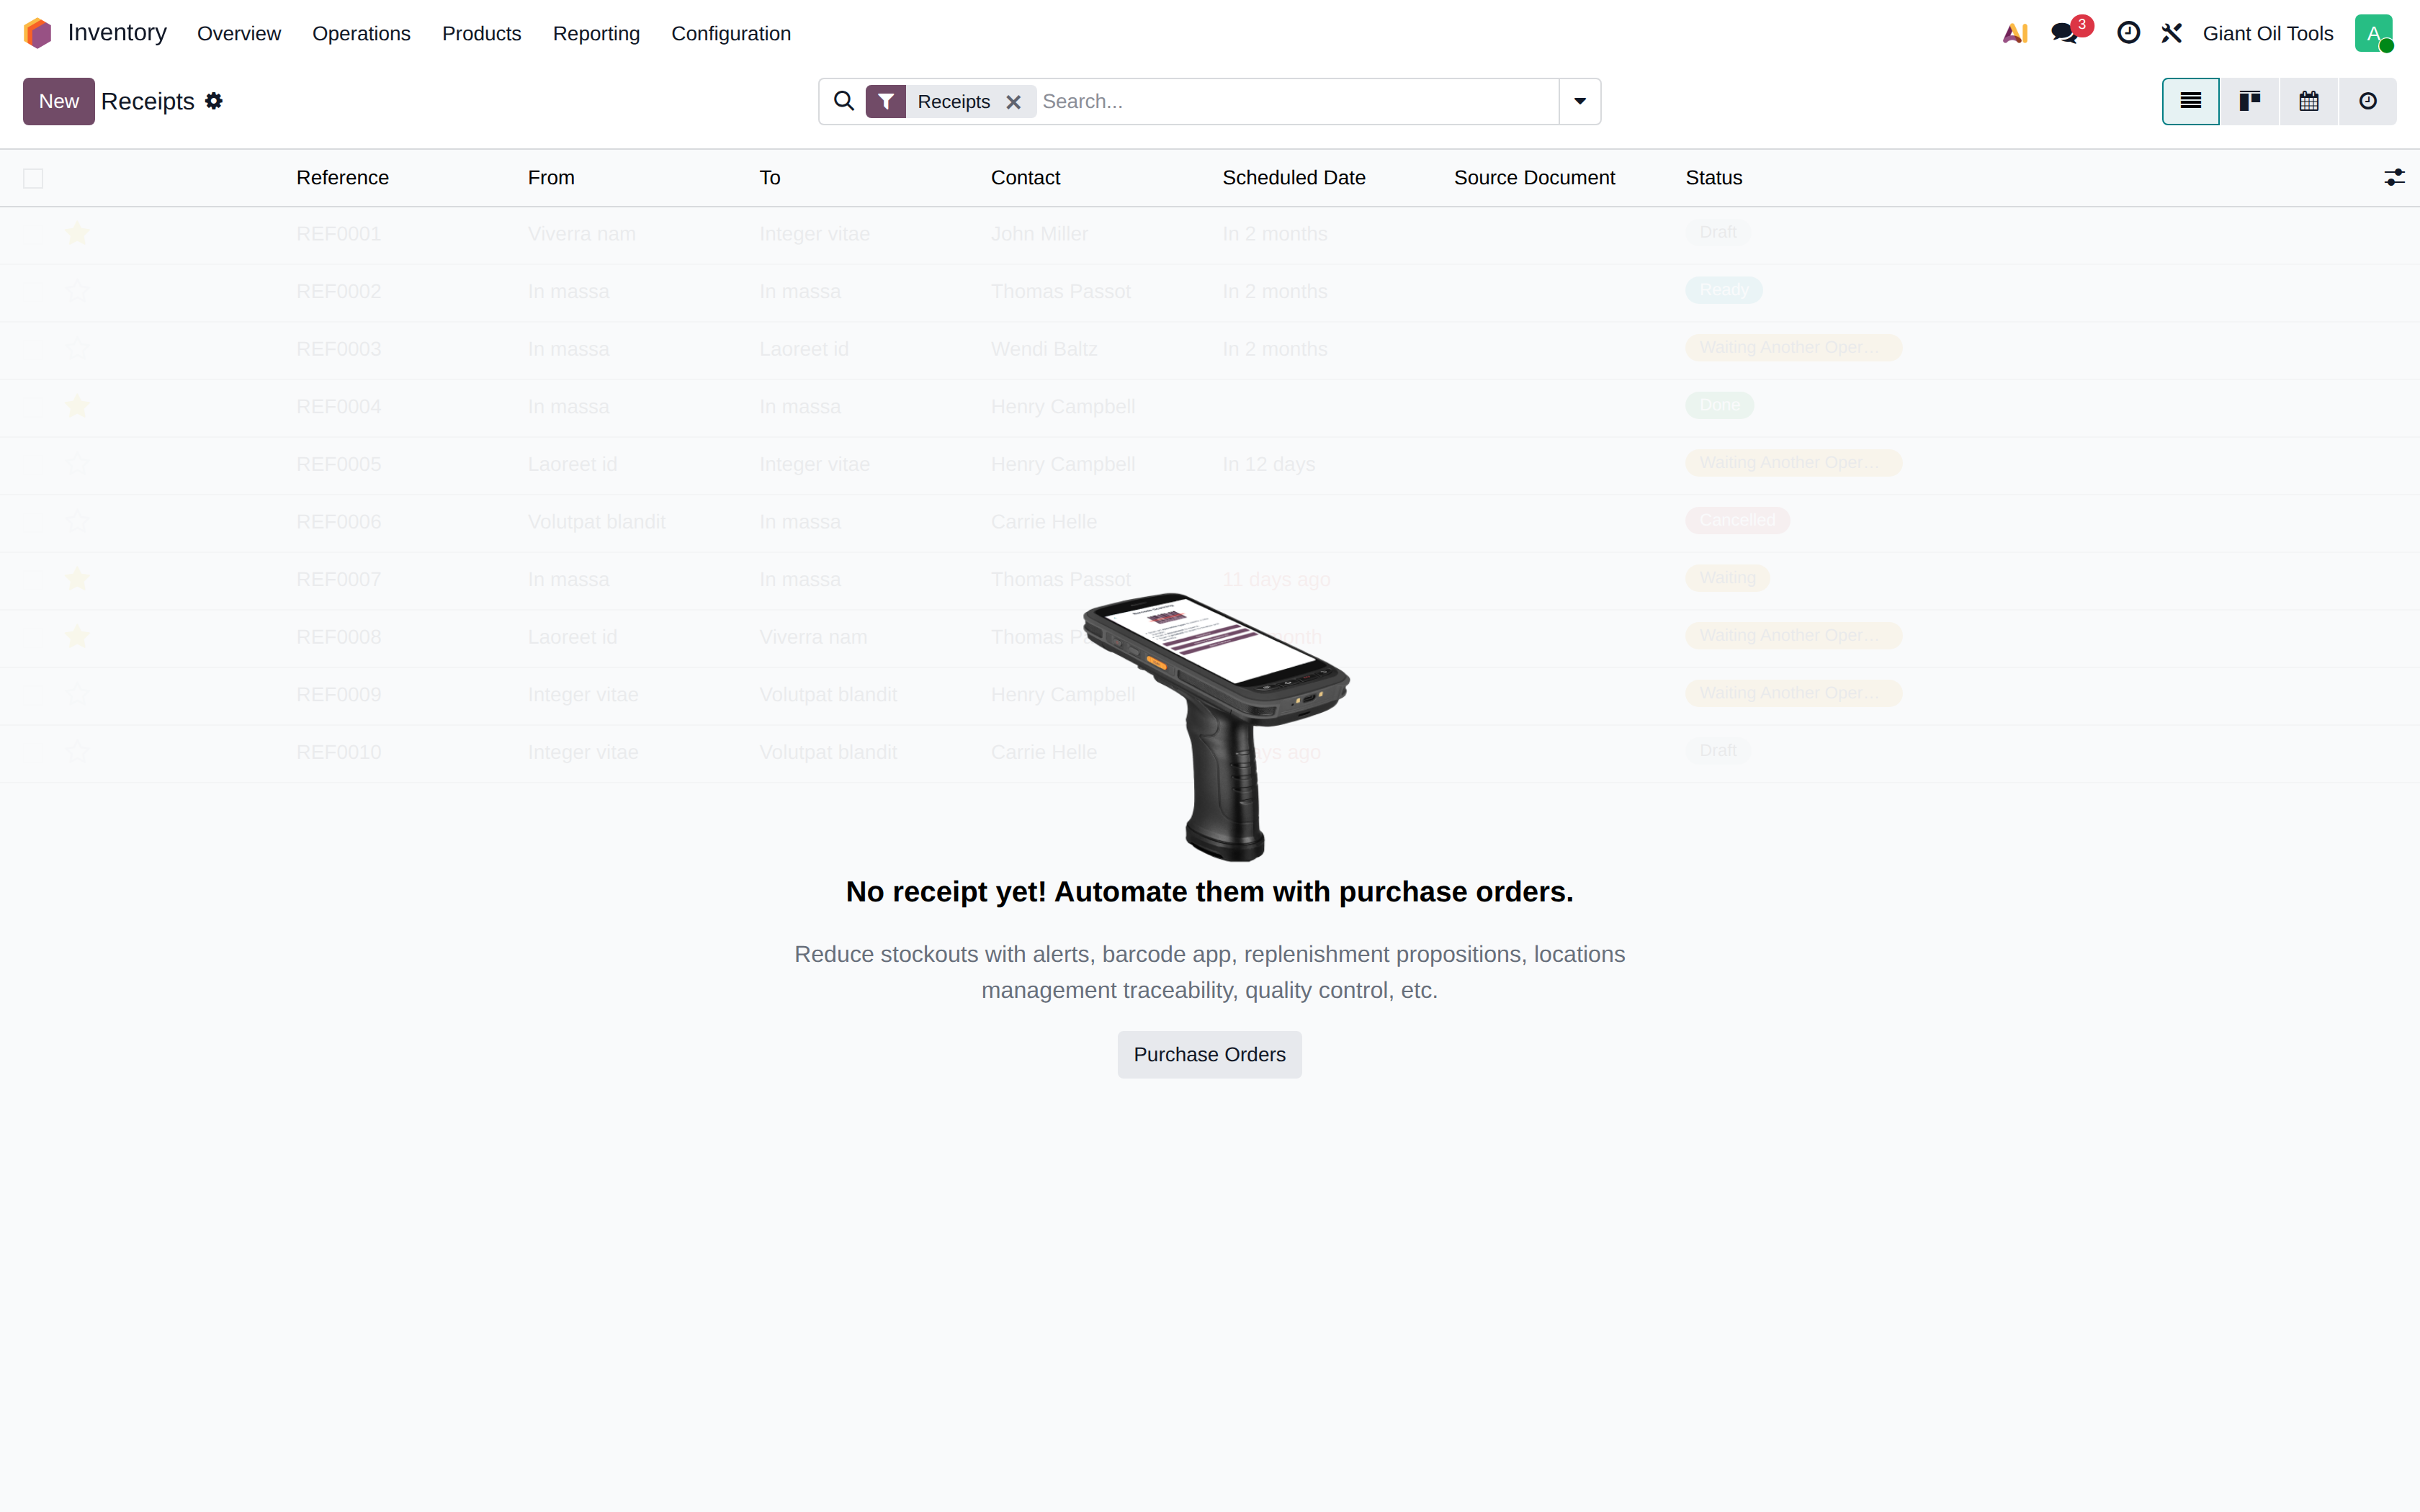
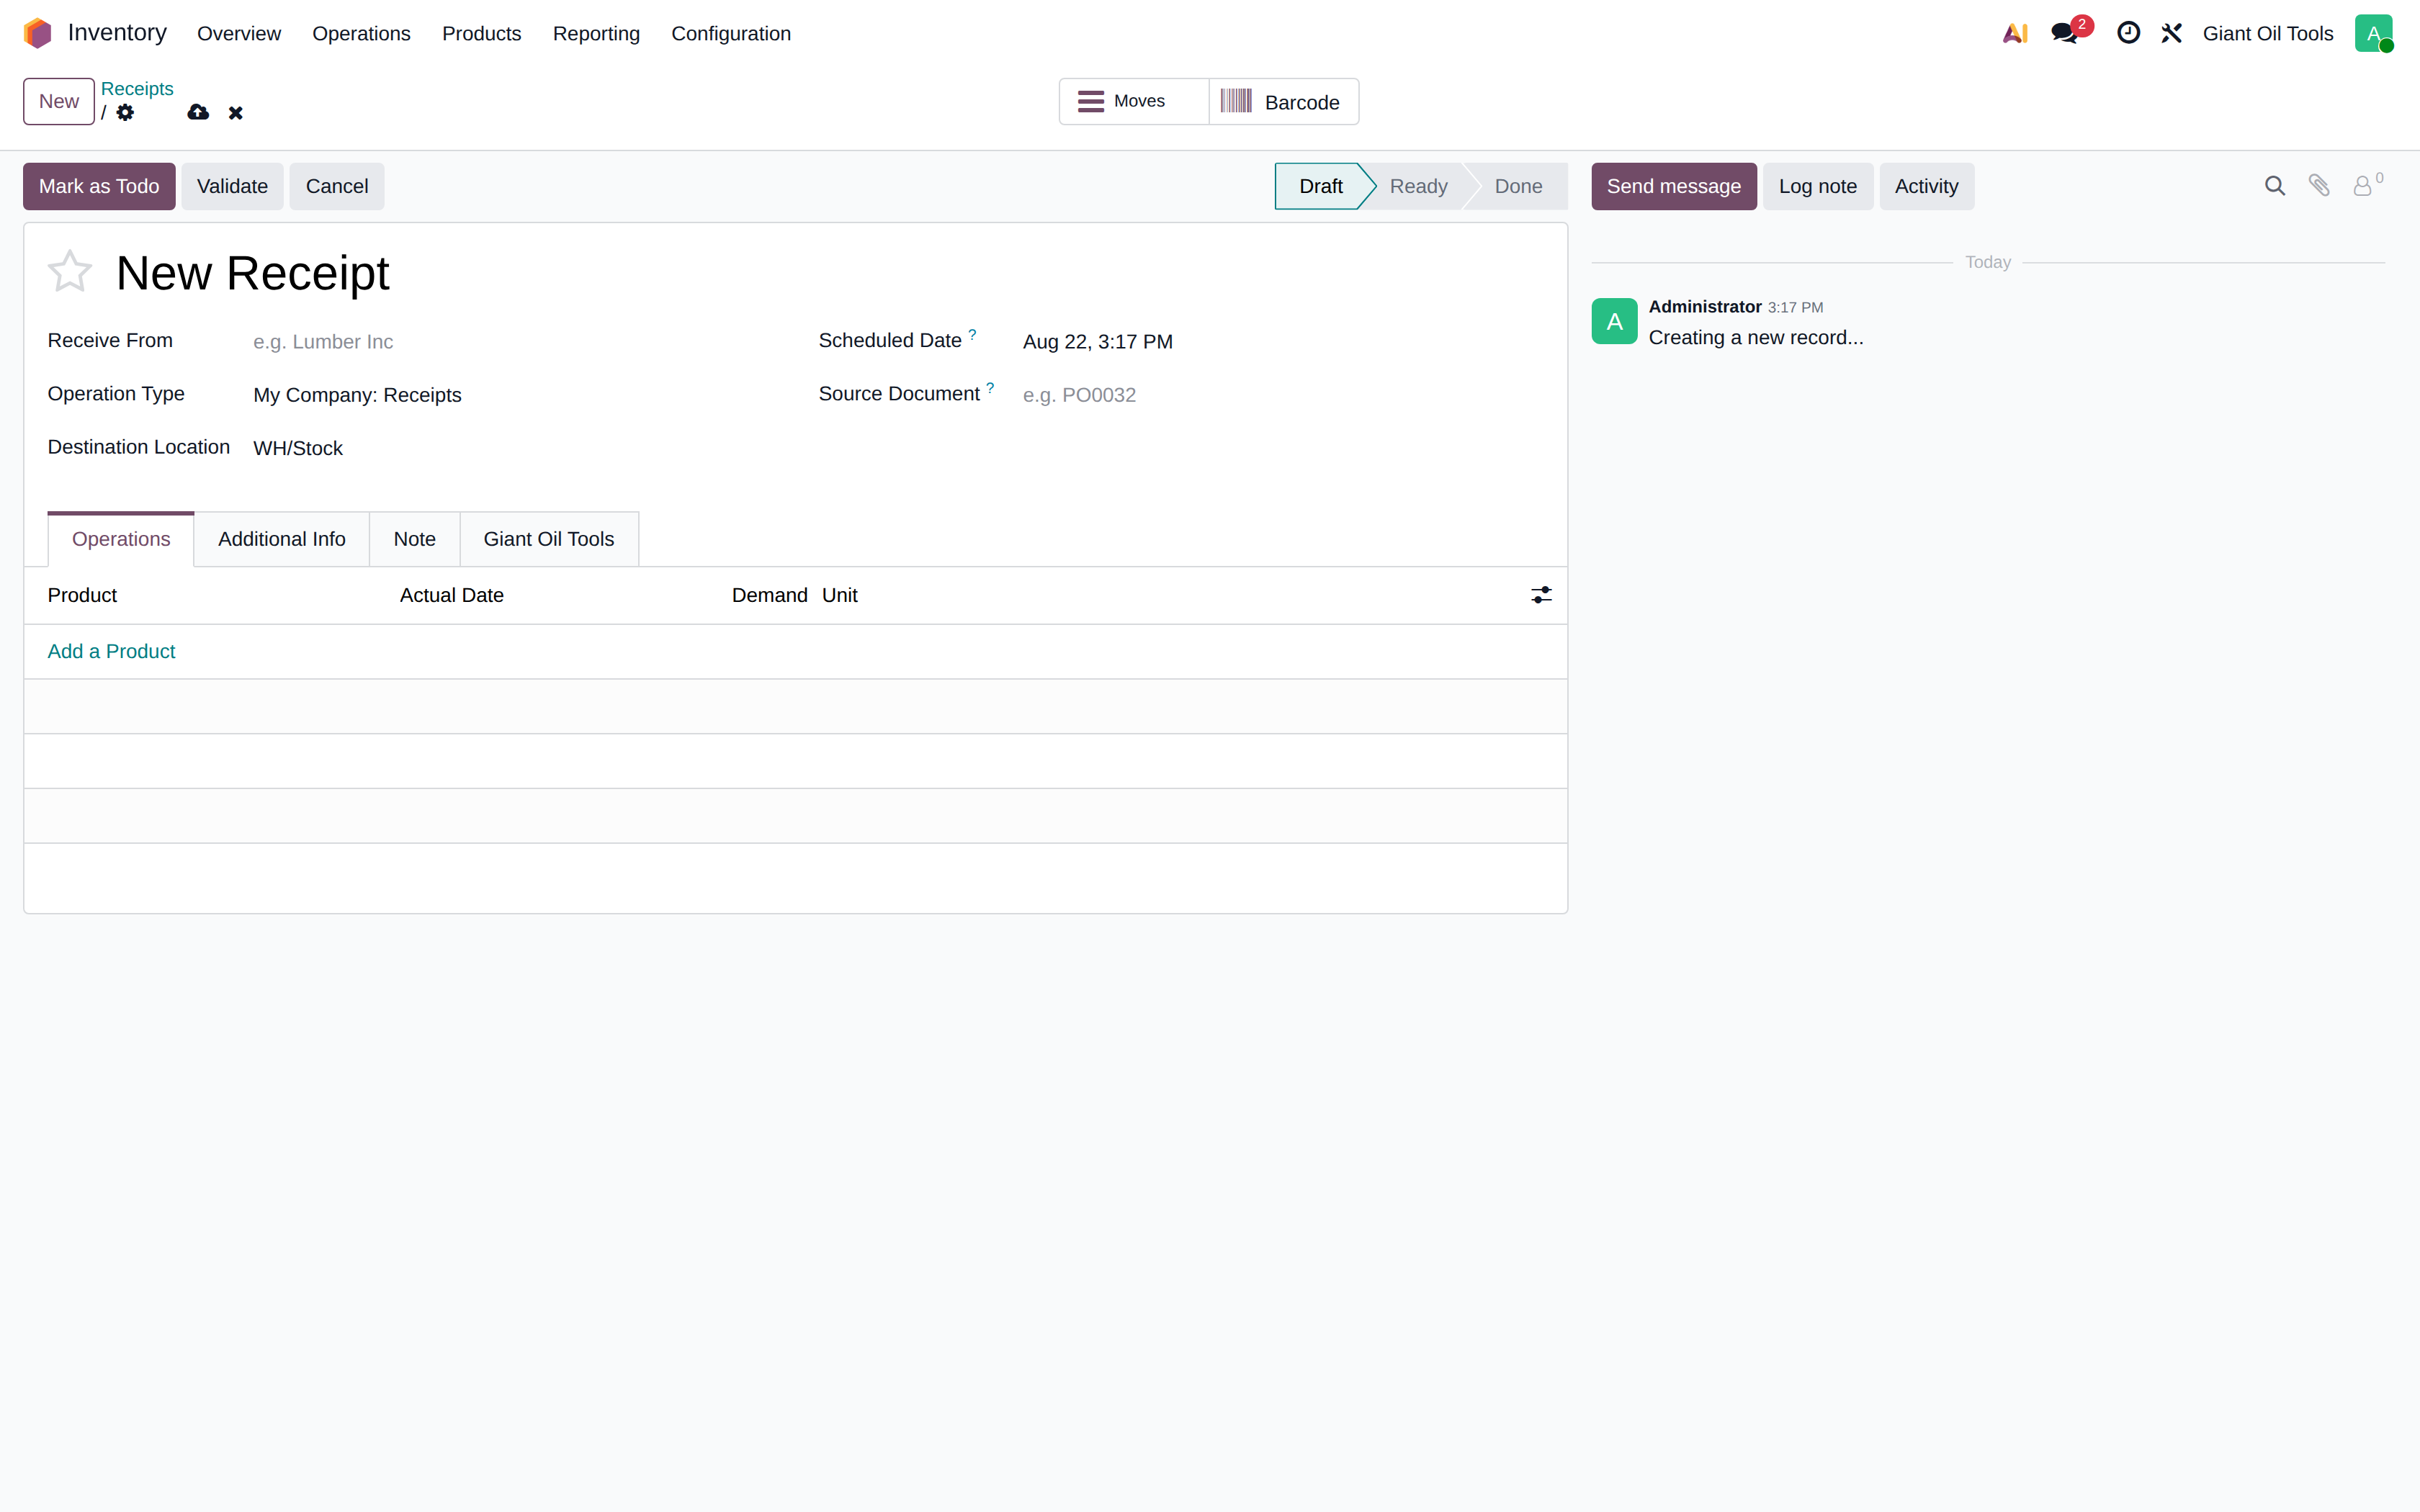
Receipts
Incoming shipments from vendors. A receipt is created automatically when a purchase order is confirmed.
The receipt form
Check the quantities actually received in the Operations tab, enter or scan the lot number for each tracked product, then click Validate.
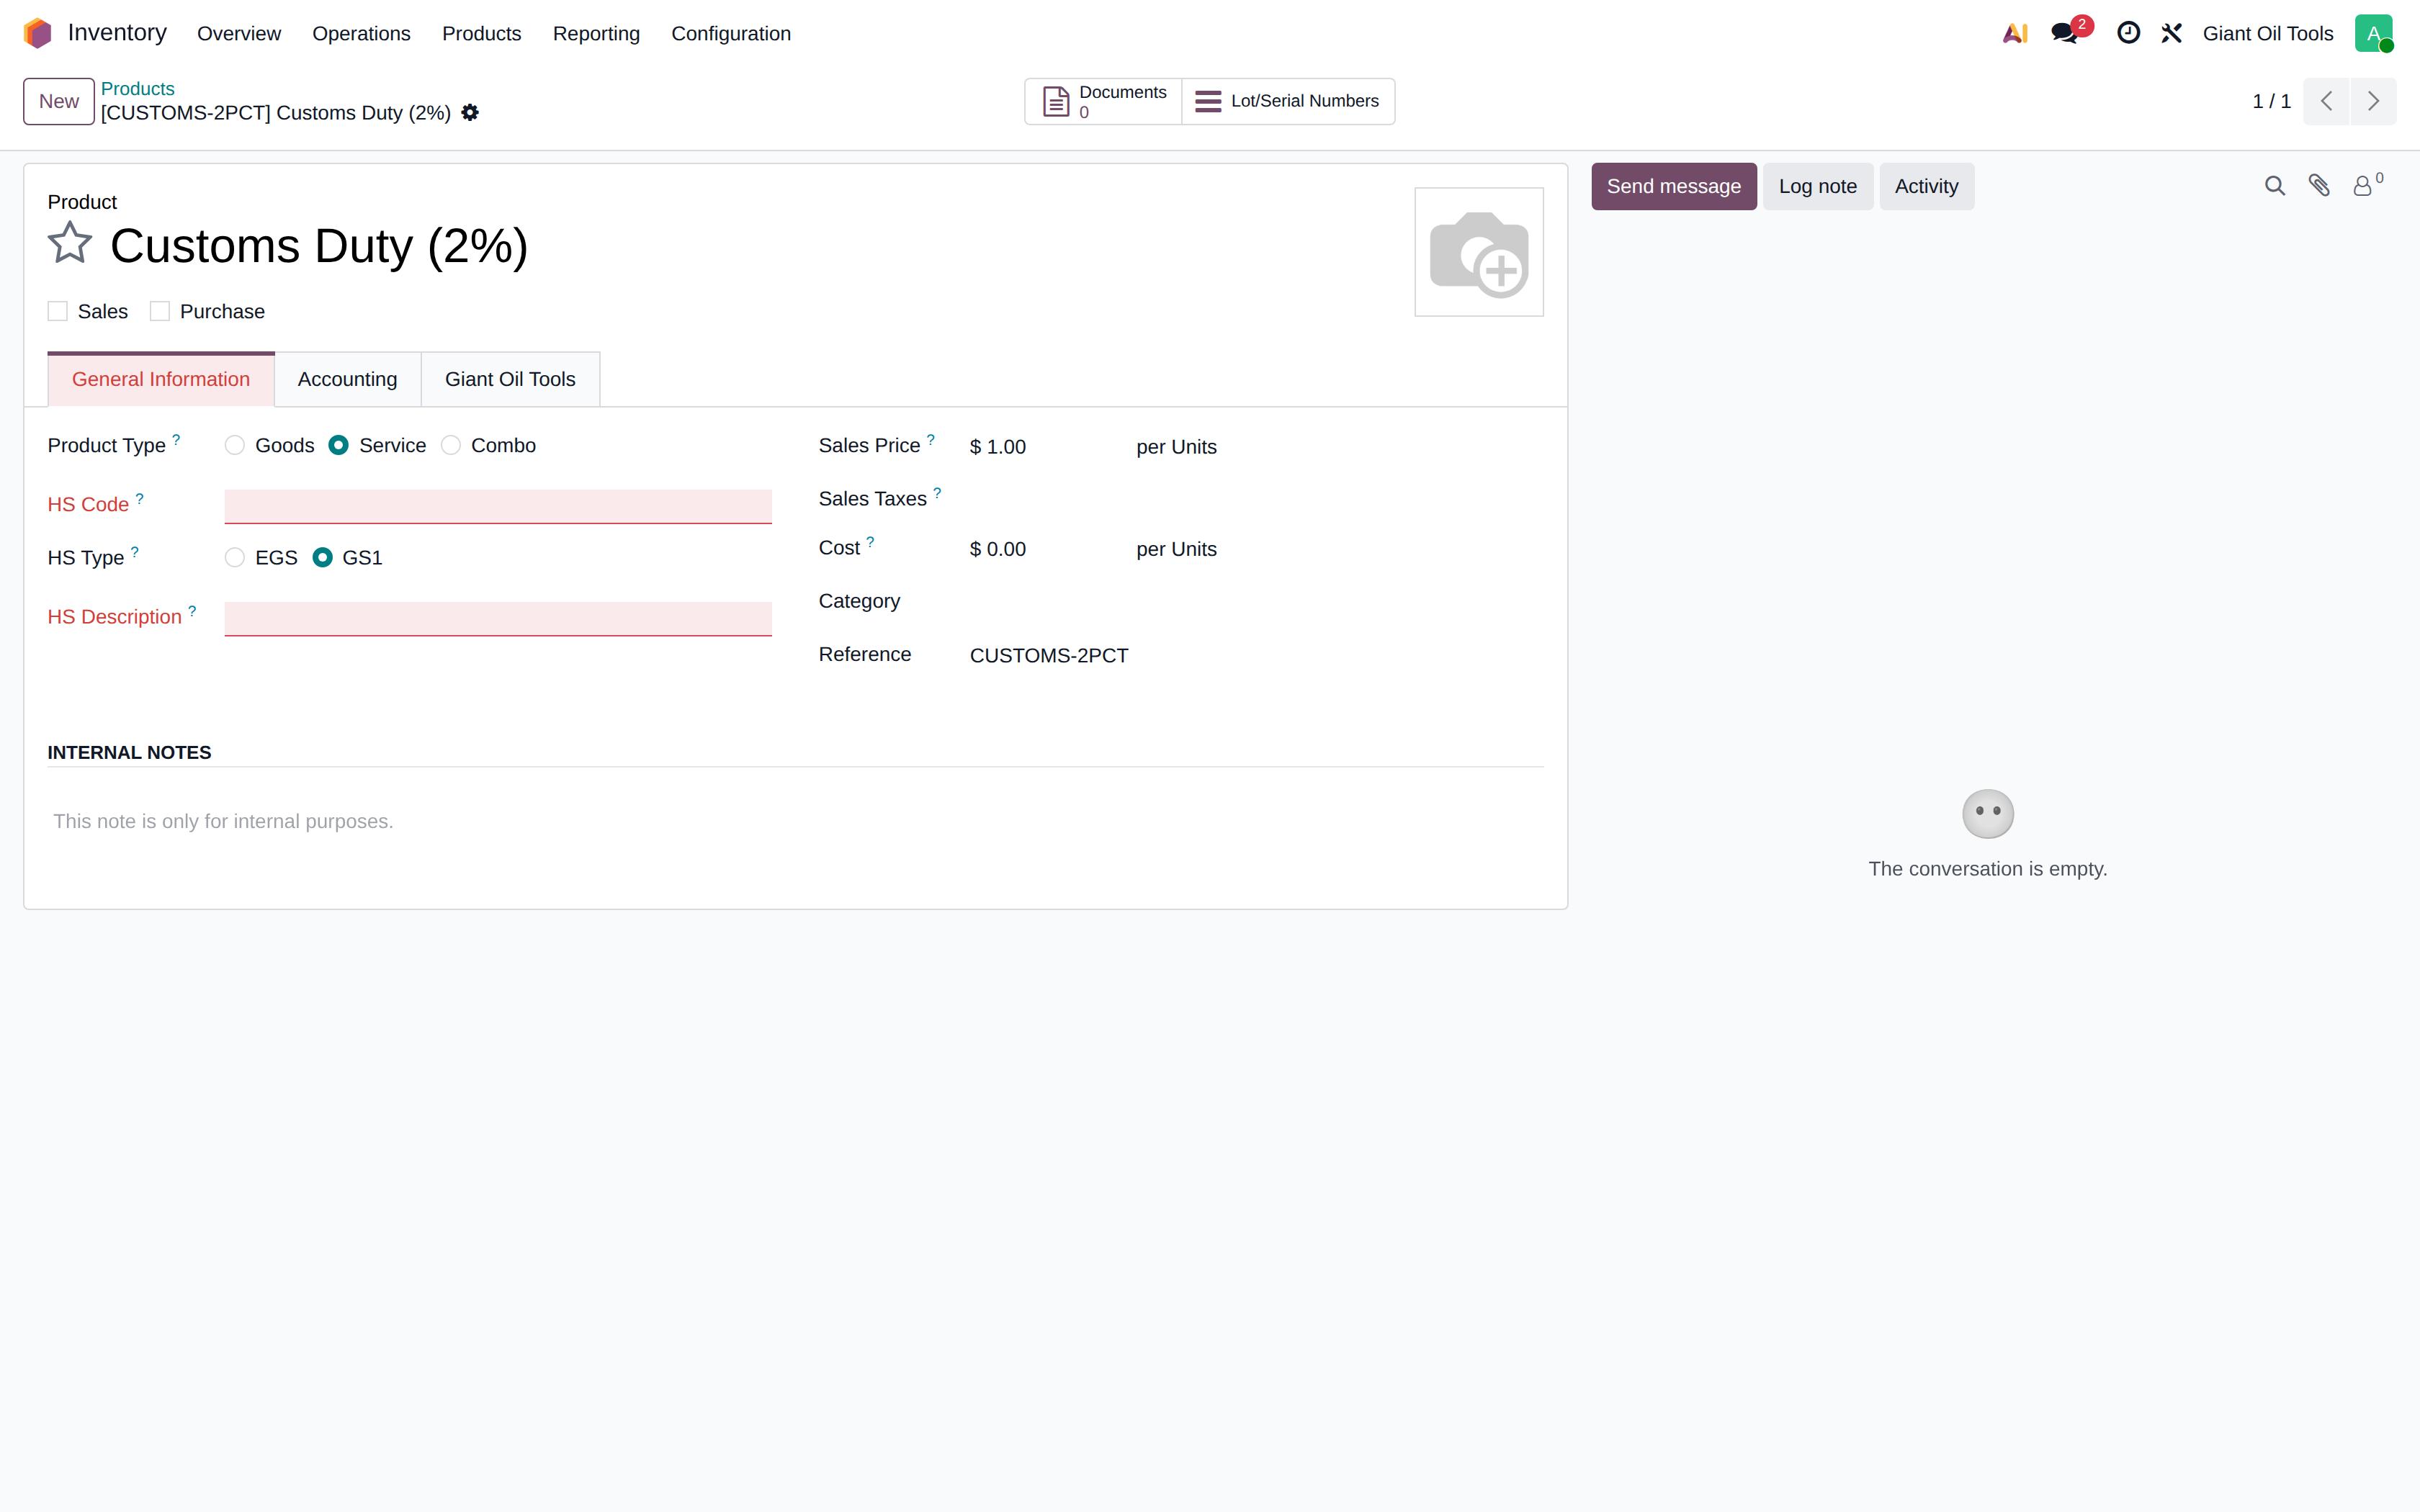
Automatic customs duty. Imports are received into the Free Zone warehouse, and only that warehouse charges duty. When such a receipt is validated the system creates a landed cost of 2% of the receipt value, debiting the inventory account of the receiving warehouse (11530 Inventory FZ) and crediting 21150 Customs Duty Payable. Local purchases received into any other warehouse carry no duty.
Both settings are configurable without a code change: the switch Apply Customs Duty on Receipts on the warehouse, and the rate in the system parameter got.customs_rate.
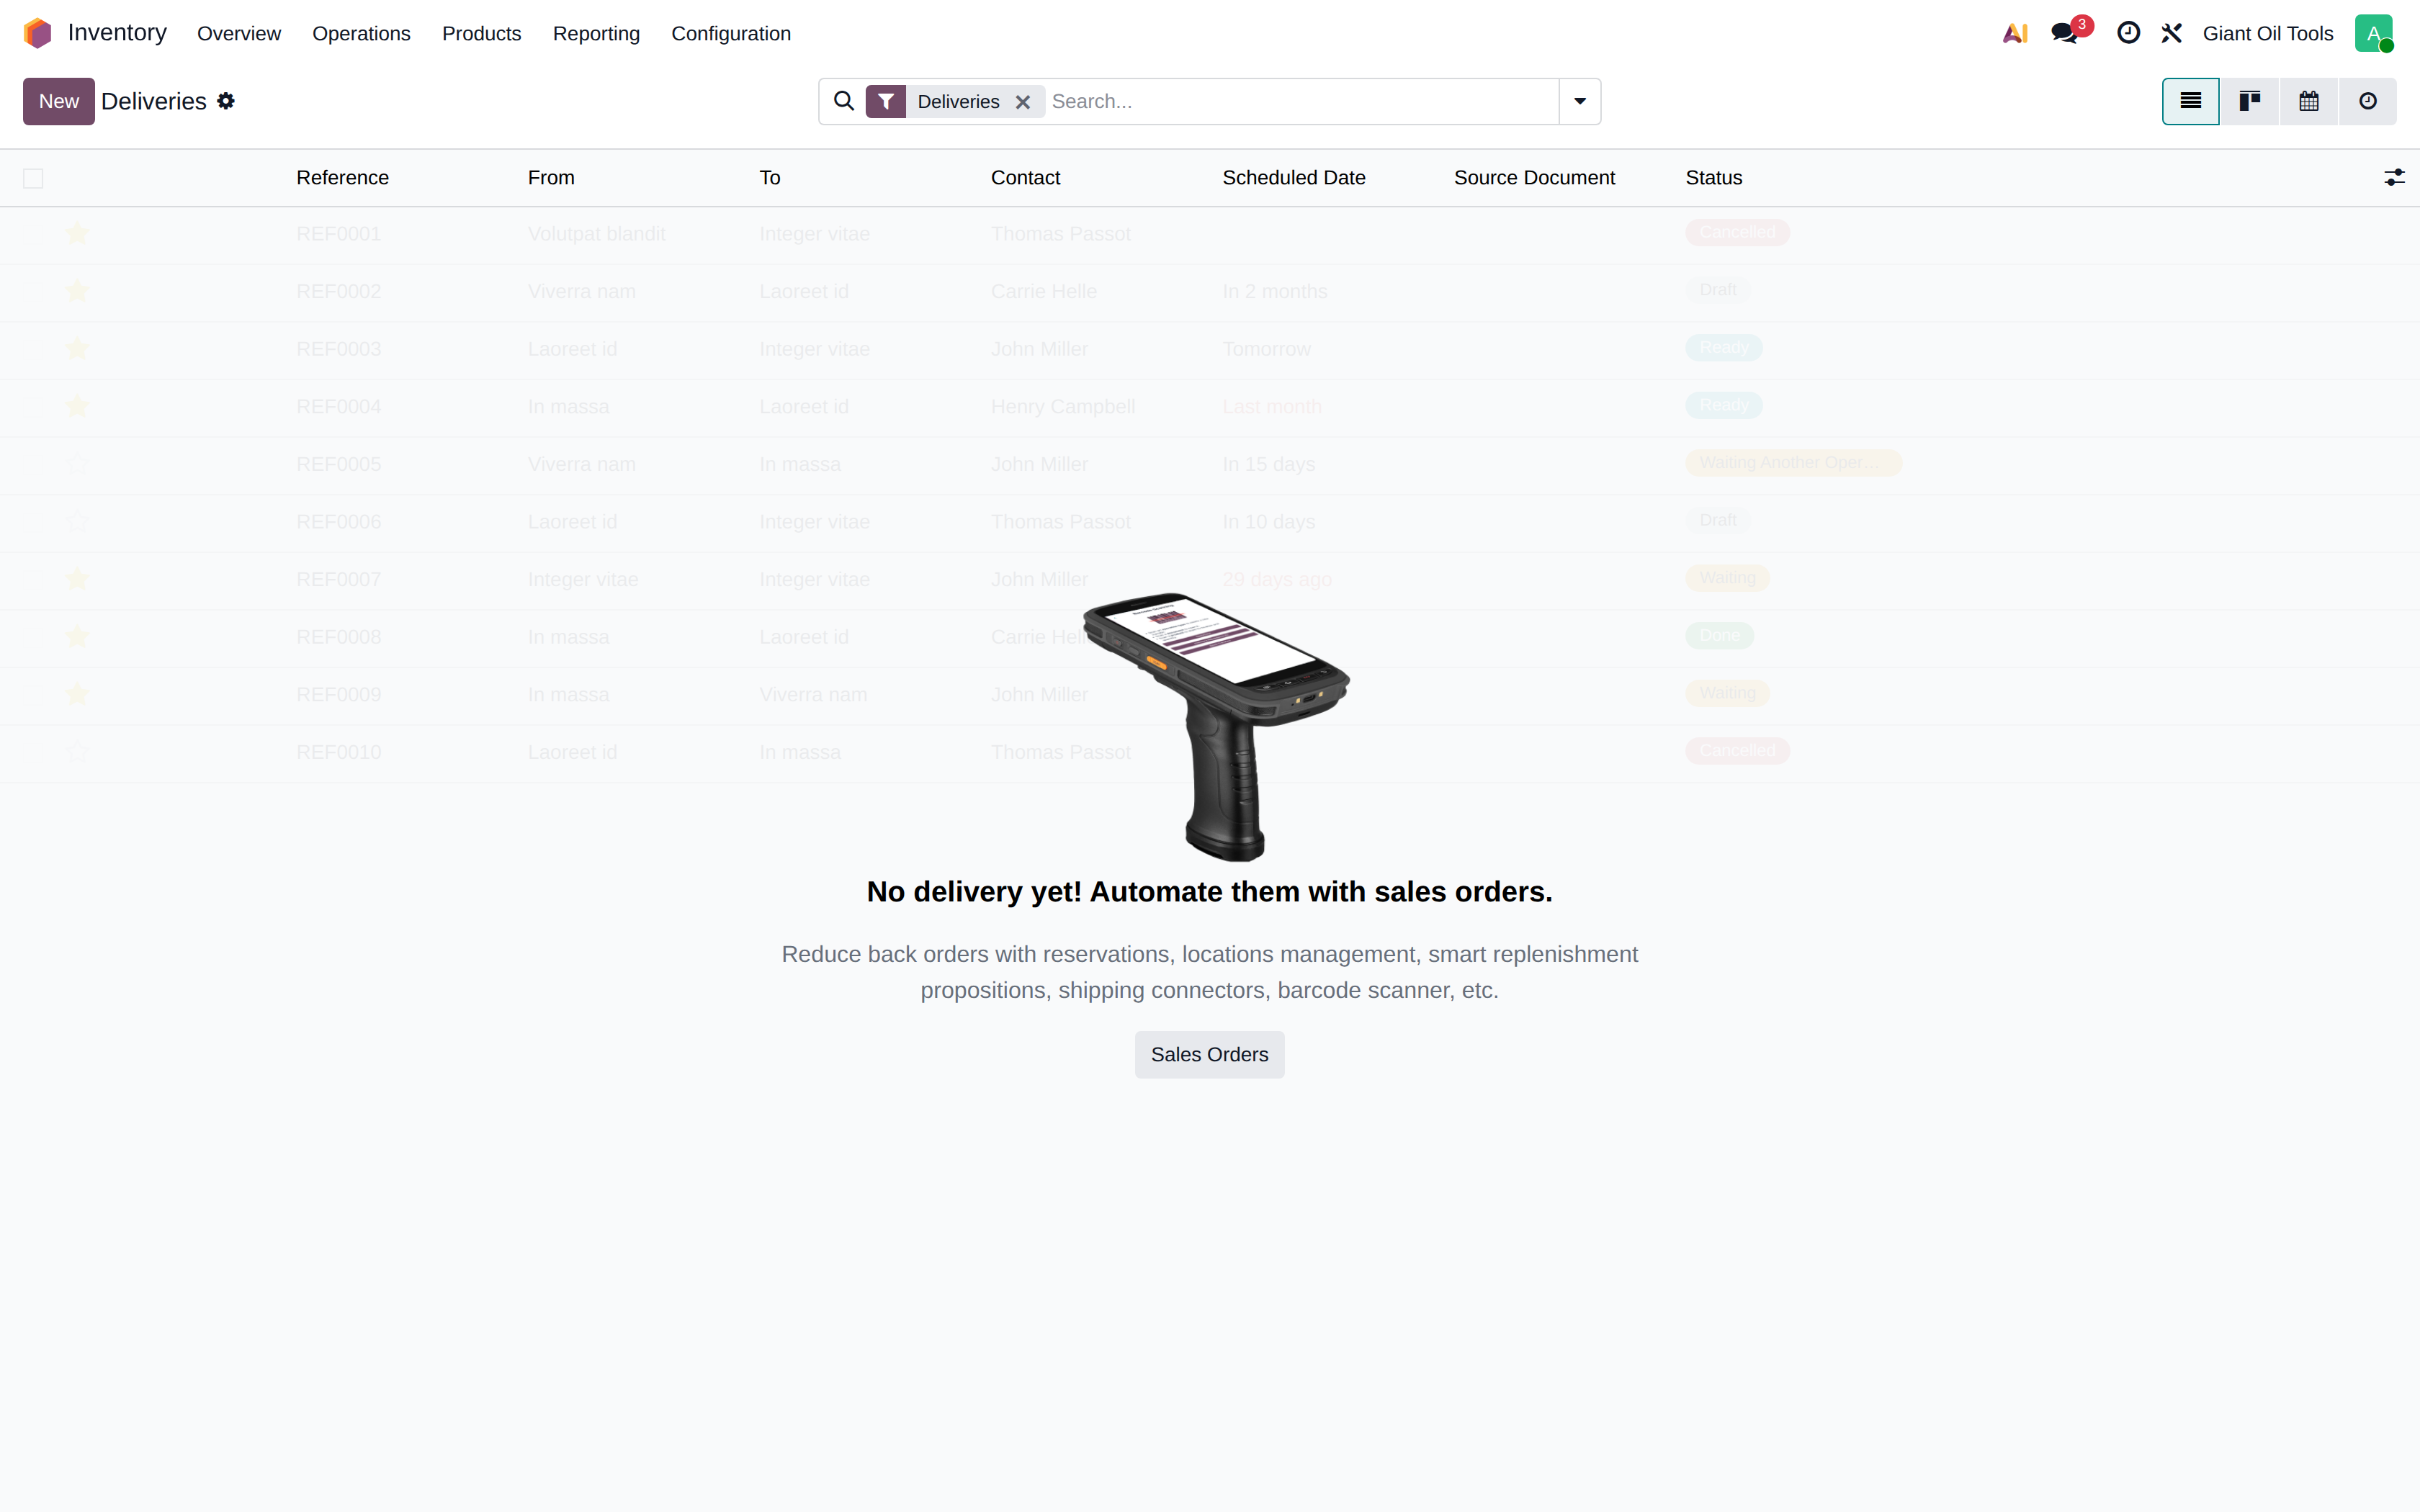
Deliveries
Outgoing shipments to customers. Reserve, pick and validate; validation moves the stock out and posts the cost of goods sold.
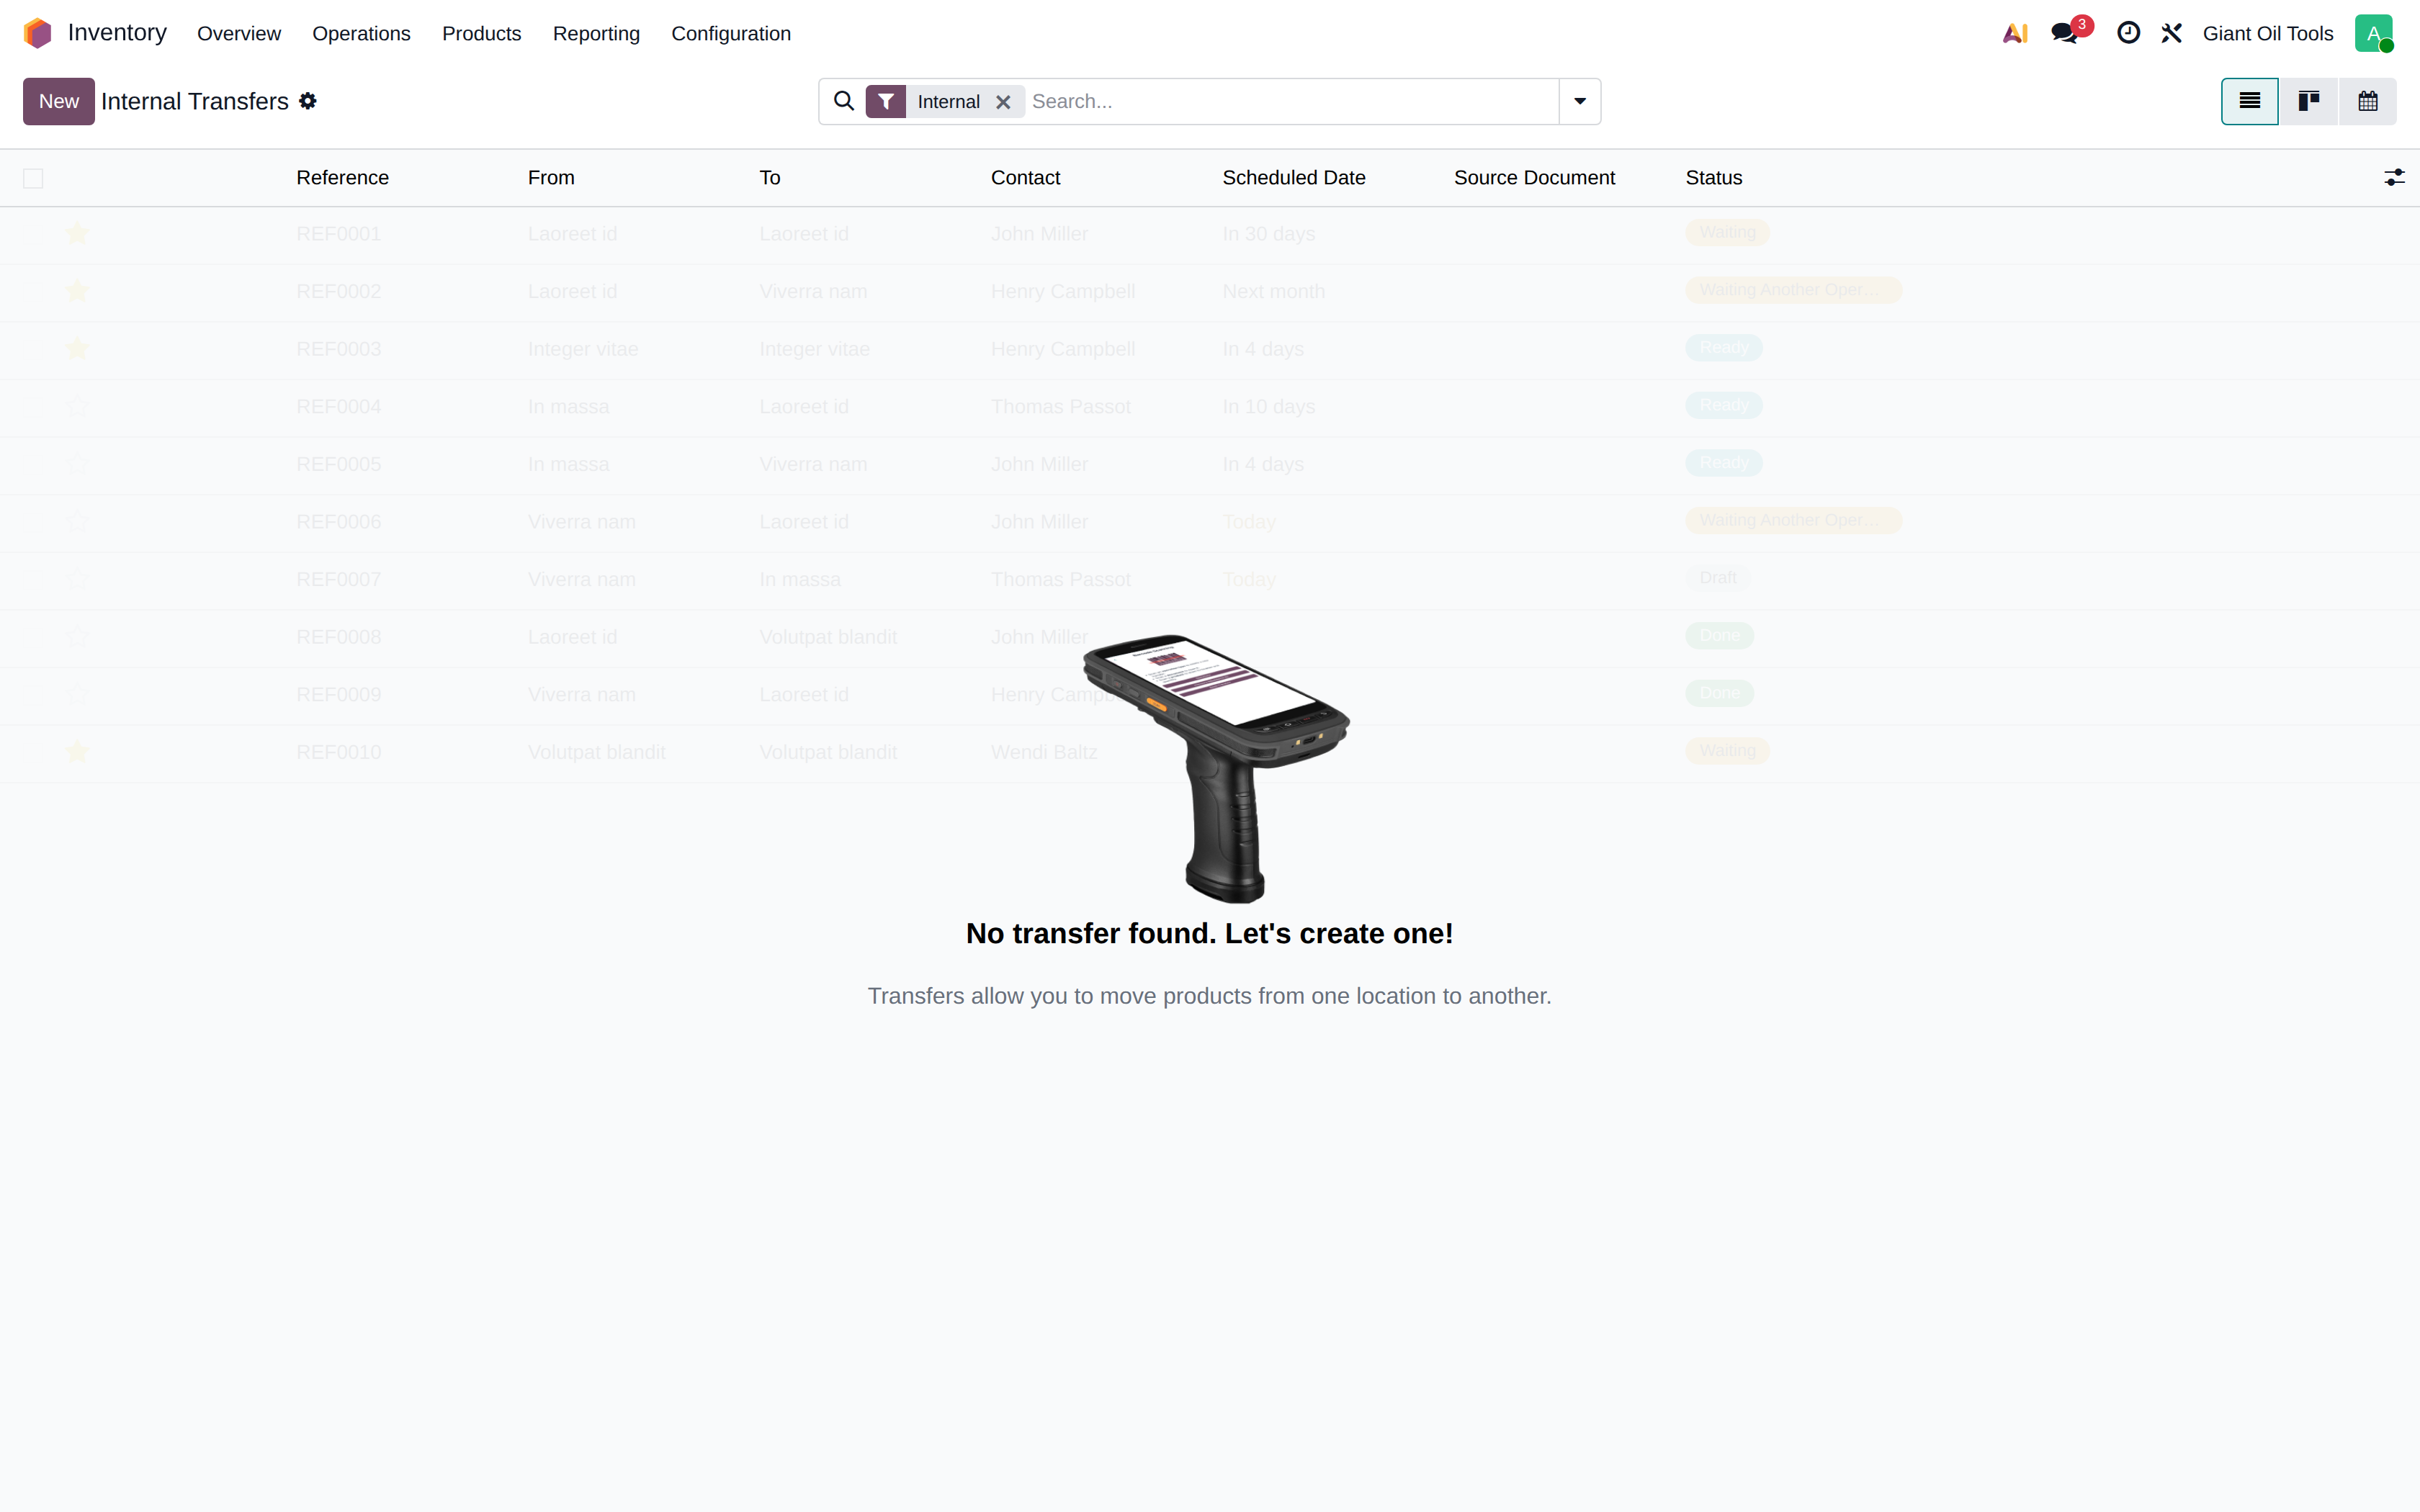
Internal transfers
Movements between two internal locations — for example from the main store to a job site or to the repair workshop.
Physical inventory
Enter counted quantities per product and location. The difference between the counted and the recorded quantity is posted as an inventory adjustment against the stock-difference account, with a full audit trail.
Stock on hand
Current quantities by product, lot and location, together with the value at FIFO cost. This is the operational counterpart of the Inventory Valuation report in Accounting.
Lots and serial numbers
Every tool carries a lot number equal to its part number. From a lot you can open its full traceability — every receipt, transfer, repair and delivery it has been through.
A lot record
The lot form shows the product, the internal reference, the quantity currently on hand and its location. The Traceability button lists every stock move for this exact lot, which is how you answer “where has this tool been?” questions.
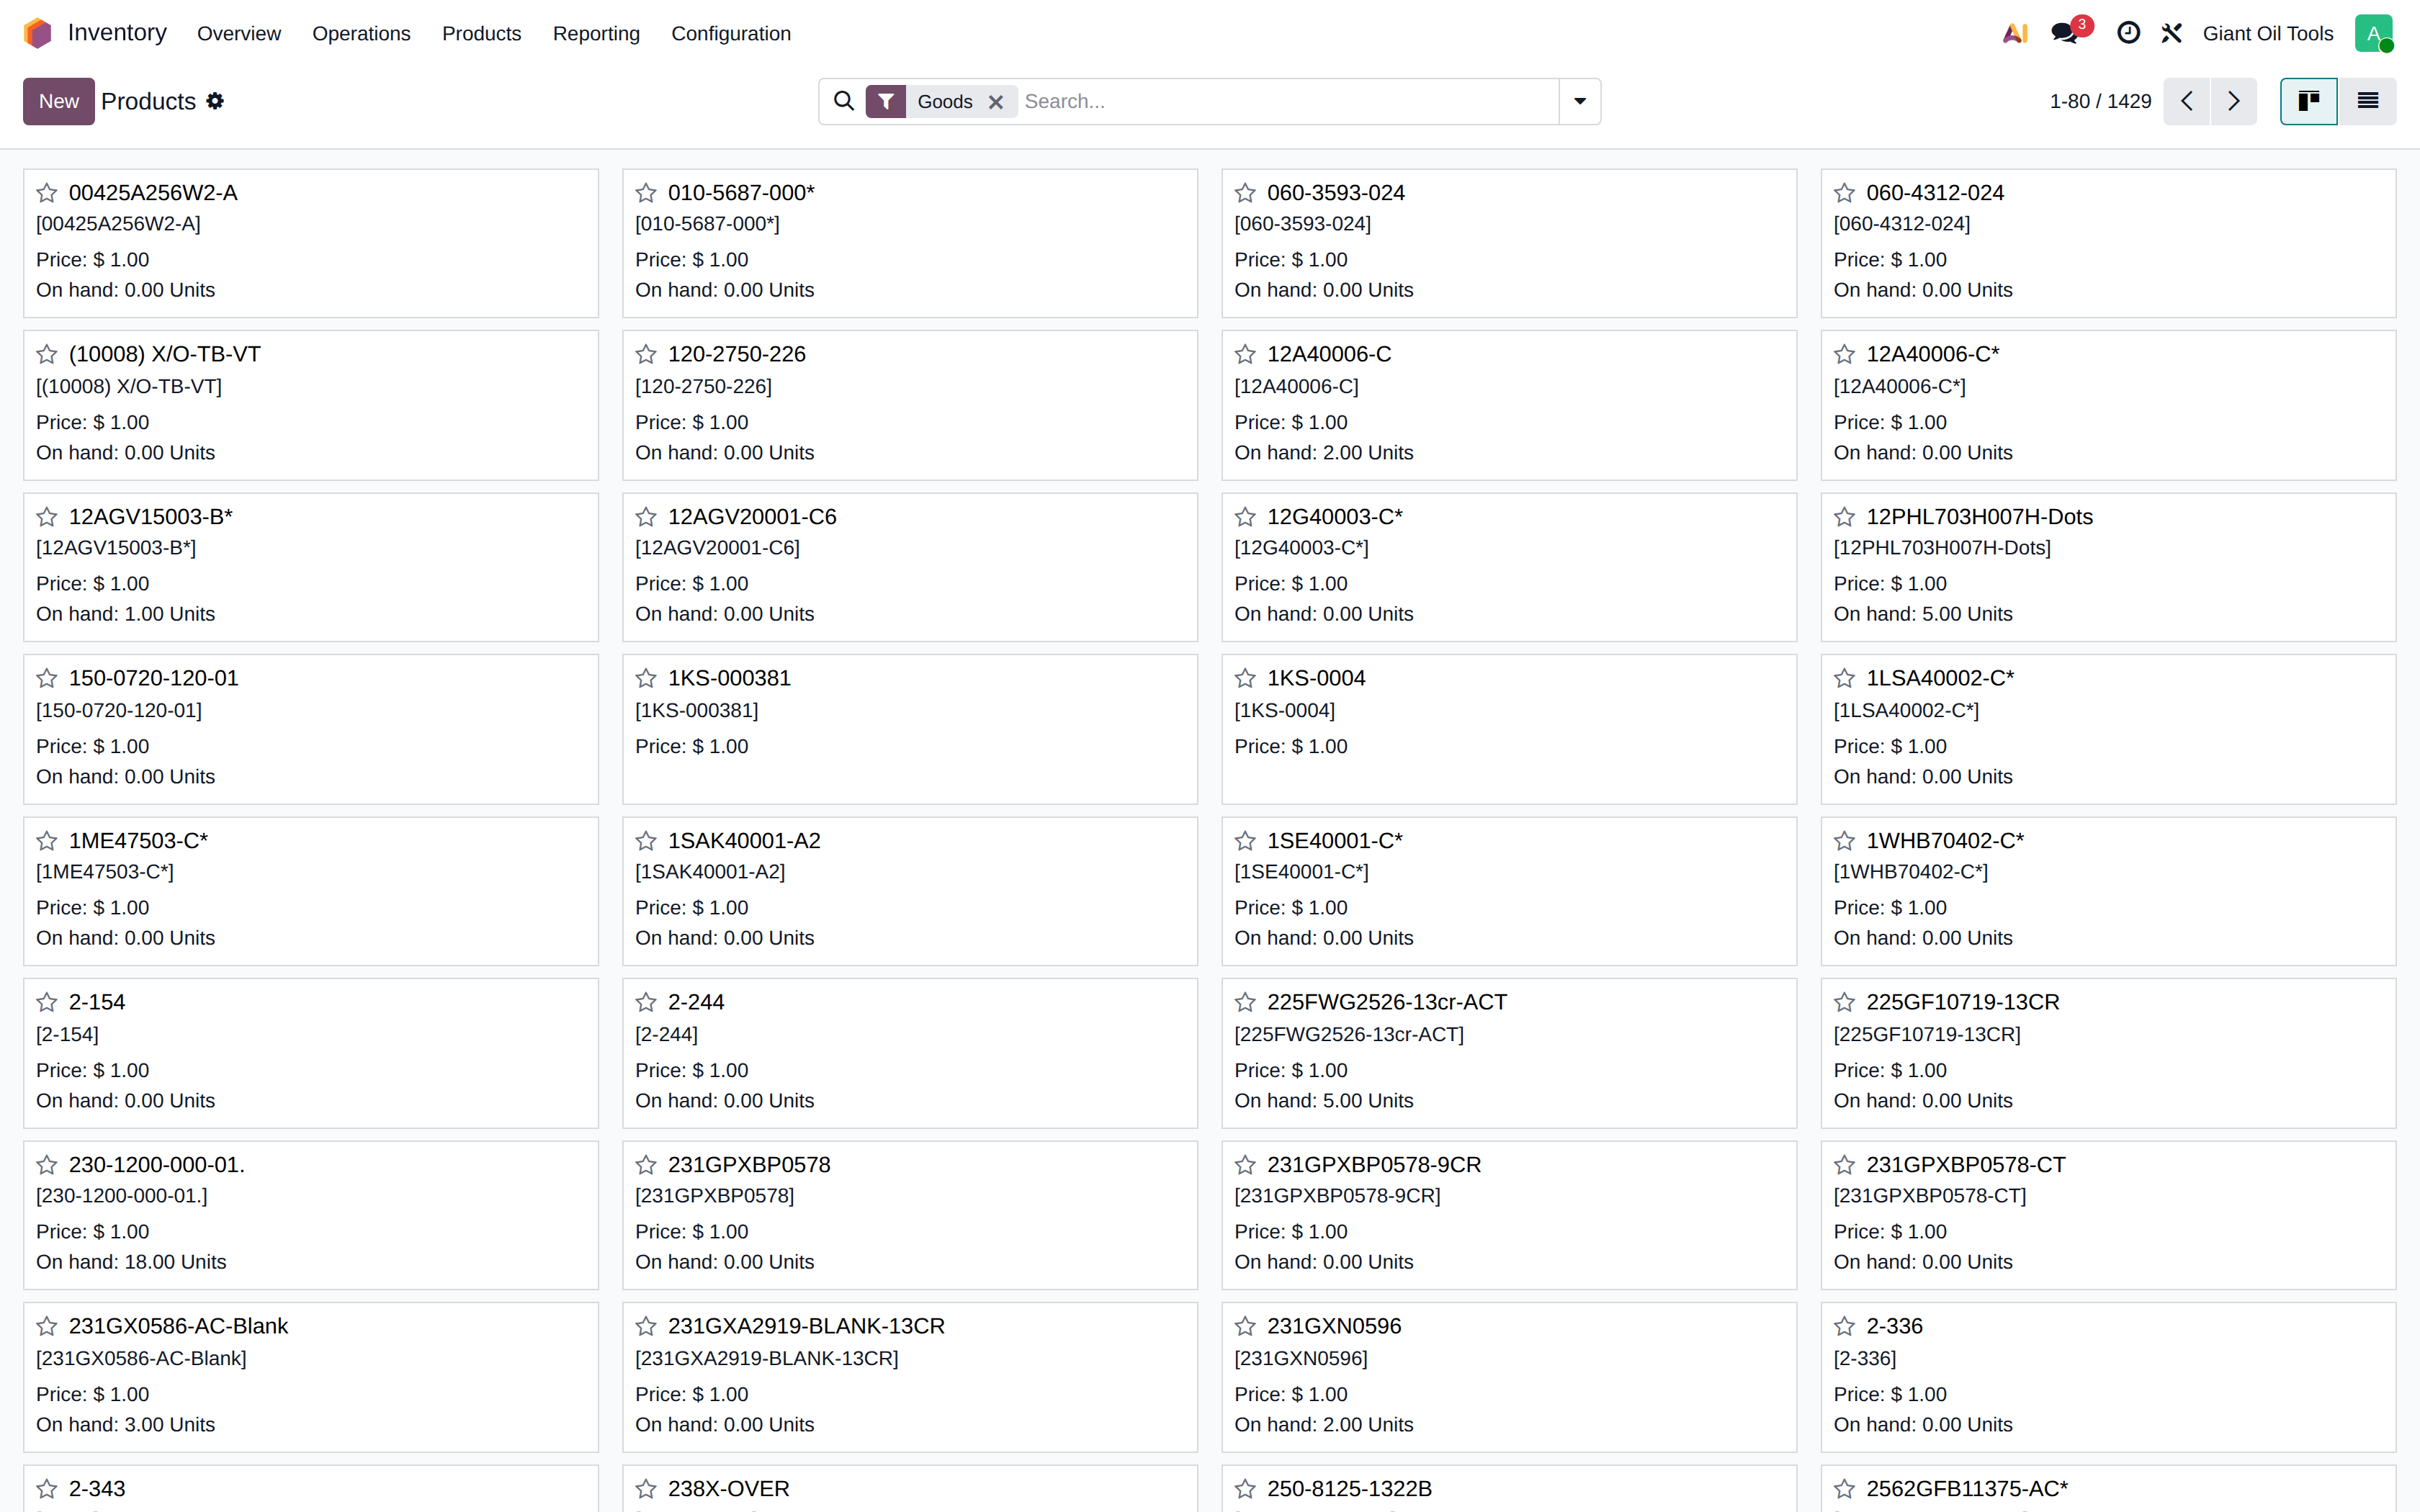
Products
The full product catalogue from the inventory side.
The product form
The most important settings for stock control: • Product Type — Goods with Track Inventory enabled for stocked items, Service for labour and charges. • Unit of Measure — the stock-keeping unit; a purchase unit can differ, with a conversion factor. • Tracking — By Lots for tools, so each part number is followed individually. • Product Category — determines the stock, stock-input, stock-output and price-difference accounts, plus the costing method (FIFO) and the valuation method (automated). • Routes — how the item is supplied: bought, or produced through Repair & Redress.
The smart buttons open on-hand quantity, forecast, purchase and sales history for the product.
Locations
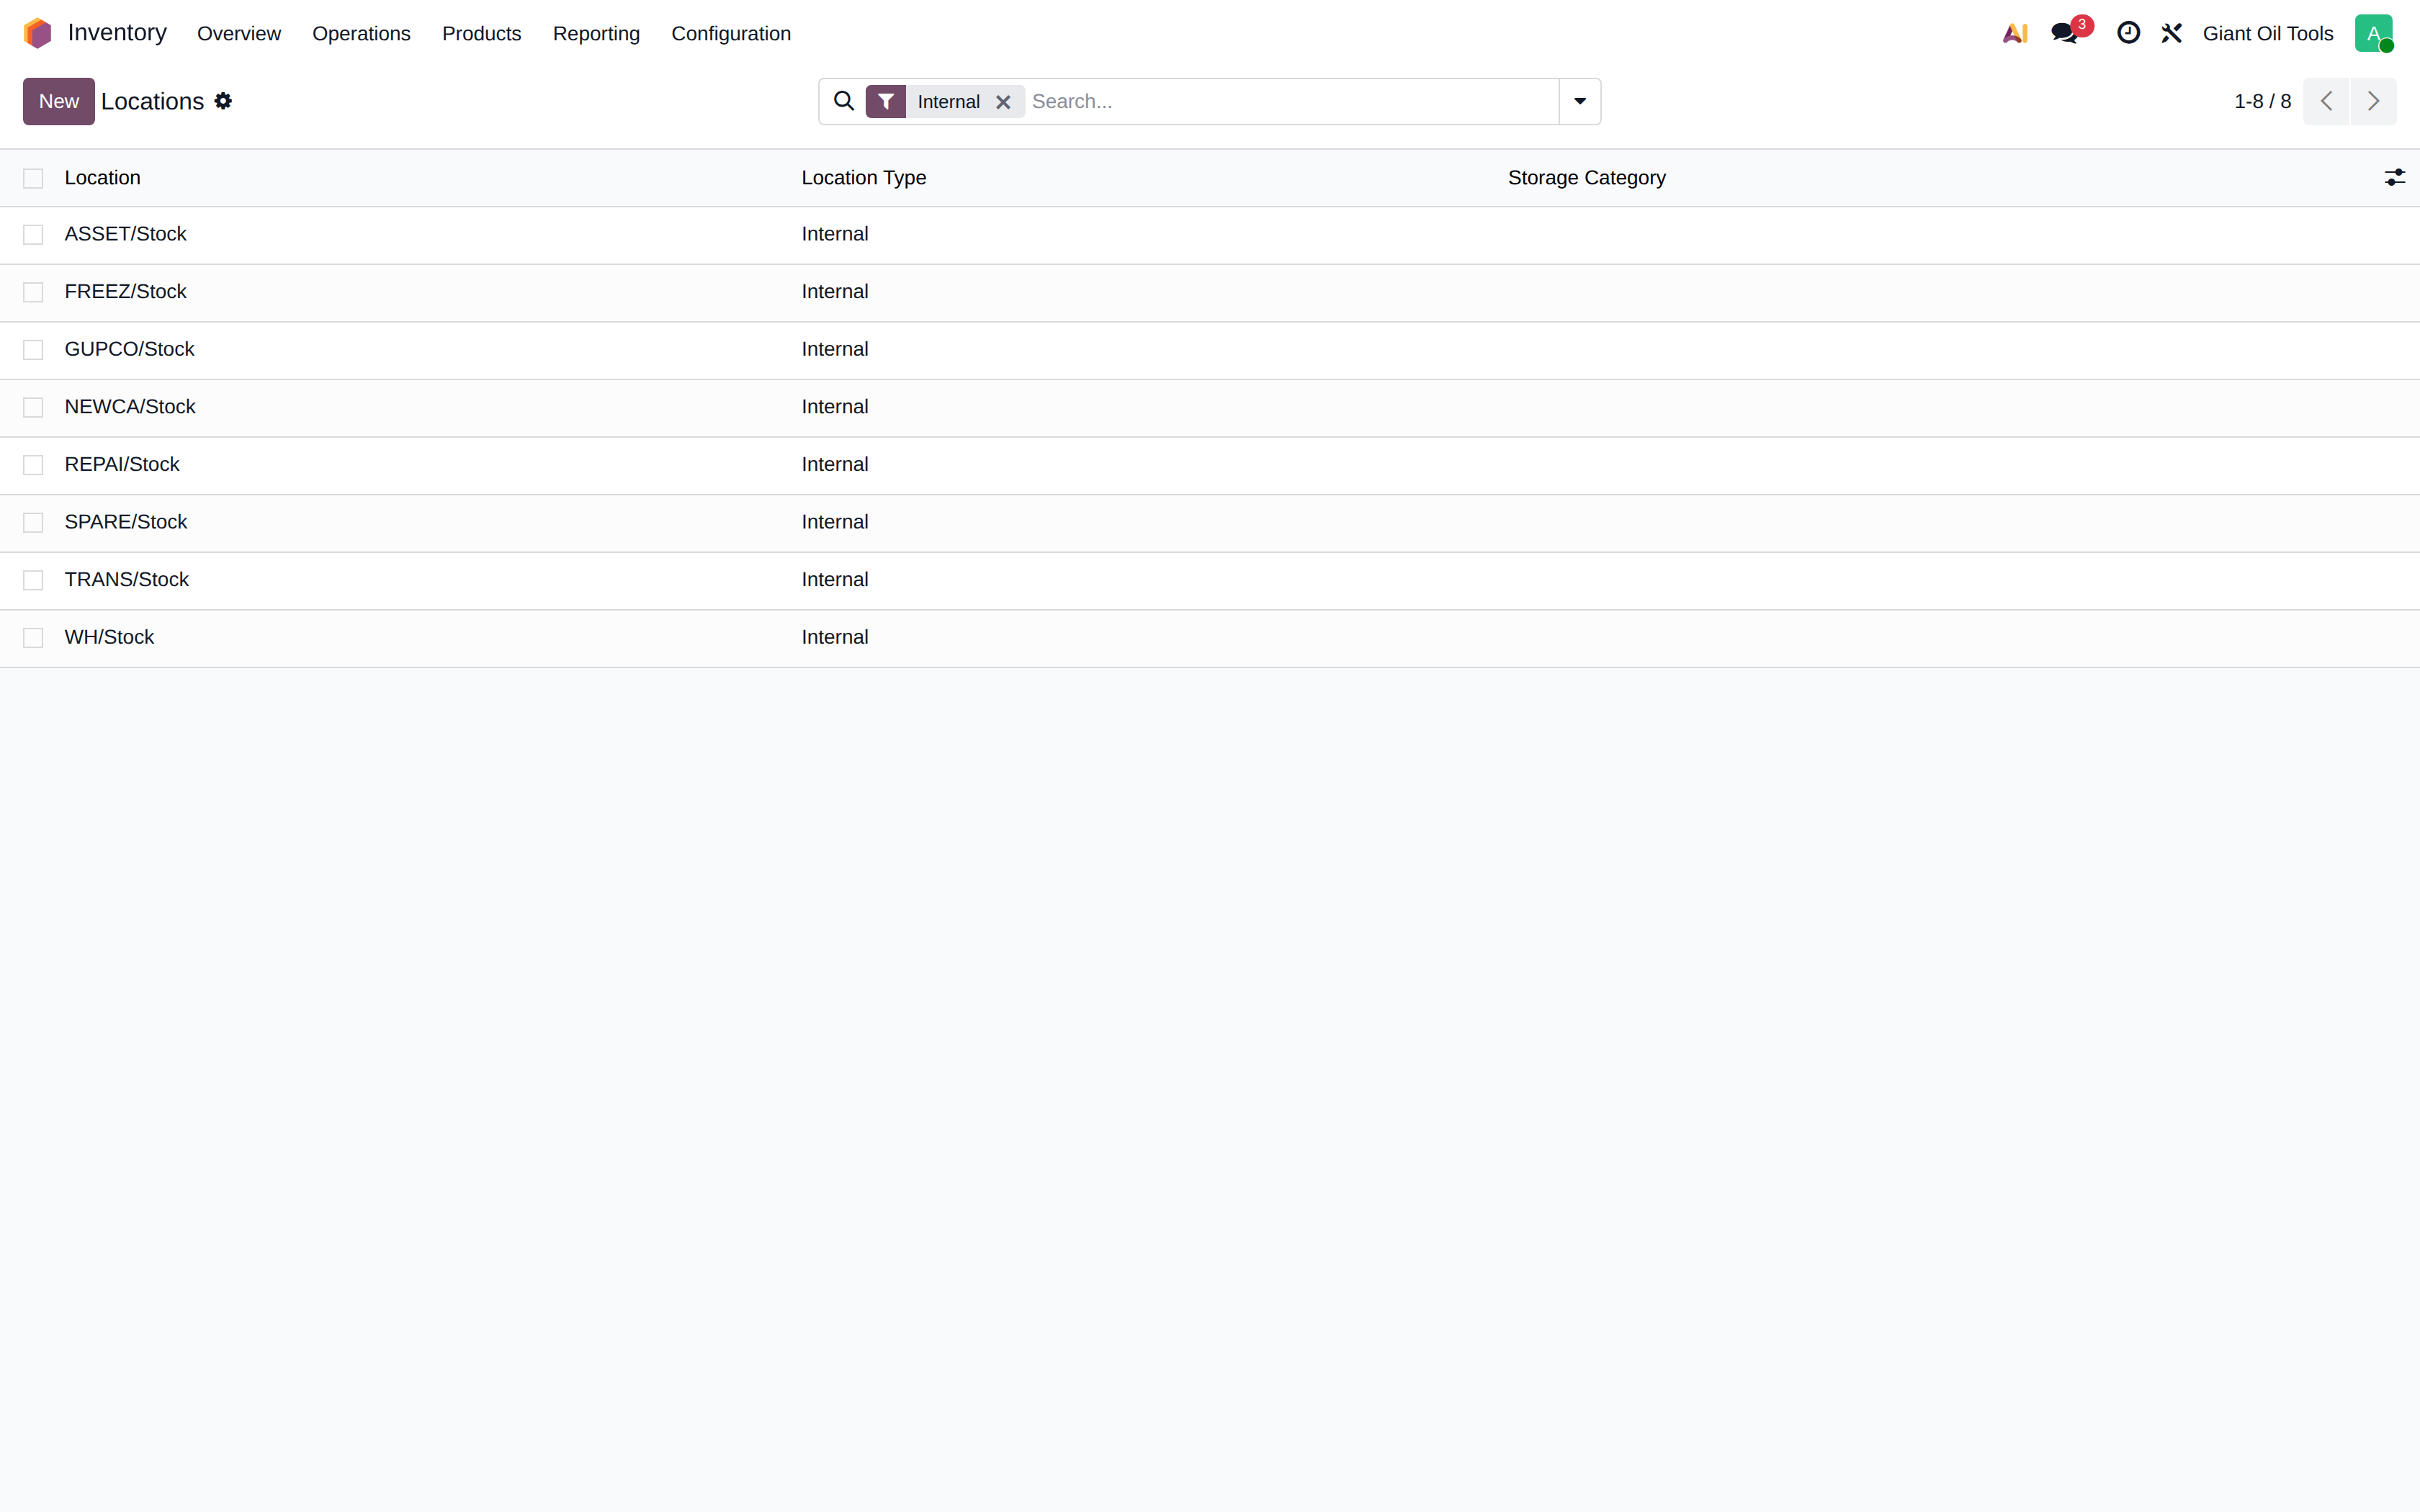
The physical and logical structure of your warehouses — stores, workshop, quality area, scrap, and the virtual locations used for production and inventory adjustments.
Warehouses
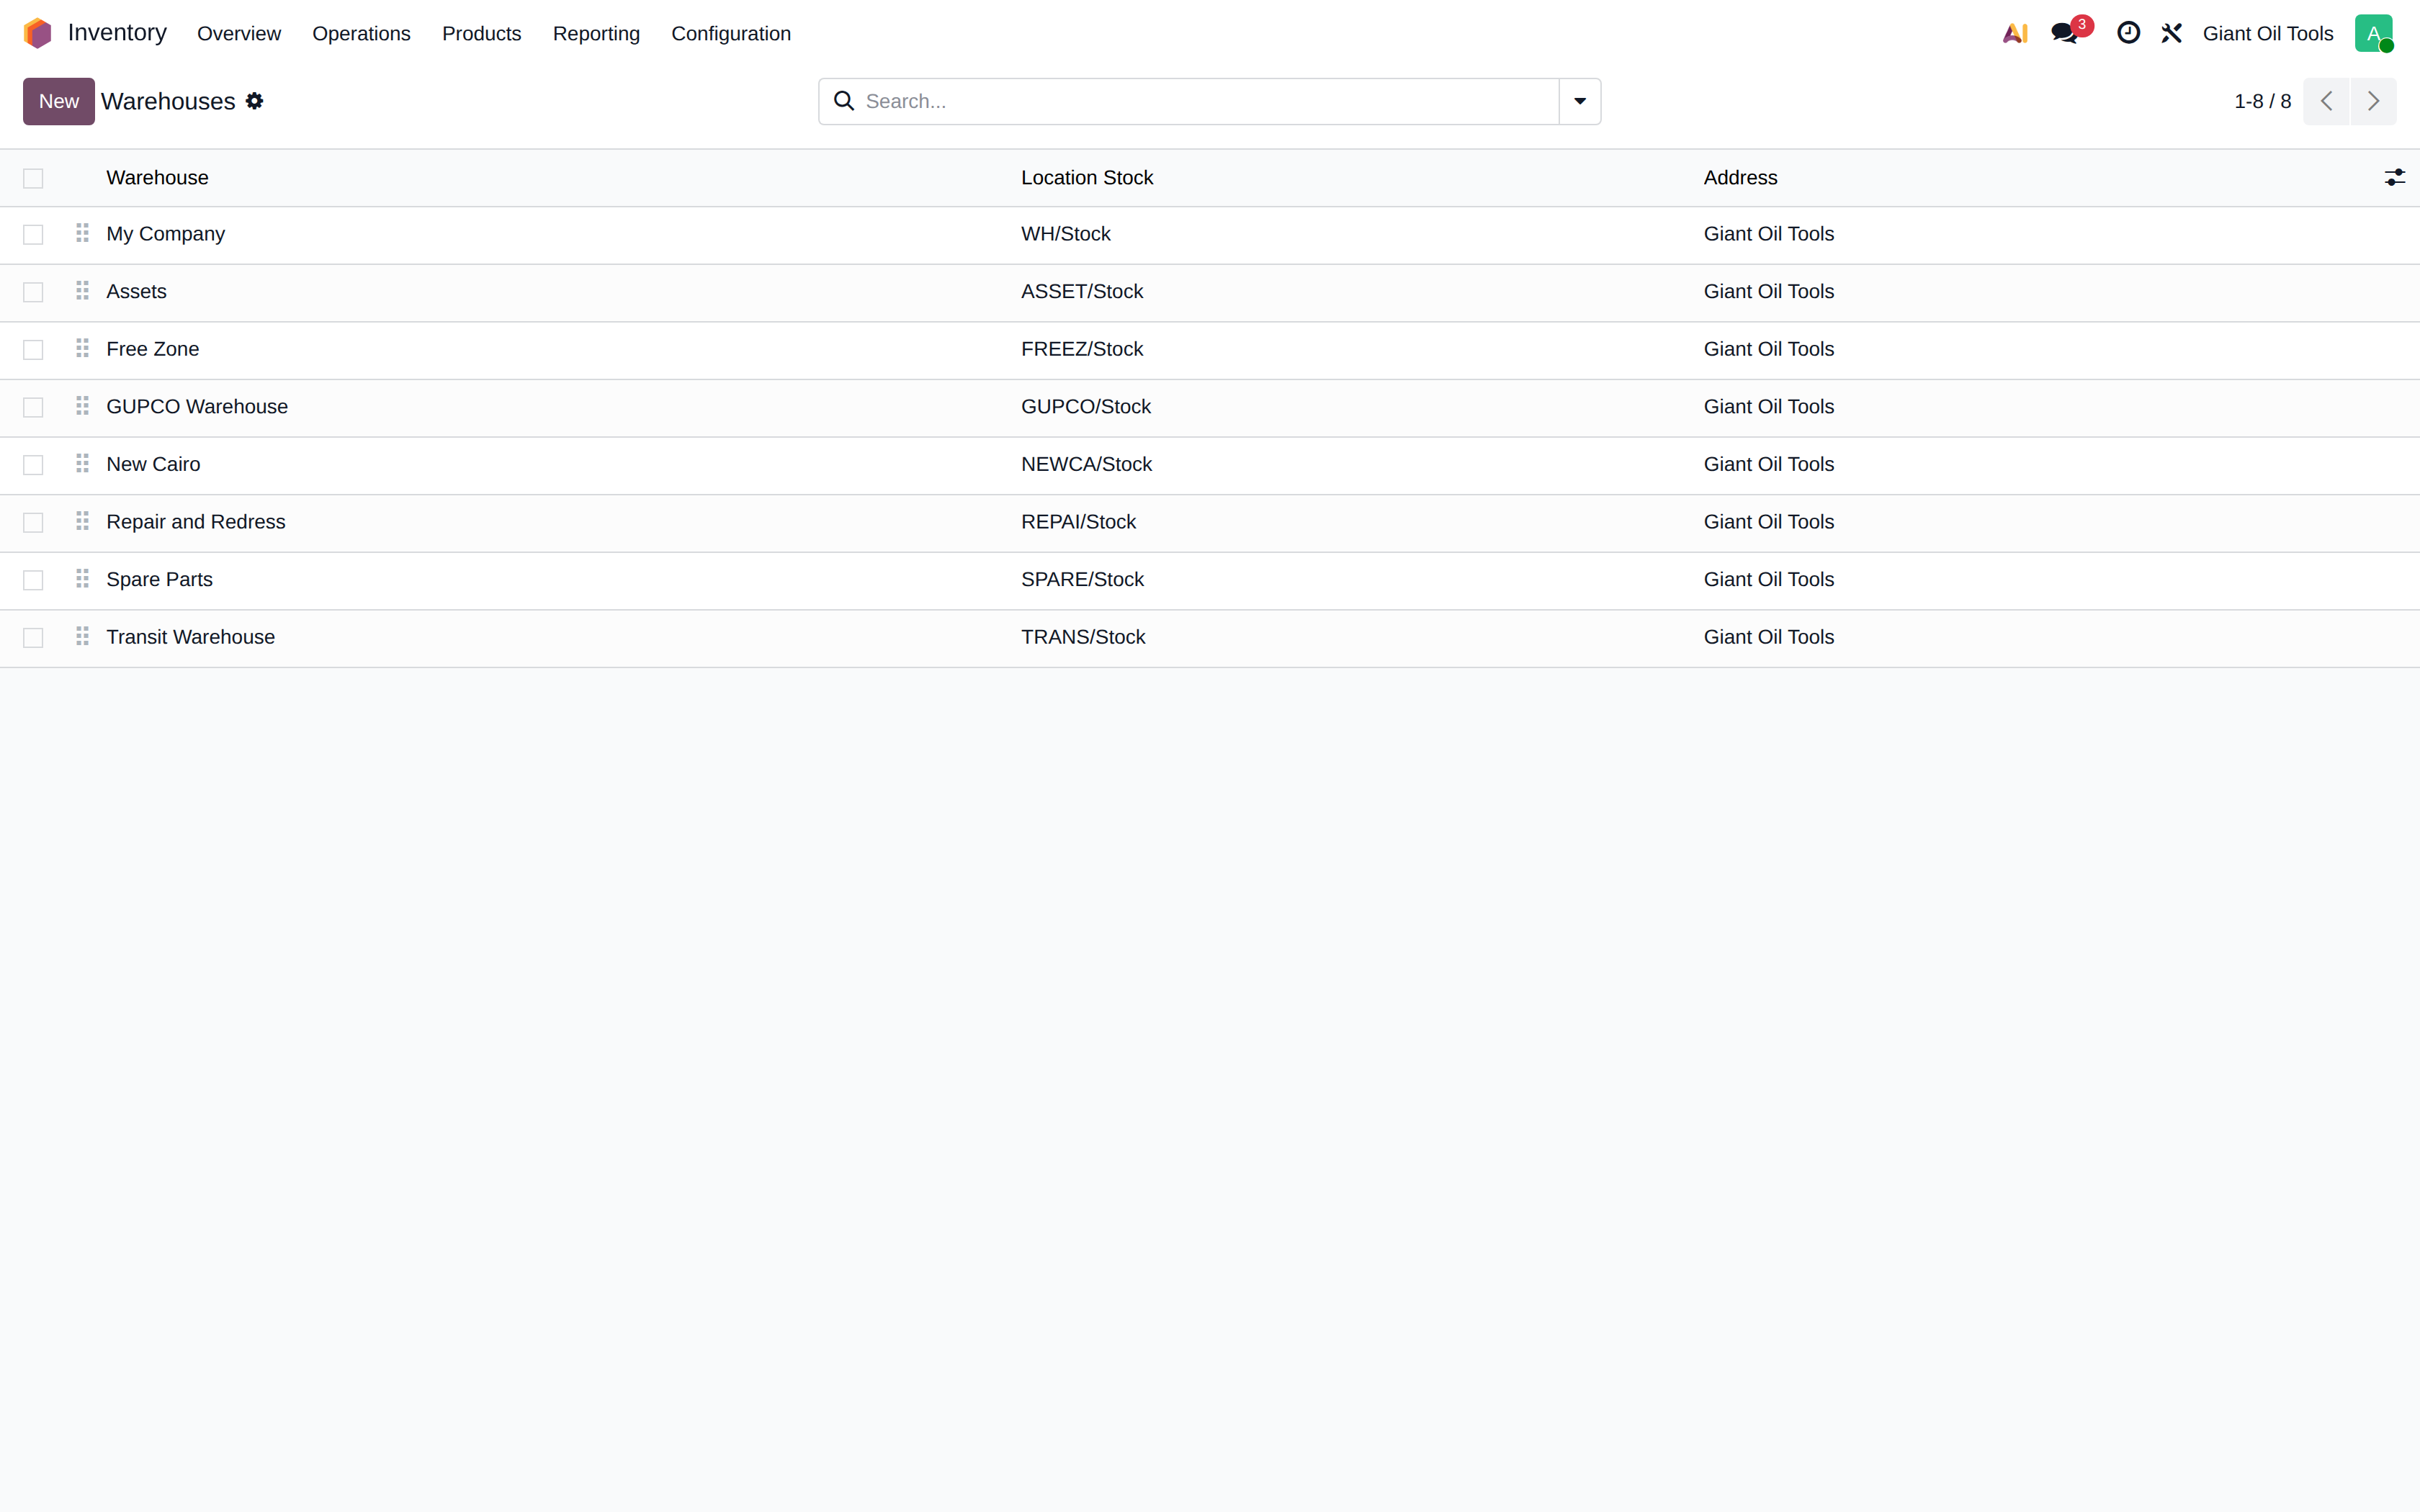
Each warehouse defines its own receipt, delivery and internal operation types and the number of steps in each flow.
Every warehouse posts to its own inventory account, so the balance sheet shows where the goods physically are: • Free Zone → 11530 Inventory FZ • GUPCO → 11515 Inventory Cons. (Customer) • Transit → 11510 Inventory in Transit • New Cairo, Repair, Spare Parts, Assets → 11520 Local Inventory
Moving goods between two warehouses is not a purchase or a sale, so Odoo does not value it. The system therefore posts its own reclassification entry on validation — debit the destination account, credit the source account — and links it to the transfer, so each account always equals the stock in its warehouse.
Landed costs
Additional costs — freight, insurance, customs — spread over the value of received goods so that the stock value reflects the true landed cost. The customs entries created automatically on receipt appear in this list and can be reviewed here.
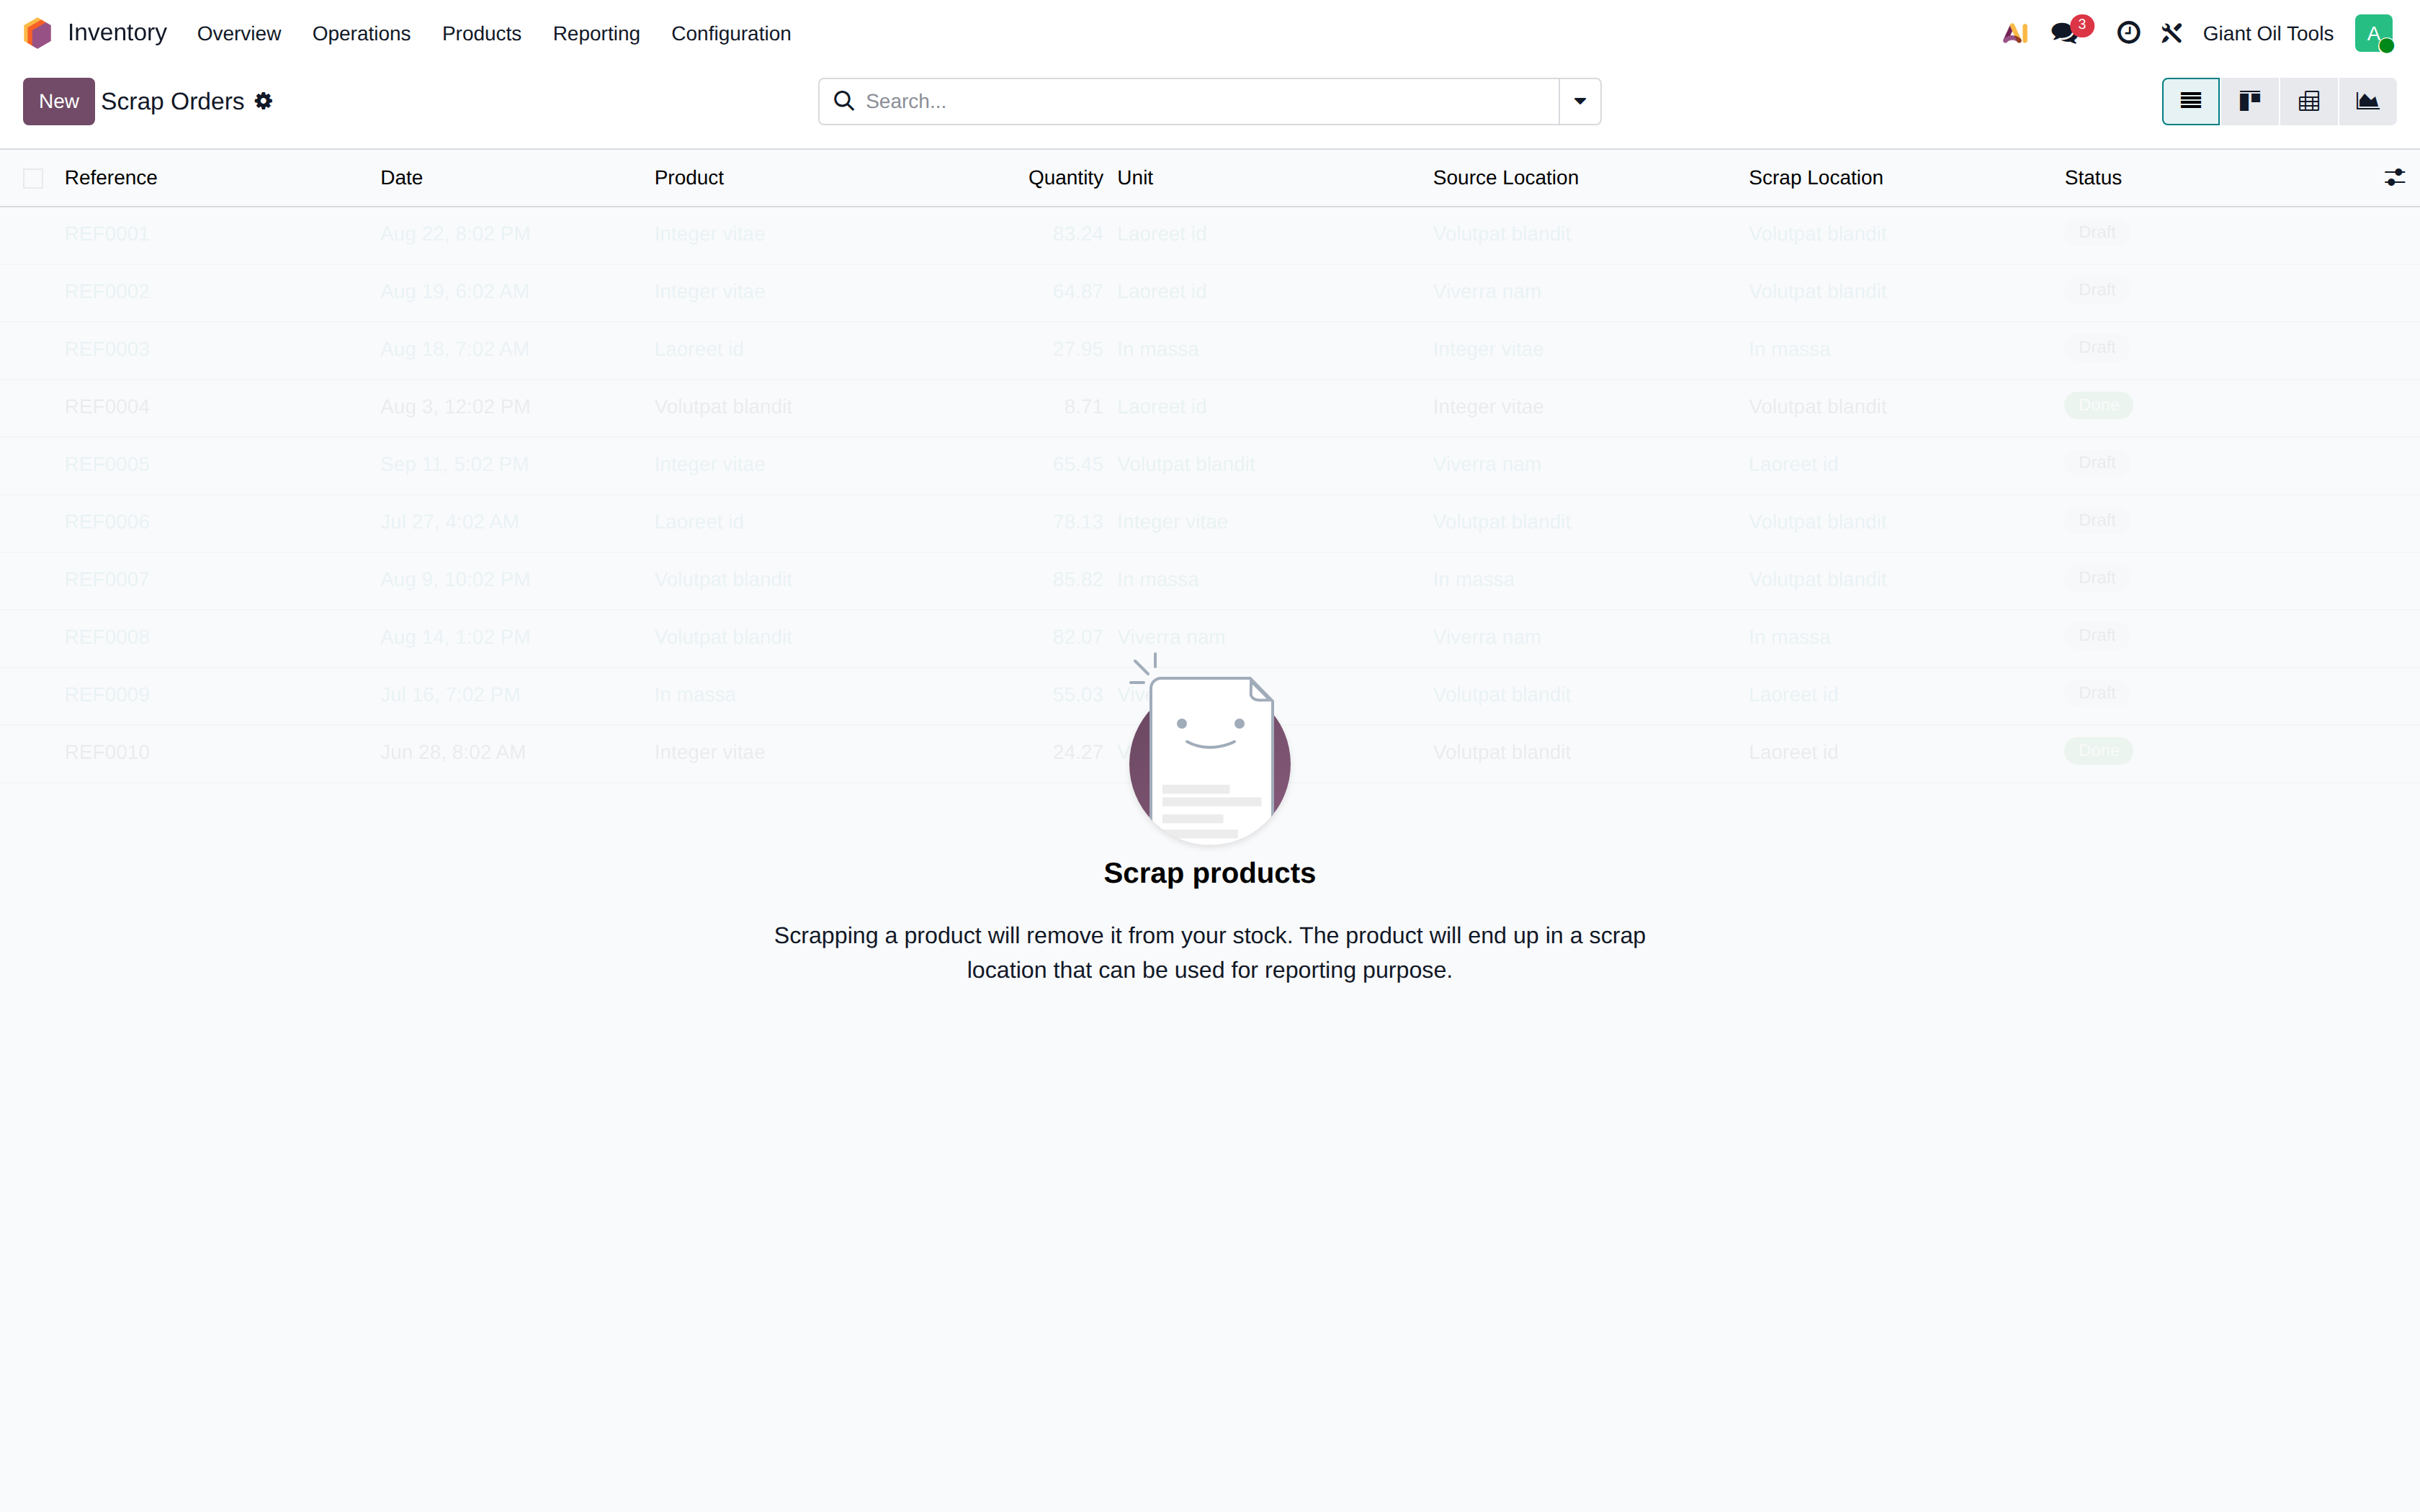
Scrap orders
Records tools or materials written off as unusable. Scrapping moves the stock to the virtual scrap location and posts the write-off to the expense account.
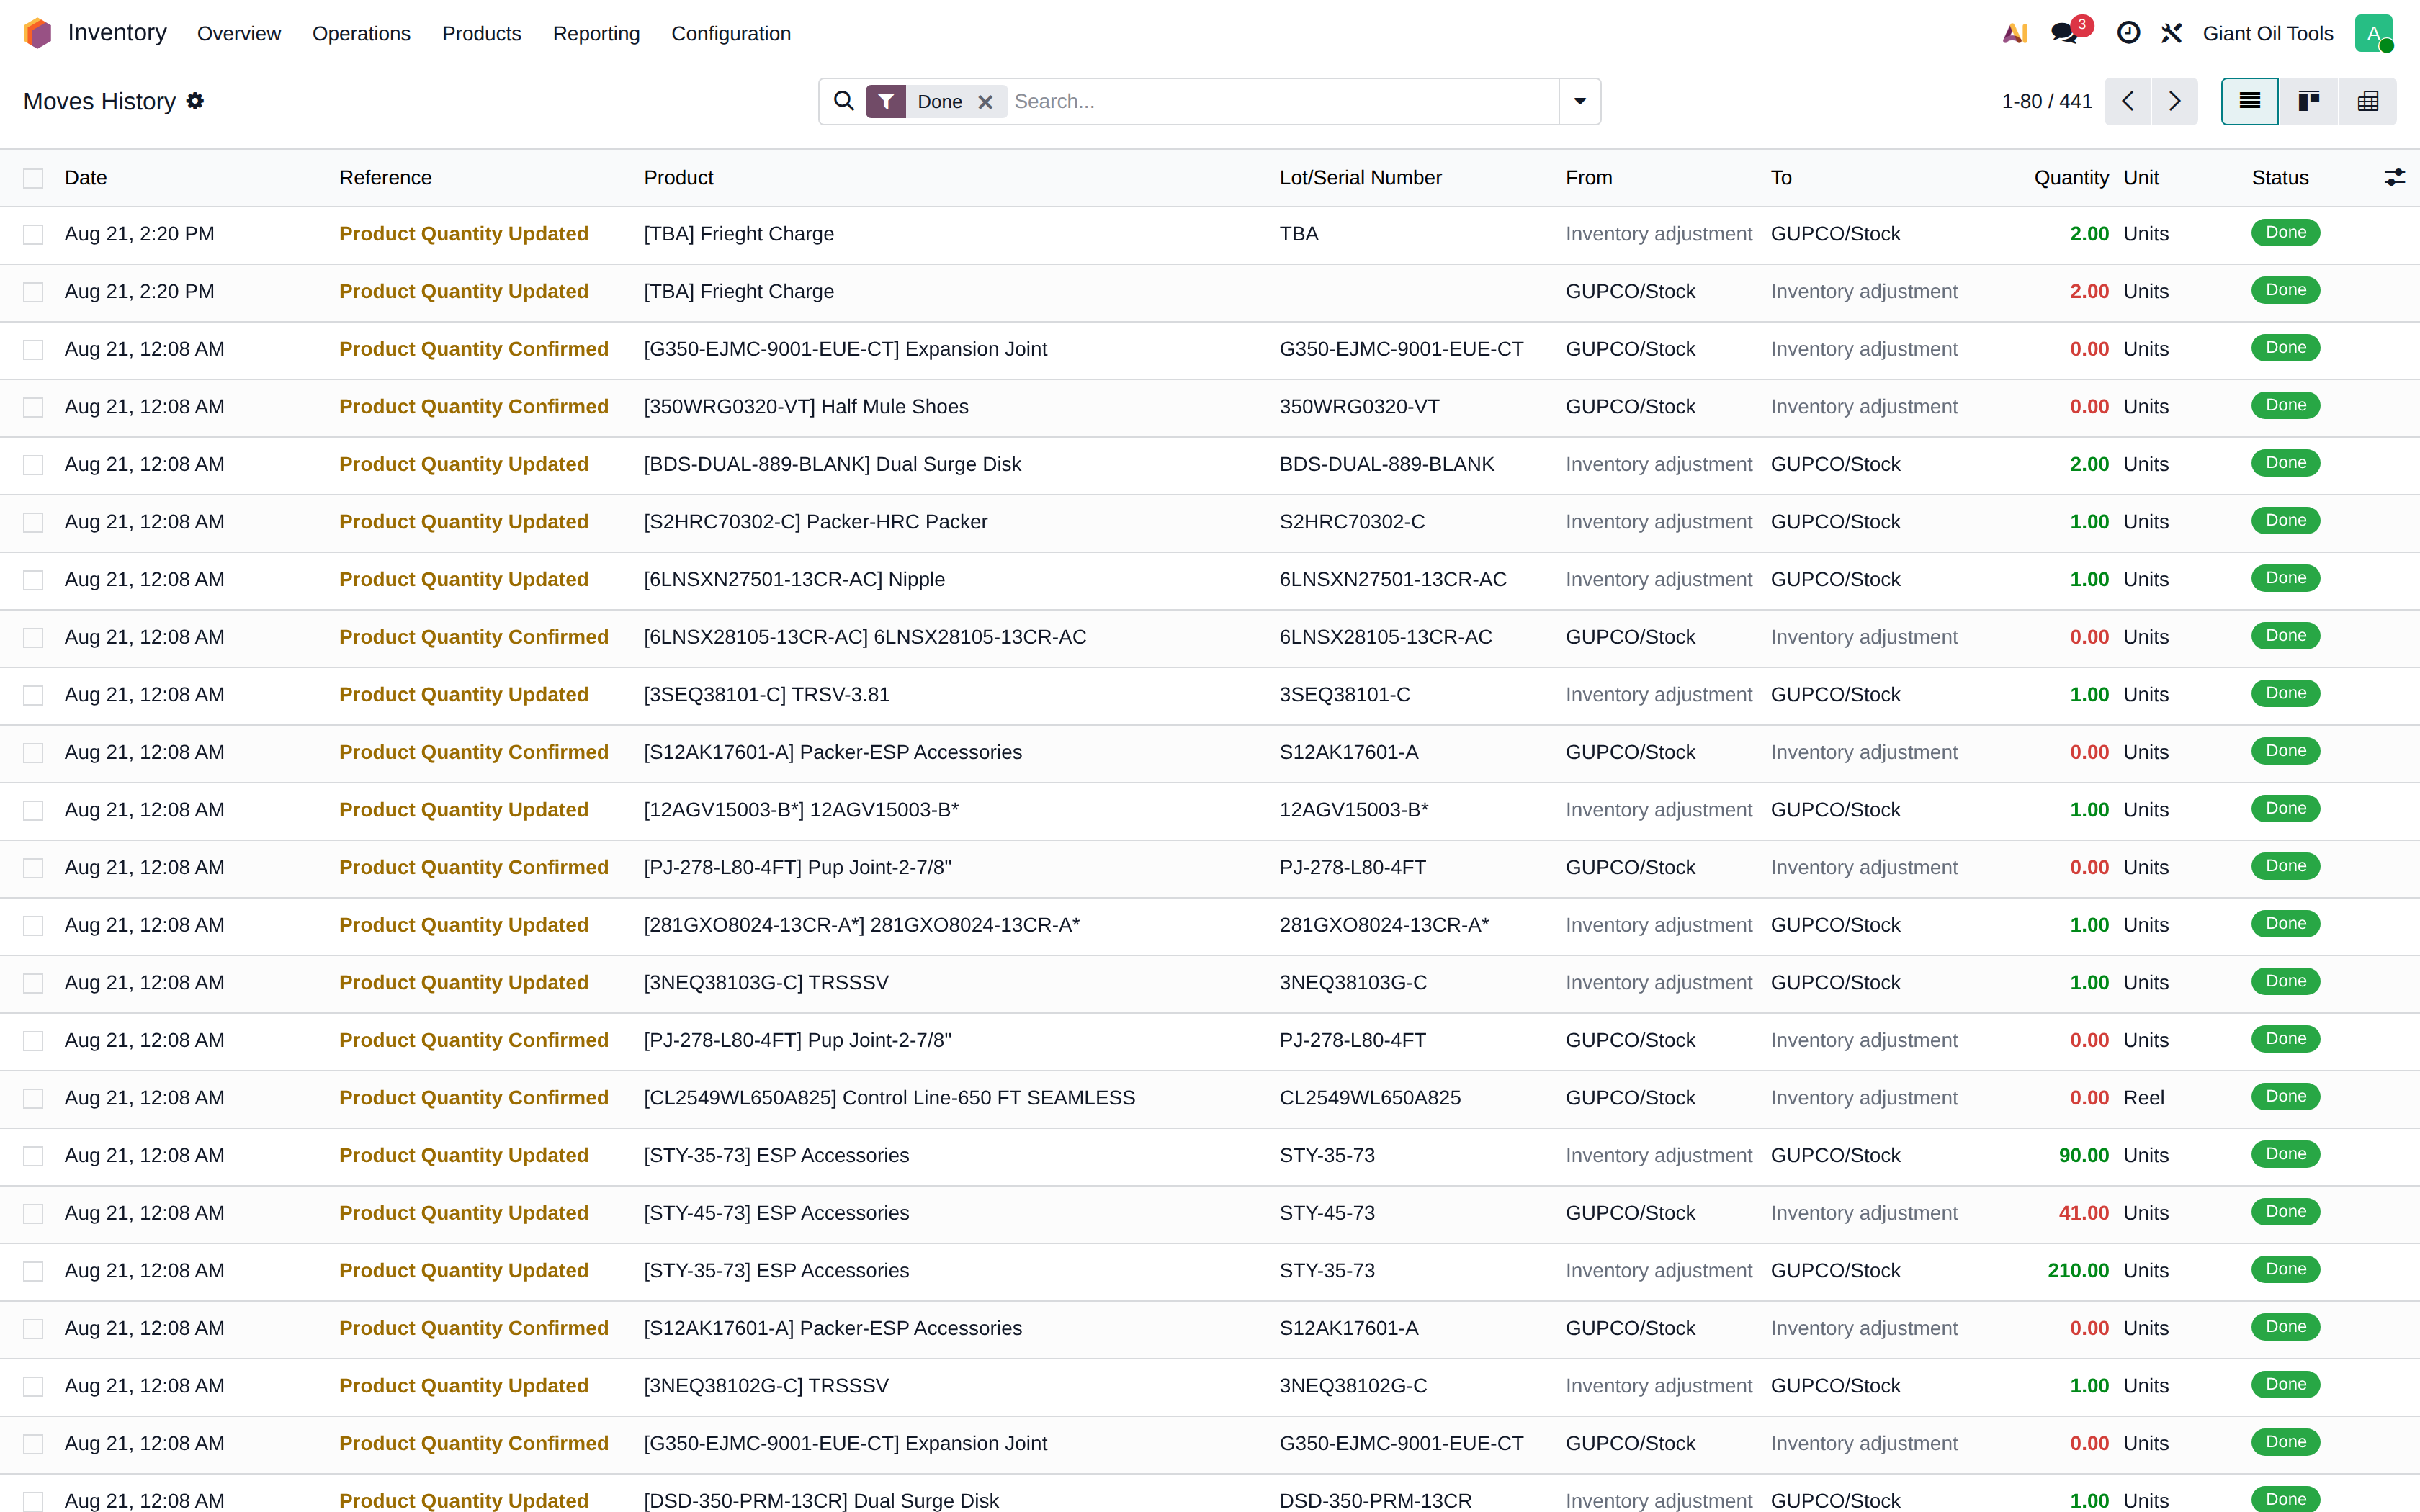
Moves history
Every completed stock move, with source and destination location, lot, quantity and date. This is the definitive record when investigating a stock discrepancy.
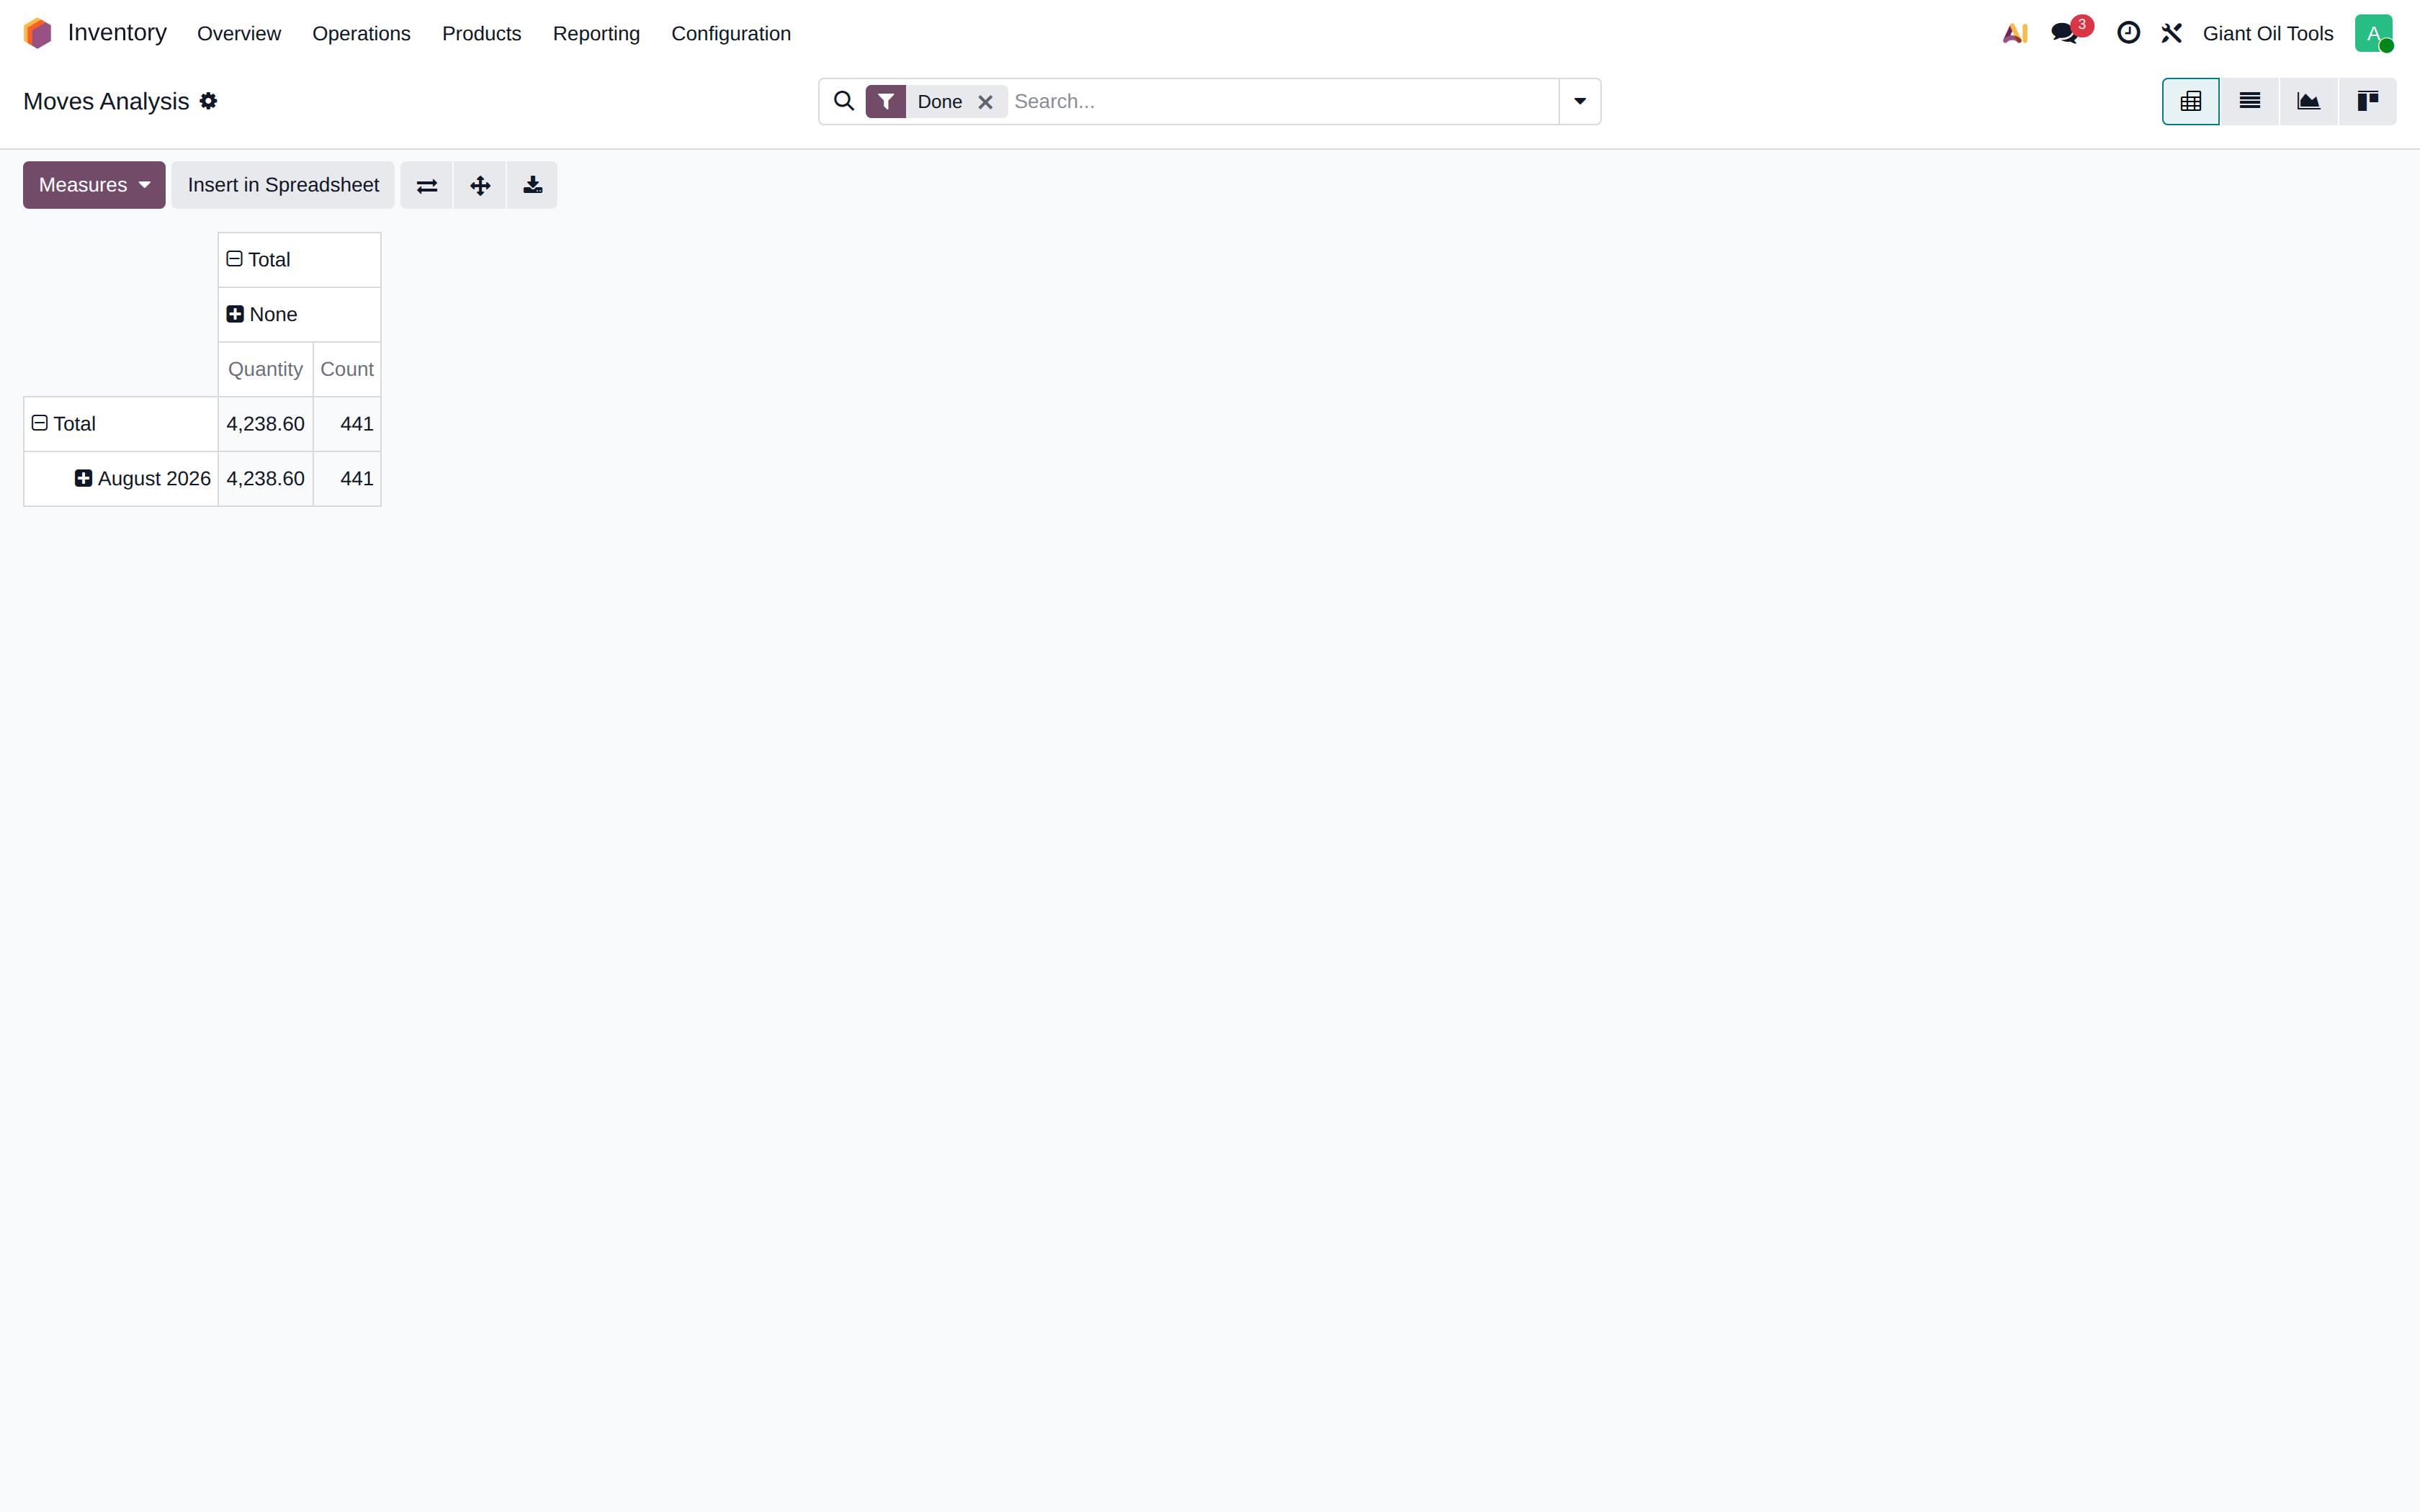
Moves analysis
The same data as a pivot/graph report for volume analysis by product, category or period.
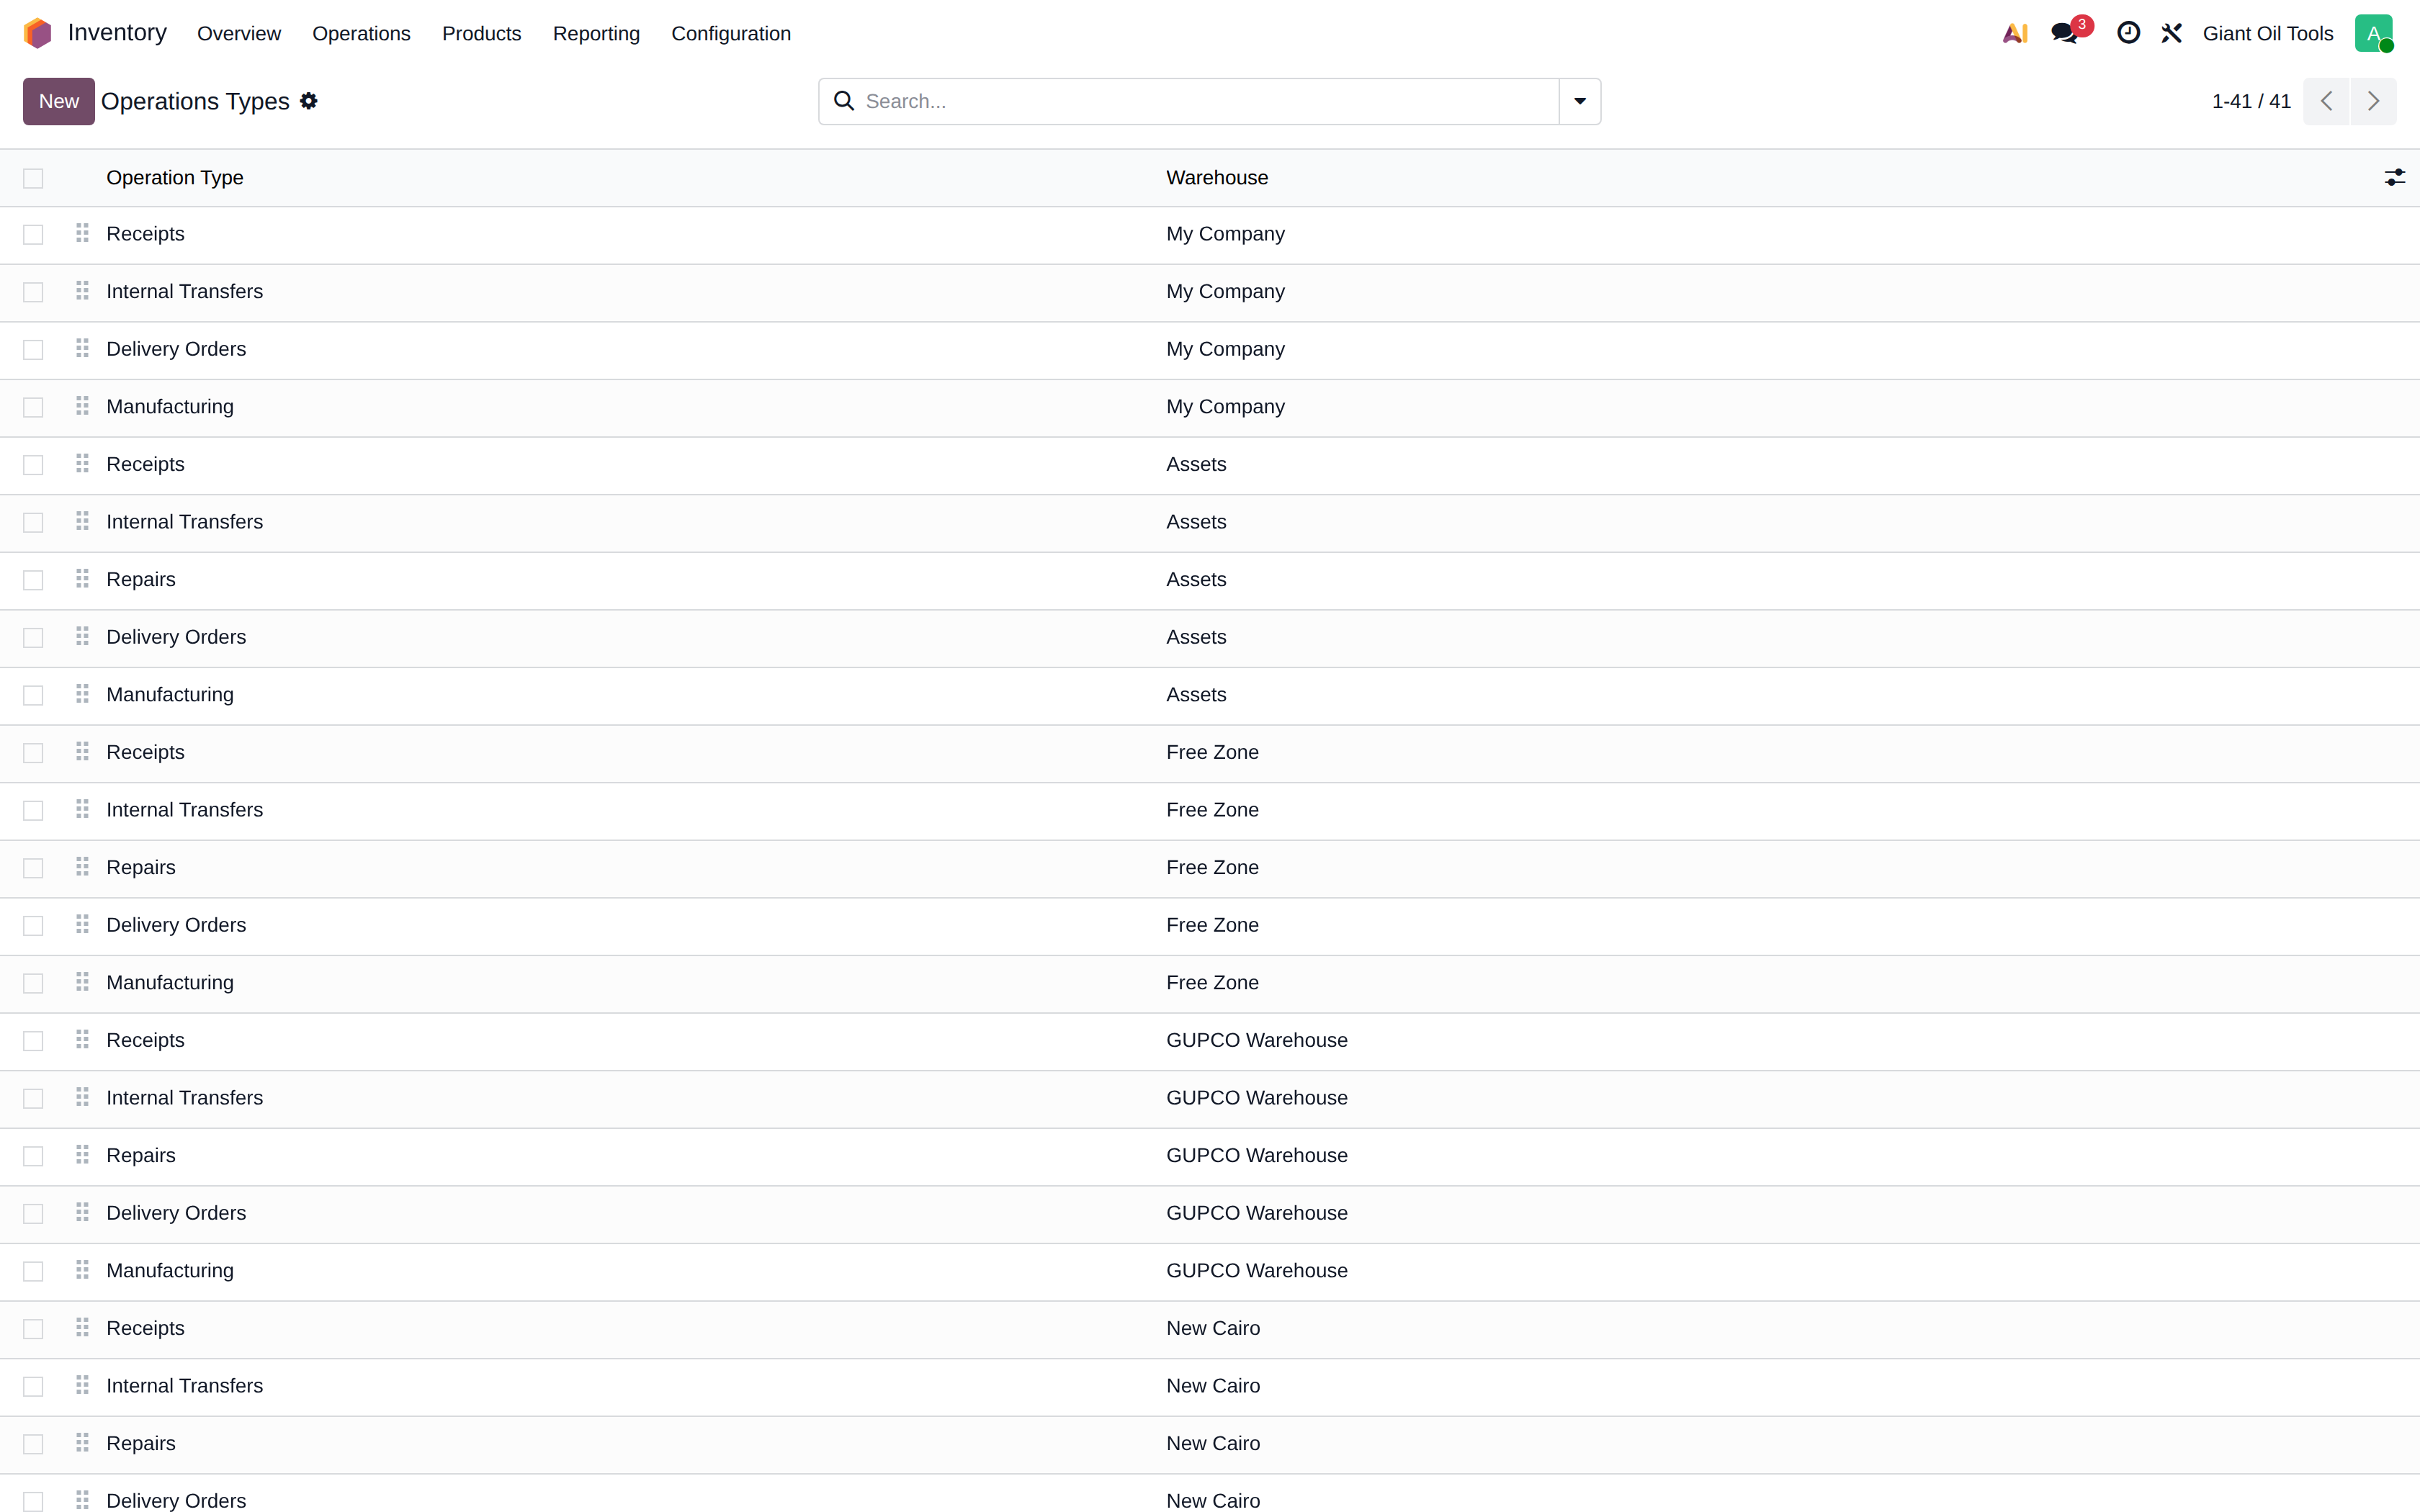
Operation types
Configuration of each kind of transfer: its sequence prefix, default locations, and whether it creates a backorder when only part of the quantity is processed.
Replenishment
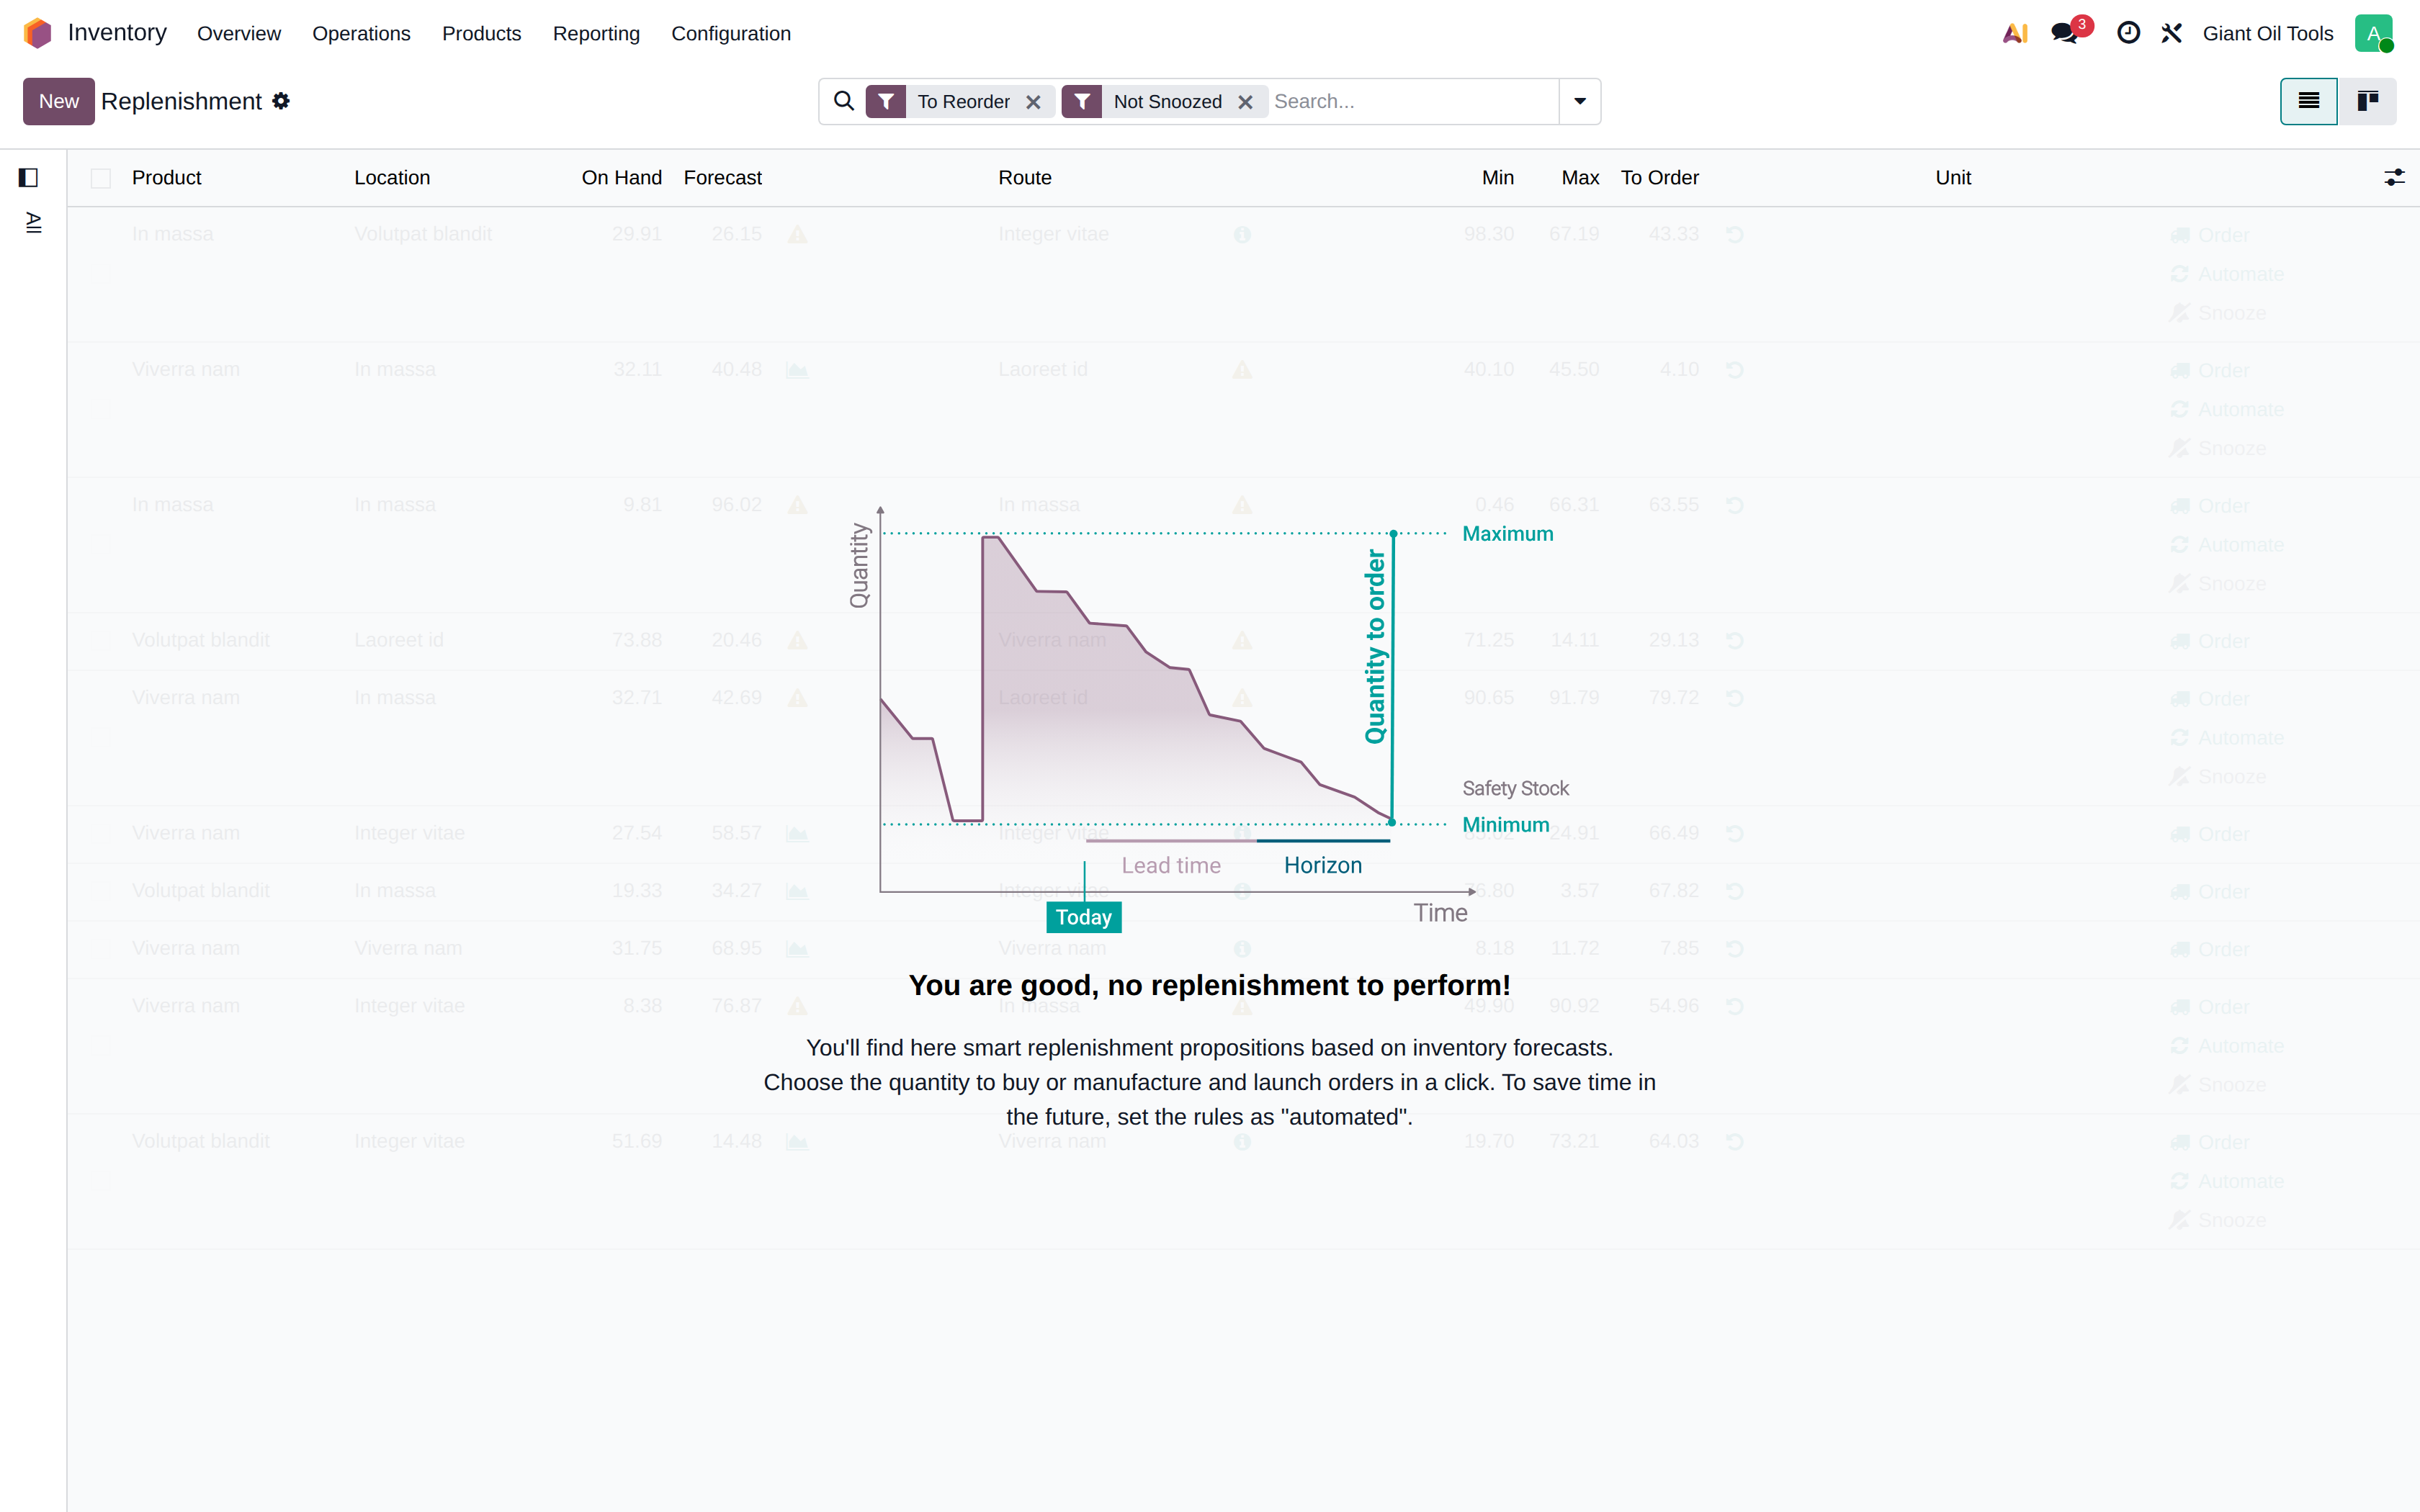
Reordering rules with minimum and maximum quantities per product and warehouse. Running the scheduler generates the purchase orders needed to bring stock back to the maximum.
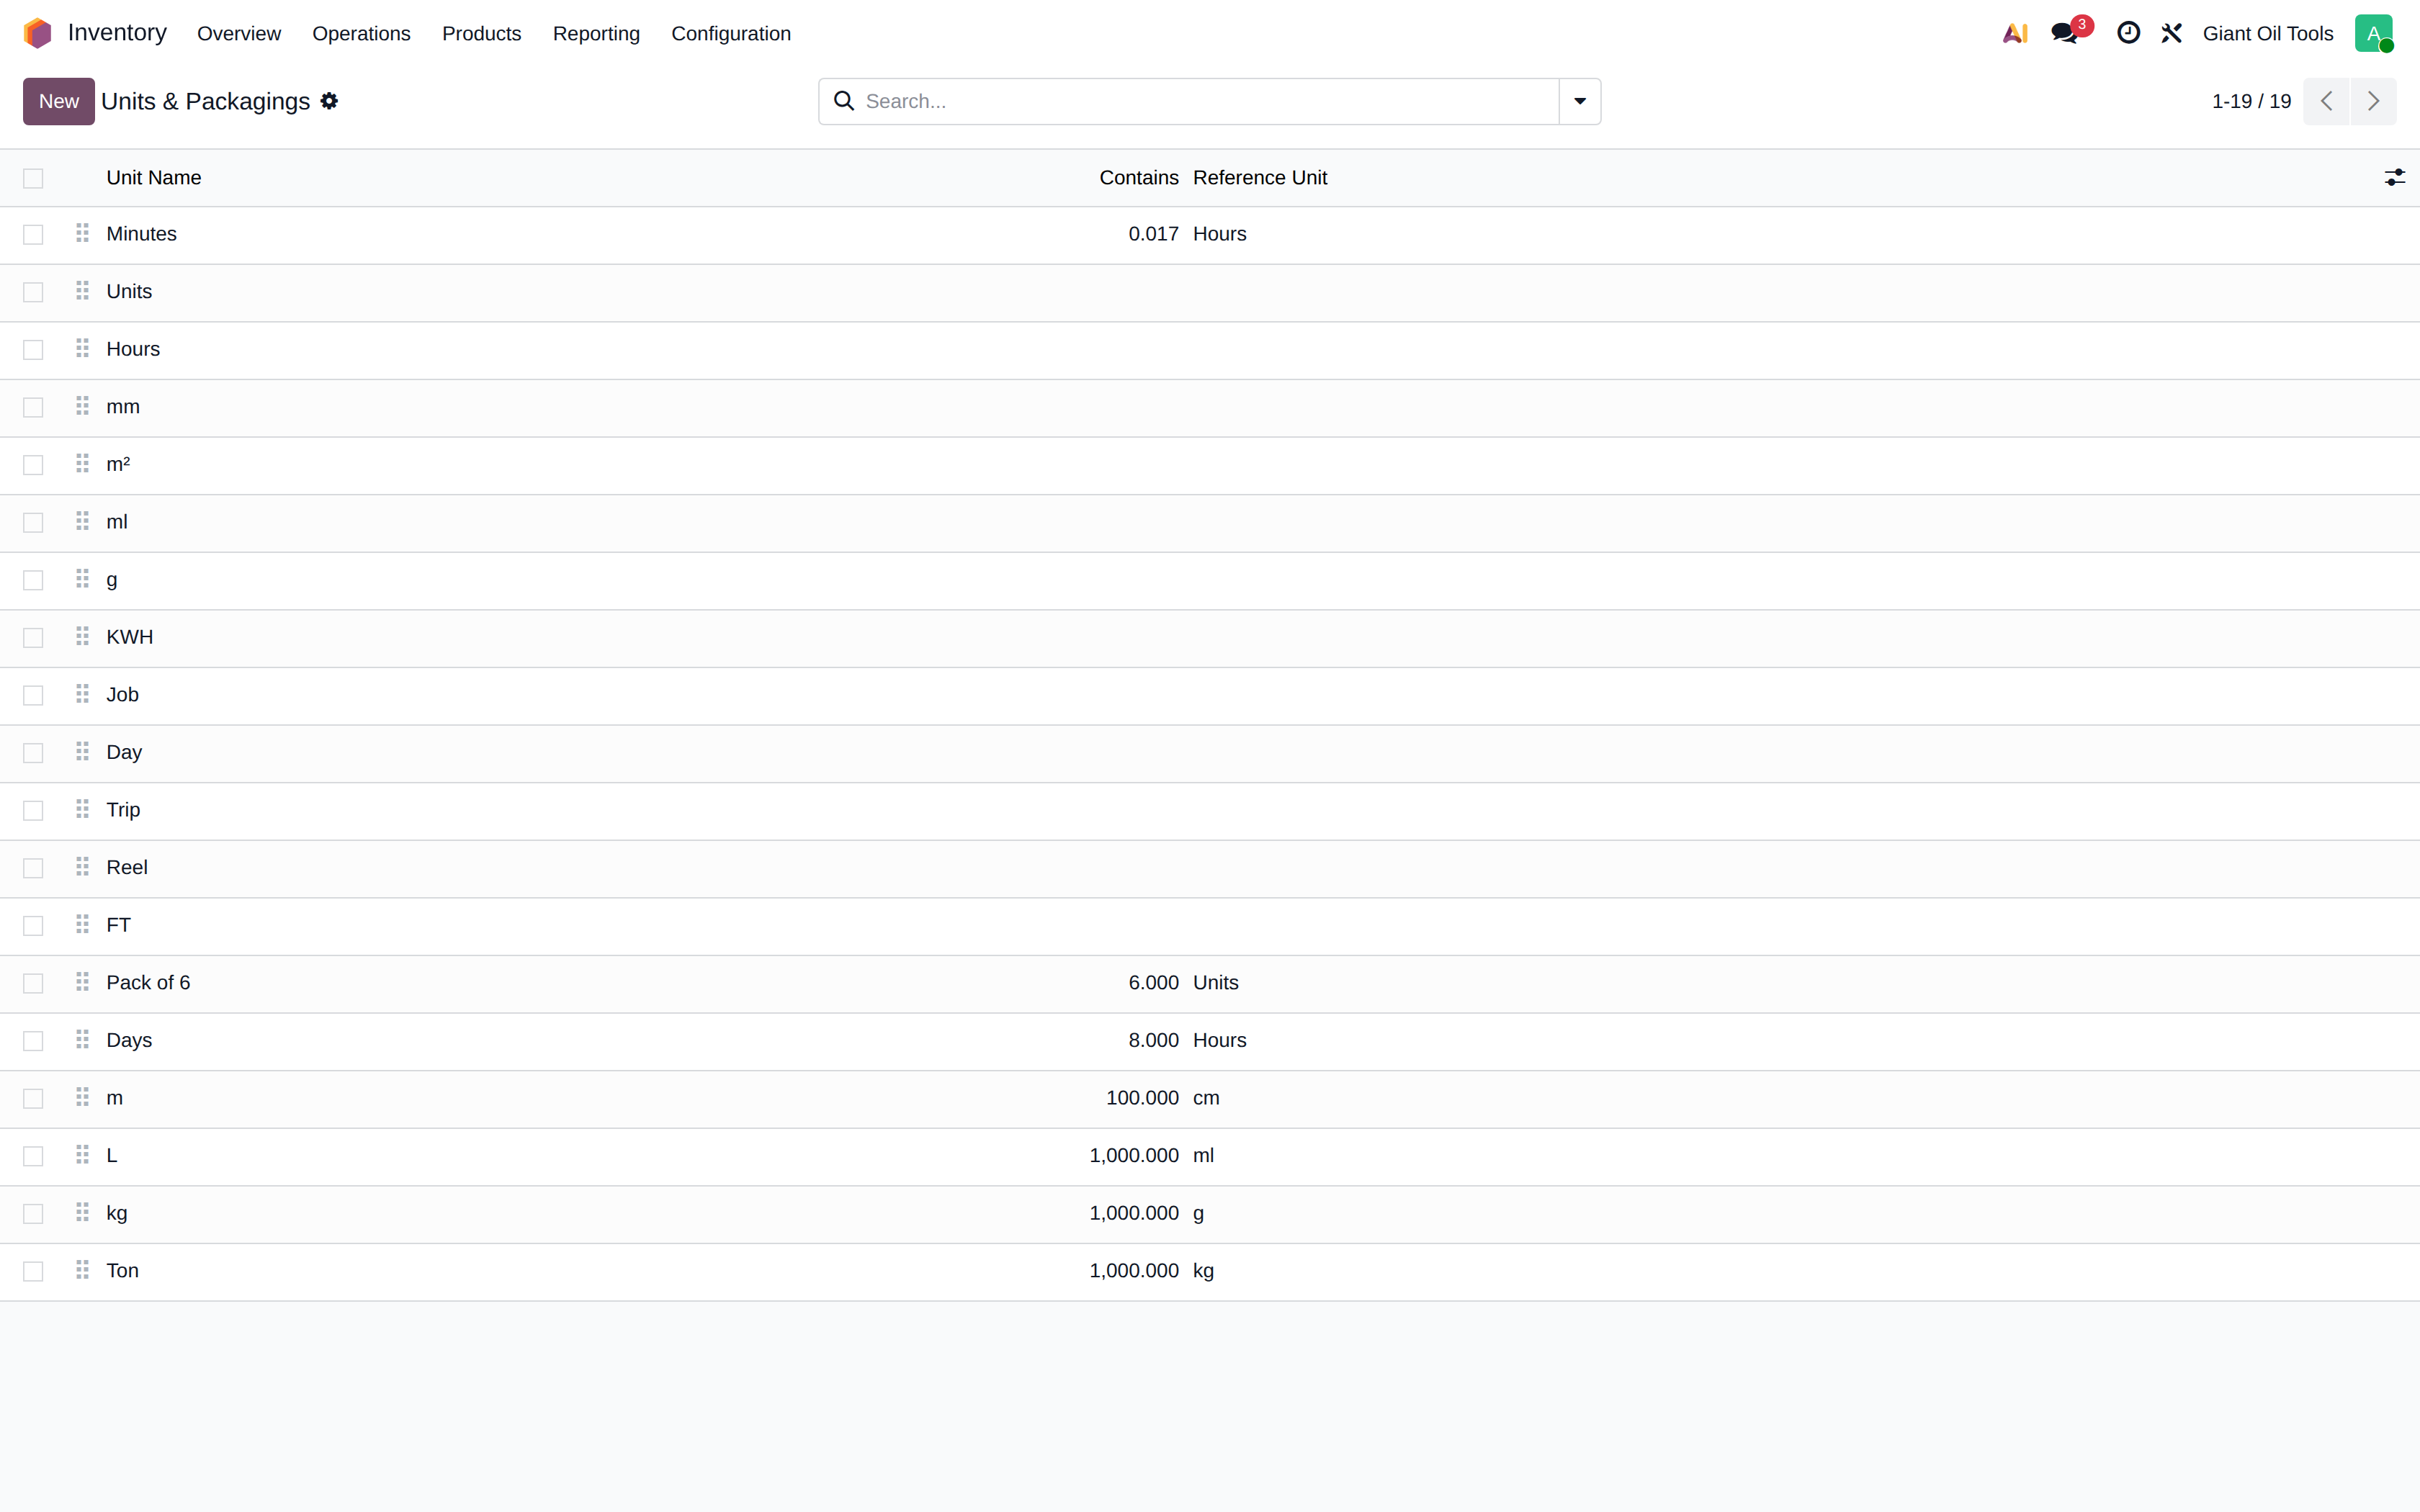
Units of measure
Units are grouped into categories, and conversion between two units is possible only when they sit in the same category, where one is the reference unit and the other carries a conversion factor.
Reel and FT. Control line is bought on drums whose length differs by product — 350, 500, 1,000, 2,000, 6,281, 11,000 feet and so on — so a single reel-to-foot factor cannot exist. The length is therefore held on the product instead; see Converting a reel into feet in the Giant Oil Tools chapter.
6Repair and Redress
Repair & Redress is the Giant Oil Tools process for restoring used tools, and it is the only
production process the company runs — there is no separate manufacturing activity. A repair consumes
the used tool plus spare parts and produces a repaired tool, and it can optionally produce a
second output — a by-product recovered during the repair — with a controlled share of the
cost allocated to it.
Technically the process is built on Odoo's manufacturing engine, which is why it inherits full
component consumption, lot traceability and FIFO costing. You never need to open the Manufacturing
application: everything is done from the Repair and Redress screens described in this
chapter.
How it is done
hover to play · click for full screen
Repair Types
How the Repair Type controls the second final product.
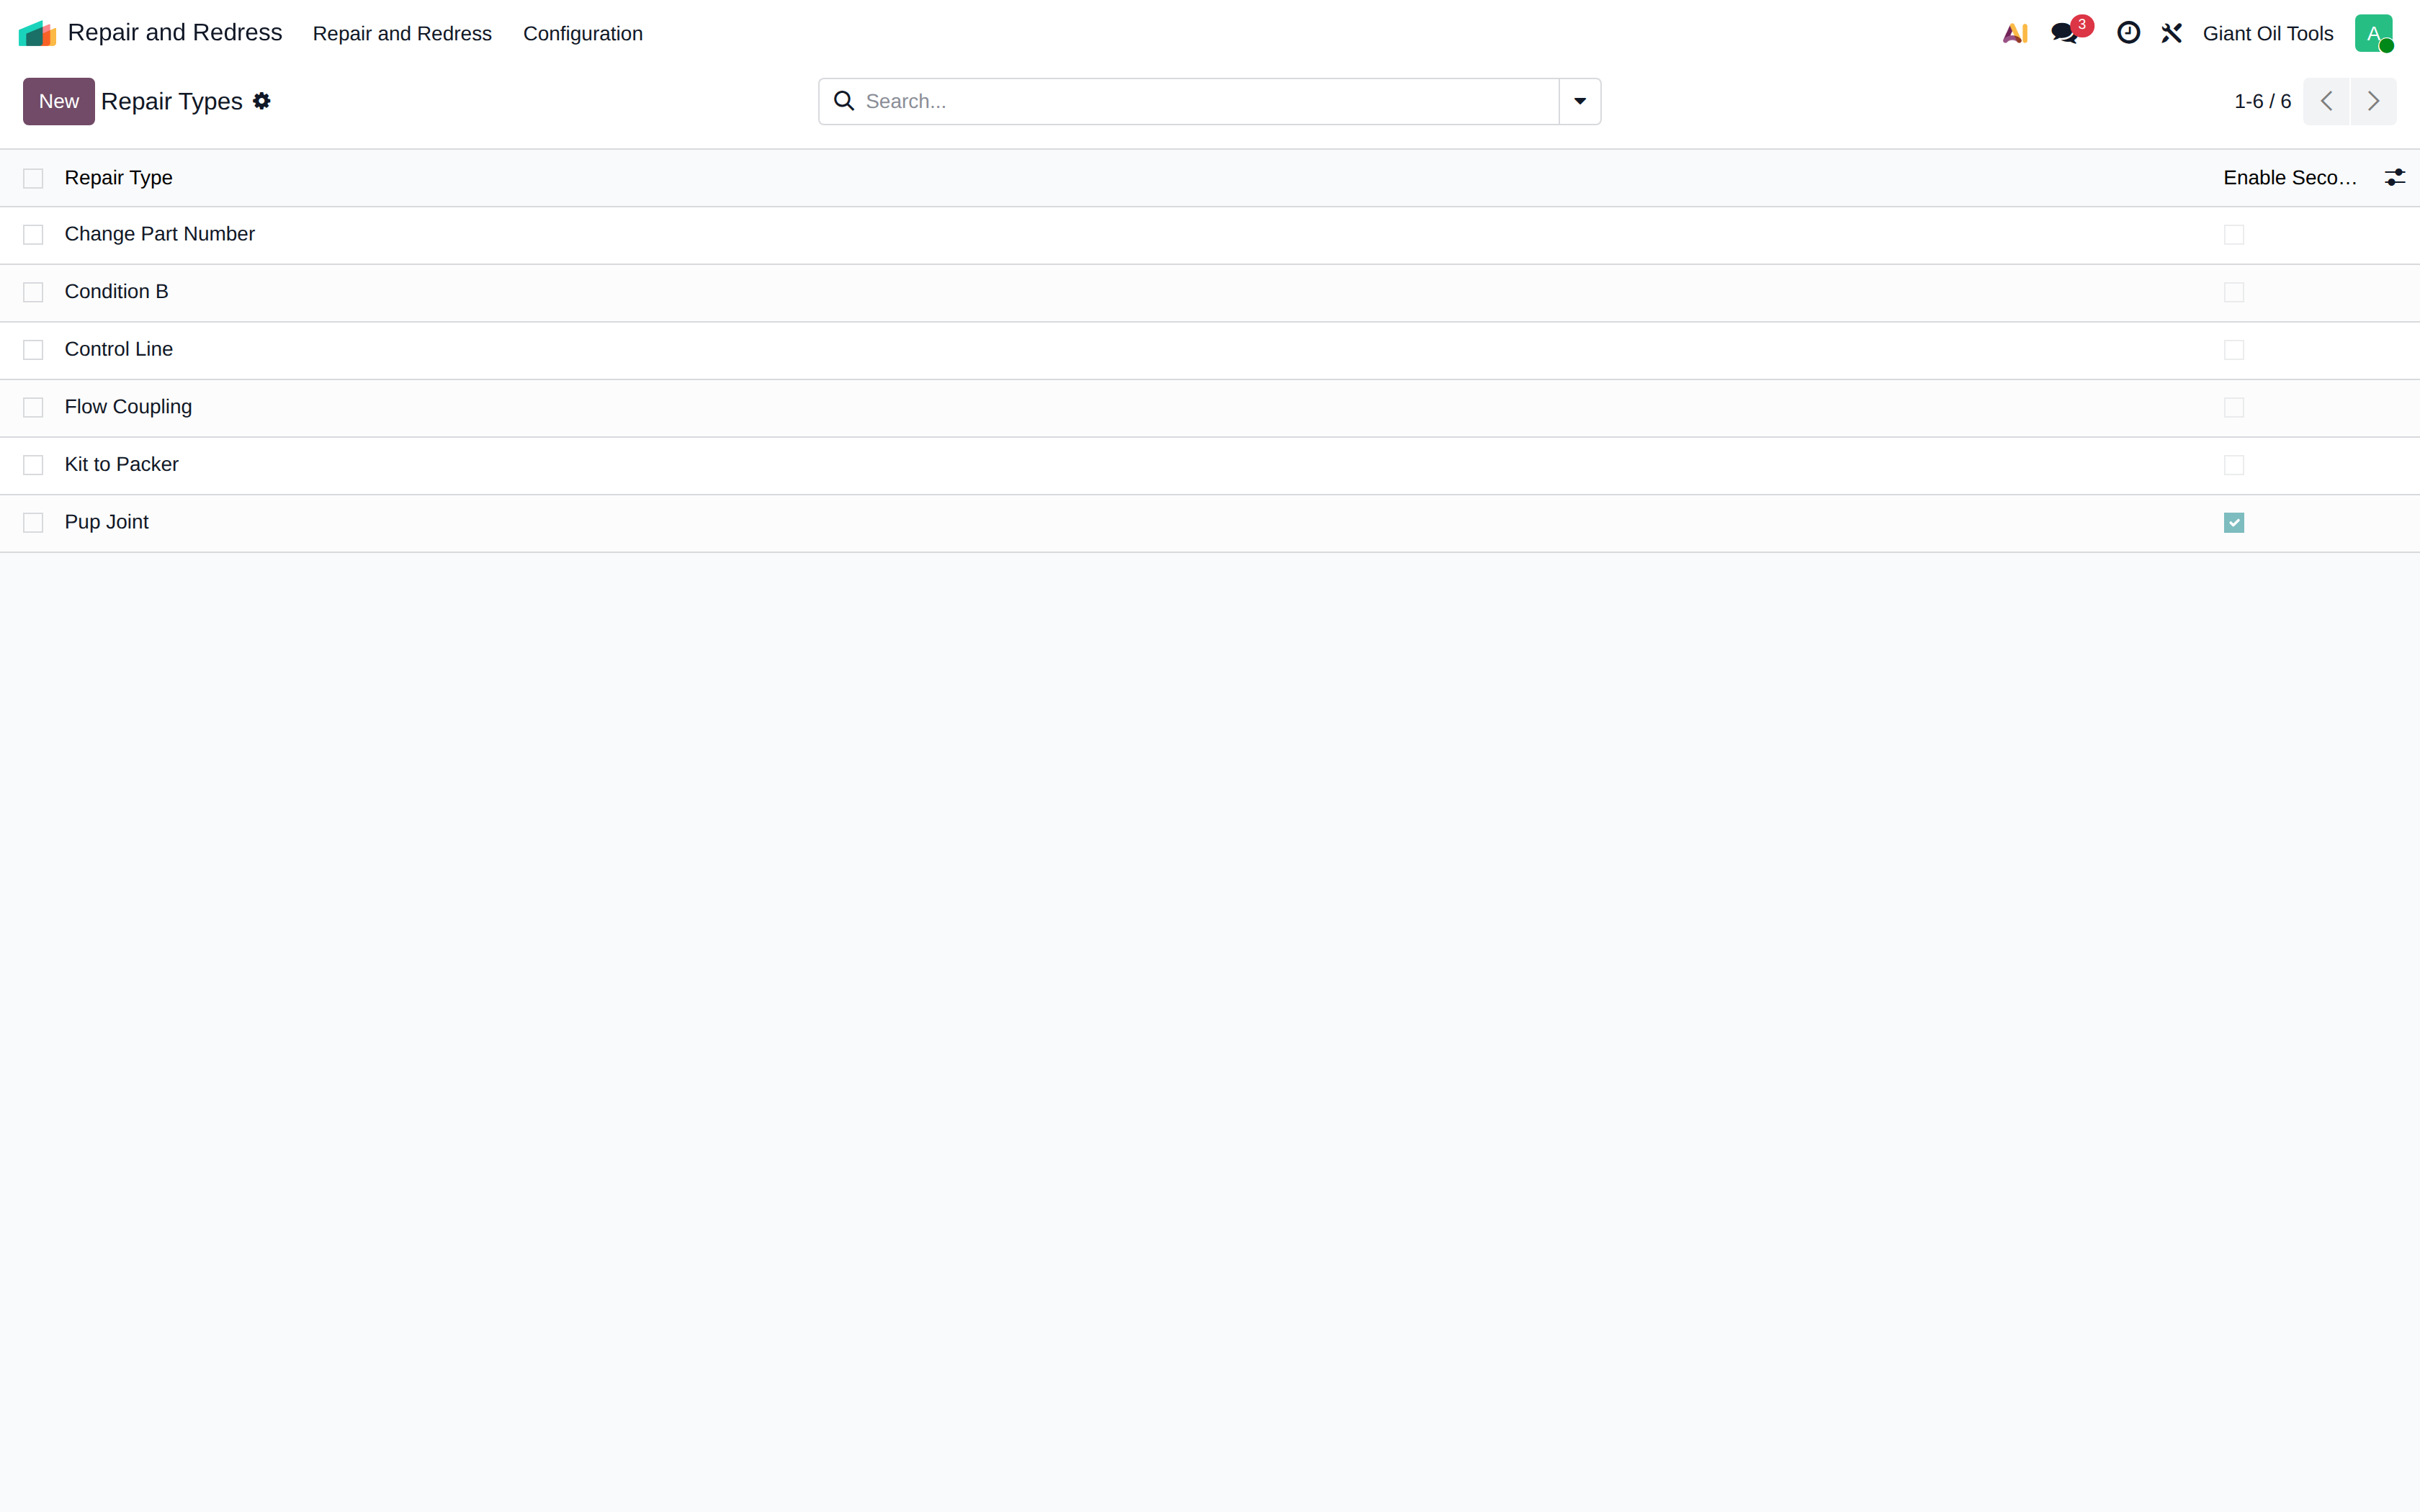
Repair and Redress > Configuration > Repair Types lists every kind of repair the workshop performs
Kit to Packer, Change Part Number, Control Line, Pup Joint — the type classifies the job and reports on it later
Enable Second Final Product is the only setting: it decides whether repairs of this type may produce a second, recovered product
Click New — repair types are edited straight in the list
Name the repair type
Tick Enable Second Final Product — repair orders of this type will open the Second Final Product section automatically
Save. The type is now available in the Repair Type field of every repair order
Show the steps
hover to play · click for full screen
Creating a Repair and Redress order
Register the tool to redress and the parts that will be consumed.
Open Repair and Redress — this is the only app the workshop uses; never the Manufacturing app
Click New. The operation type is locked to the NEW CAIRO Repair type
Choose the Repair Type — the kind of job being done
Product is what comes OUT of the repair: the redressed tool
Quantity to produce
Now list what goes IN — the used tool and its spare parts — in the Components tab
Open the Components tab
The used tool itself is a component: it is consumed and disappears from stock
Add the spare parts with the quantities the workshop will fit
Confirm — the components are reserved in the NEW CAIRO warehouse
The order is confirmed and waits for the workshop to finish the job
Show the steps
hover to play · click for full screen
The second final product and its cost share
Recover a second product from a repair and split the component cost.
Open Repair and Redress > Repair and Redress
Open the repair order that will also recover a second product
Pick a Repair Type whose Enable Second Final Product is ticked
The Second Final Product section appears — no need for the technical By-Products tab
Set the 2nd Final Product — the part recovered from the used tool
Set the 2nd Quantity
Generate Serial creates the lot/serial number for the recovered product — it is lot-tracked, so a repair cannot be closed without one
Cost Share splits the total cost of the components between the two outputs
25% of the component cost goes to the recovered product; the redressed tool keeps the remaining 75%
The Cost Share can never exceed 100% — the system refuses to create value that was not consumed
Save. On Confirm this becomes a native by-product move carrying the cost share
Show the steps
hover to play · click for full screen
Closing a repair: grade B and the valuation
Mark the repair done, then read the -B lot and the journal entry it produced.
Open Repair and Redress > Repair and Redress
Open the repair order the workshop has finished
The components are picked, the finished lot and the second final product are set
Produce All closes the repair: components consumed, both products received
The finished Lot/Serial is now VR-OUT-010-B — the repair automatically suffixes the lot with -B
-B is the grade: a redressed tool never returns to stock as new
Check the lot itself in Inventory > Lots / Serial Numbers
Open the lot produced by the repair
Tool Condition is set to B, and Origin Document points back at the repair order
Finally, the accounting: Accounting > Journal Entries
Search the repair reference and open the entry it posted
The value consumed from the components equals the value produced — nothing is created or lost
And the produced value is split by the Cost Share: 900 to the redressed tool, 300 to the recovered product
Show the steps
hover to play · click for full screen
The Repair and Redress Log
The written history of what was done to the tools.
Operations > Repair and Redress Log records what was actually done on the bench
Each entry is a dated note: the job, the findings, the tests performed
Open an entry to read the full description
Together with the -B lots and the repair orders, the log is the tool history used for reporting and for customer queries
Show the steps
Screens and reference
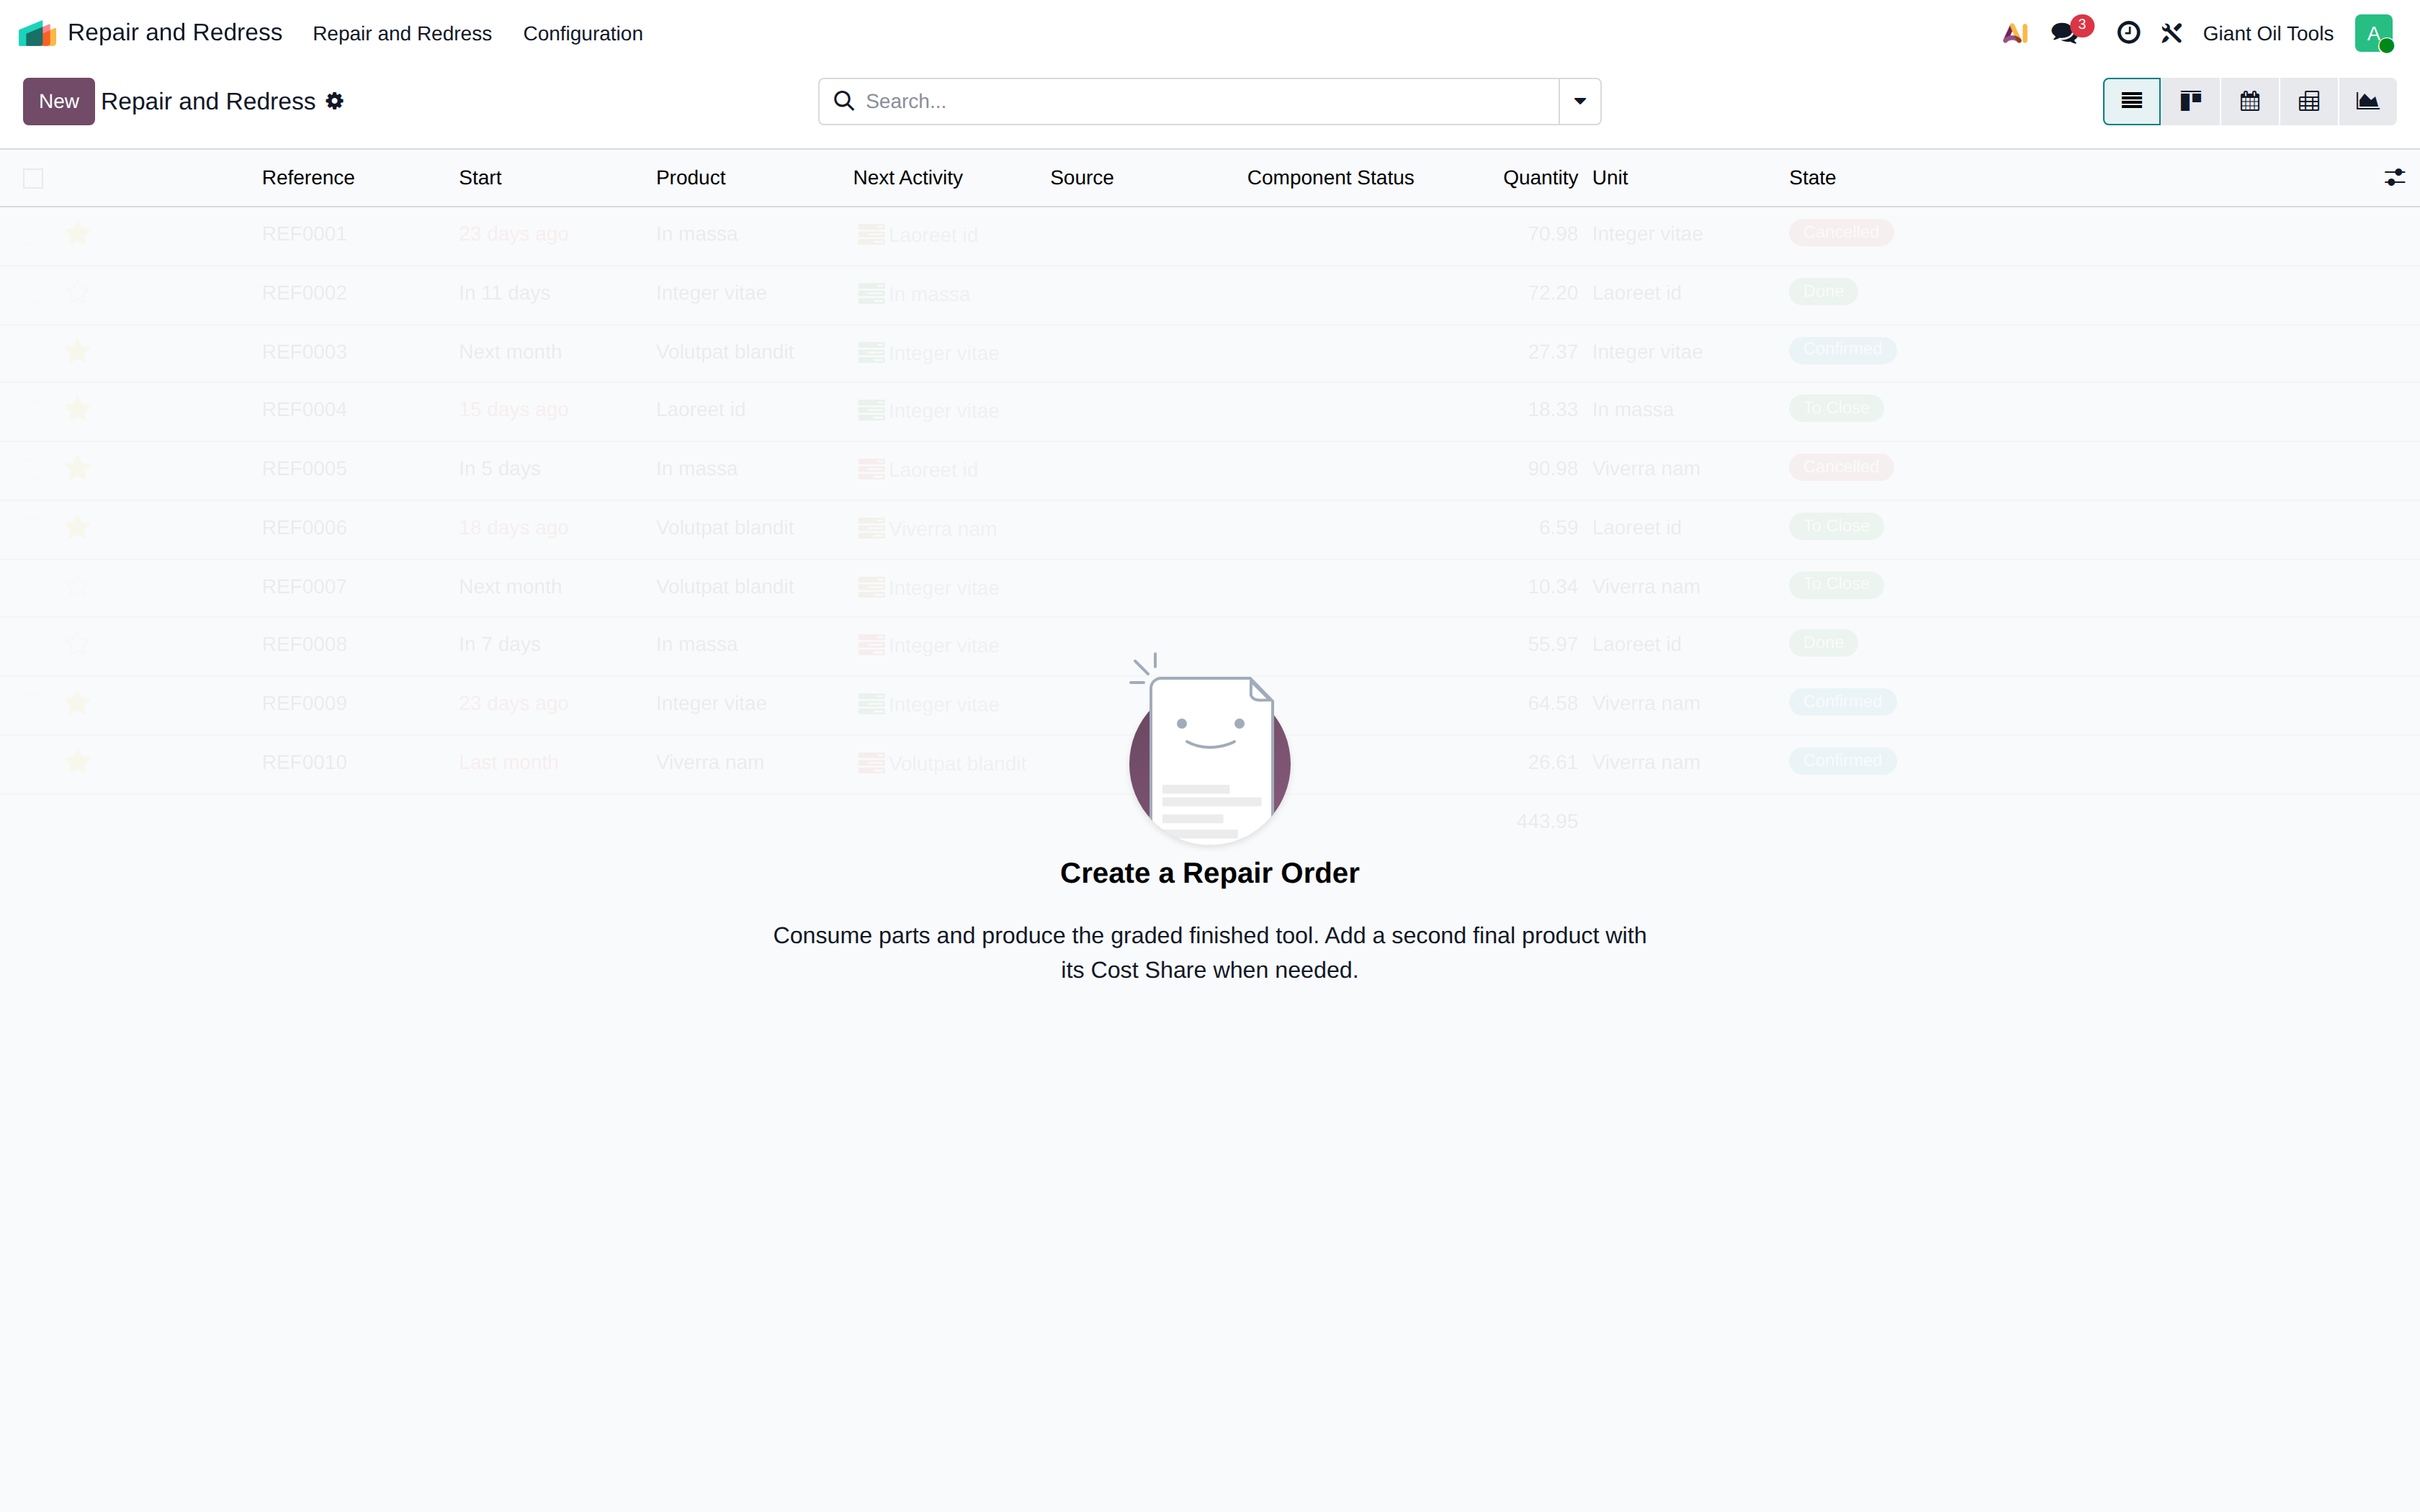
Repair and Redress orders
All repair orders with their type, the tool being repaired, quantity and status. Repair orders are locked to the NEWCA operation type, which keeps repair stock movements separate from other stock movements.
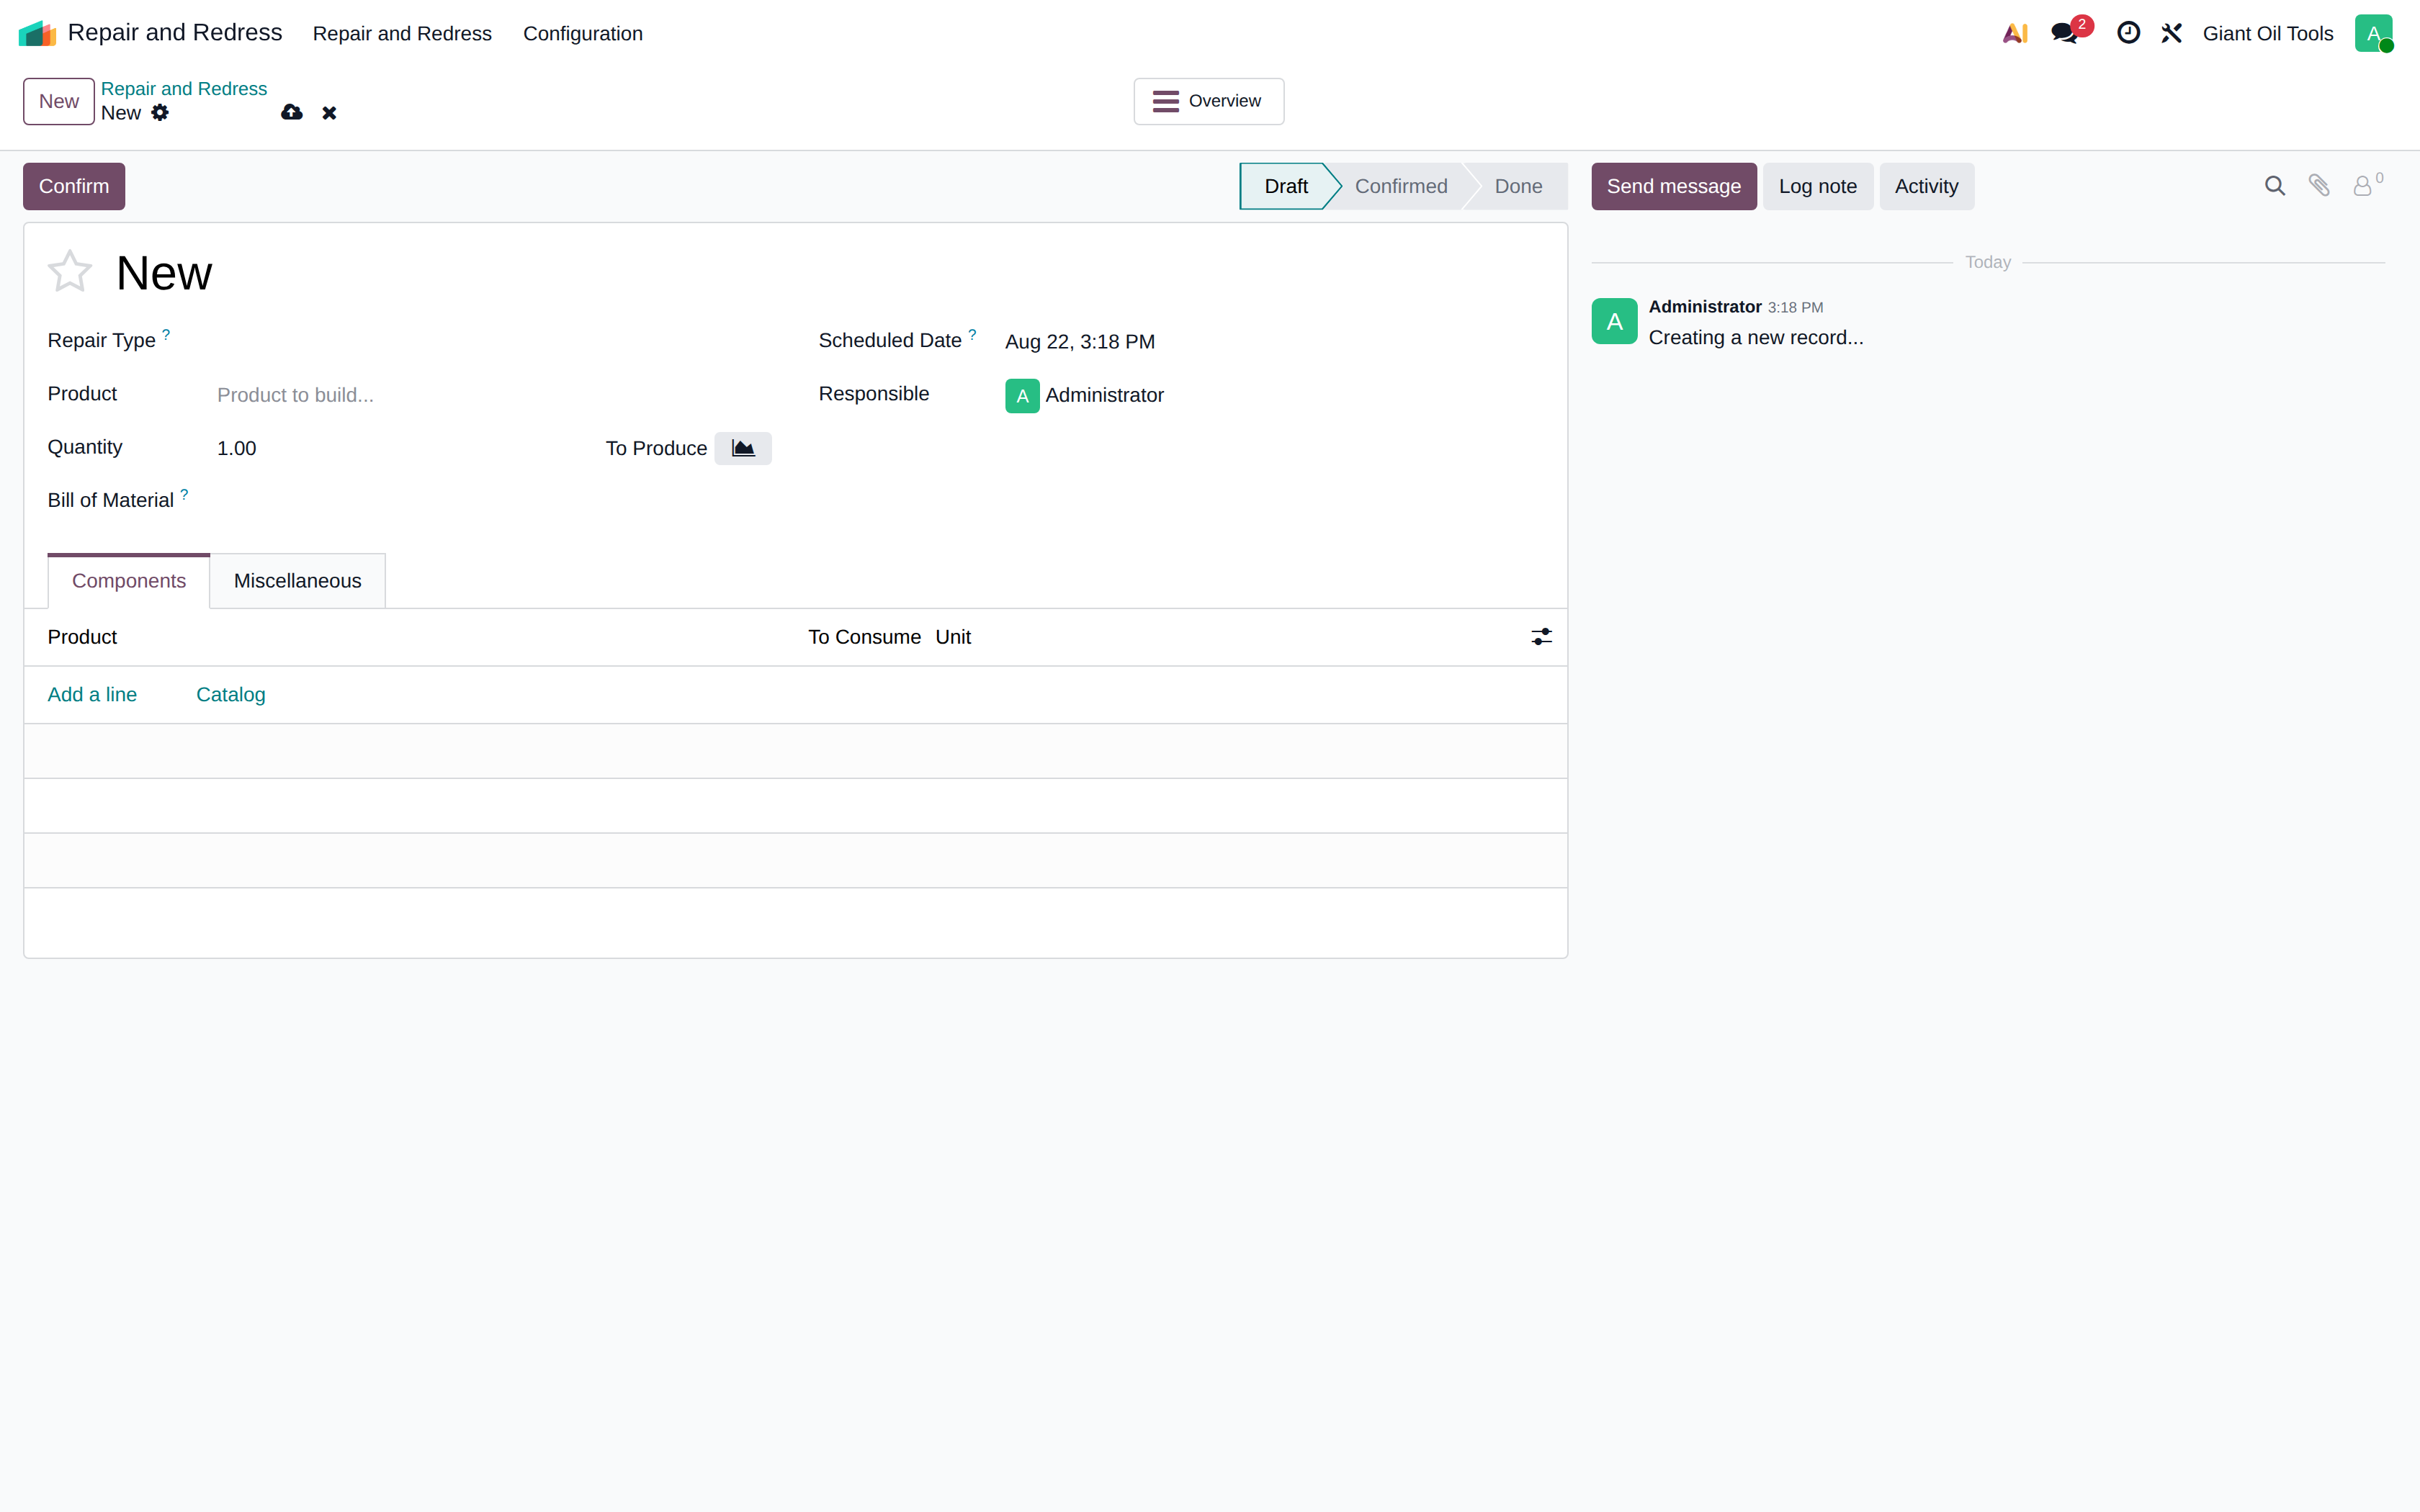
The Repair and Redress form
Choose the Repair Type first — it drives the rest of the form, including whether a second output is allowed and what its default cost share is.
Grade B lots. When the repair produces a downgraded tool, the system generates the output lot with a -B suffix on the original part number, so a downgraded item is identifiable from its lot number alone. Tool condition is recorded as grade A, B or C.
Second Final Product. There is no switch to tick: the section appears by itself once you choose a Repair Type that has second output enabled. Then set: • 2nd Product — what is recovered. • 2nd Quantity and Unit. • 2nd Lot/Serial — type it, or click Generate Serial. • Cost Share (%) — the percentage of total component cost allocated to this by-product; the remainder stays with the main repaired tool. It is validated so it cannot exceed 100%.
The system will not allow the order to be marked done if a lot number is missing for the second product.
Repair types
The catalogue of repair kinds — Kit to Packer, Change Part Number, Control Line, Pup Joint, Condition B, Flow Coupling. The type names the job and decides one thing: whether that kind of repair may produce a second final product.
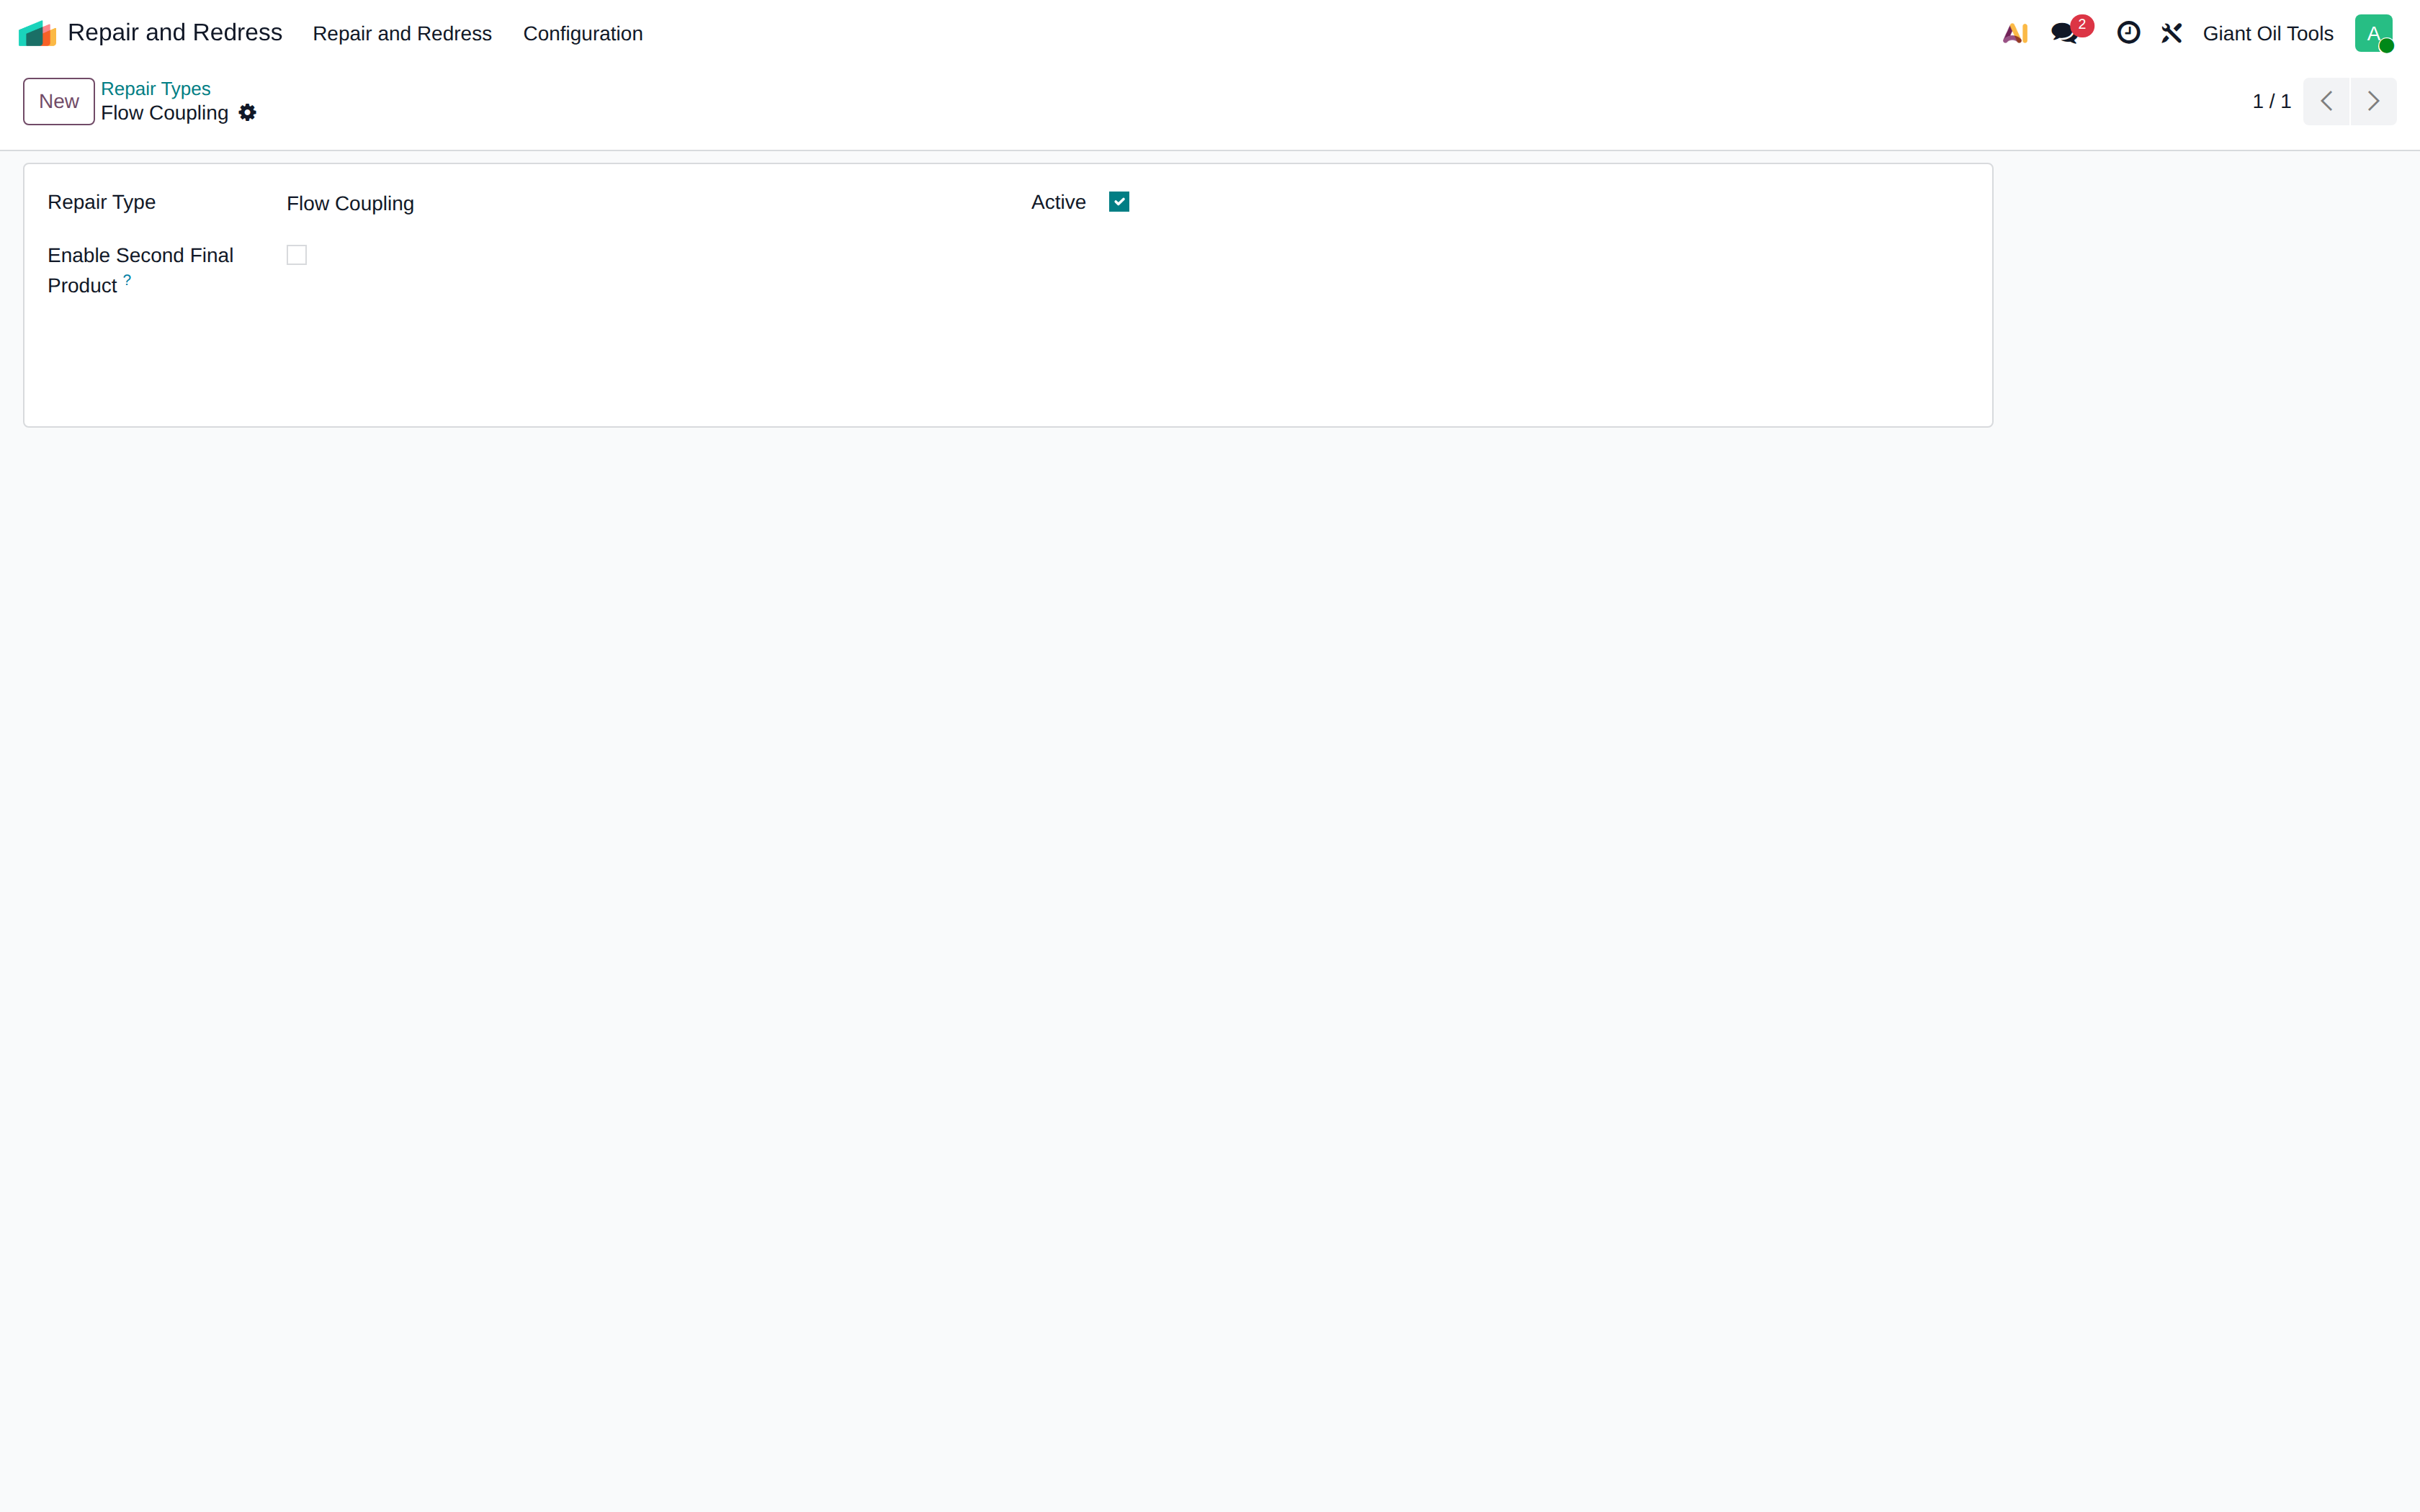
The repair type form
The form is deliberately small: the Repair Type name, whether it is still Active, and Enable Second Final Product.
That last switch is what makes the second-output section appear on repair orders of this type. Everything about the recovery itself — which product, how many, its lot and its cost share — is decided on each repair order, because it varies job by job.
Repair and Redress (Giant Oil Tools menu)
The same repair records reached from the Giant Oil Tools application, for users who work primarily in that app.
Repair and Redress log
A written notebook for the workshop: each entry is a title and a description. It is free text and is not linked to repair orders, so use it for observations and instructions that belong to the redress process as a whole.
The record of what was actually repaired lives on the repair orders themselves and on the -B lots they produce — that is where tool history and repair volumes should be read.
7Giant Oil Tools Operations
This application holds the custom masters and operational processes built specifically for Giant Oil
Tools: the operational reference data, the planning cycle, and four stock processes that have no
standard equivalent in Odoo.
How it is done
hover to play · click for full screen
Converting a reel of control line into feet
One click turns a drum of control line into loose feet, carrying the whole cost of the reel onto the feet.
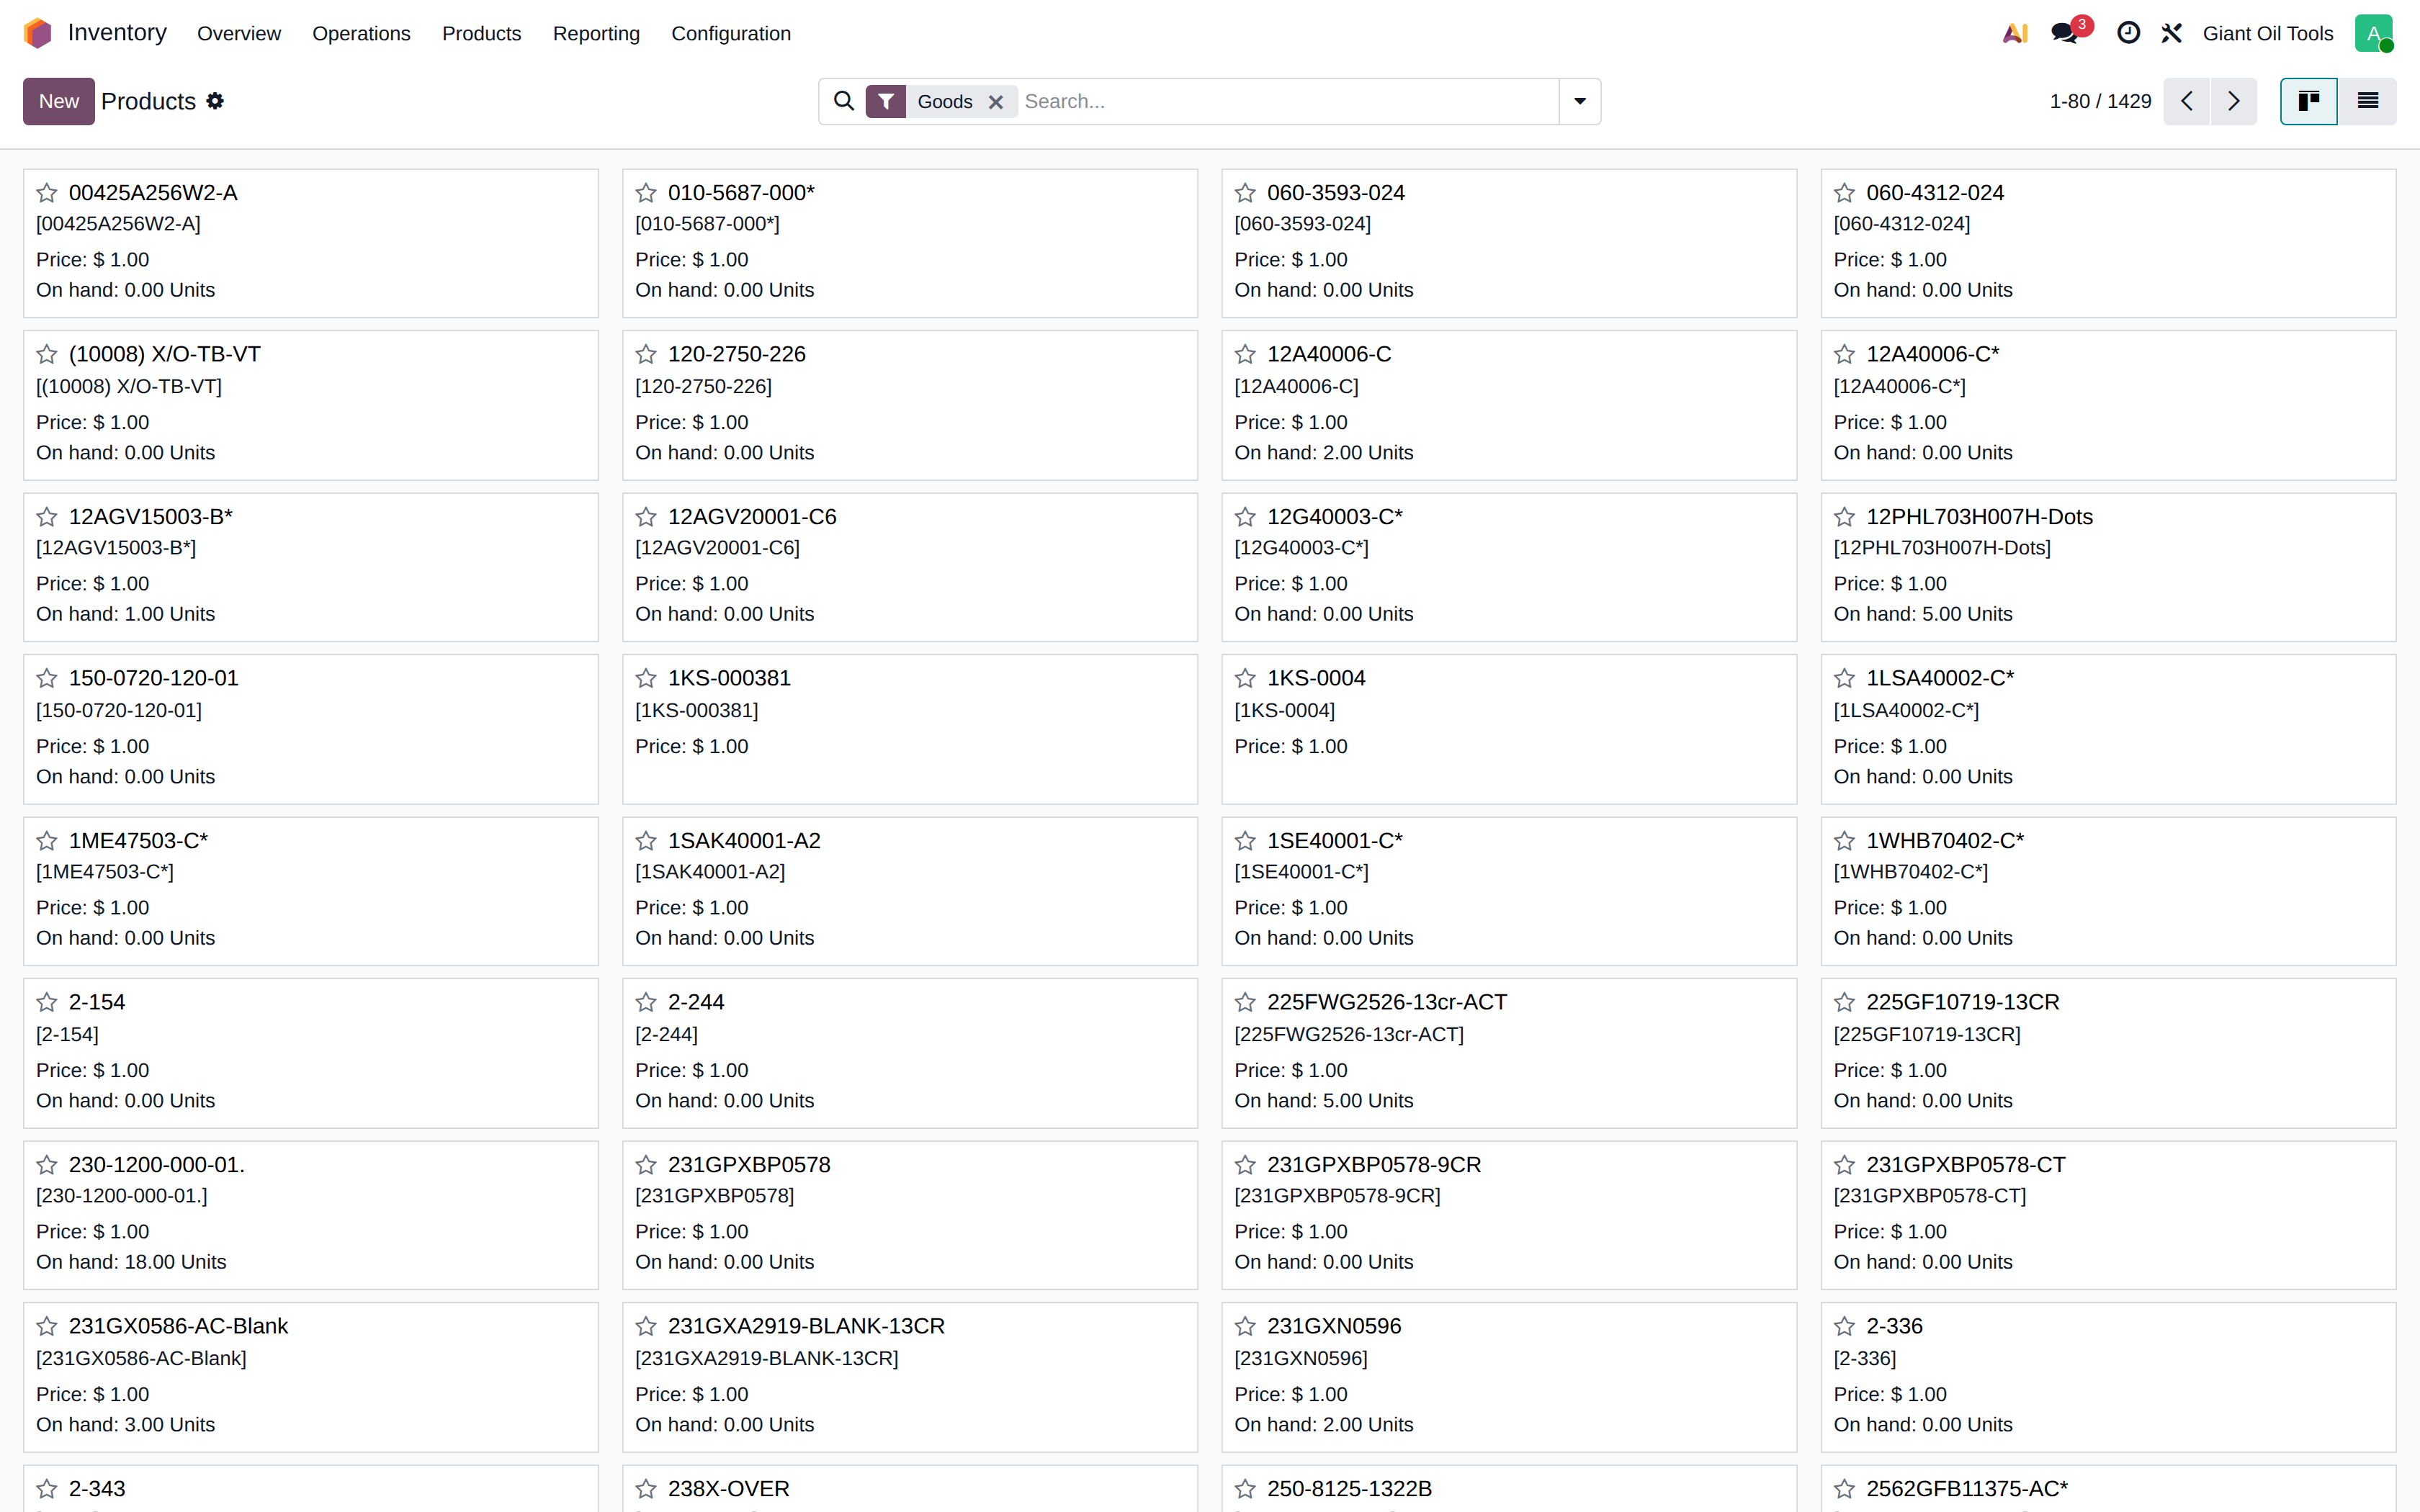
Open Inventory > Products and find the control line drum you want to break down
Search the product code of the reel
Open the product
Open the Control Line tab
Feet per Reel is 2000: this product is supplied on a 2000 ft drum
Control line drums run from 350 to 12,000 feet, and each product has its own length — a unit of measure carries one factor for every product that uses it, so no single UoM conversion can express that
That is why the length lives on the product, together with the Loose Feet Product CL2549WL* that holds control line sold by the foot
Convert to Feet sits with the other product actions, under More
Press Convert to Feet
The conversion opens pre-filled: consume 1 reel, produce 2000 ft — you never key the quantities
Validate — this moves the stock and the value in one step
Open the loose feet product to check the result
On Hand is now 2000 ft, and the Cost is 0.38 — the 760.00 of the reel divided over its 2000 feet, so nothing is lost or invented on the way
Show the steps
hover to play · click for full screen
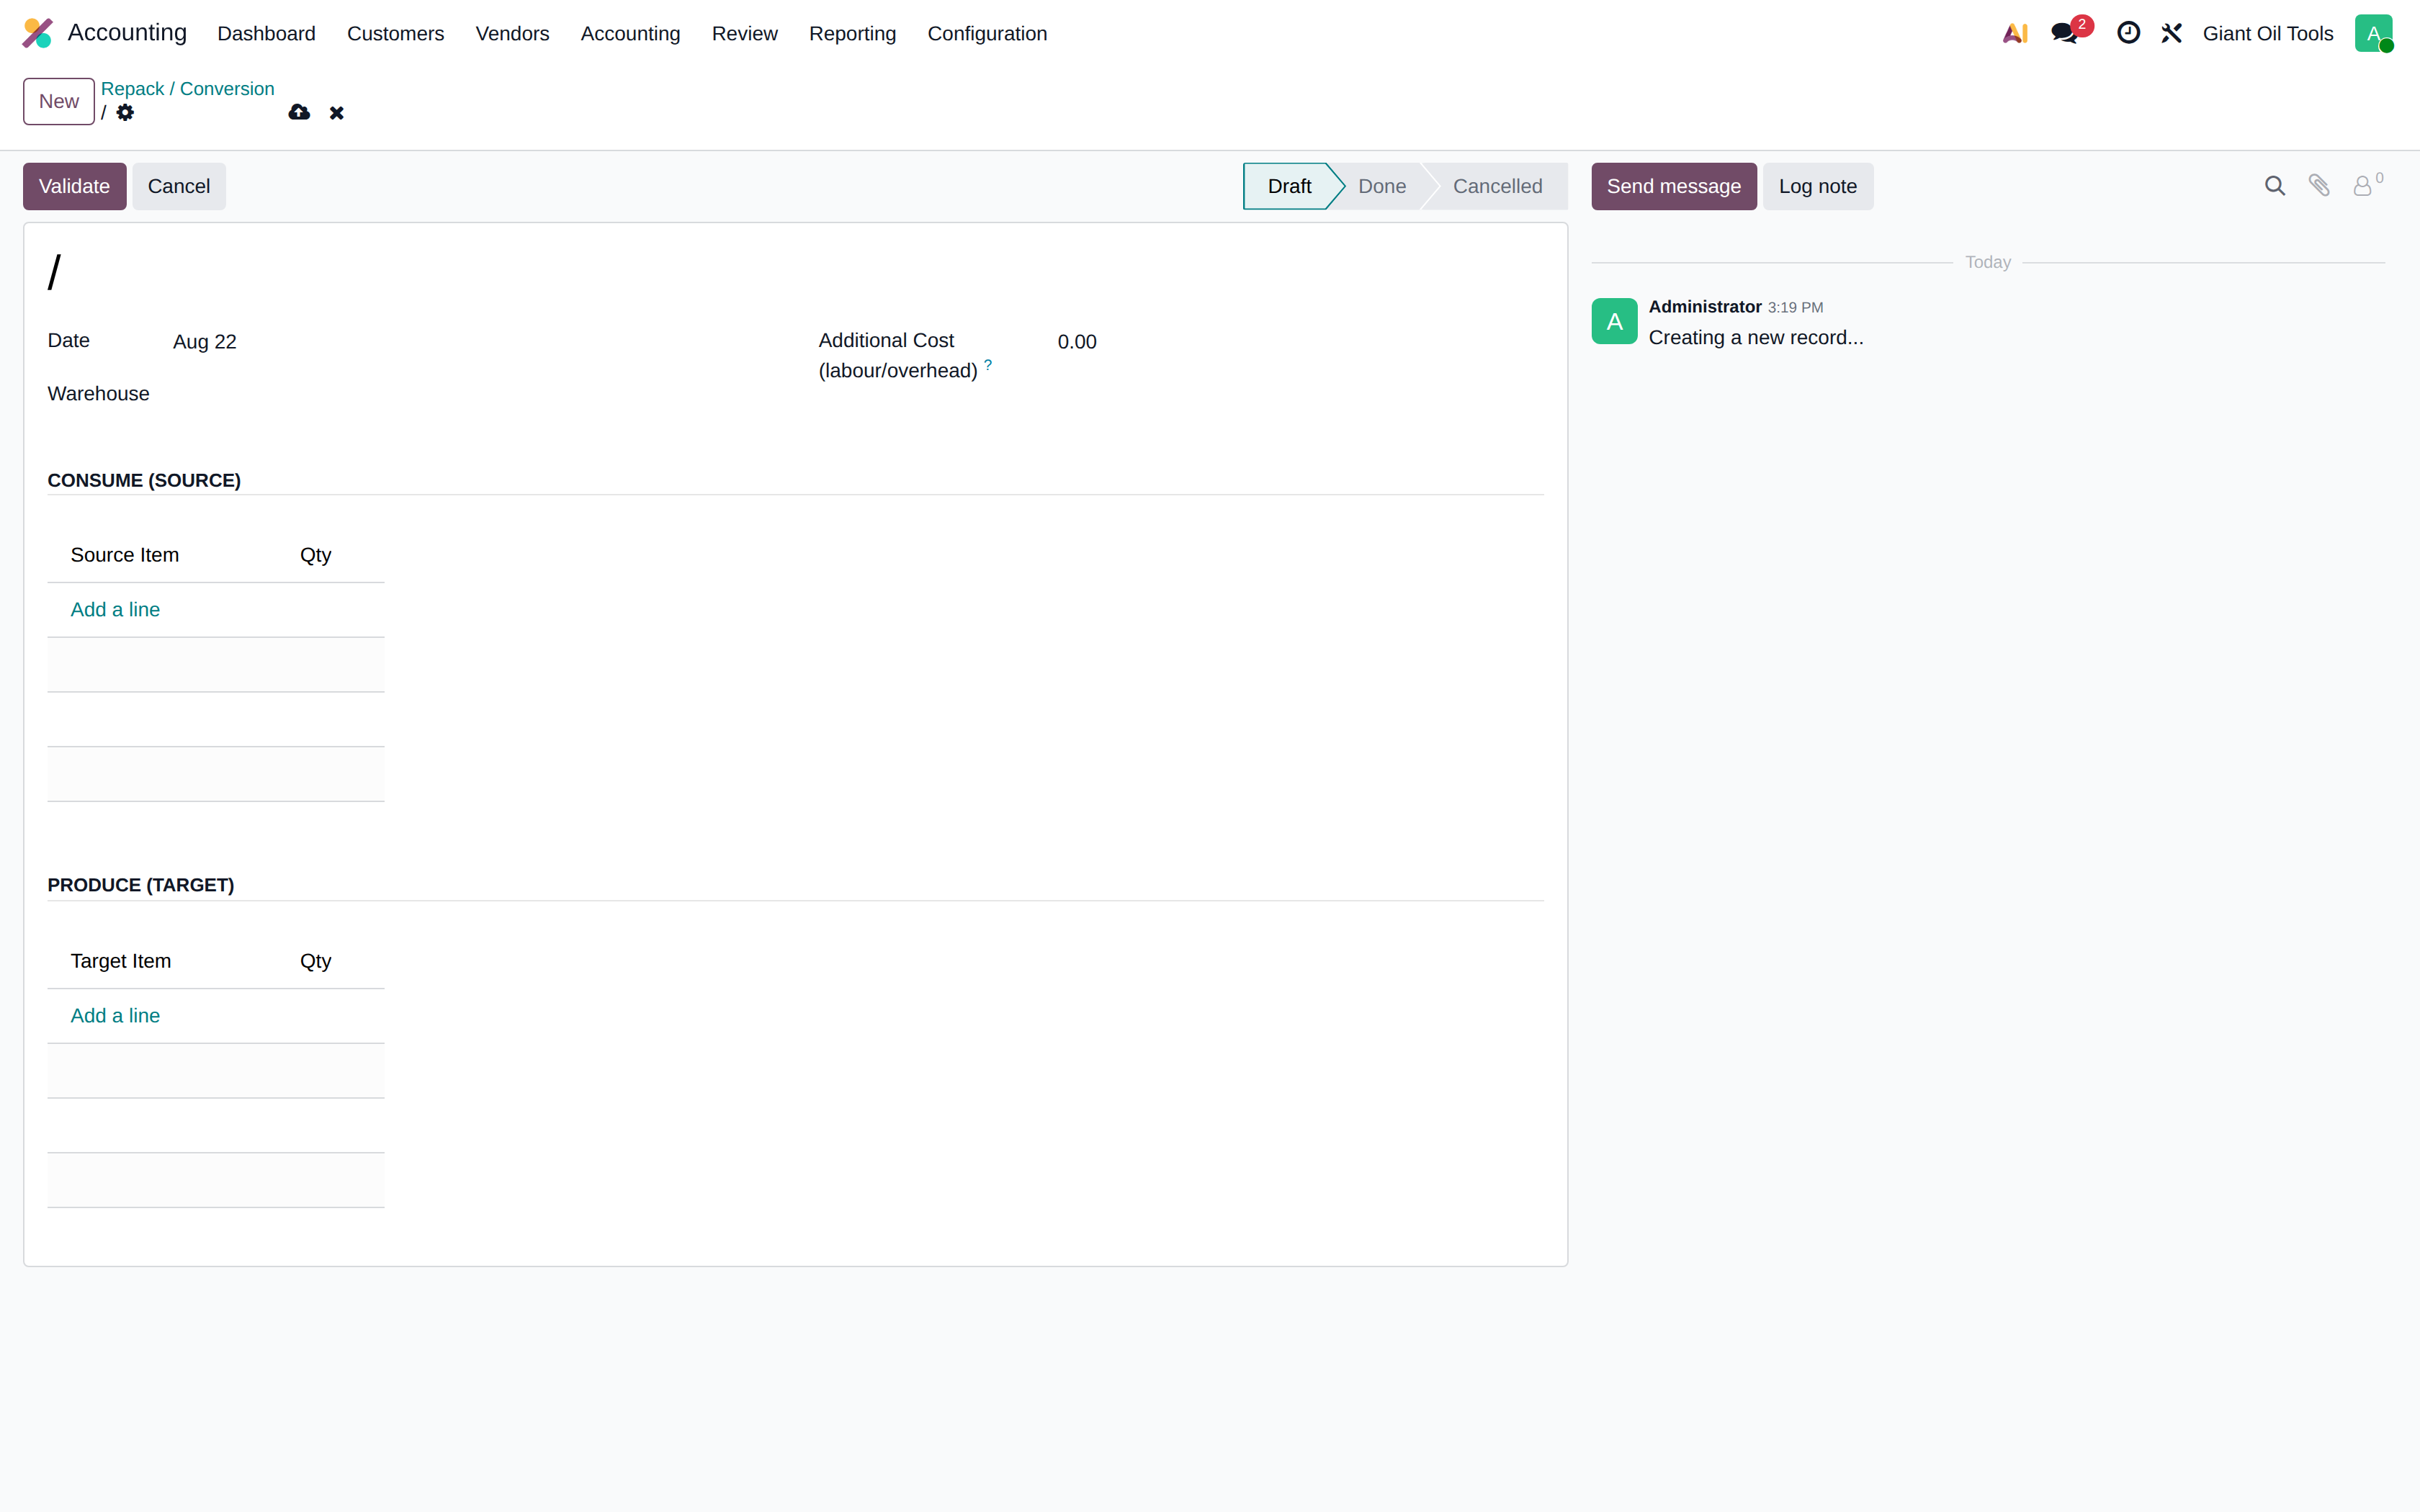
Repack / Conversion without a bill of materials
Consume one item, produce another, and load the labour onto the value of what you produced.
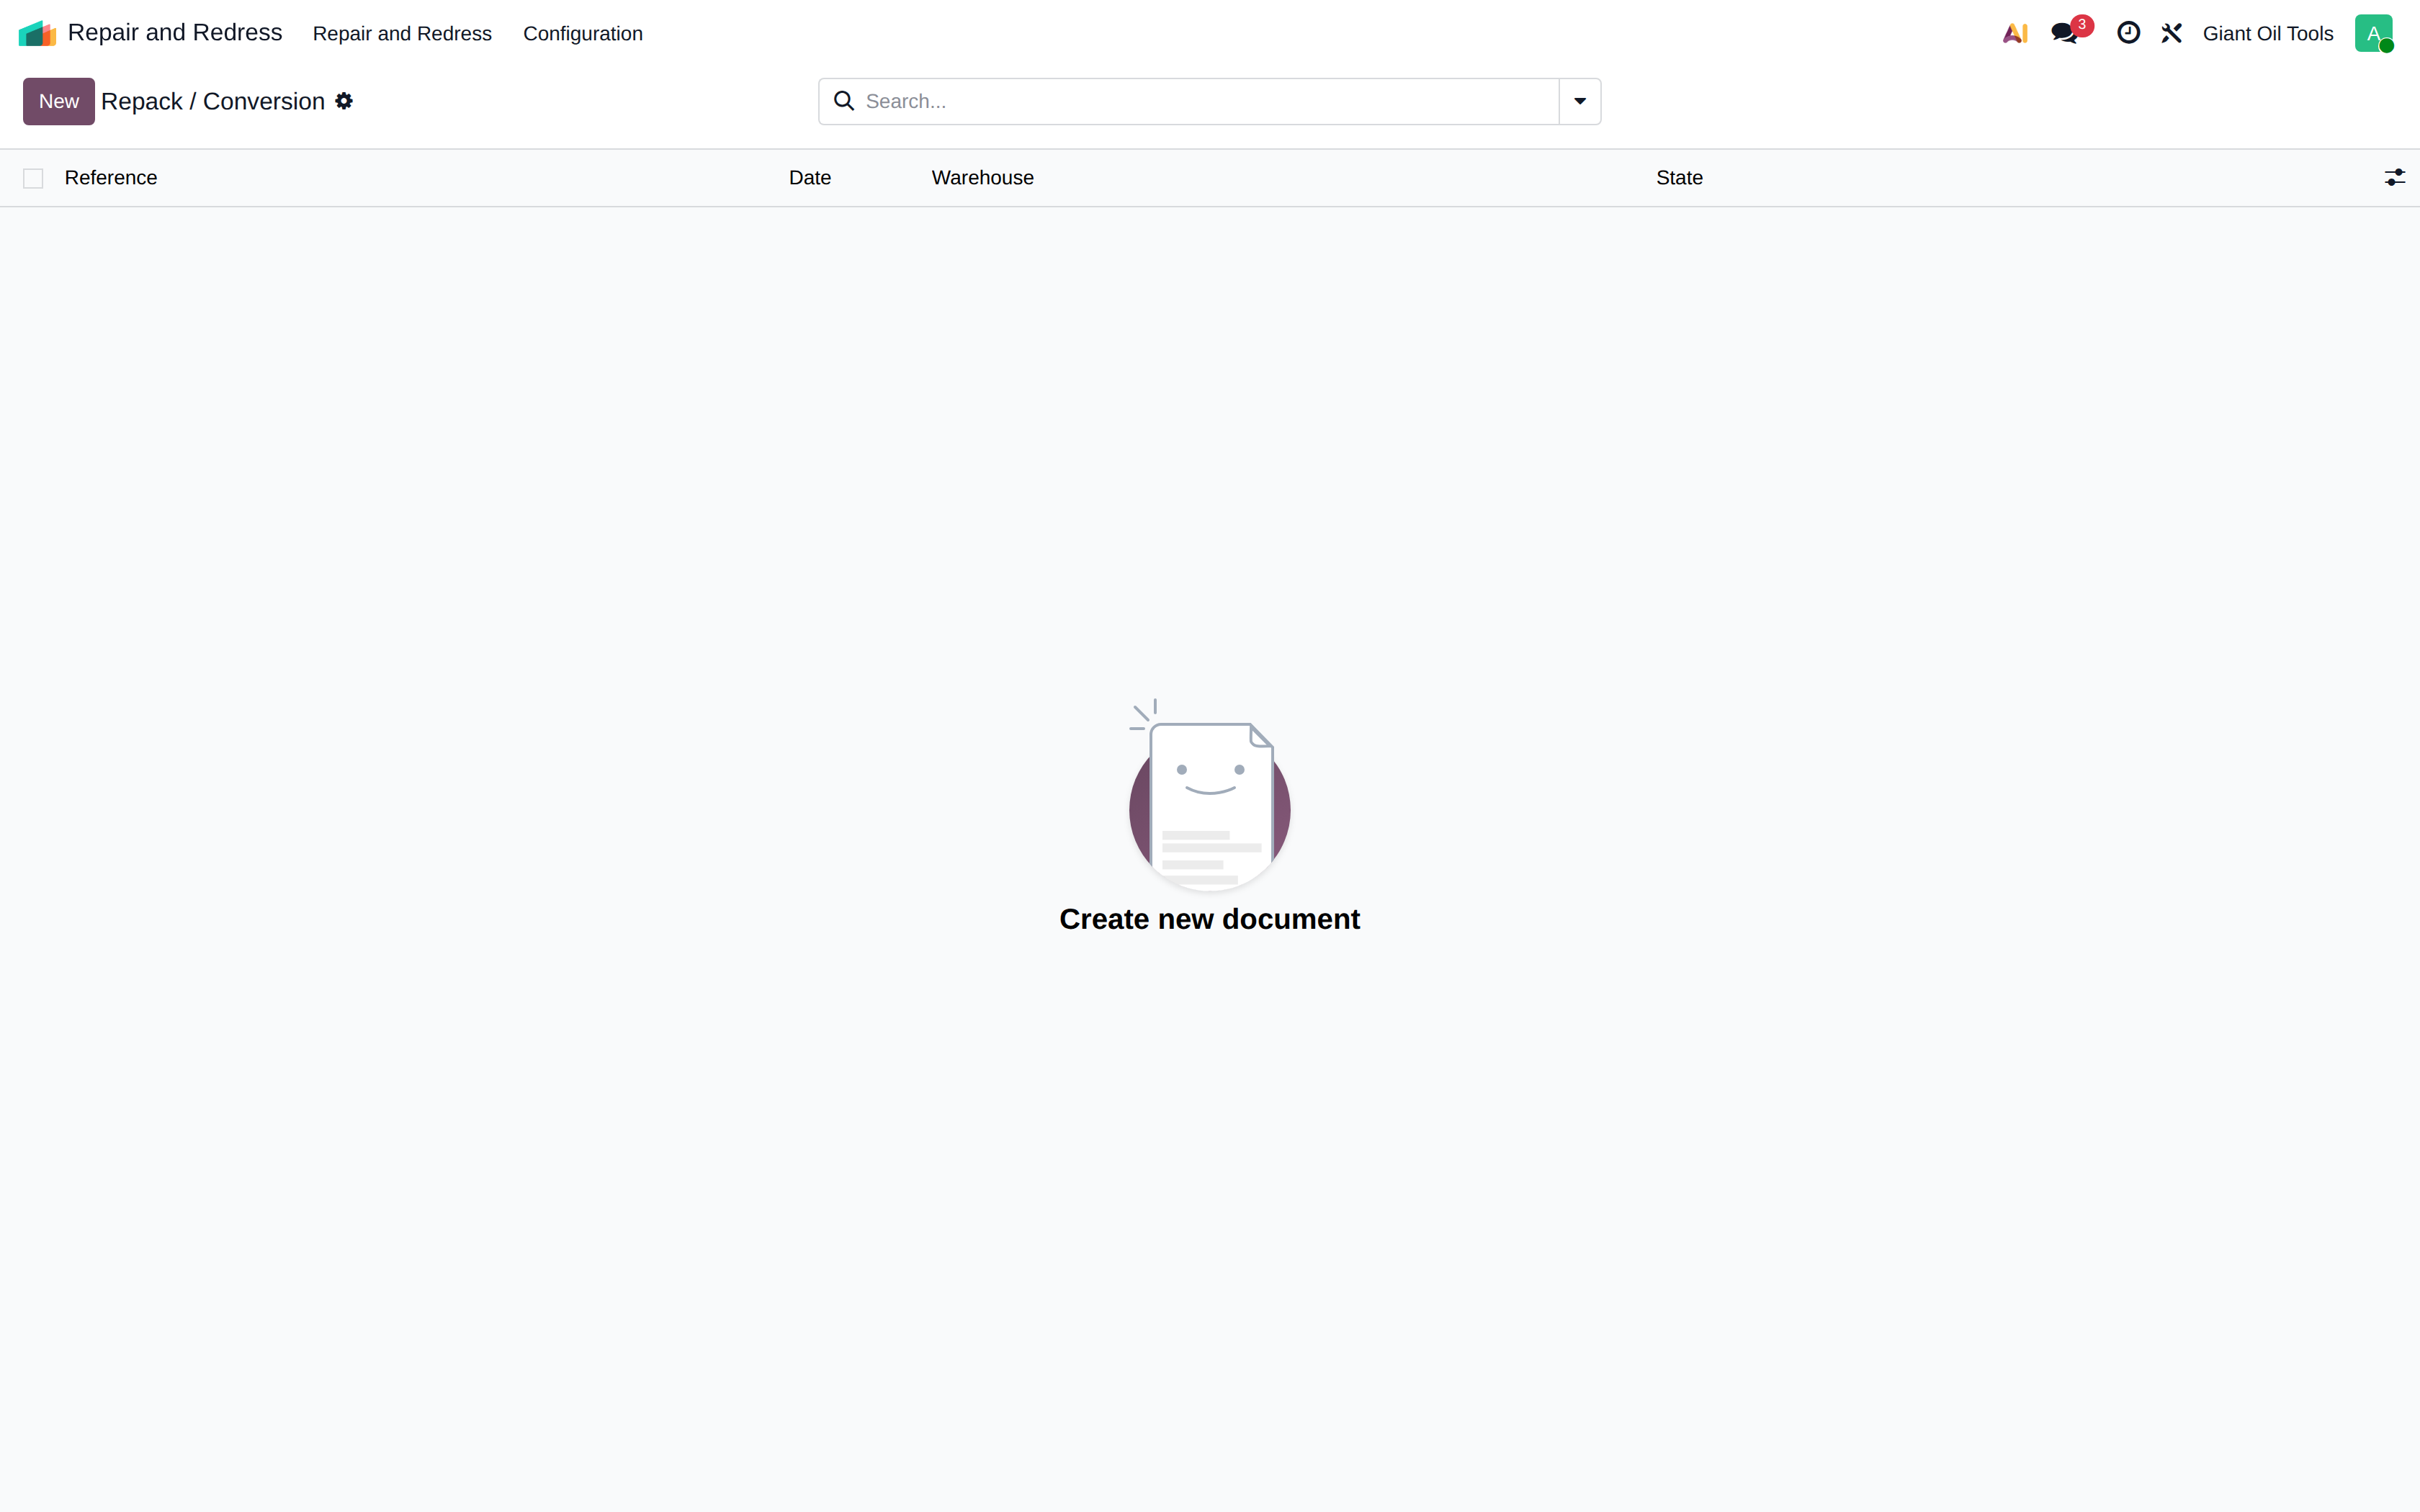
Open GIANT Operations > Repack / Conversion
Click New — a repack needs no bill of materials and no routing
Choose the warehouse the stock is in
Enter the labour and overhead spent on the conversion
Add the item you are consuming
Pick the source item
Consume 2 units
Add the item you are producing
Pick the target item
Produce 2 units
Validate — the consumed value plus the 150 labour becomes the cost of the produced items
Lots are assigned automatically on both sides, because every stockable item here is lot-tracked
Show the steps
hover to play · click for full screen
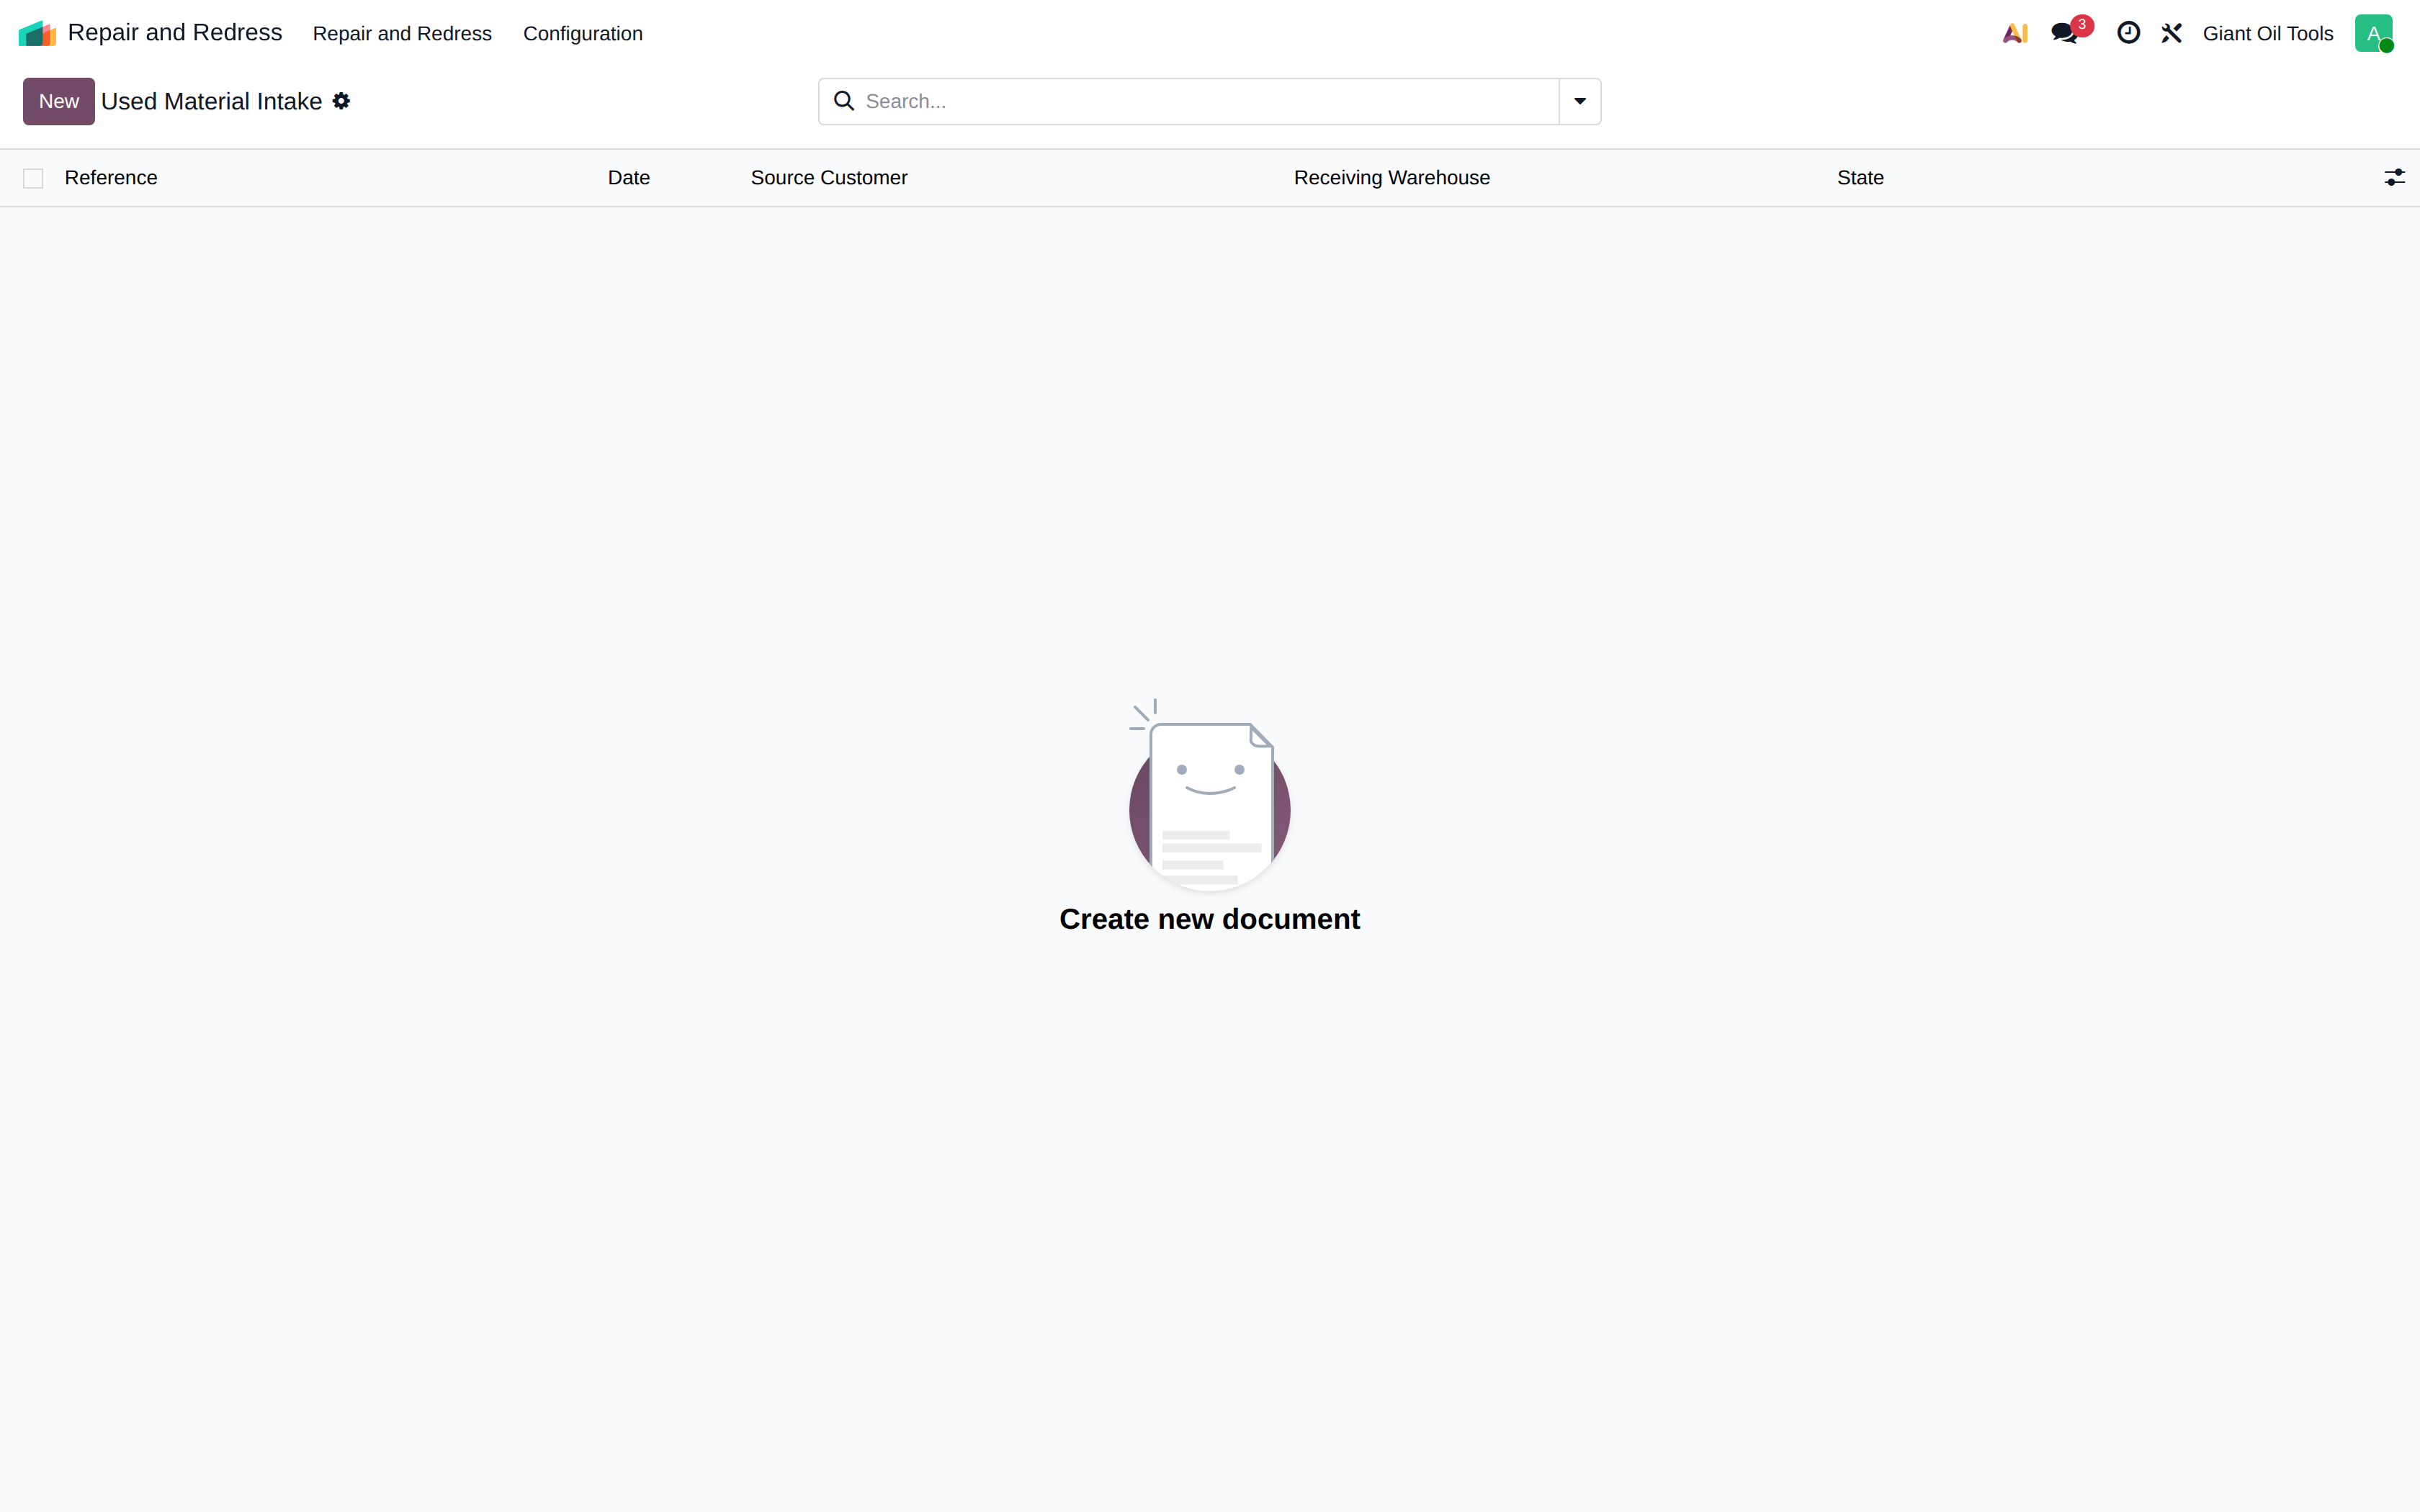
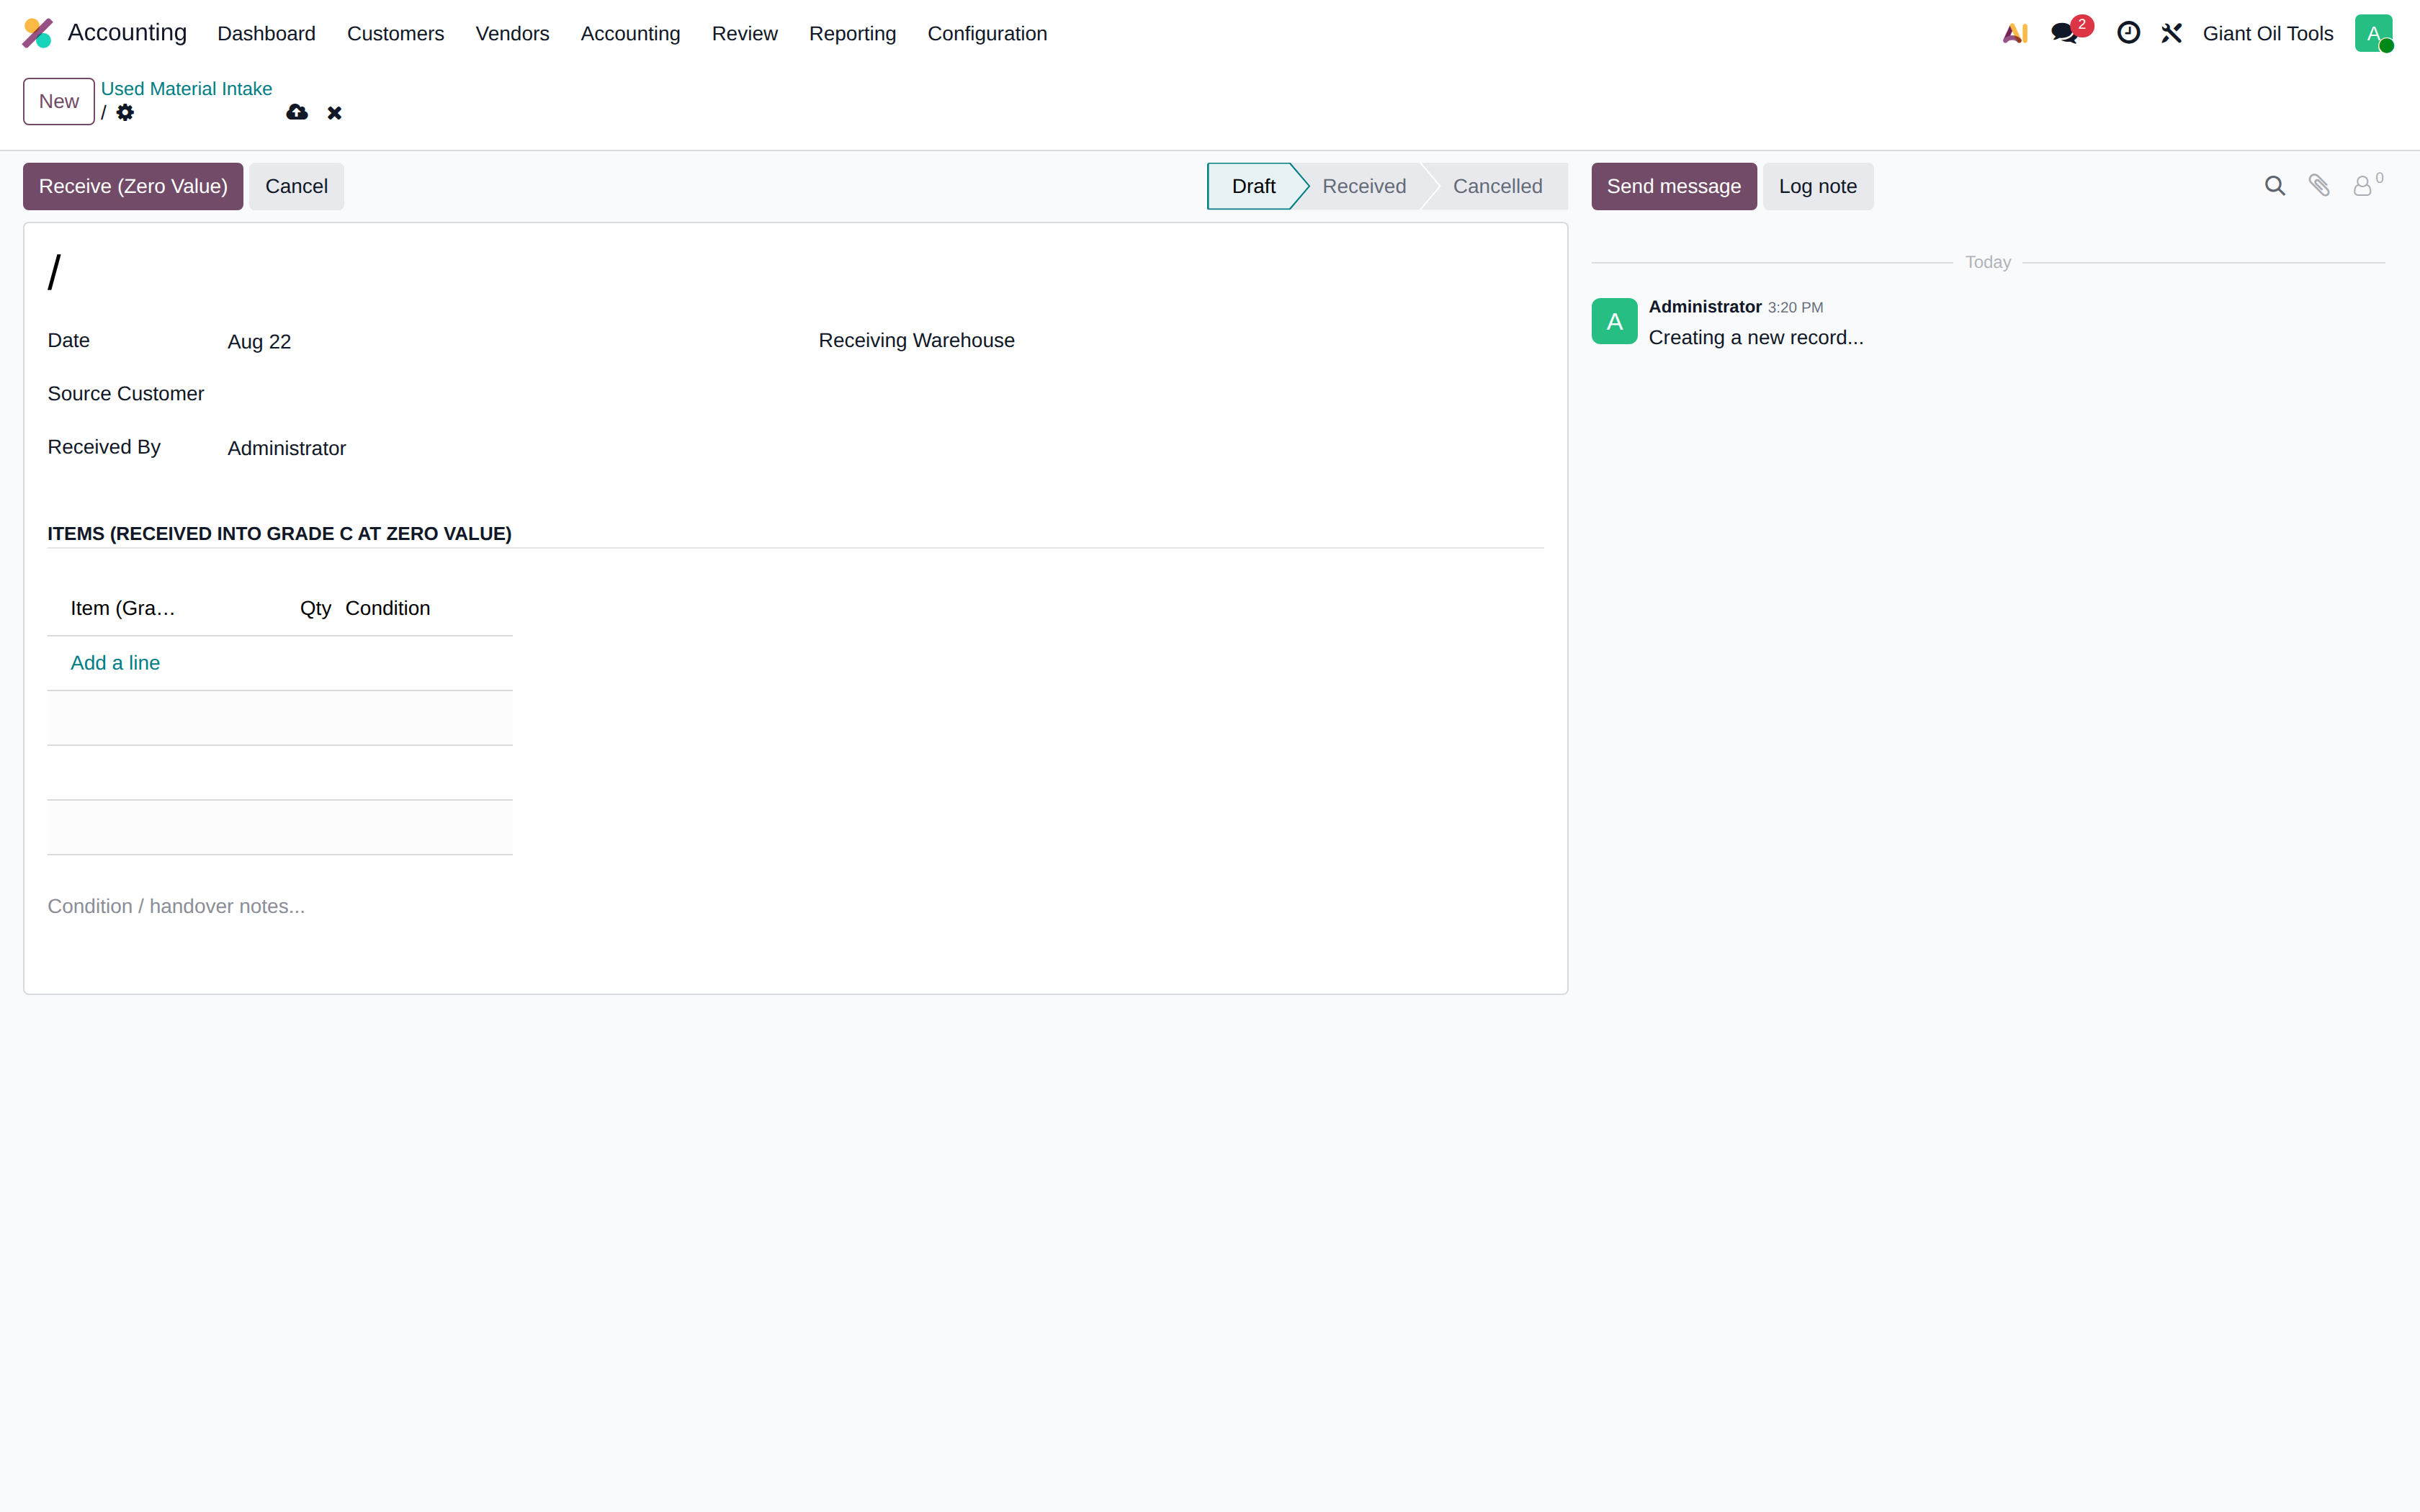
Taking in used material from a customer
Used tools handed back by a customer enter stock at zero value with an ownership trail.
Open GIANT Operations > Used Material Intake
Click New to record a handover of used tools
Record which customer the material came from — this is the ownership trail
Receive it into the warehouse that will inspect it
Add the items being handed over
Pick the item
Three pieces came back
Write down the condition of each line — this drives the redress decision later
Note how the handover happened
Receive (Zero Value) — the tools become company property at zero cost, so nothing is booked to the P&L
Lots are created with a C prefix: C means used and not yet redressed
Show the steps
hover to play · click for full screen
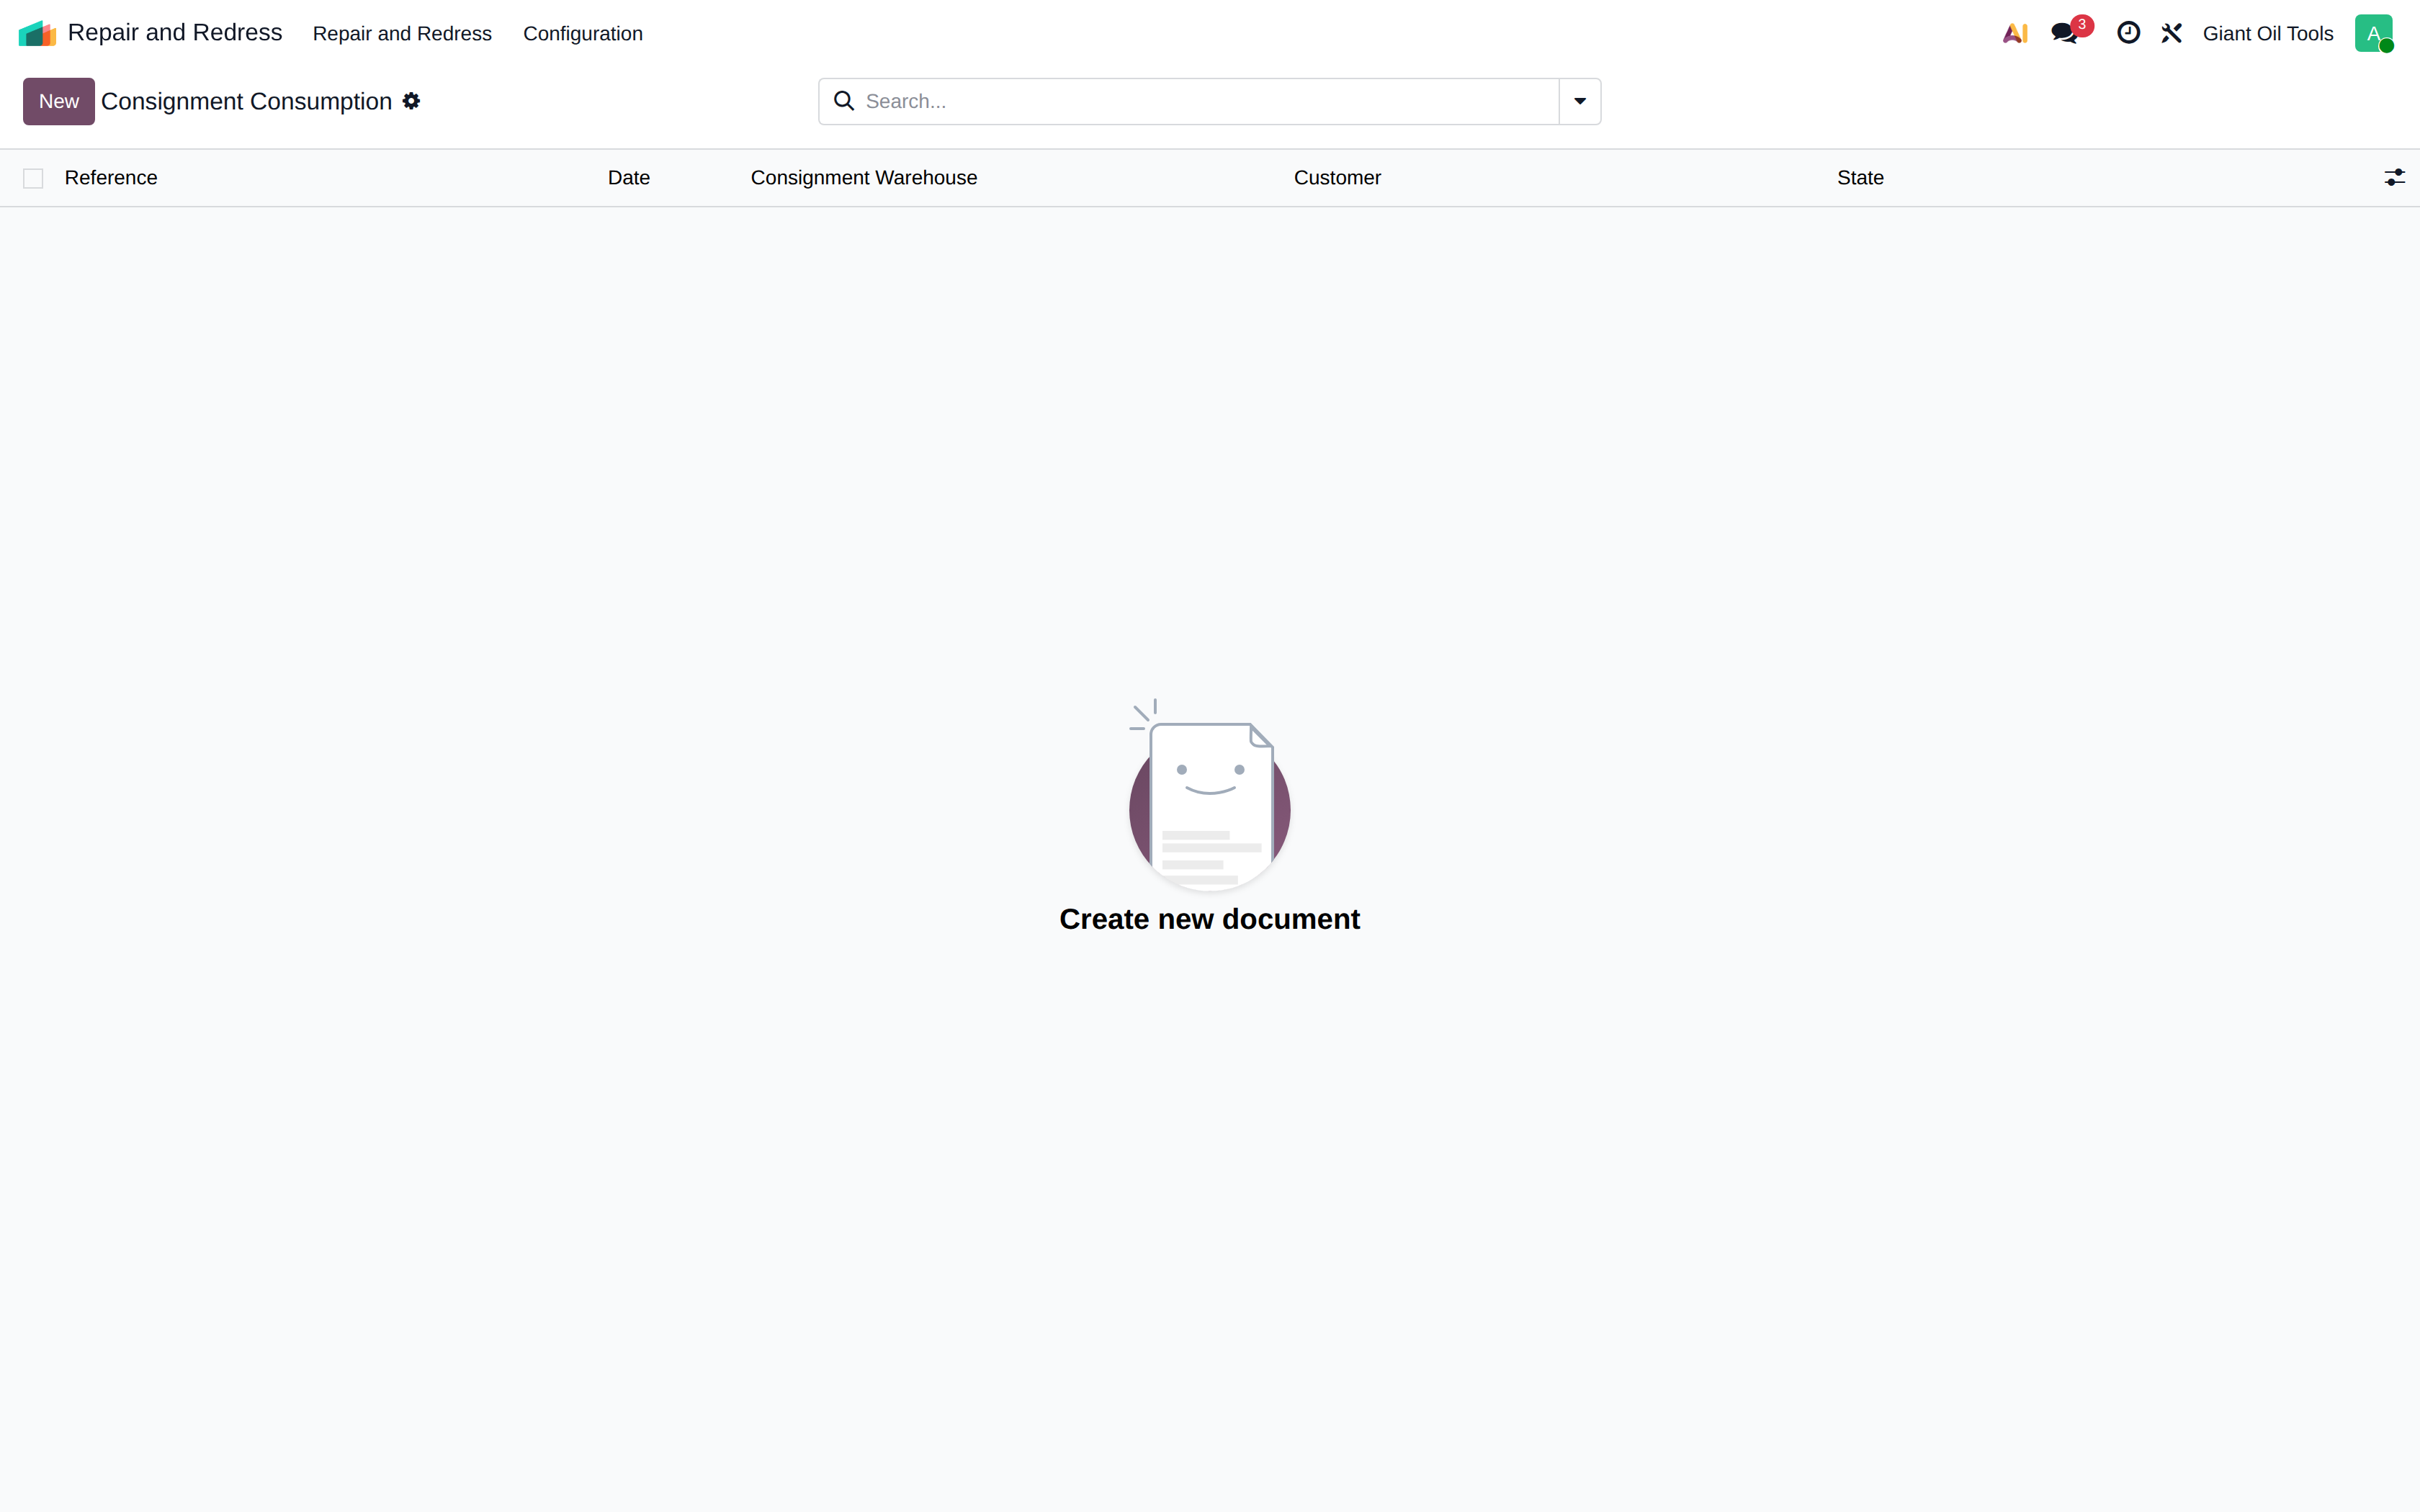
Billing consignment stock on consumption
Stock held at the customer site stays yours until they use it; one button delivers it and invoices it.
Open GIANT Operations > Consignment Consumption
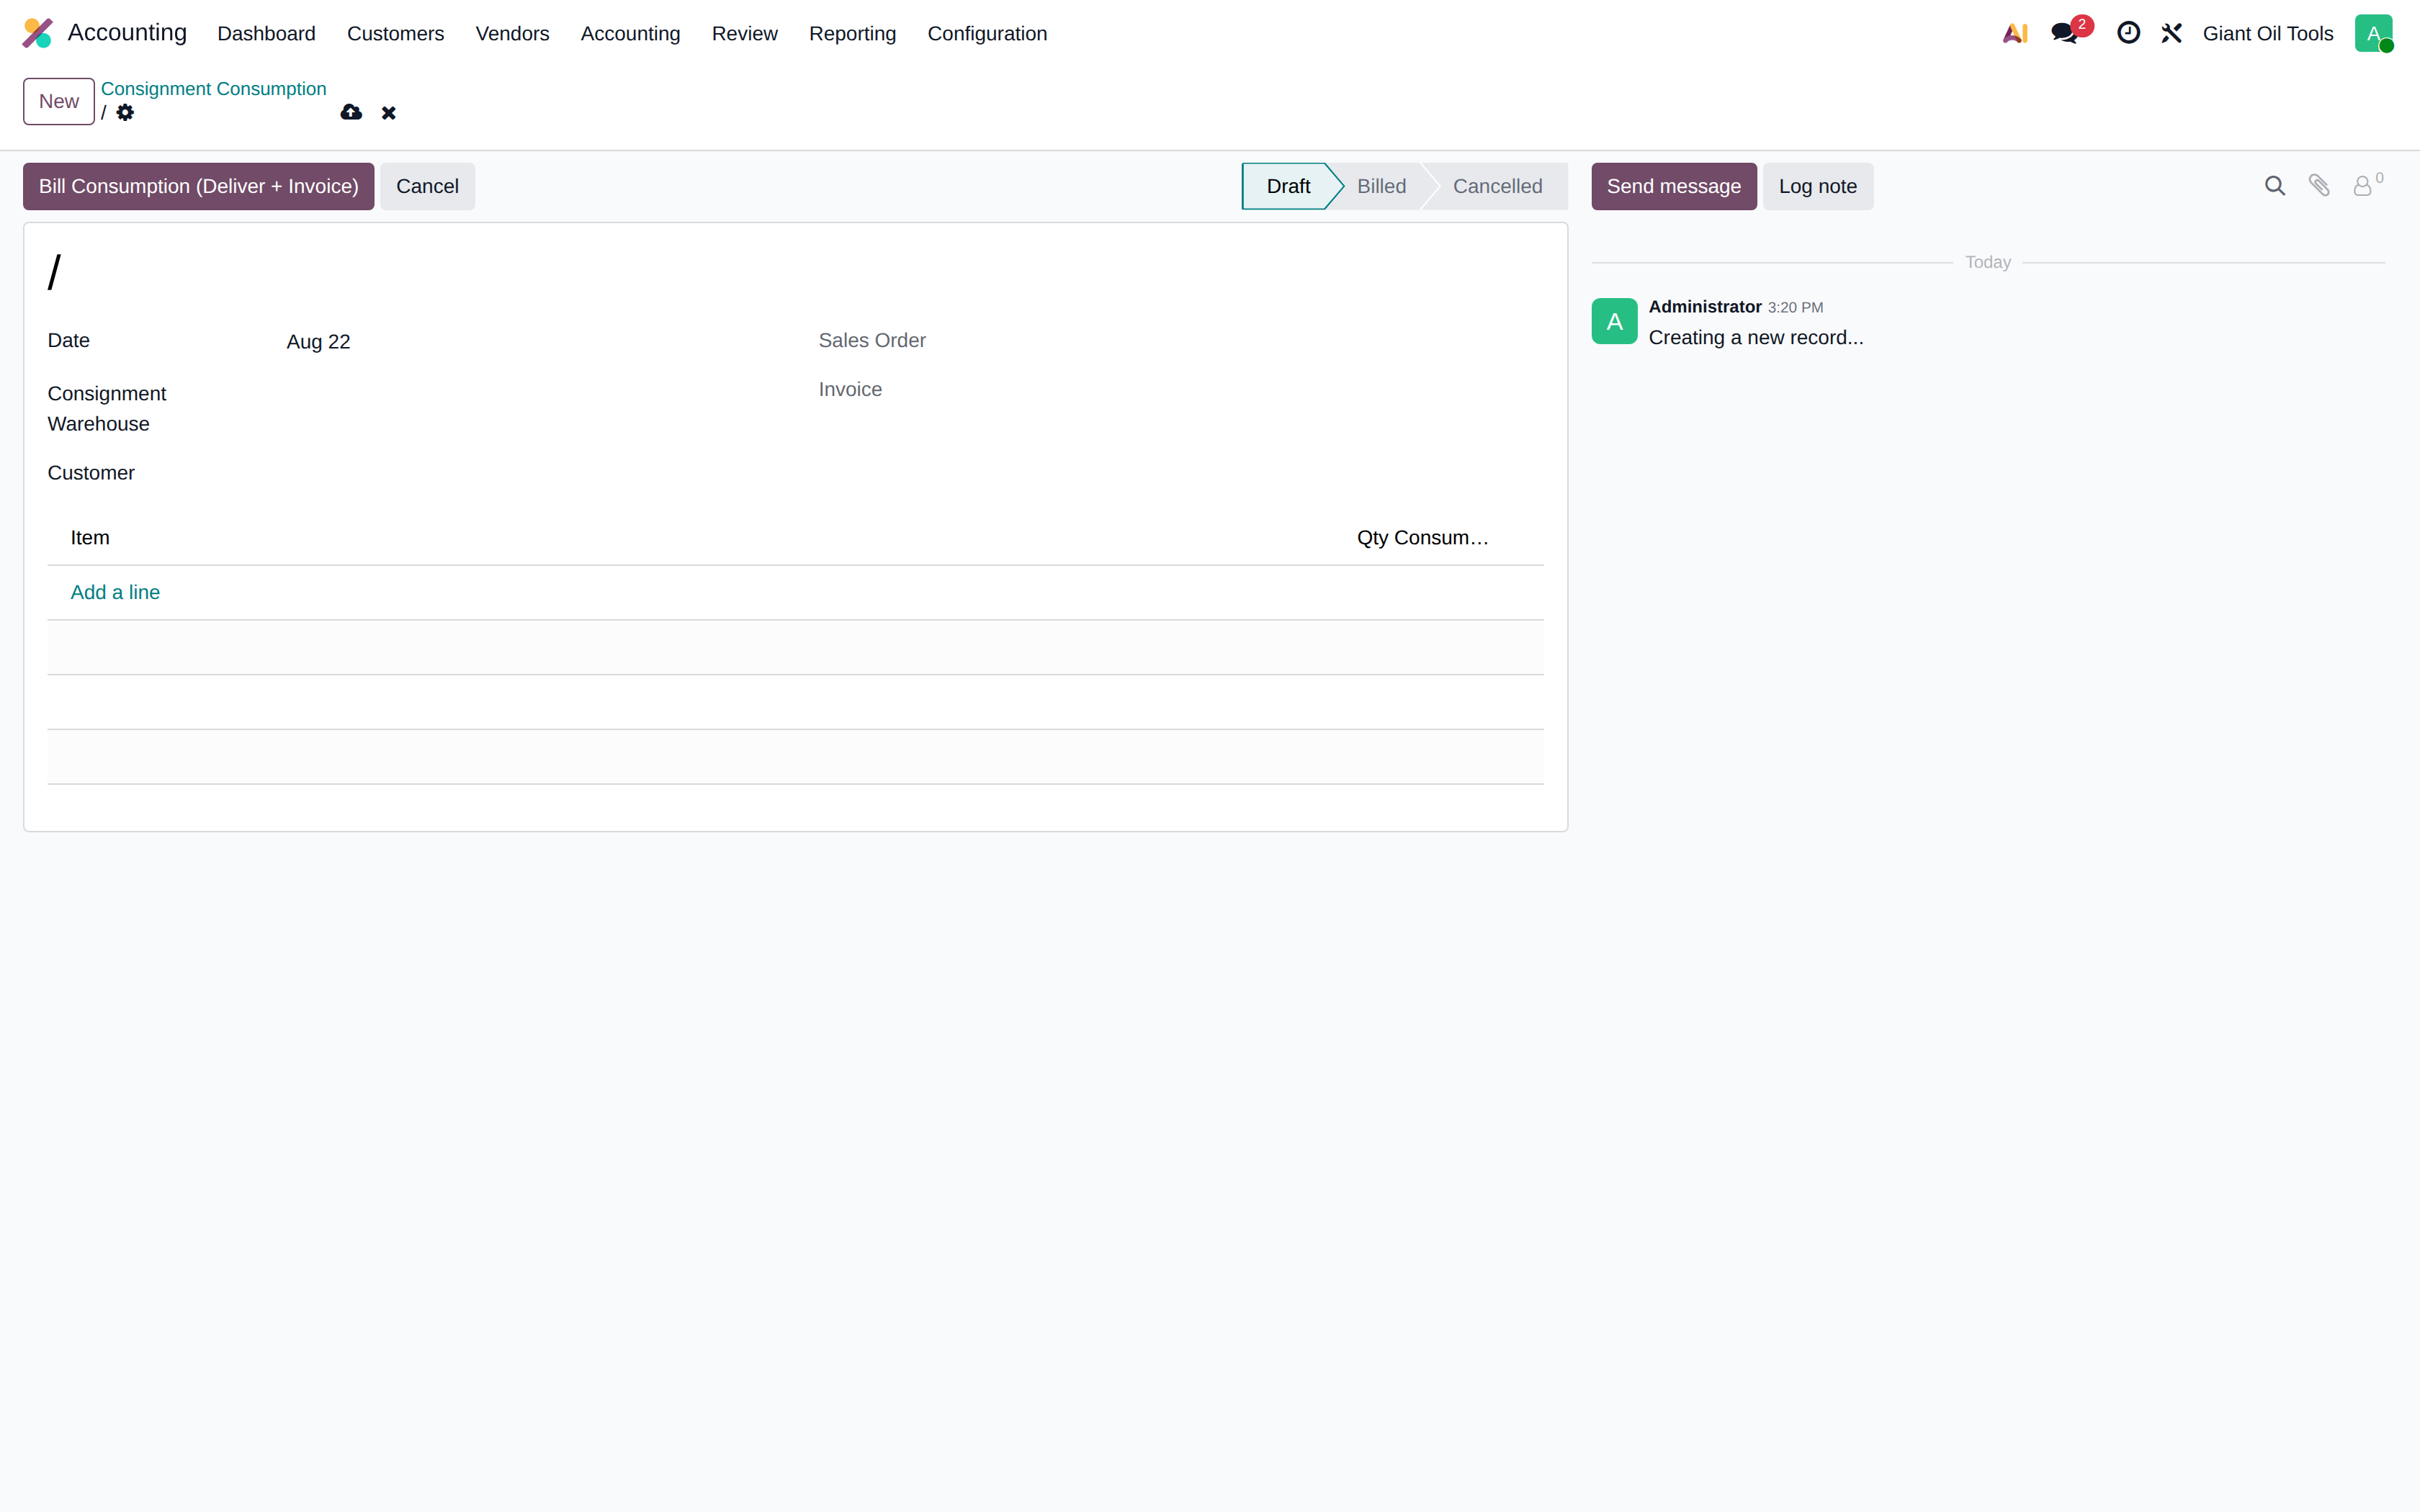
Click New when the customer reports what they used
Pick the consignment warehouse — it is your stock, held at the customer site
The customer is filled in from the warehouse, so the consumption can only be billed to whoever holds the stock
Add what the customer consumed
Pick the consumed item
Five pieces were used this month
Bill Consumption — this confirms a sales order, delivers out of the consignment warehouse, and posts the invoice
Stock is relieved first and only then invoiced, so the customer is never billed for goods still sitting on their site
Open the invoice it created
The customer invoice is posted, with the consumed items on it
Show the steps
hover to play · click for full screen
From sales forecast to material plan
Approve a monthly forecast, then let the material plan work out what has to be bought.
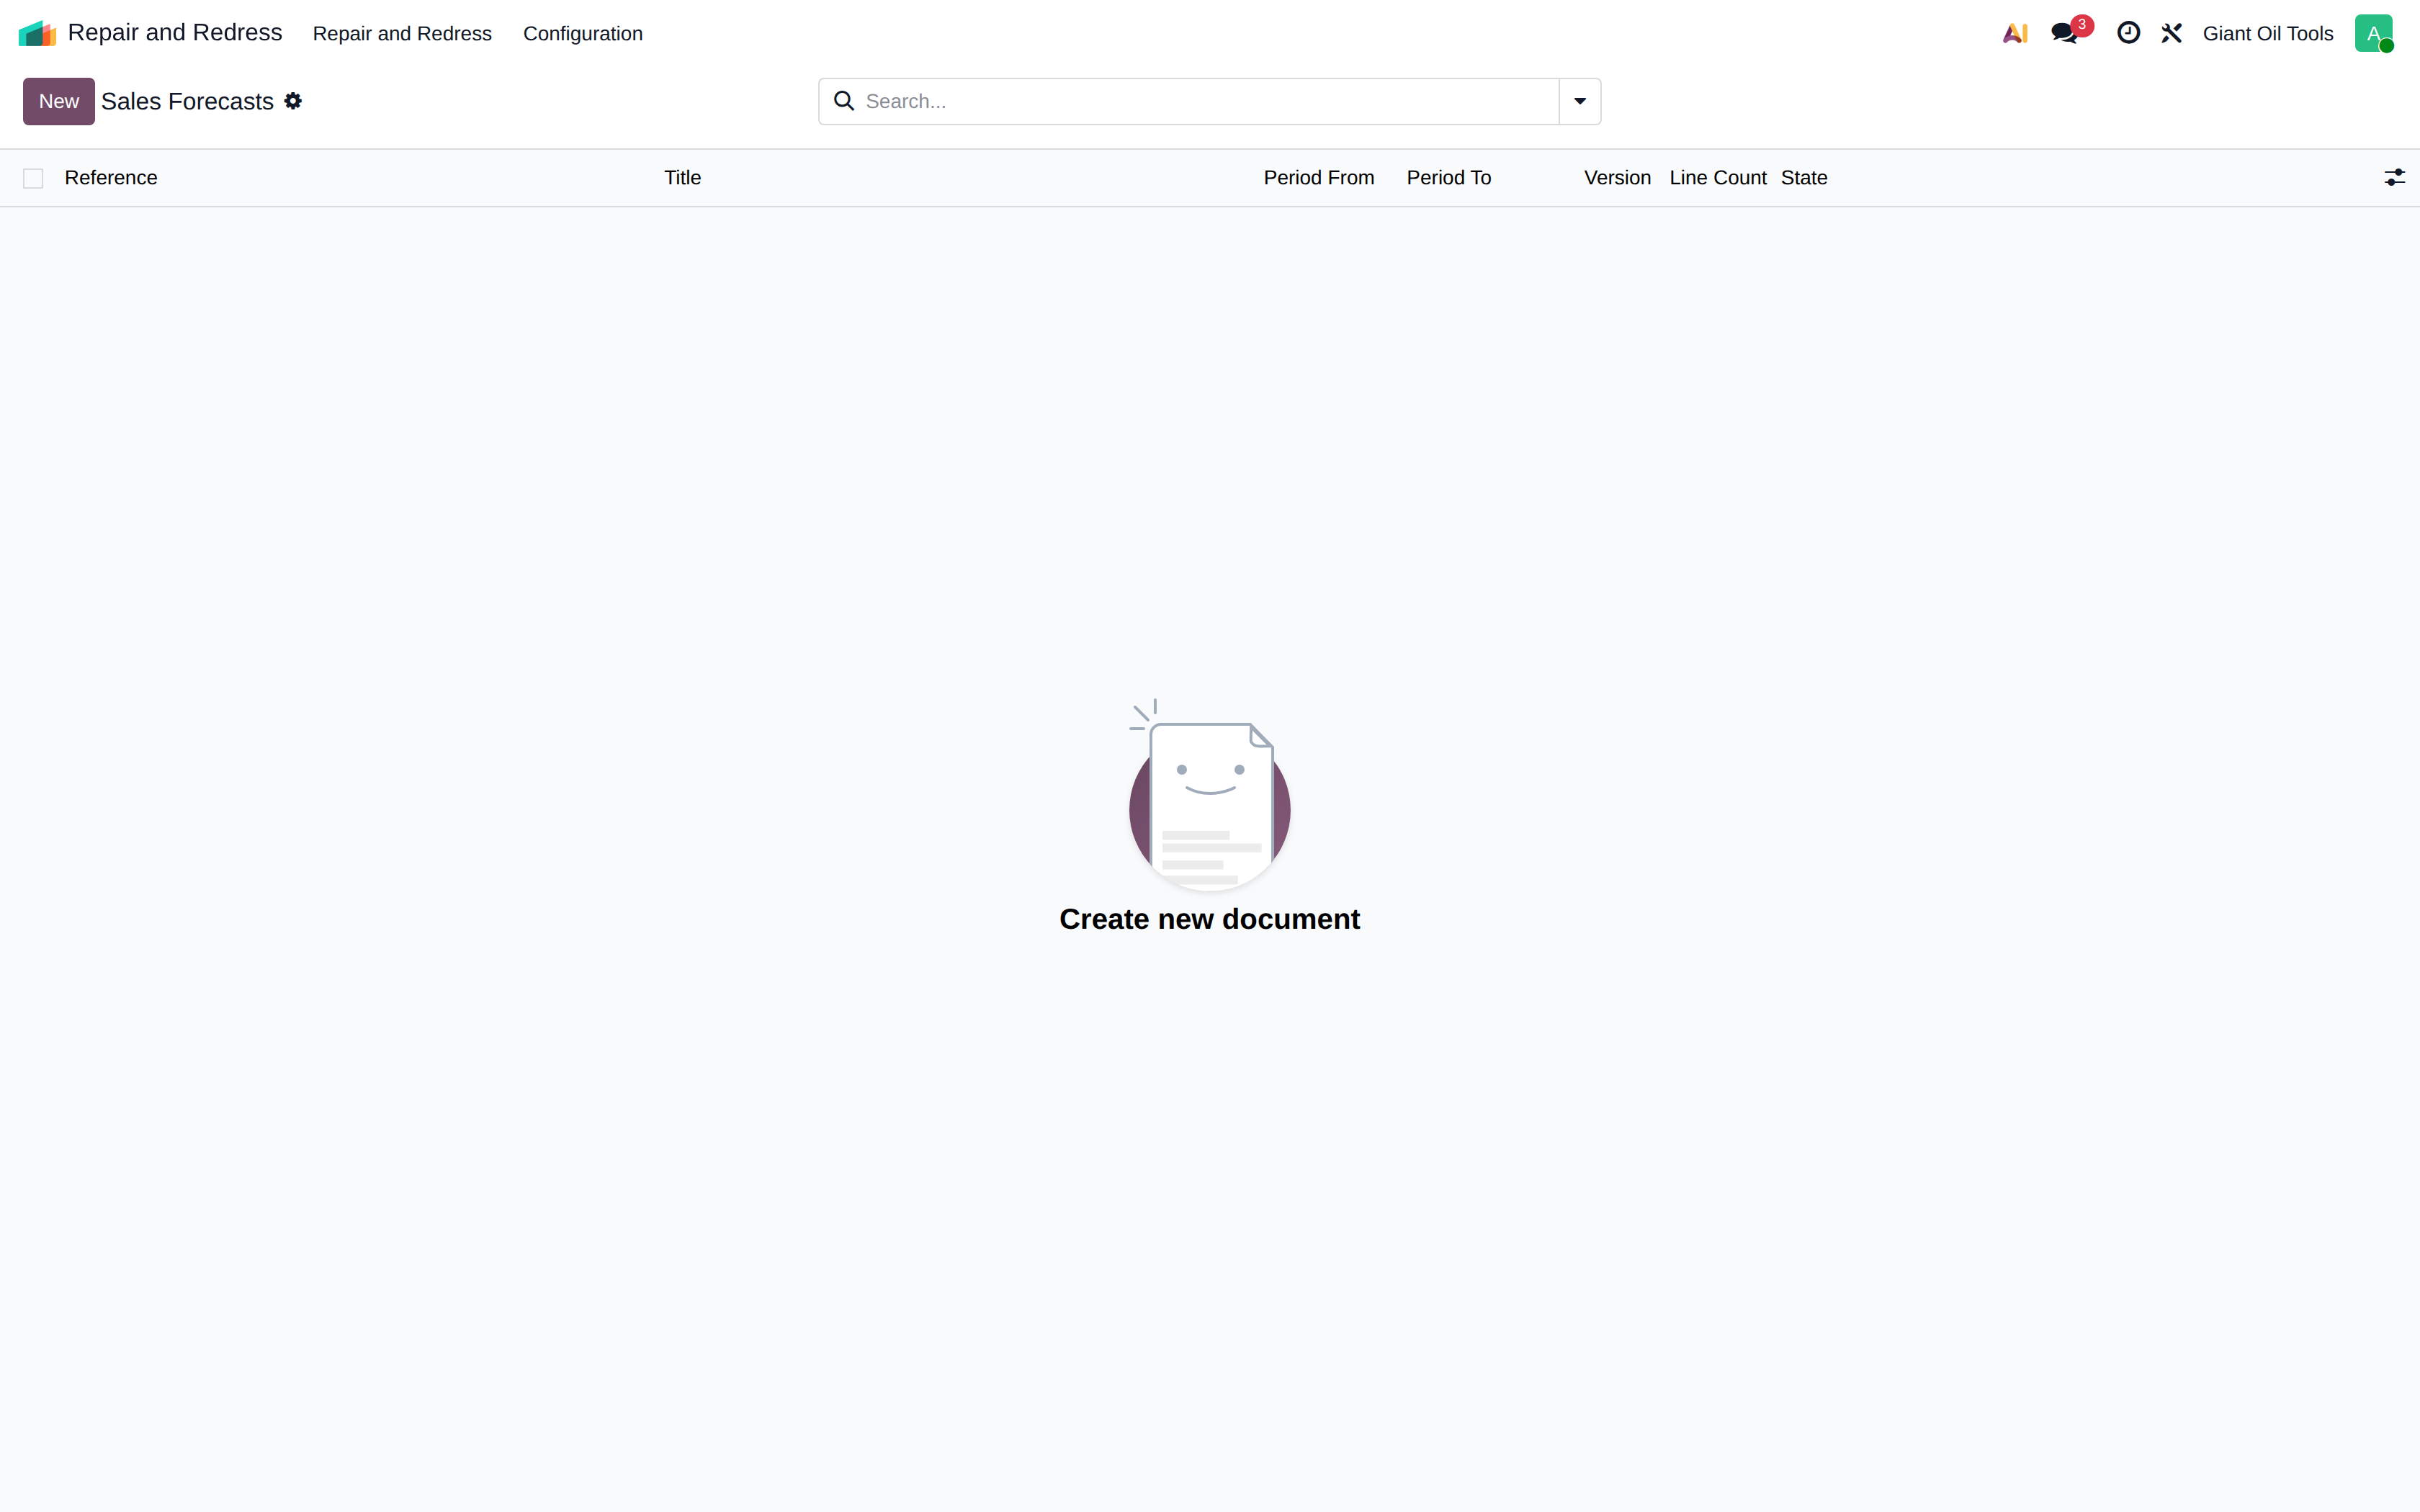
Open GIANT Planning > Sales Forecasts
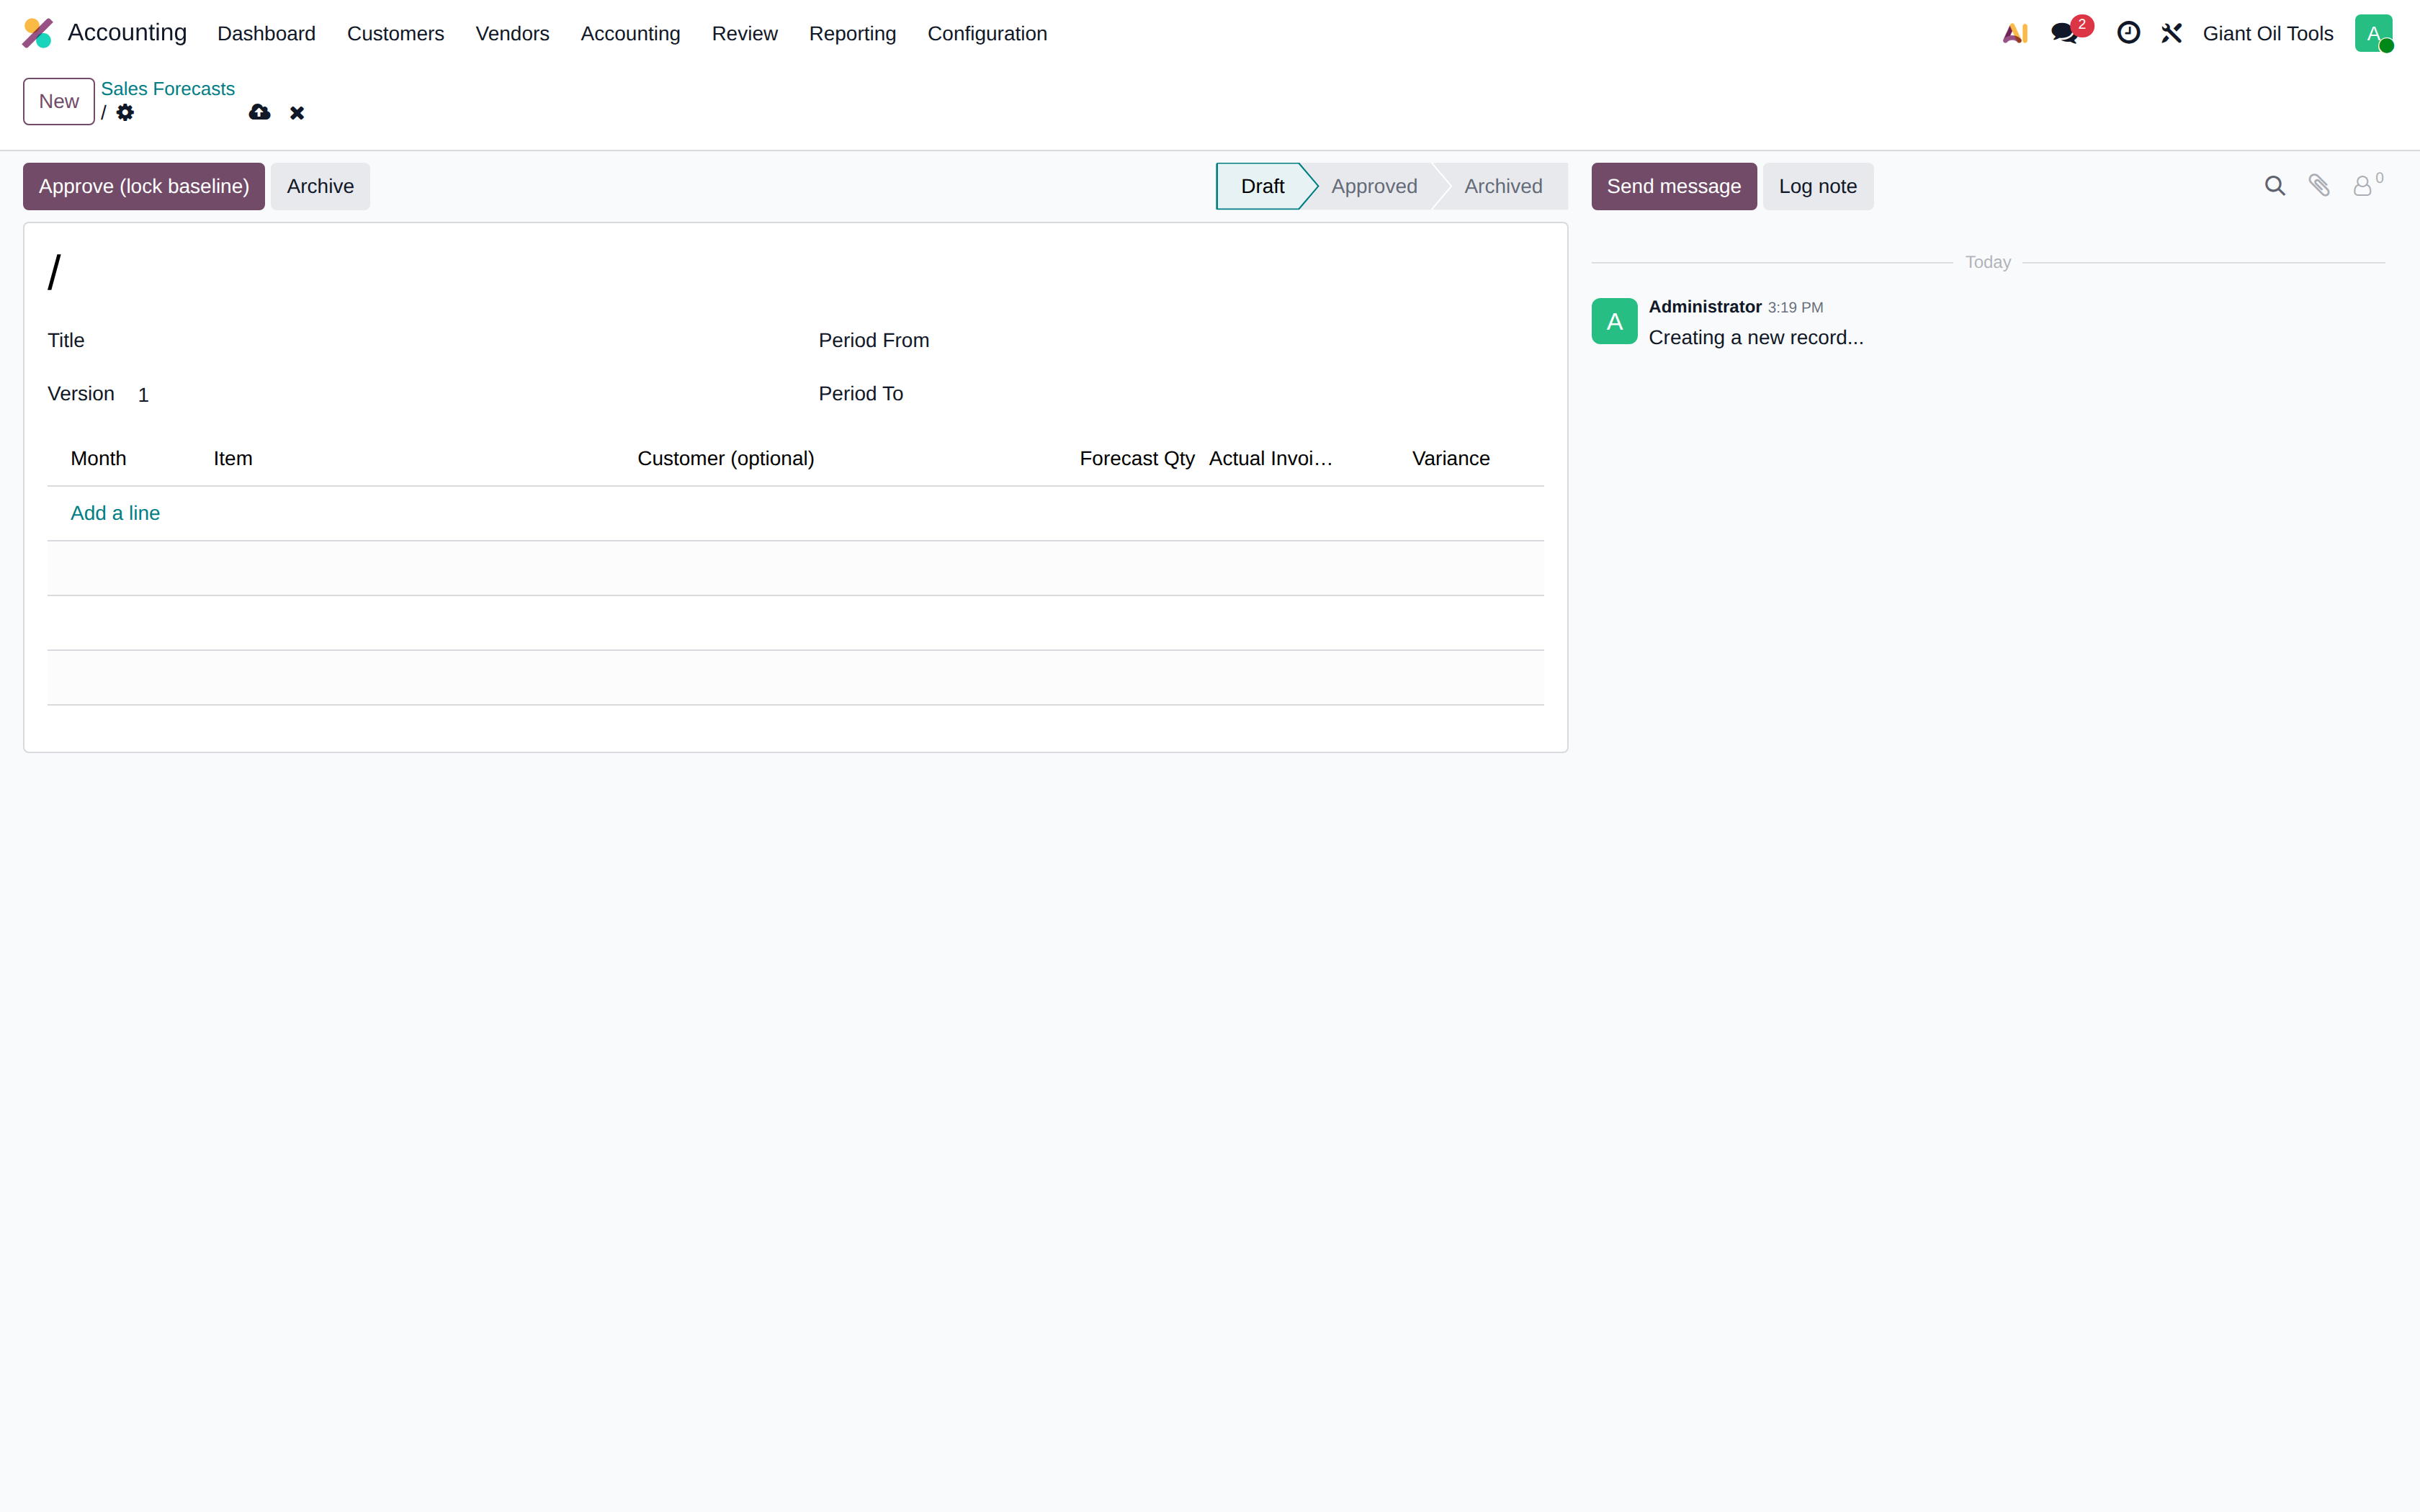
Click New to start a forecast version
Name the version — forecasts are versioned, so you can revise without losing the old baseline
Set the period this version covers
The period runs to the end of November
Add a forecast line per month
Forecasts are monthly: use the first day of the month
Pick the item you are forecasting
Expected demand for September
Add the next month
October
Same item
Expected demand for October
Approve — this locks the version as the baseline planning will use
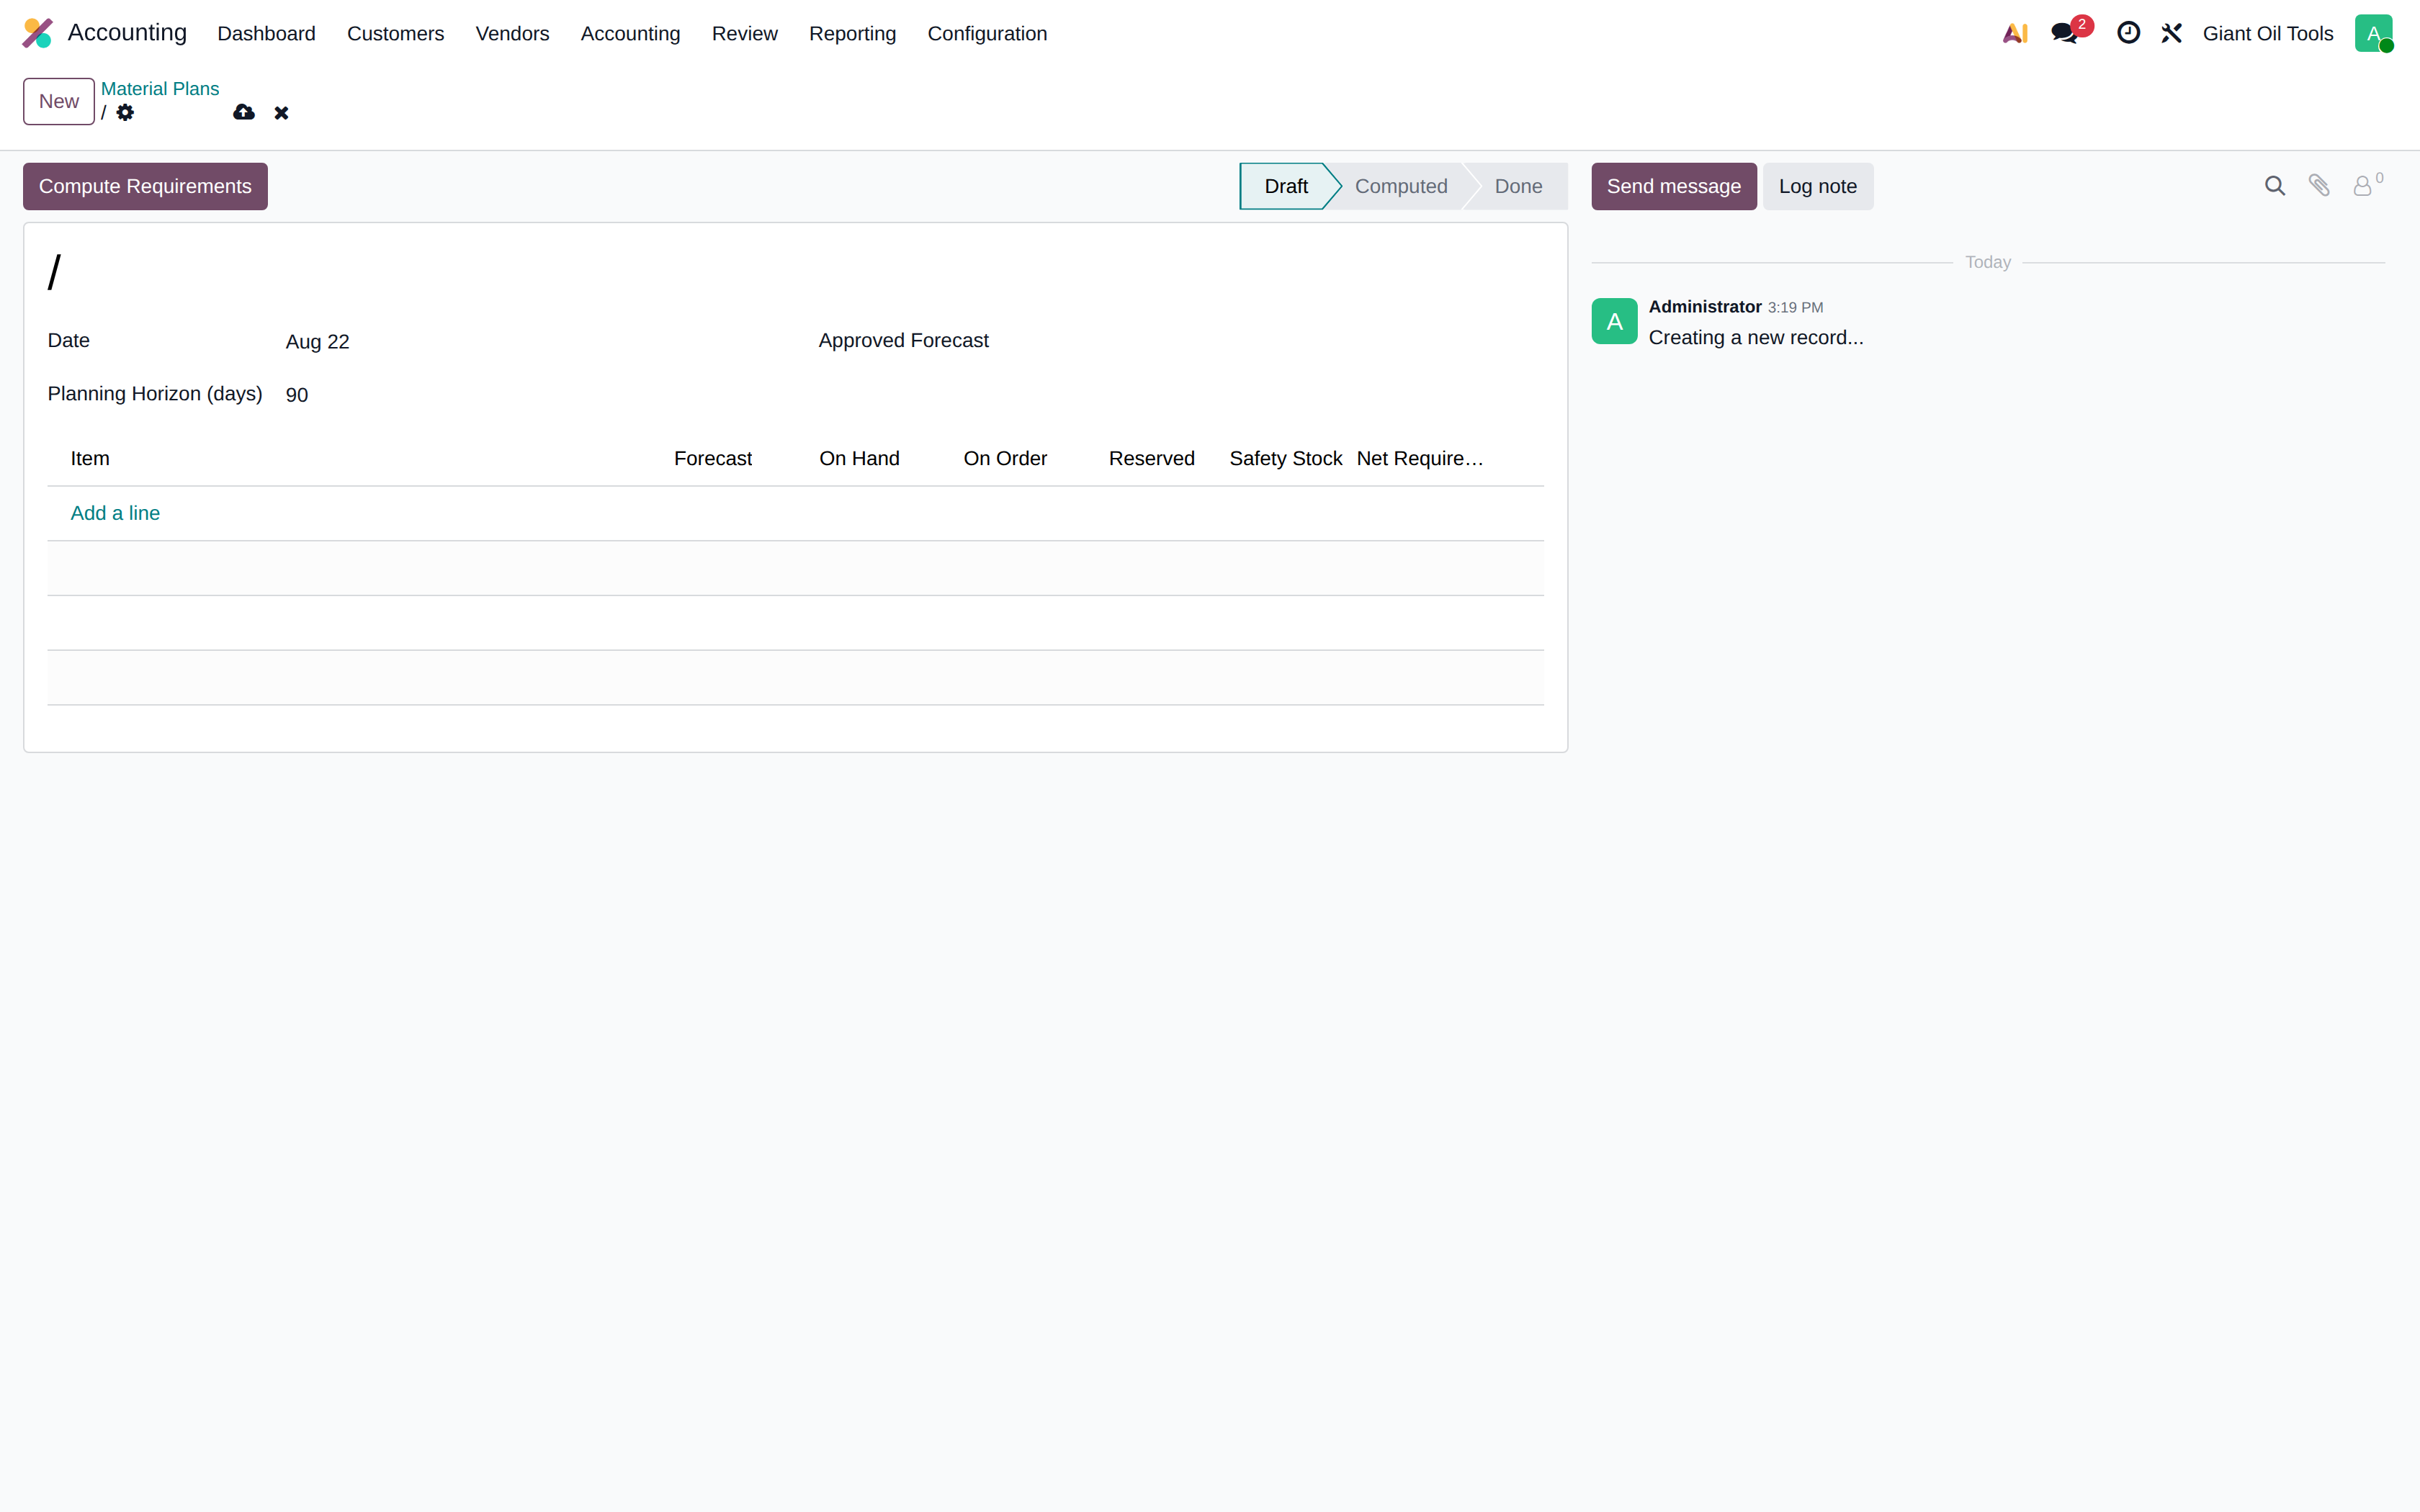
Now open GIANT Planning > Material Plans
Click New to build a planning worksheet
Set the planning horizon — only forecast months inside it are pulled in
Point the plan at the approved forecast; draft versions cannot be selected
Compute Requirements
Net Requirement = (Forecast + Safety Stock) - (On Hand + On Order - Reserved): what is still missing after everything you already have and have ordered
Show the steps
Screens and reference
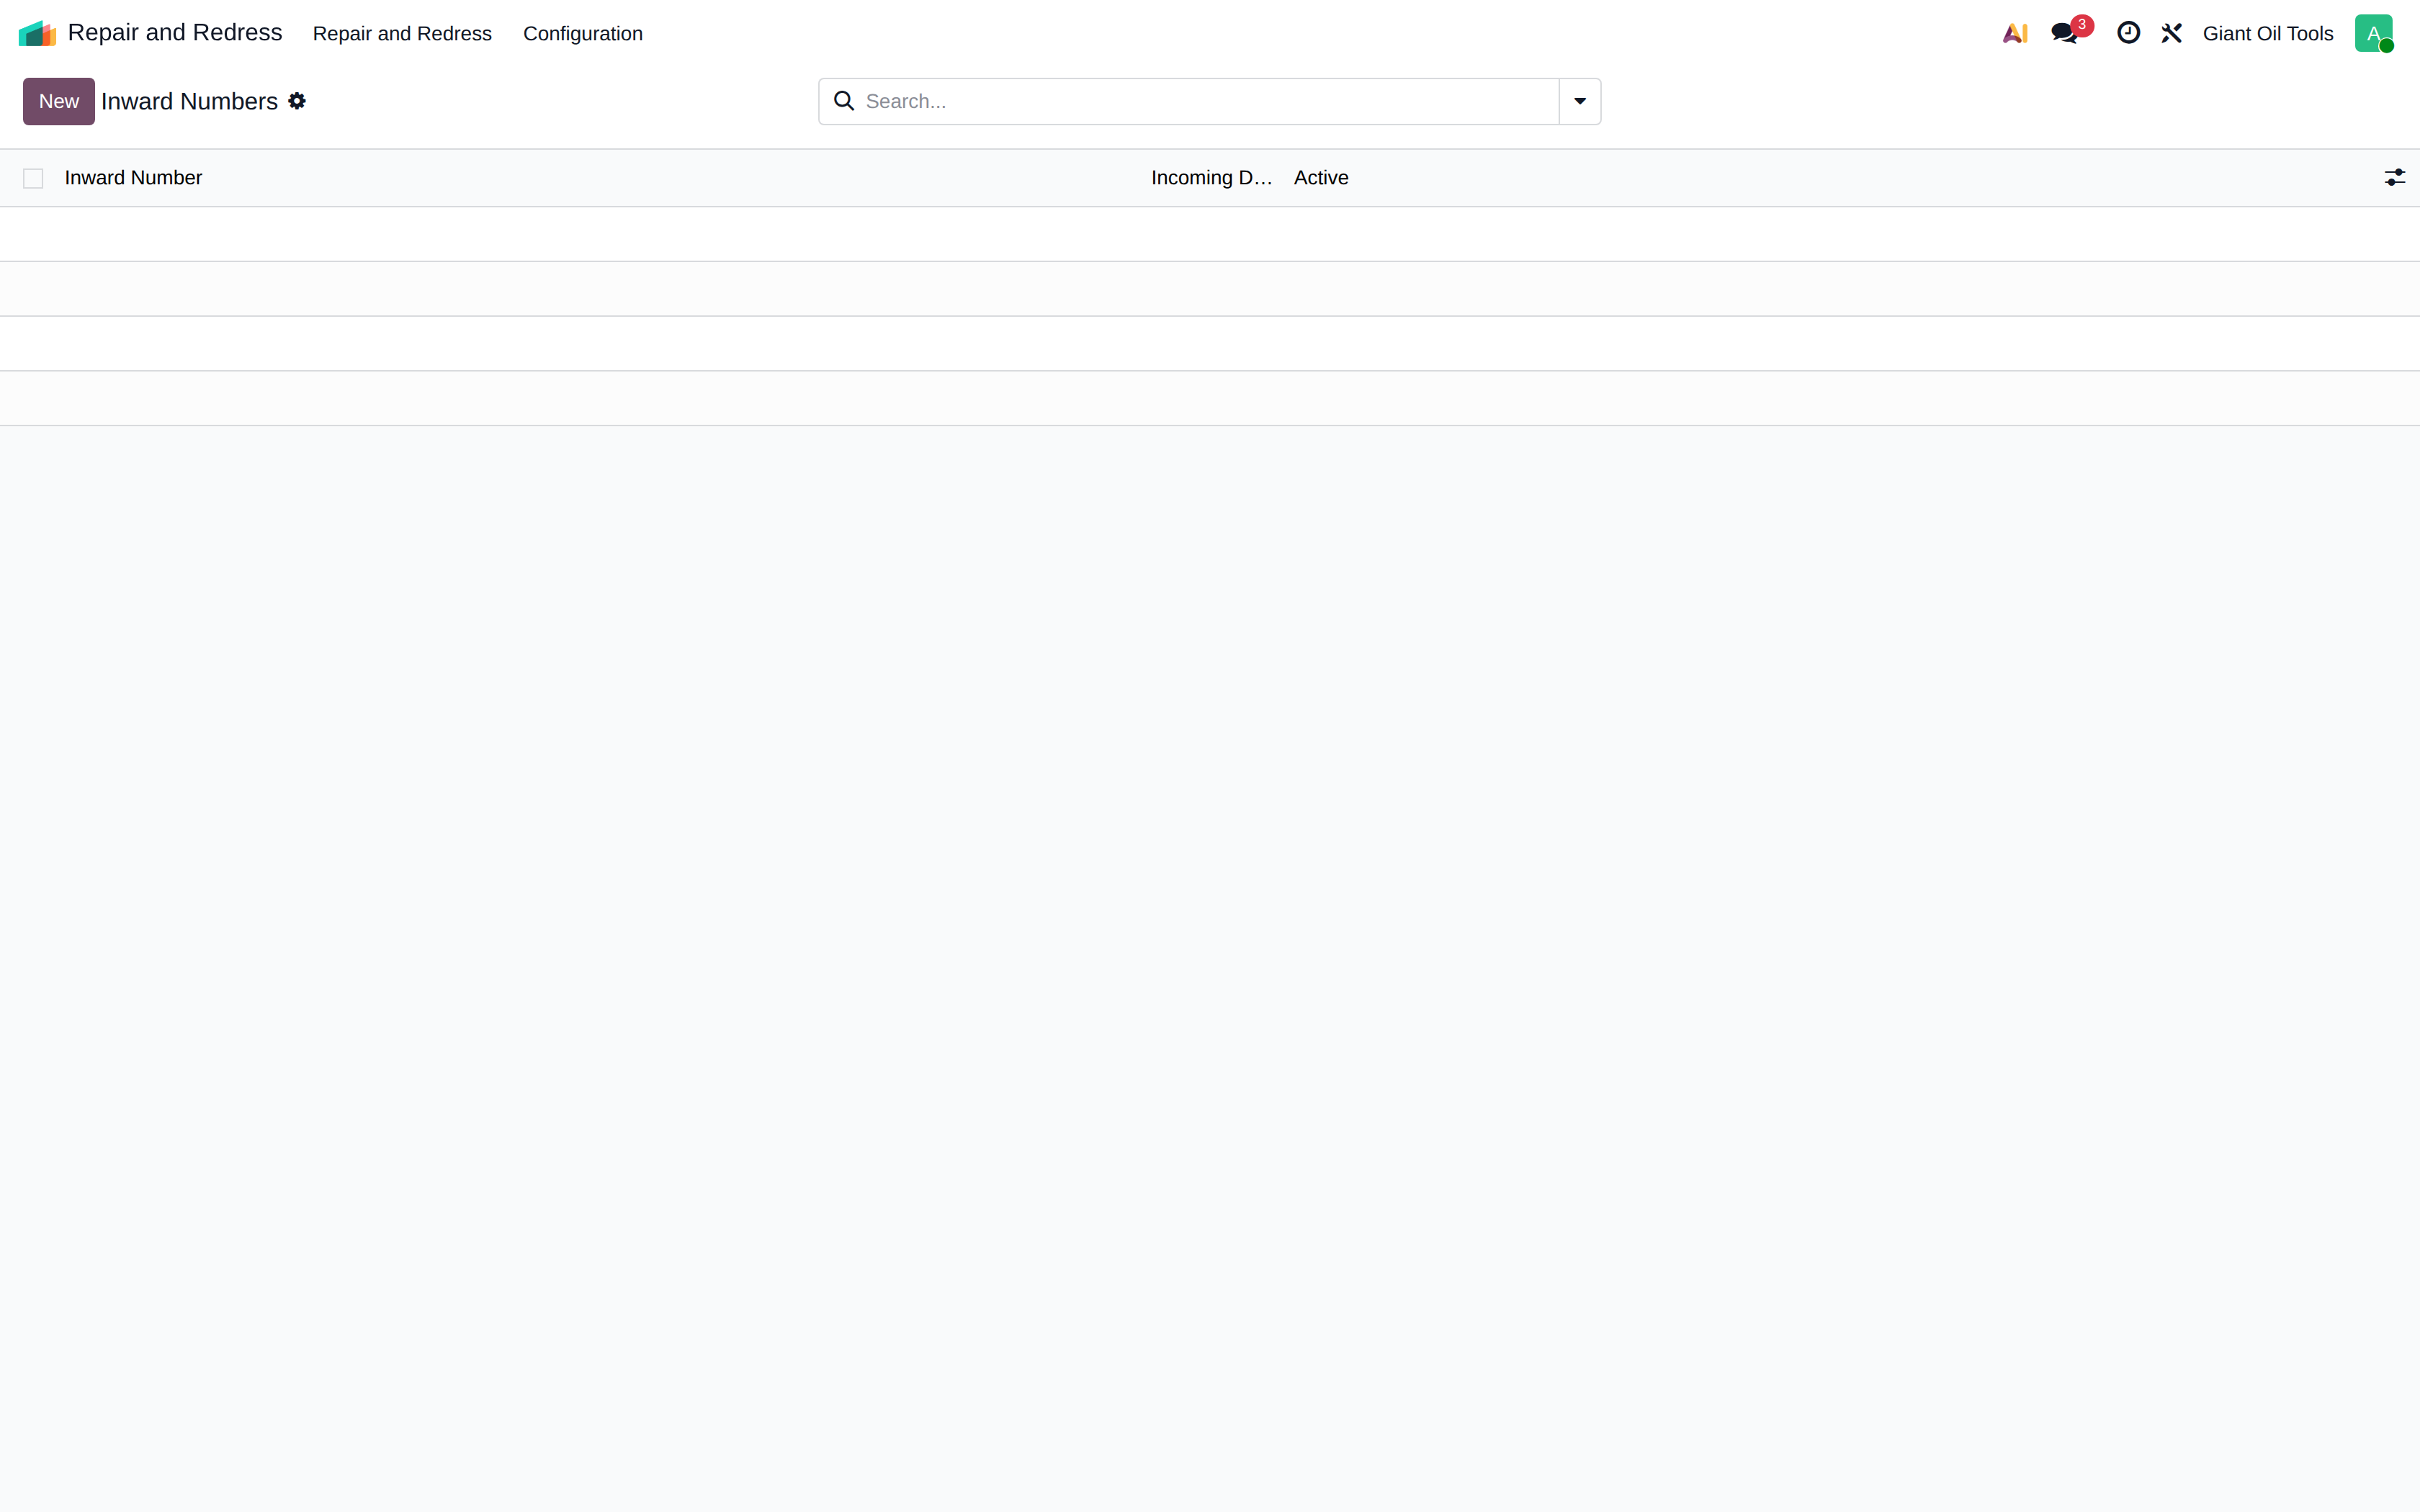
Inward numbers
The register of inward reference numbers with their incoming date, carried over from the previous ERPNext system and used to tie current records back to historical shipments.
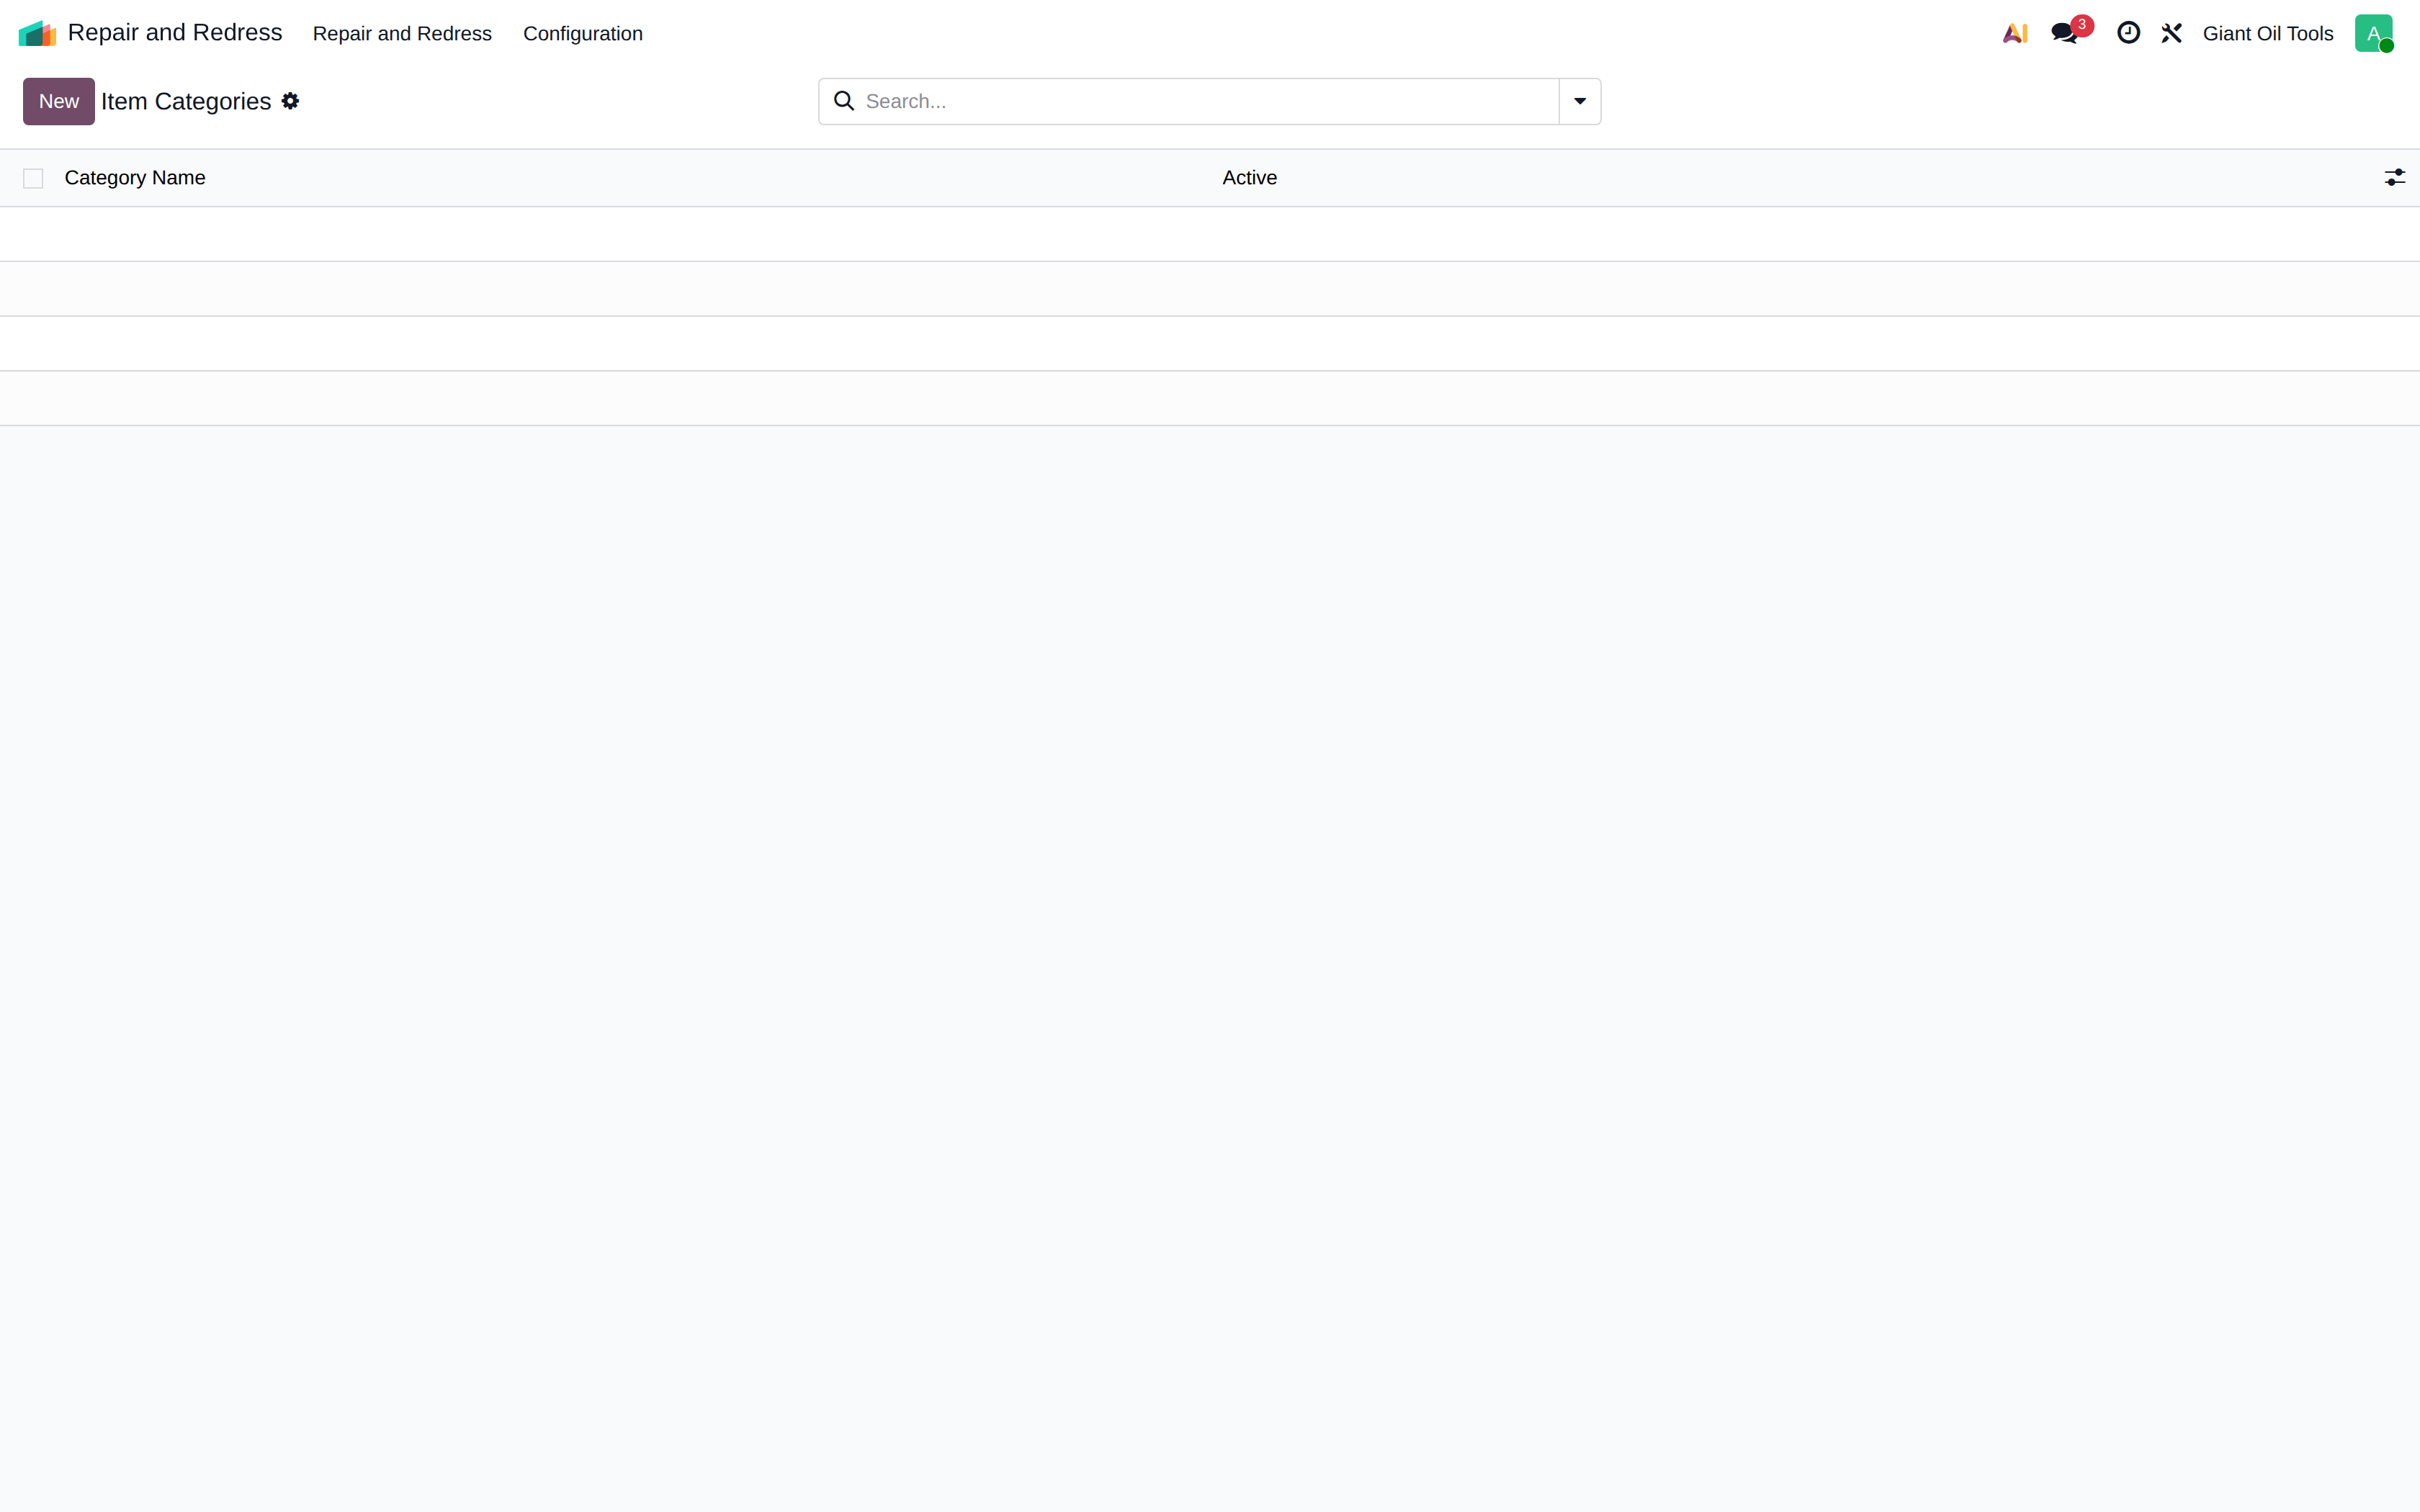
Item categories
The Giant Oil Tools classification of items, used for grouping and reporting alongside the standard product categories.
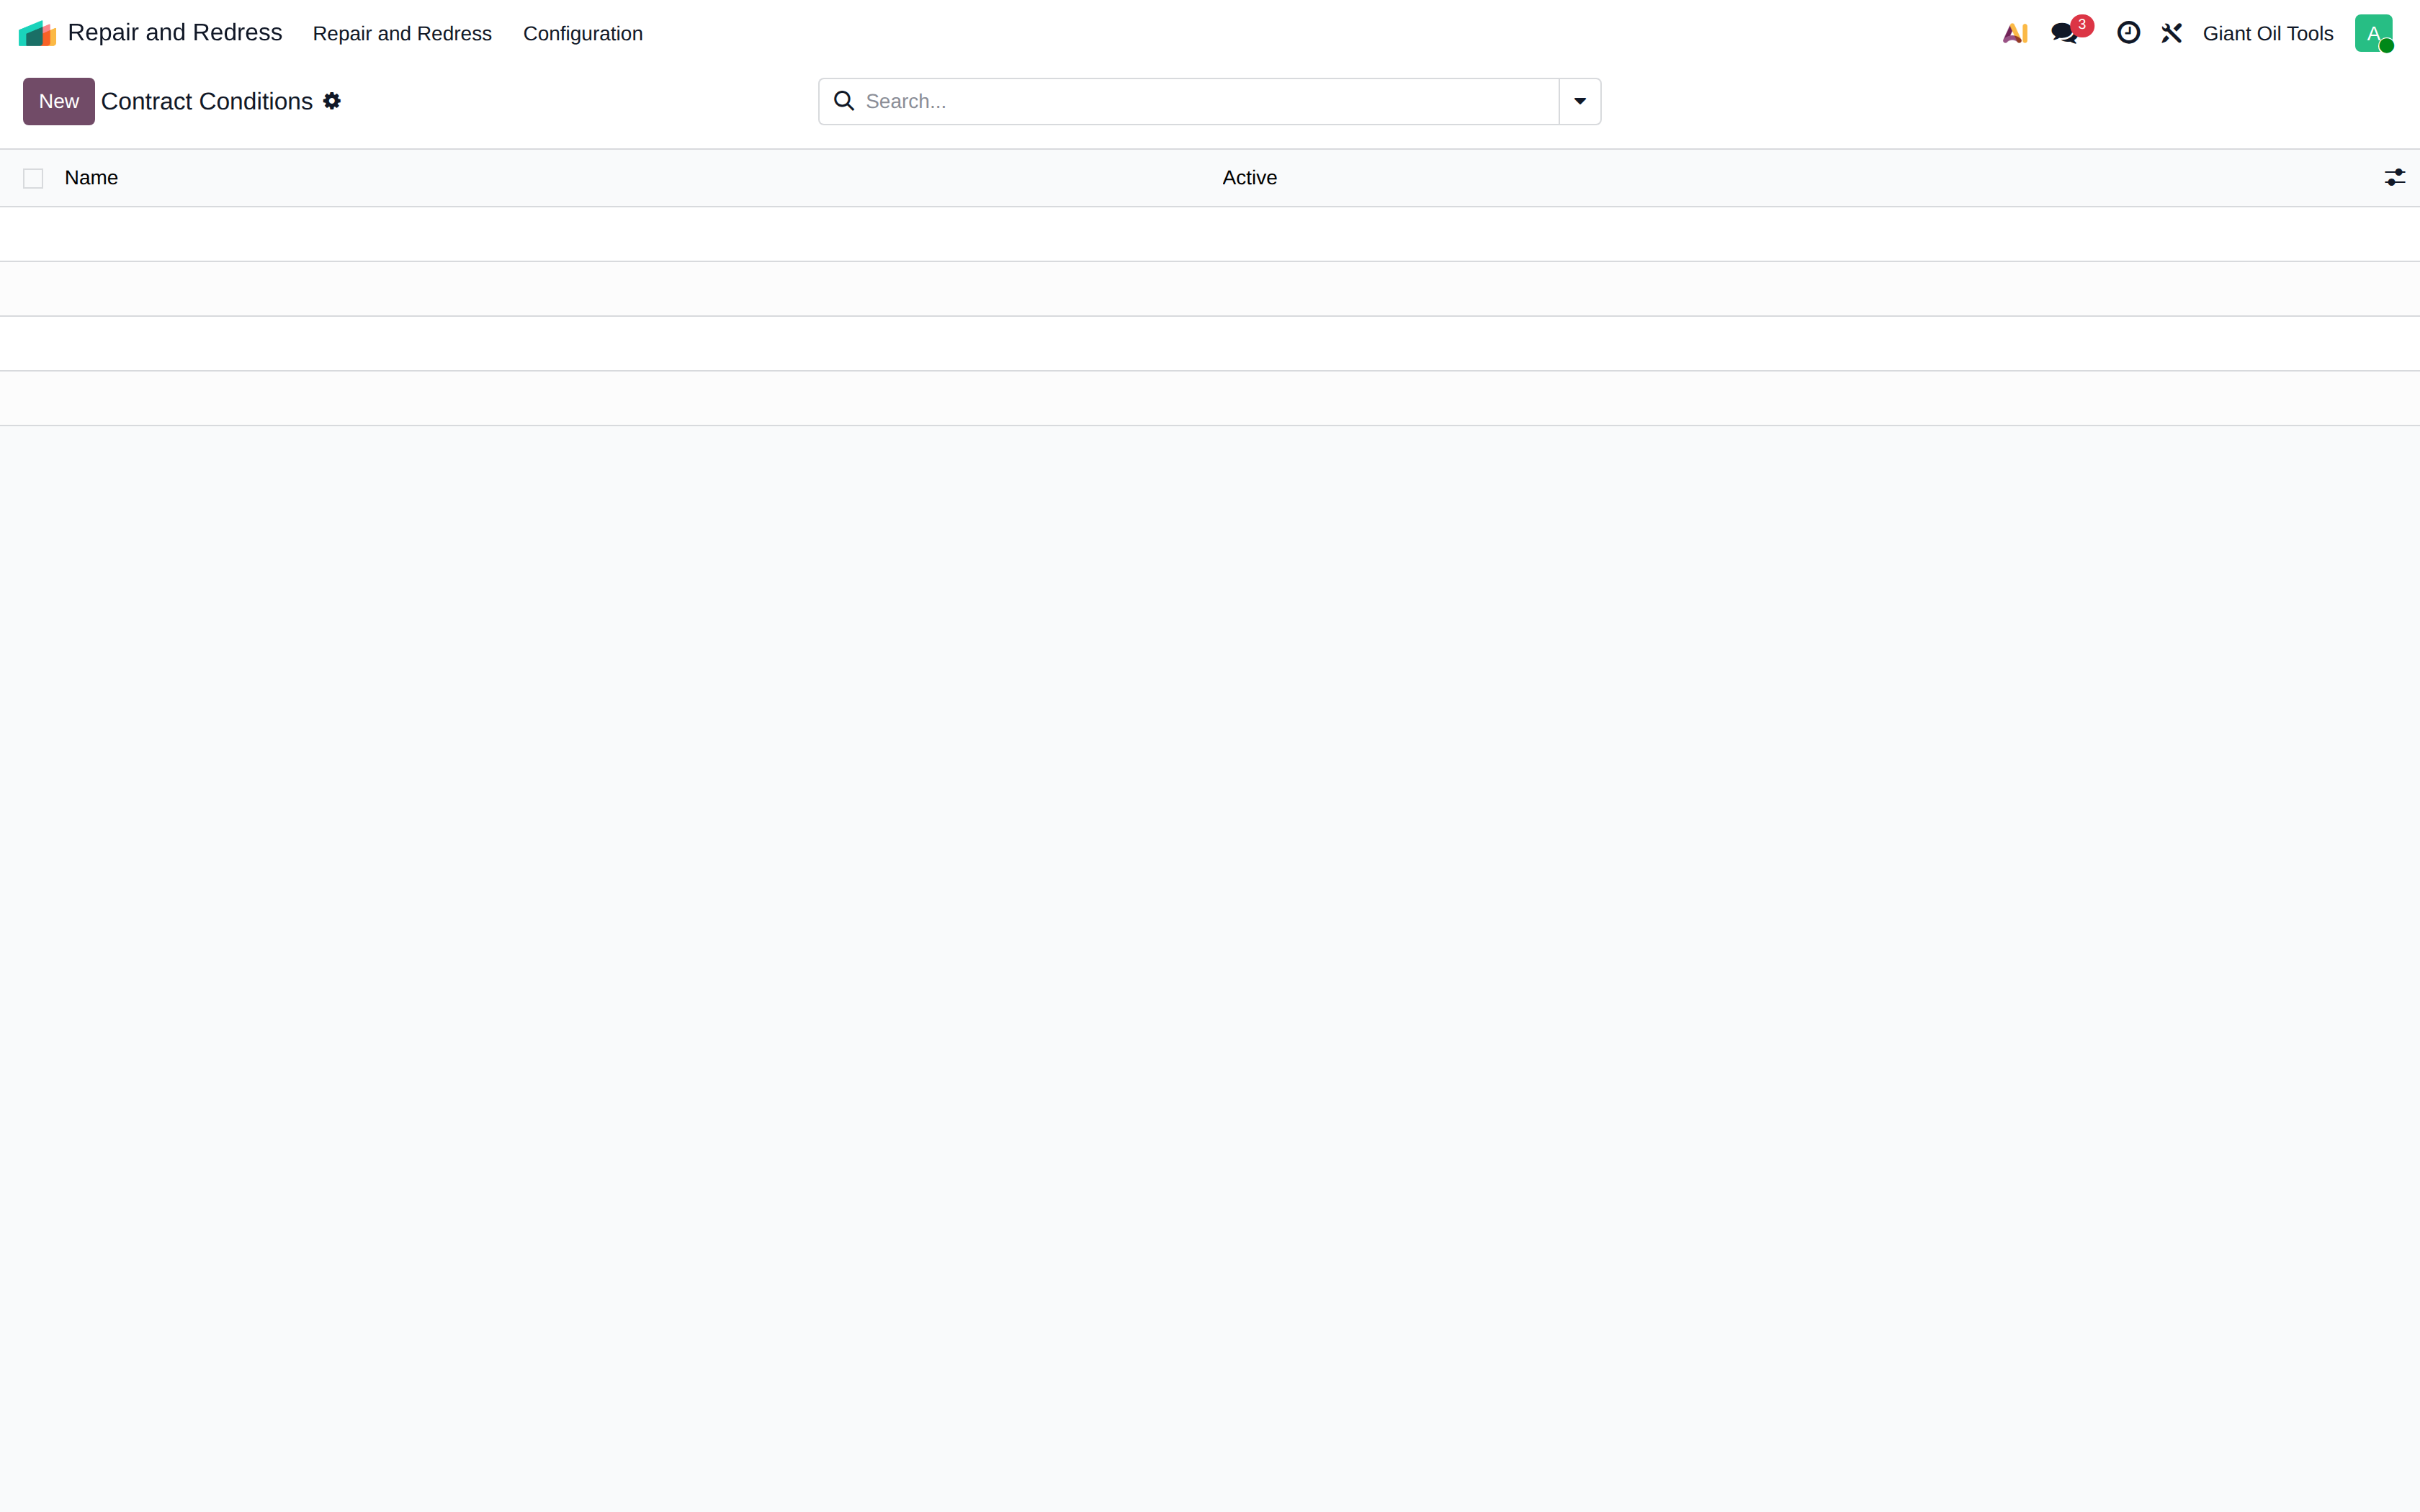
Contract conditions
Reusable condition texts that can be attached to customer contracts.
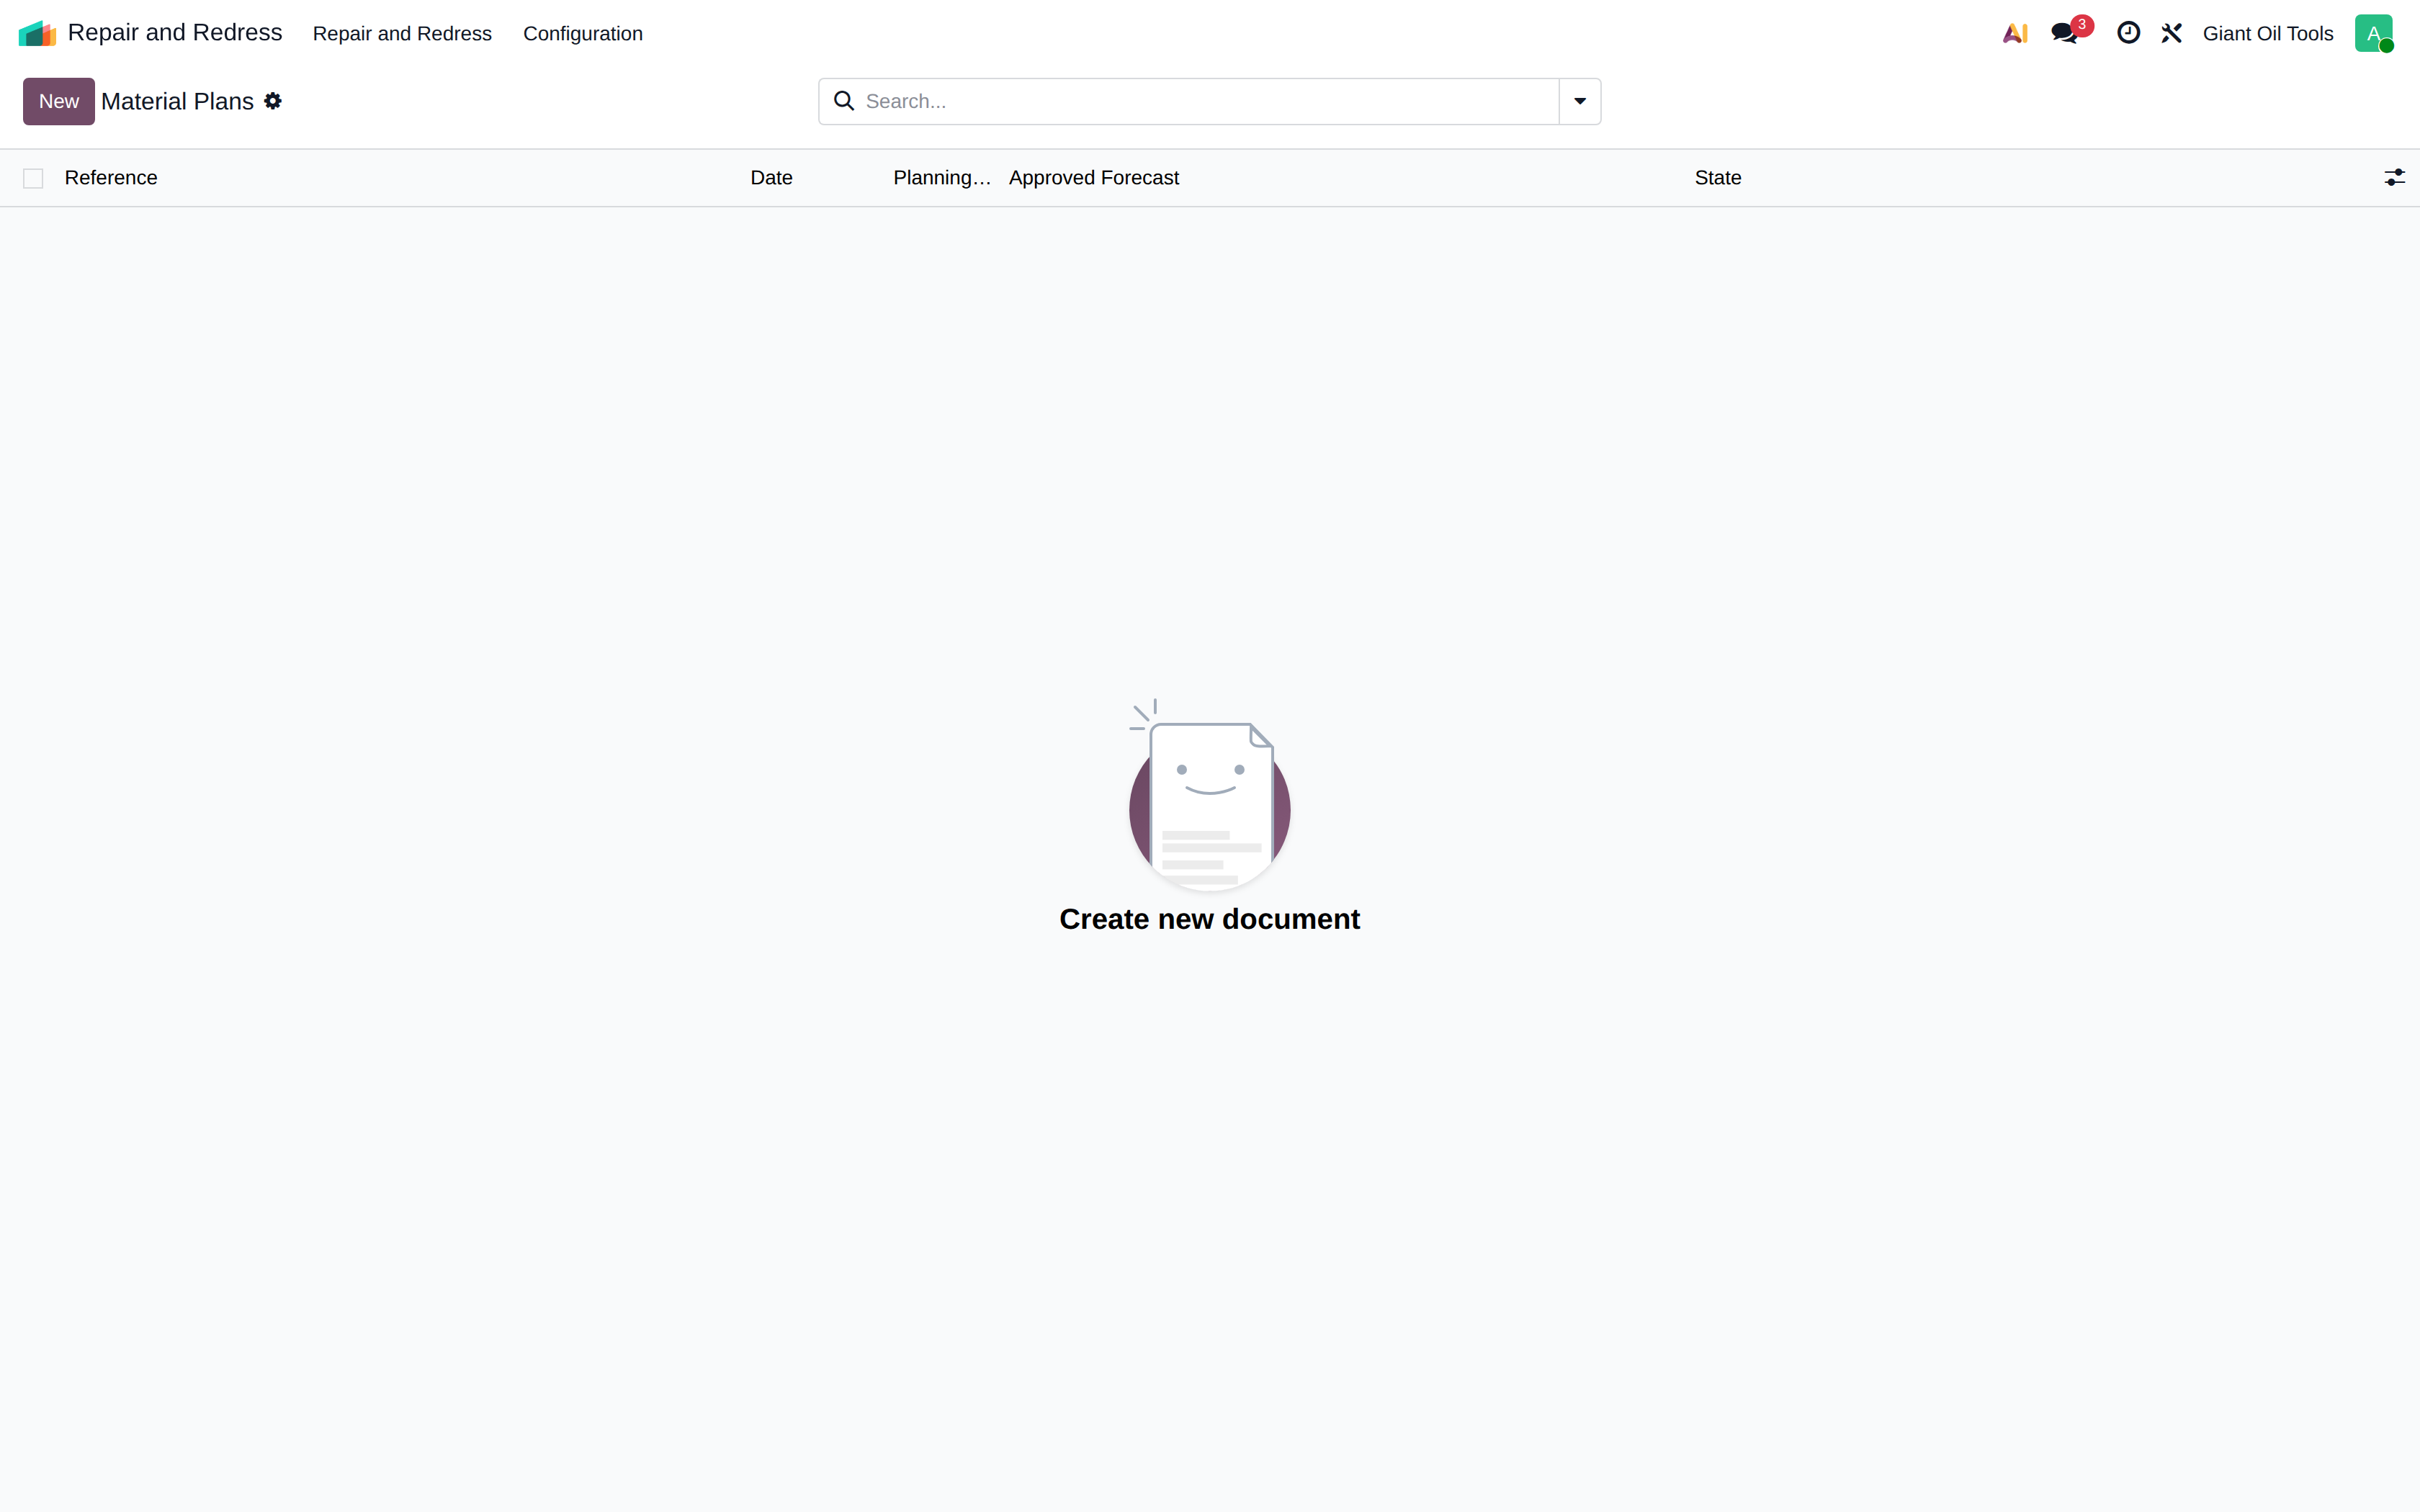
Material plan
Material planning turns the approved sales forecast into a concrete purchasing requirement.
The material plan form
Set the Planning Horizon in days (90 by default) and click Compute. For each product the plan shows Forecast, On Hand, On Order, Reserved, Safety Stock and the resulting Net Requirement.
Review the computed lines, then use Create Purchase Requests to generate draft purchase documents for the shortfall. Lines already actioned are flagged as Processed so a second run does not duplicate them. The plan moves Draft → Computed → Done.
Sales forecast
Monthly sales forecasts, kept as numbered versions so that a revised forecast never overwrites the one already used for planning.
The sales forecast form
Give the forecast a Title, a period (From/To) and a Version number, then enter one line per product and month with the Forecast Qty. The system computes Actual Invoiced and the Variance against it, so forecast accuracy can be reviewed after the fact.
A forecast must be Approved before material planning will use it; superseded versions are Archived rather than deleted.
Repack / conversion
Converts stock from one product into another without a bill of materials — repacking, re-grading or re-labelling.
The repack / conversion form
List what is consumed under Consume Lines and what results under Produce Lines, and add any Additional Cost for labour or overhead. Validate posts the stock moves and carries the value of the consumed items, plus the additional cost, into the produced items.
Converting a reel into feet
Control line is bought on drums and often issued by the foot. Because every product has its own drum length — 350, 500, 650, 1,000, 1,200, 2,000, 3,000, 3,500, 4,000, 5,000, 6,000, 6,281, 7,000, 7,500, 8,000, 10,000, 11,000 and 12,000 feet are all in the catalogue — the length is held on the product, not on the unit of measure.
On the product form, the Control Line tab carries: • Feet per Reel — the length of one drum of this product. • Loose Feet Product — the product that holds control line by the foot (CL2549WL*).
The Convert to Feet button then opens a Repack / Conversion already filled in: consume one reel, produce that many feet. Validate it and the stock moves, the lot numbers and the accounting entry are created — the full cost of the reel is carried onto the feet, so a 2,000 ft drum costing 4,000 becomes 2,000 ft at 2.00 each with no value gained or lost.
Used material intake
Records used tools coming back from a customer or a job site into the workshop.
The used material intake form
Enter the date, the partner returning the material and one line per item with its quantity and Condition, plus free-text Condition / Notes. Receive brings the items into stock so they can be sent to Repair & Redress.
Consignment consumption
For stock held at a customer site and billed only when the customer actually consumes it.
The consignment consumption form
Enter the customer and one line per item with Qty Consumed, then click Bill Consumption. The system posts the stock consumption and creates the customer invoice for the consumed quantities in a single step. The record moves Draft → Billed.
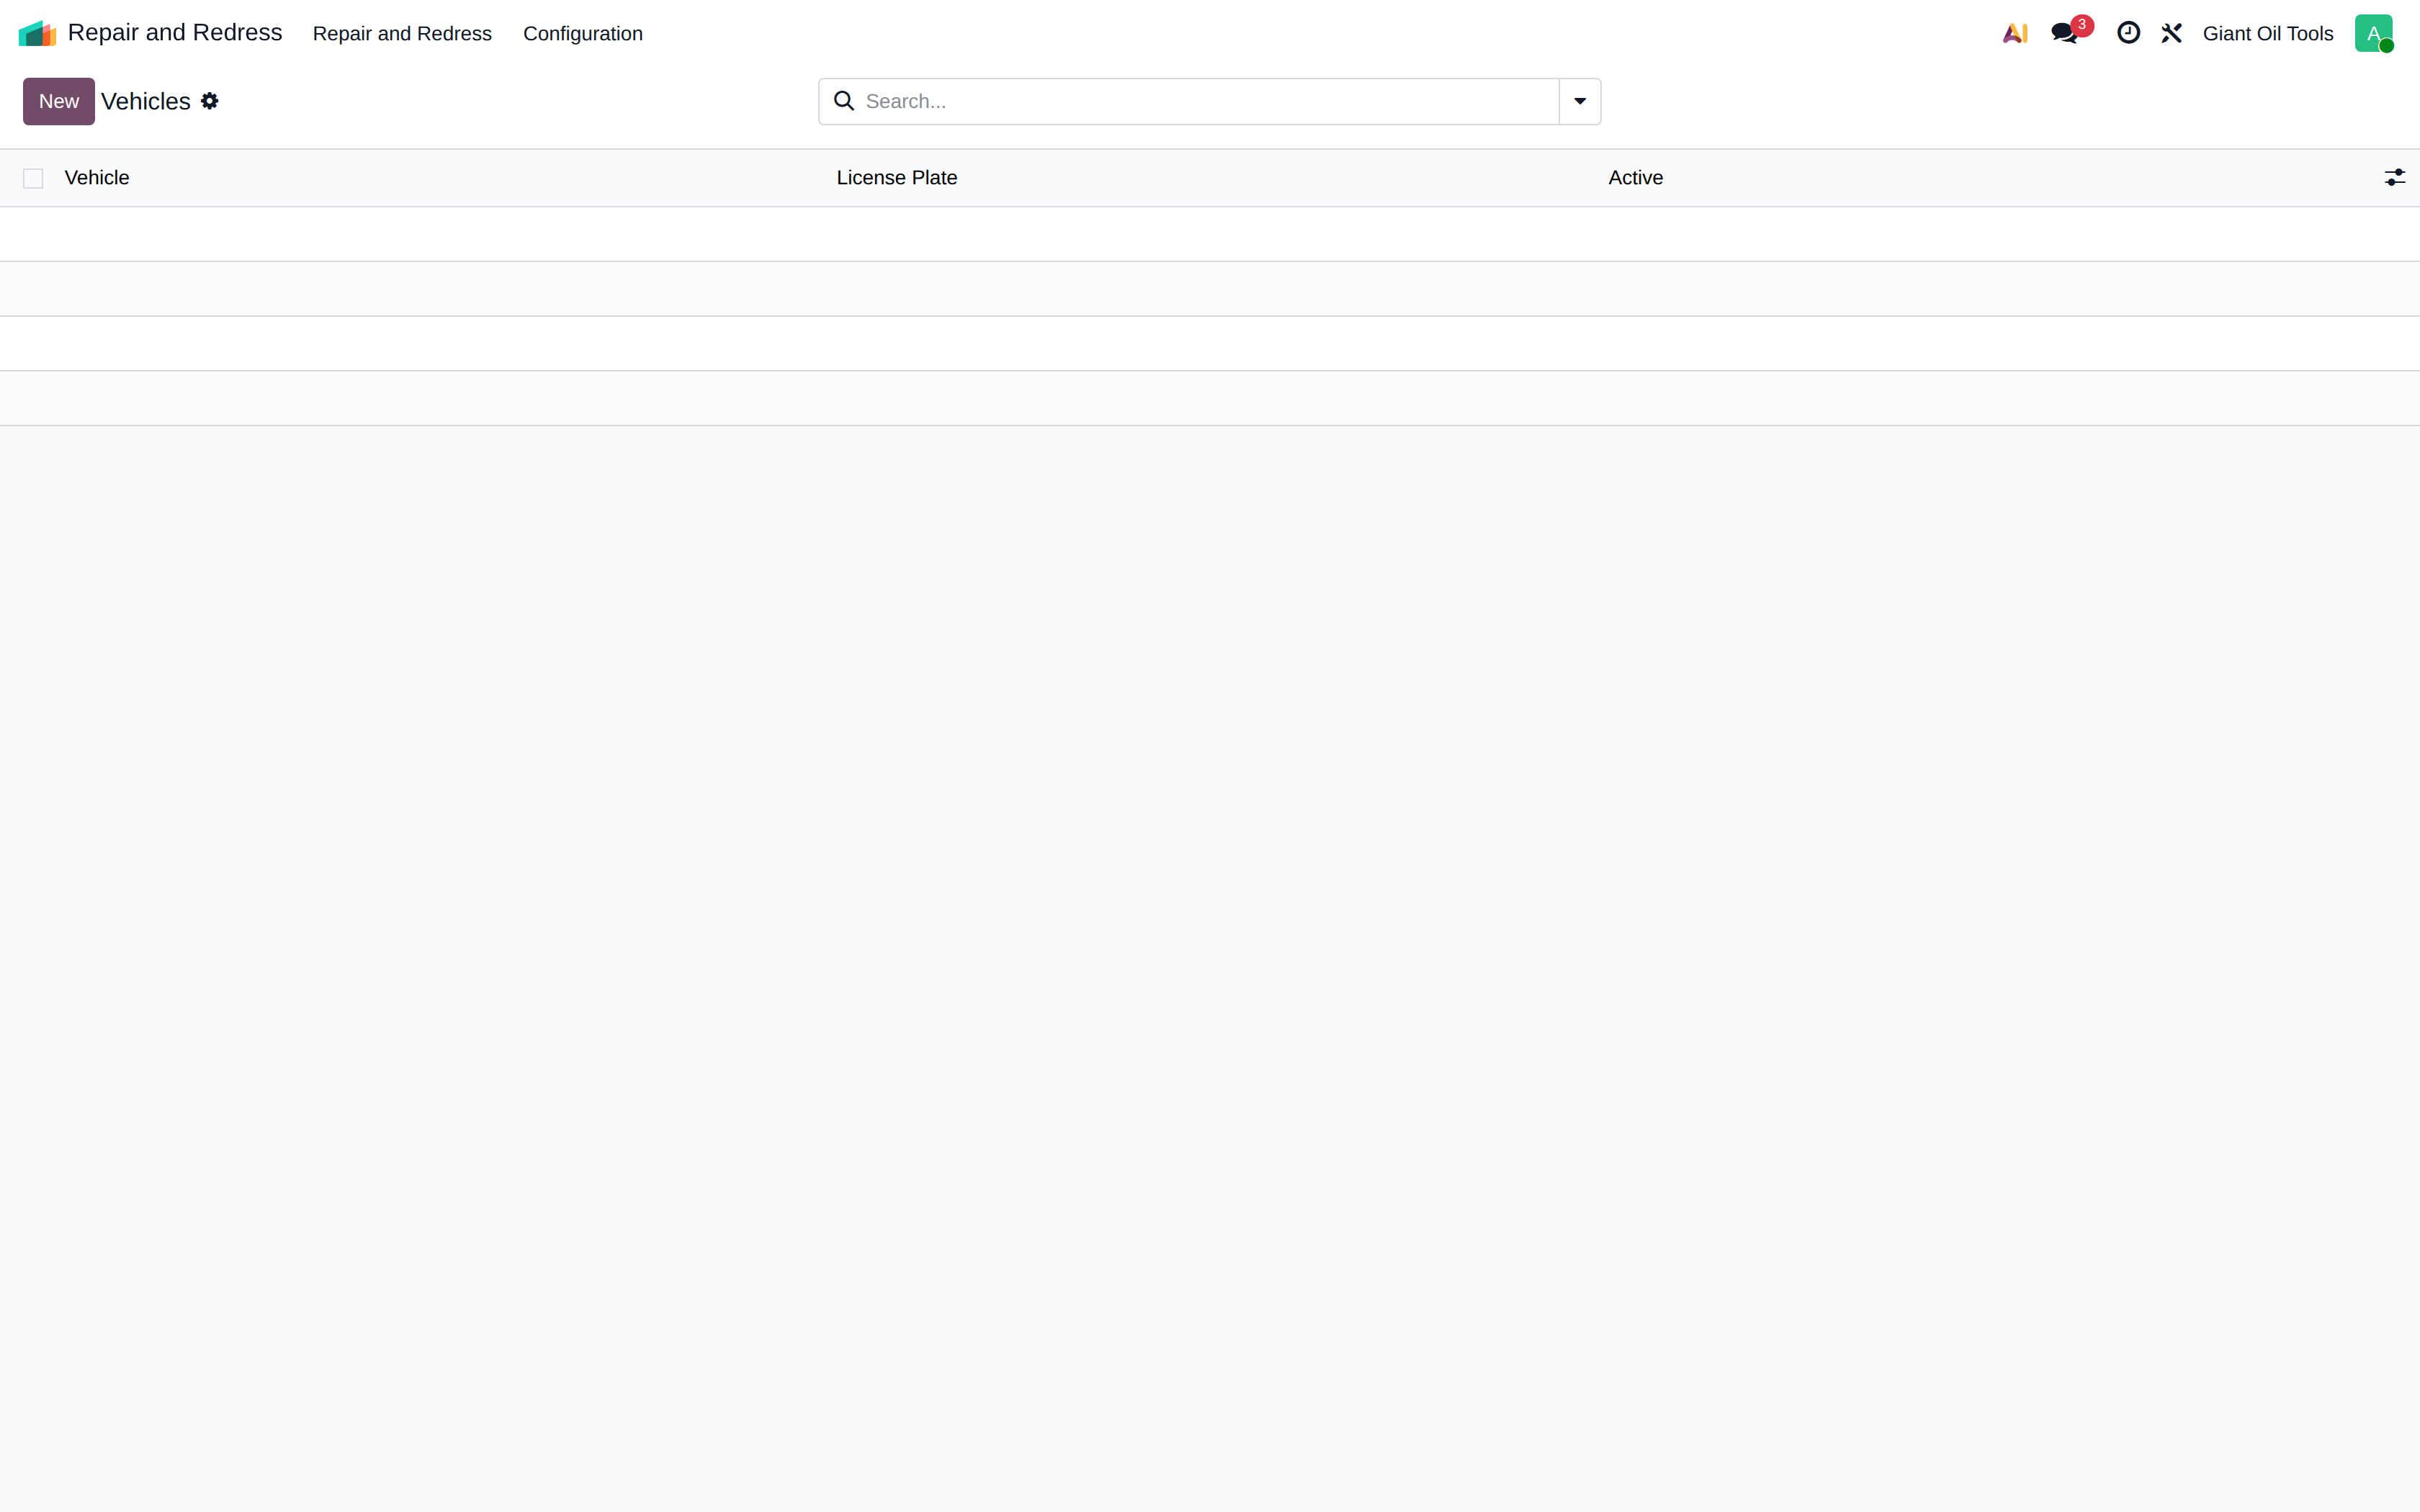
Vehicles
The company vehicle register used for deliveries and site transport.
8Accounting
Accounting holds the full financial record: customer invoices, vendor bills, payments, the general
ledger, fixed assets and the statutory reports. The chart of accounts has 234 accounts, inventory is
valued perpetually with FIFO through the stock journal, and the opening position was loaded as
balanced opening entries.
How it is done
hover to play · click for full screen
Creating and posting a customer invoice
A customer invoice from a blank form to a posted, numbered document.
Accounting > Customers > Invoices lists every customer invoice
New starts a blank invoice in Draft
Pick the customer — the payment terms and the receivable account come from their record
Set the invoice date — this is the date the entry hits the ledger
Add an invoice line
Choose the product — it carries the revenue account and the price
Enter the quantity
Enter the unit price — the line total and the invoice total follow
Anything the customer should read goes in the Terms box under the lines
Save the draft. It still has no number: Odoo shows Draft instead
A draft invoice is not accounting yet — nothing is on the ledger and it can still be edited or deleted
Confirm posts the invoice
Posting assigns the number from the Customer Invoices journal and writes the journal entry: debit the receivable, credit revenue
The document is now read-only. To change it you reset to draft or credit-note it — you never edit a posted invoice silently
Show the steps
hover to play · click for full screen
Registering a payment against an invoice
How a customer payment is recorded, and why it lands in Cash in Transit first.
Open Customers > Invoices and find the invoice that was paid
Search by customer
Open the posted invoice
Register Payment opens the payment form, pre-filled with the amount still due
Choose the journal — the bank account the money actually arrived in
Choose the payment method: Bank Transfer, Cheque or Cash
These methods were configured to post to 10399 Cash in Transit, not straight to the bank account
So Odoo's bank balance stays equal to the real bank statement — the cash only moves to the bank account when that statement line is reconciled
Create Payment posts the payment entry
The invoice is now In Payment — matched to a payment that is still sitting in Cash in Transit
Reconciling the bank statement clears 10399 and completes the invoice as Paid
Show the steps
hover to play · click for full screen
Entering and posting a vendor bill
A supplier invoice, with its own reference, entered and posted to the payable.
Accounting > Vendors > Bills holds every supplier invoice
New starts a draft bill
Enter the vendor
Bill Reference is the supplier's own document number — it is what stops the same bill being entered twice
Bill Date is the supplier's invoice date; the due date follows from the payment terms
If the goods came in on a purchase order, Auto-Complete pulls the lines and the quantities received straight from it
Otherwise enter the lines by hand. The column picker at the right of the header turns extra columns on
Switch the Product column on so the bill can be matched to the item that was received
Add a line
Pick the product that was supplied
Quantity billed
Unit price from the supplier's invoice
Save the draft and check the total against the paper bill
Confirm posts the bill: credit A/P Trade, debit the goods clearing or expense account
For stocked items the debit goes to 11525 Stock Interim — the same account the goods receipt credited, so posting the bill clears it
Whatever is left on 11525 is goods received but not yet invoiced
Show the steps
hover to play · click for full screen
Posting a manual journal entry
A two-line accrual booked directly in the Miscellaneous journal.
Accounting > Accounting > Journal Entries shows every entry, whatever created it
Most entries are made for you by invoices, bills, payments and stock moves. A manual entry is for what has no document: accruals, month-end adjustments, reclassifications, opening balances
New starts an empty entry
Pick the journal — Miscellaneous Operations is where adjustments belong, not the invoice or bill journals
Give the entry a reference that explains it to the next person who reads the ledger
Add the debit line
52220 R&M Building & Yard — the cost belongs to this month even though the bill has not arrived
Debit the expense
Add the credit line
21400 Accrued Operating Cost — the liability for work done but not yet billed
Credit the accrual for the same amount — an entry will not post unless it balances
Save and check the totals at the foot of the lines
Post the entry
When the supplier's bill arrives next month it is posted against 21400 and the accrual reverses out
Show the steps
hover to play · click for full screen
The financial reports
General Ledger, Trial Balance, Balance Sheet and Profit and Loss — and how to drill into a figure.
Reporting > General Ledger — every account, with its debits, credits and balance for the period
The date button sets the period. It opens on the current month
Switch to the full year — Month, Quarter, Year or your own custom dates
Click any account to unfold it: the individual journal items behind the balance, with date, partner and entry
Journal Items on the same row opens the same lines in a filterable list you can export
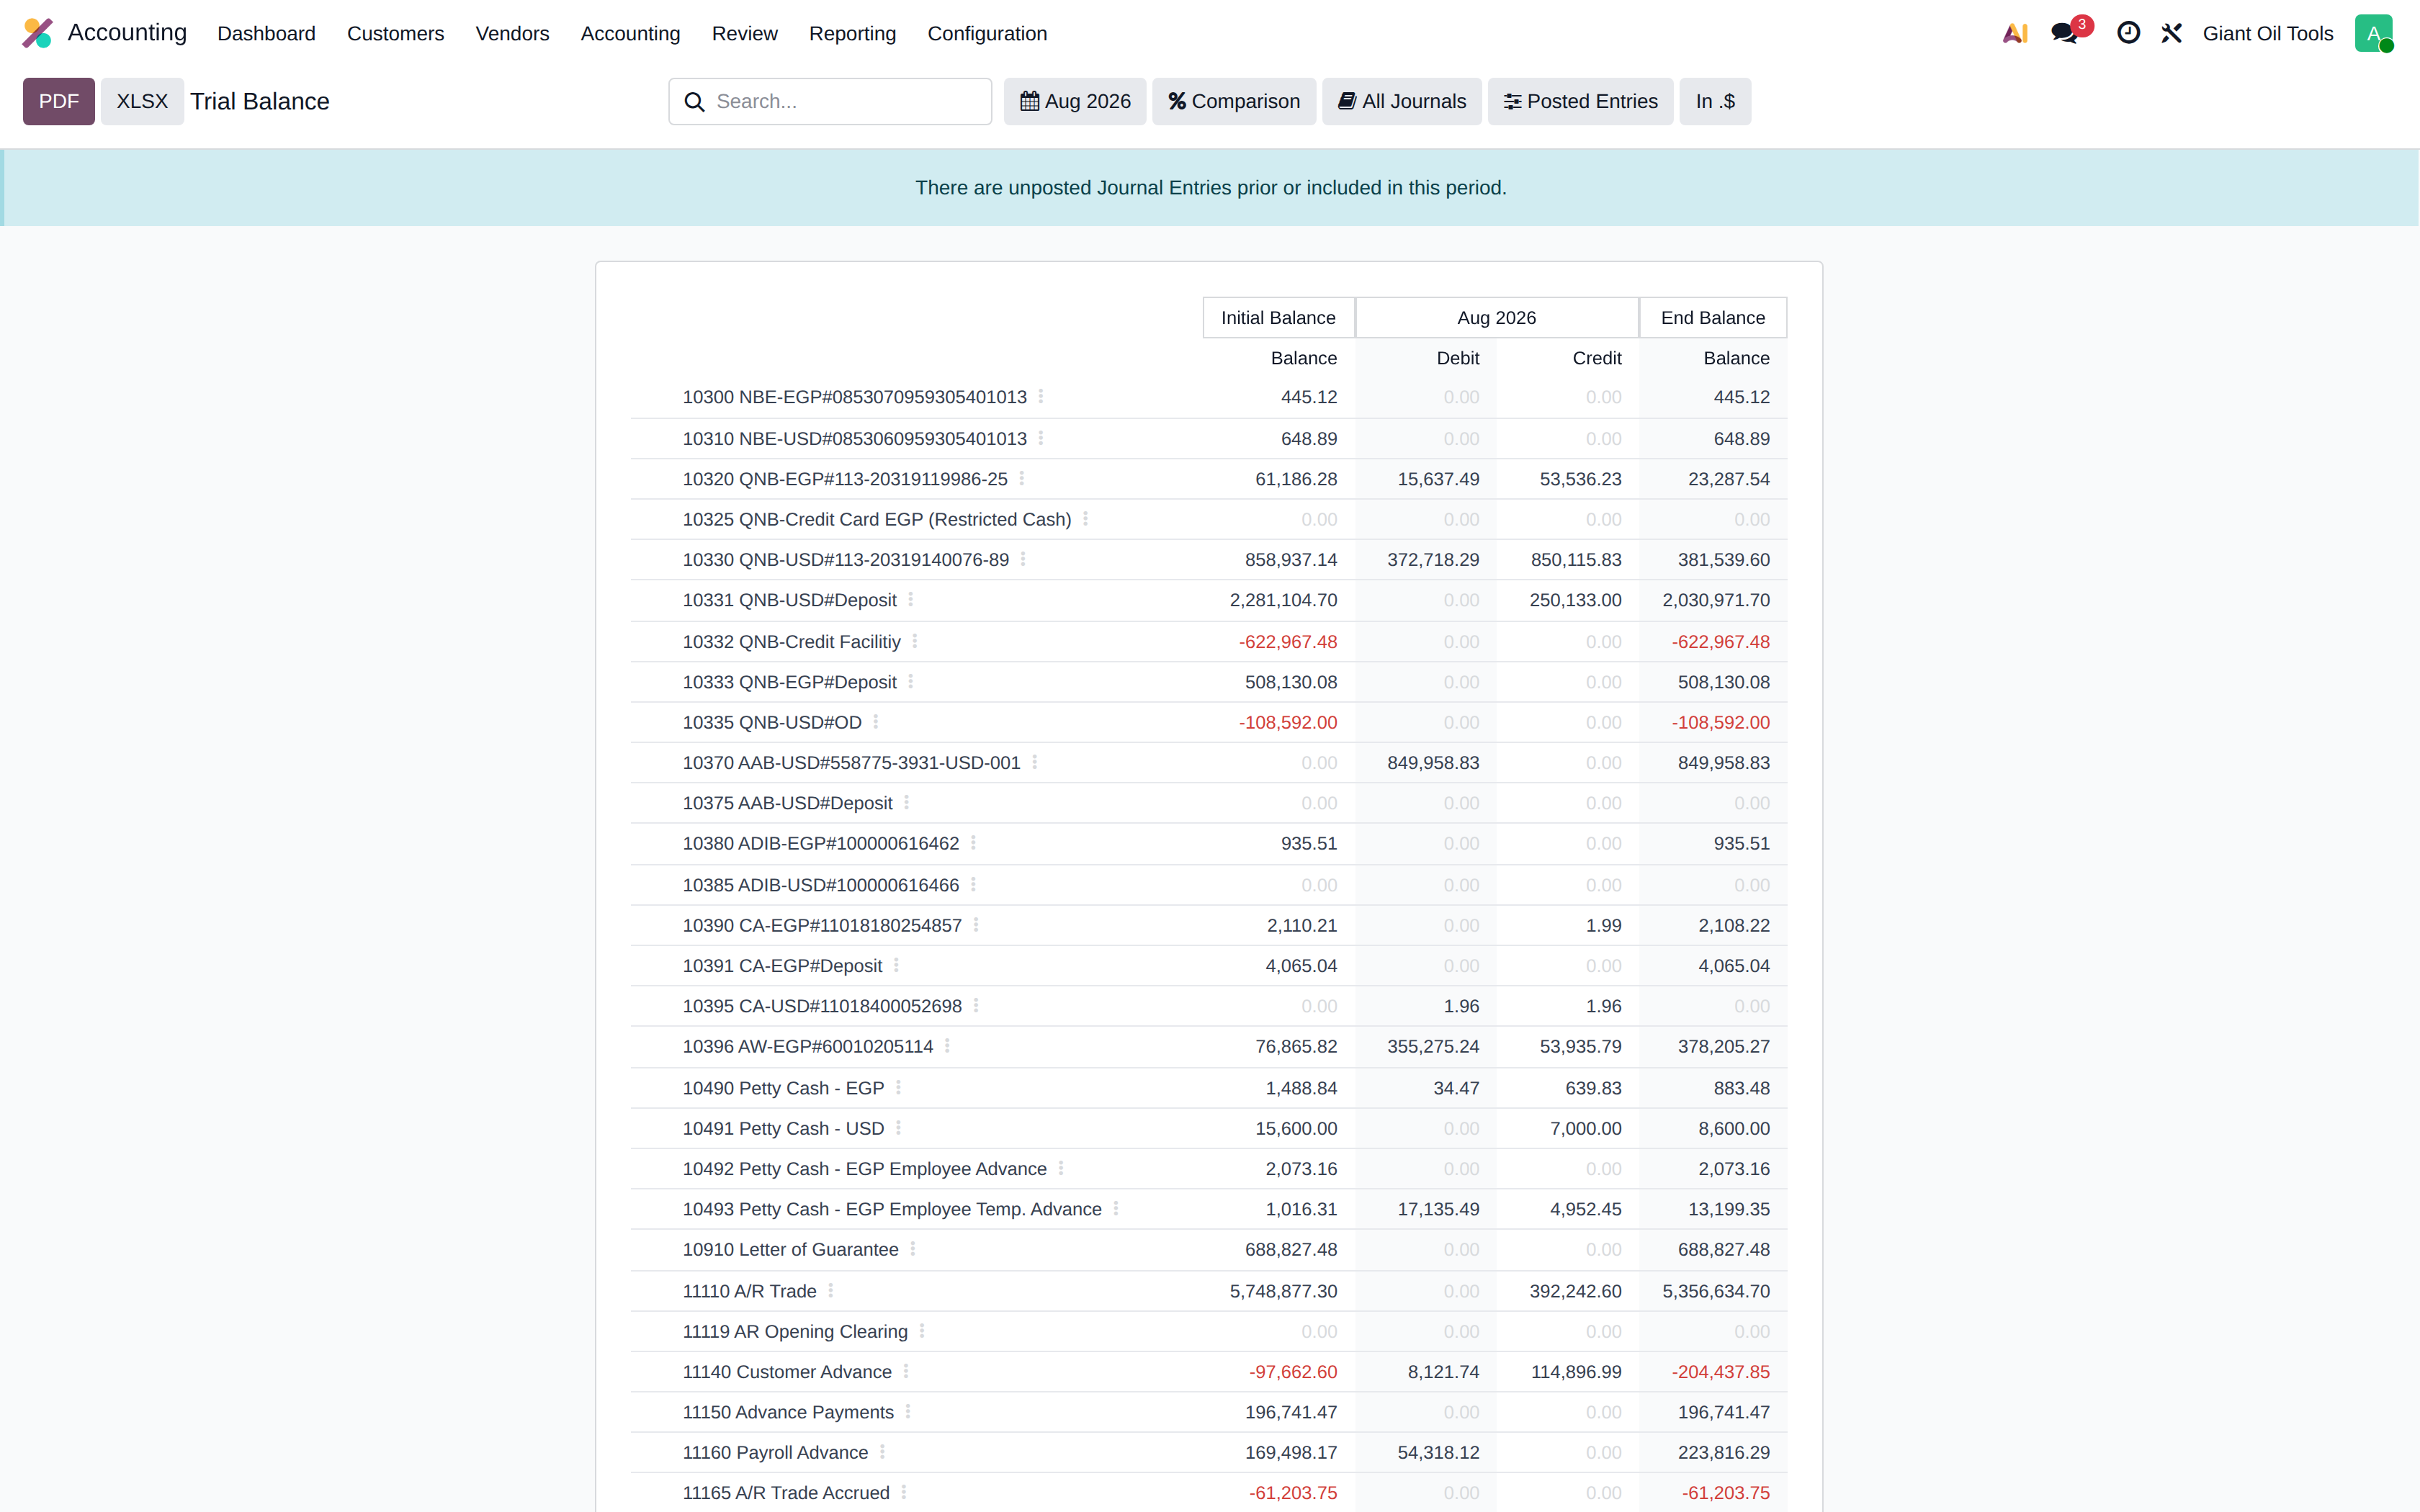
Trial Balance — the same data one line per account: opening balance, movements in the period, closing balance
It is the check that the whole ledger balances, and the starting point for the month-end review
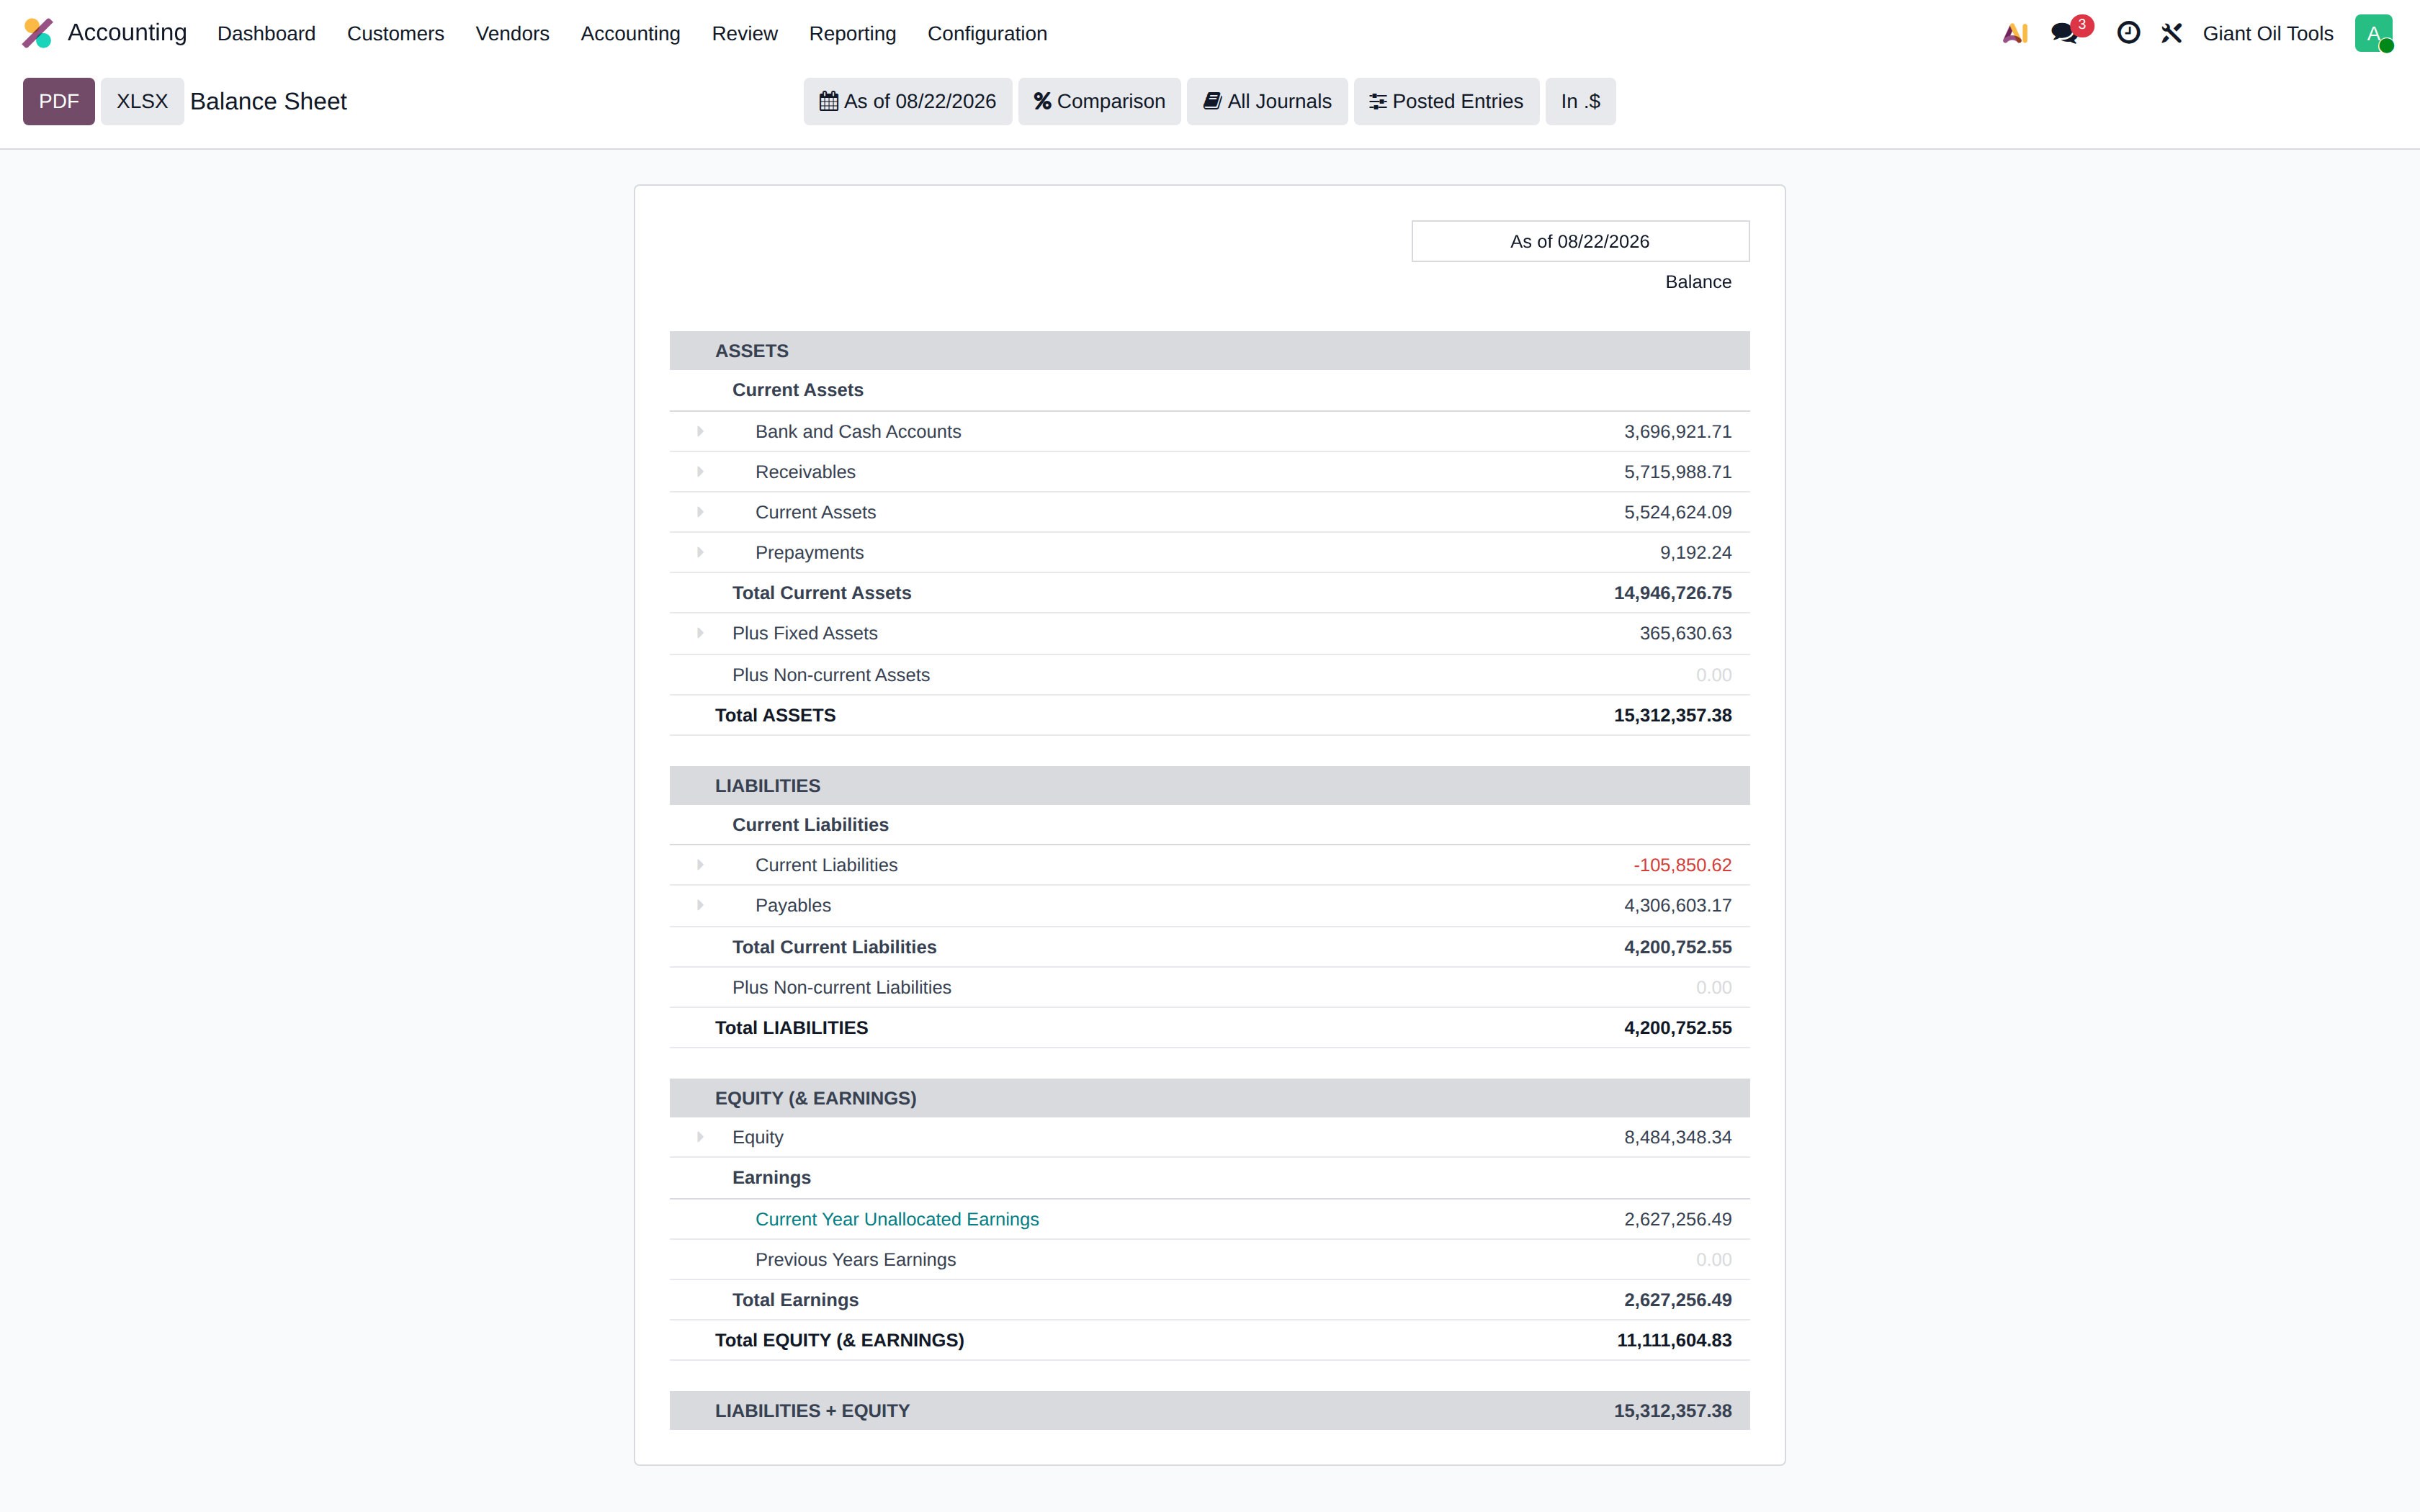
Balance Sheet — assets, liabilities and equity as of a date
The journals were renamed to make these reports readable: INV is Customer Invoices, BILL is Vendor Bills
PUR and SAL are the ERPNext GL entries — the general ledger carried over from the previous system
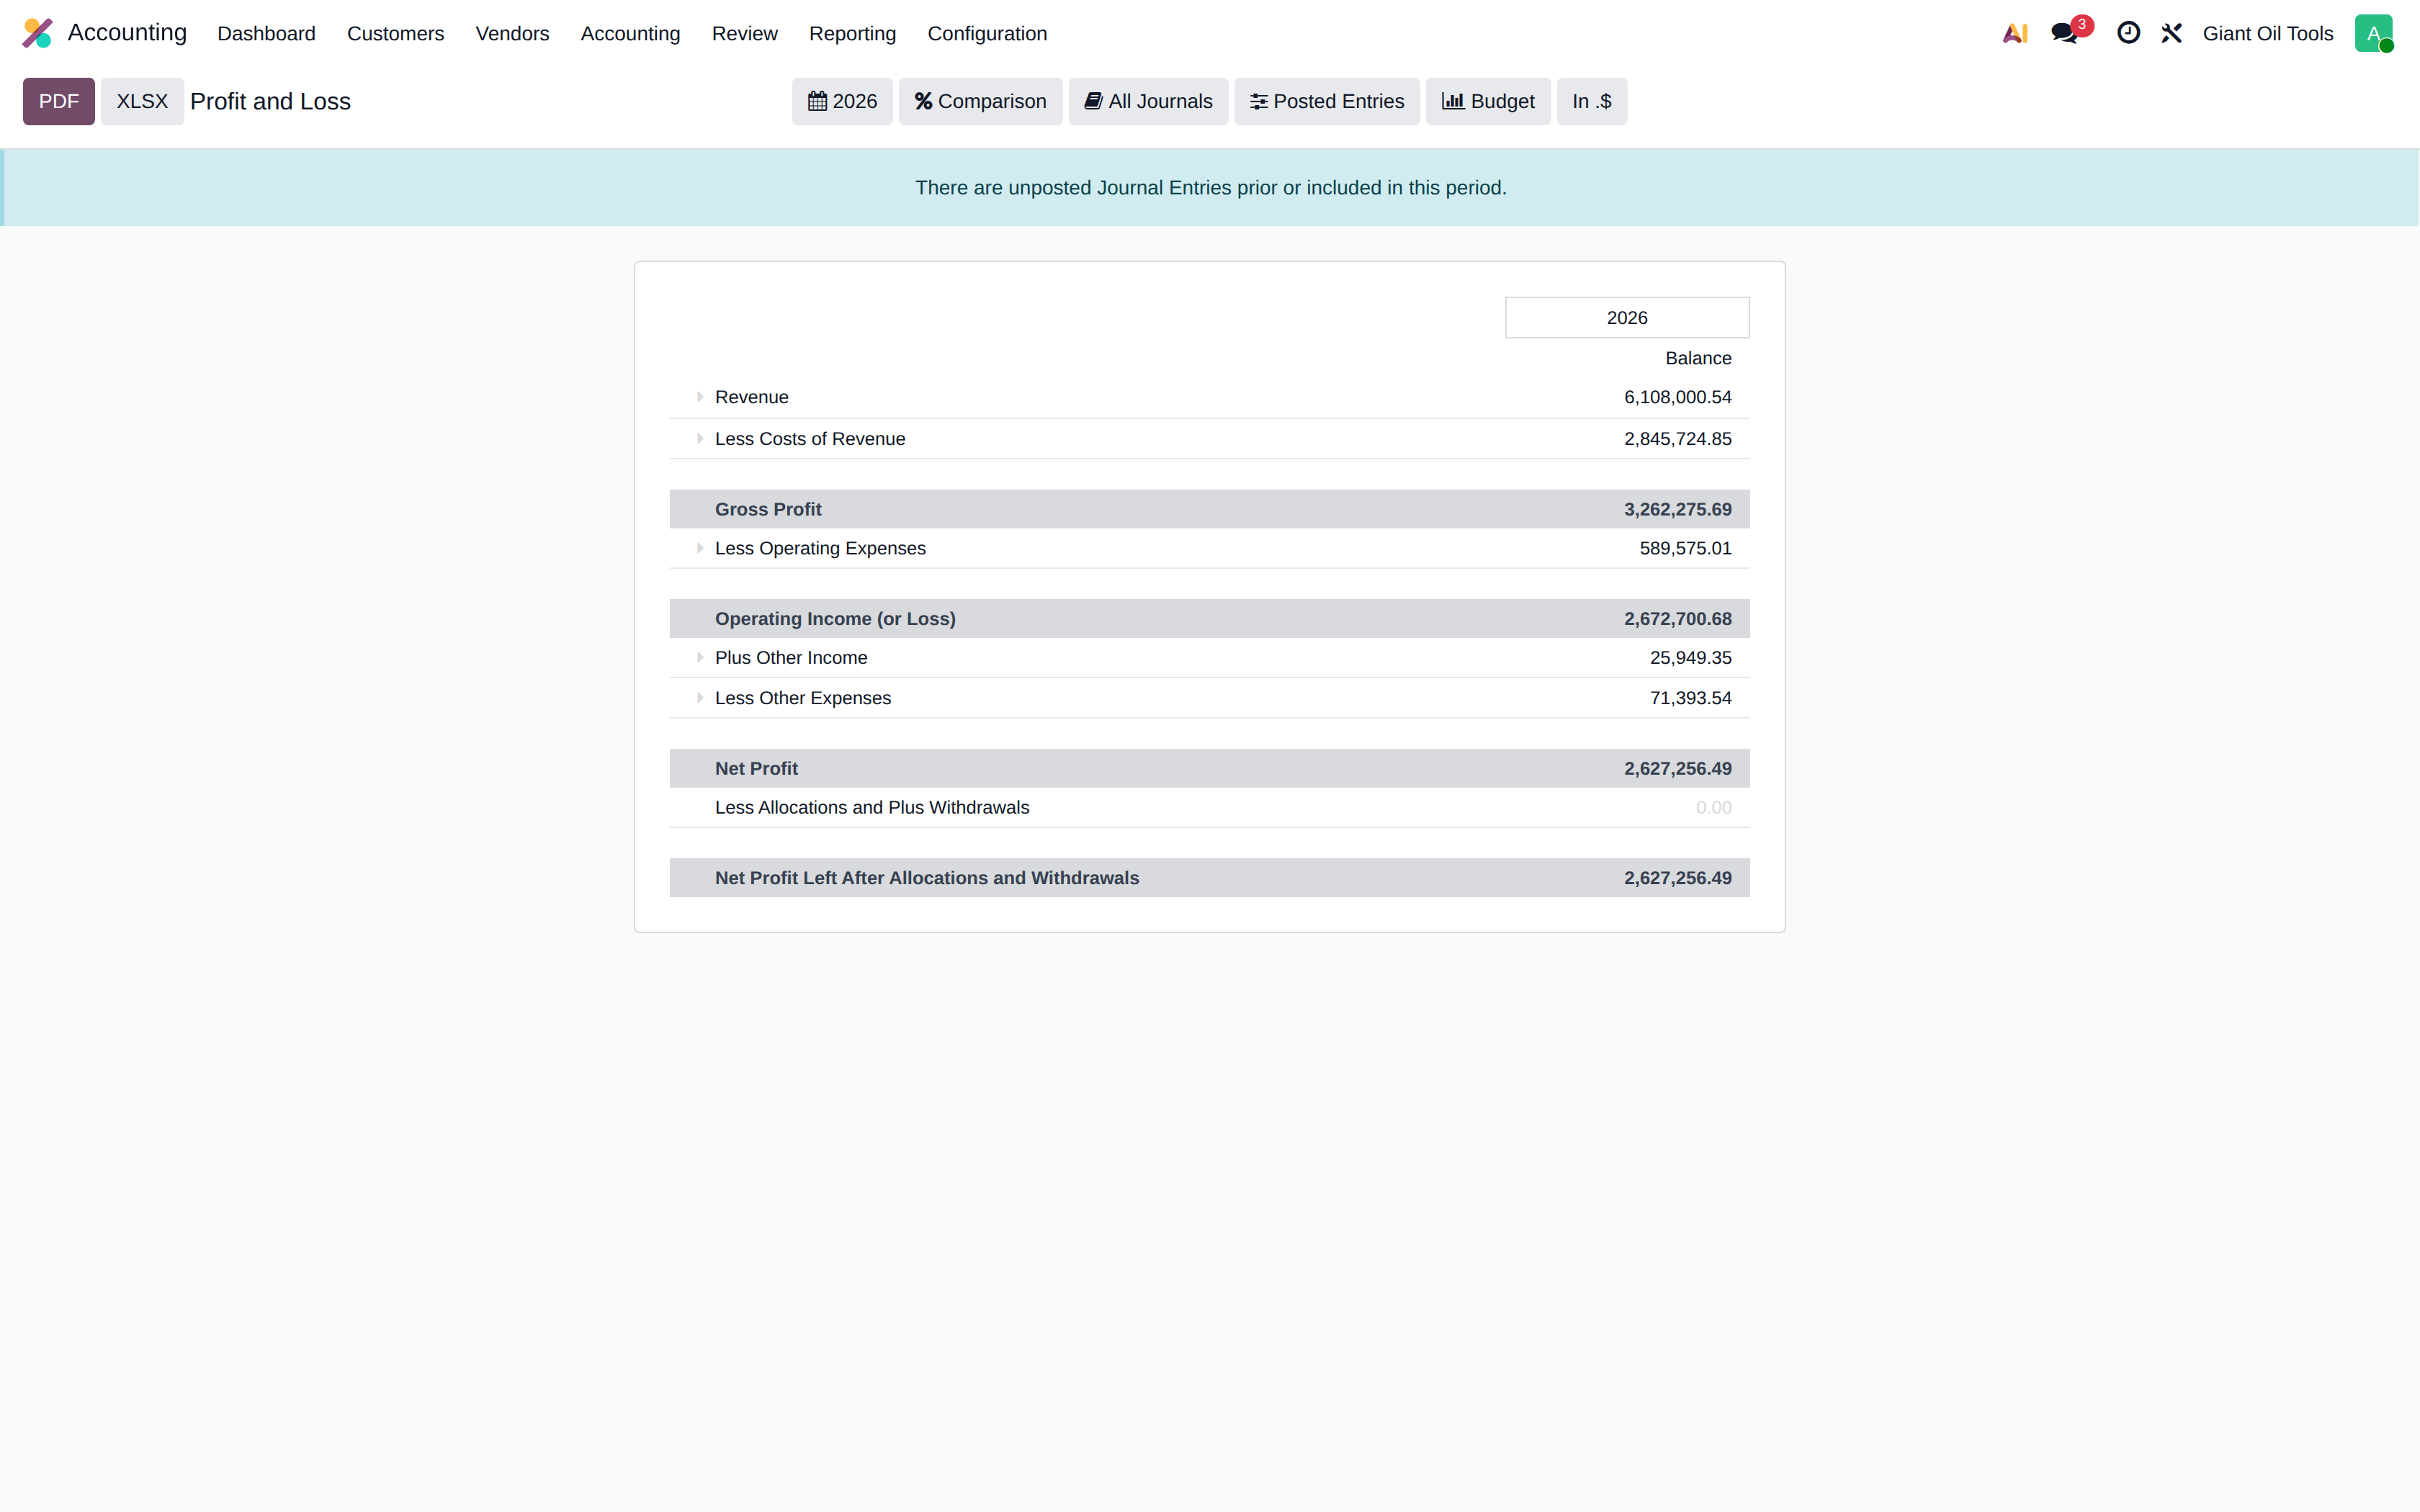
Profit and Loss — income and expenses for the period, ending in the net result
All four take the same filters: period, comparison against last year, journals, and draft or posted entries only
Show the steps
hover to play · click for full screen
Proving inventory against the ledger
The Inventory Valuation report, and how it reconciles the stock accounts to the goods on the shelf.
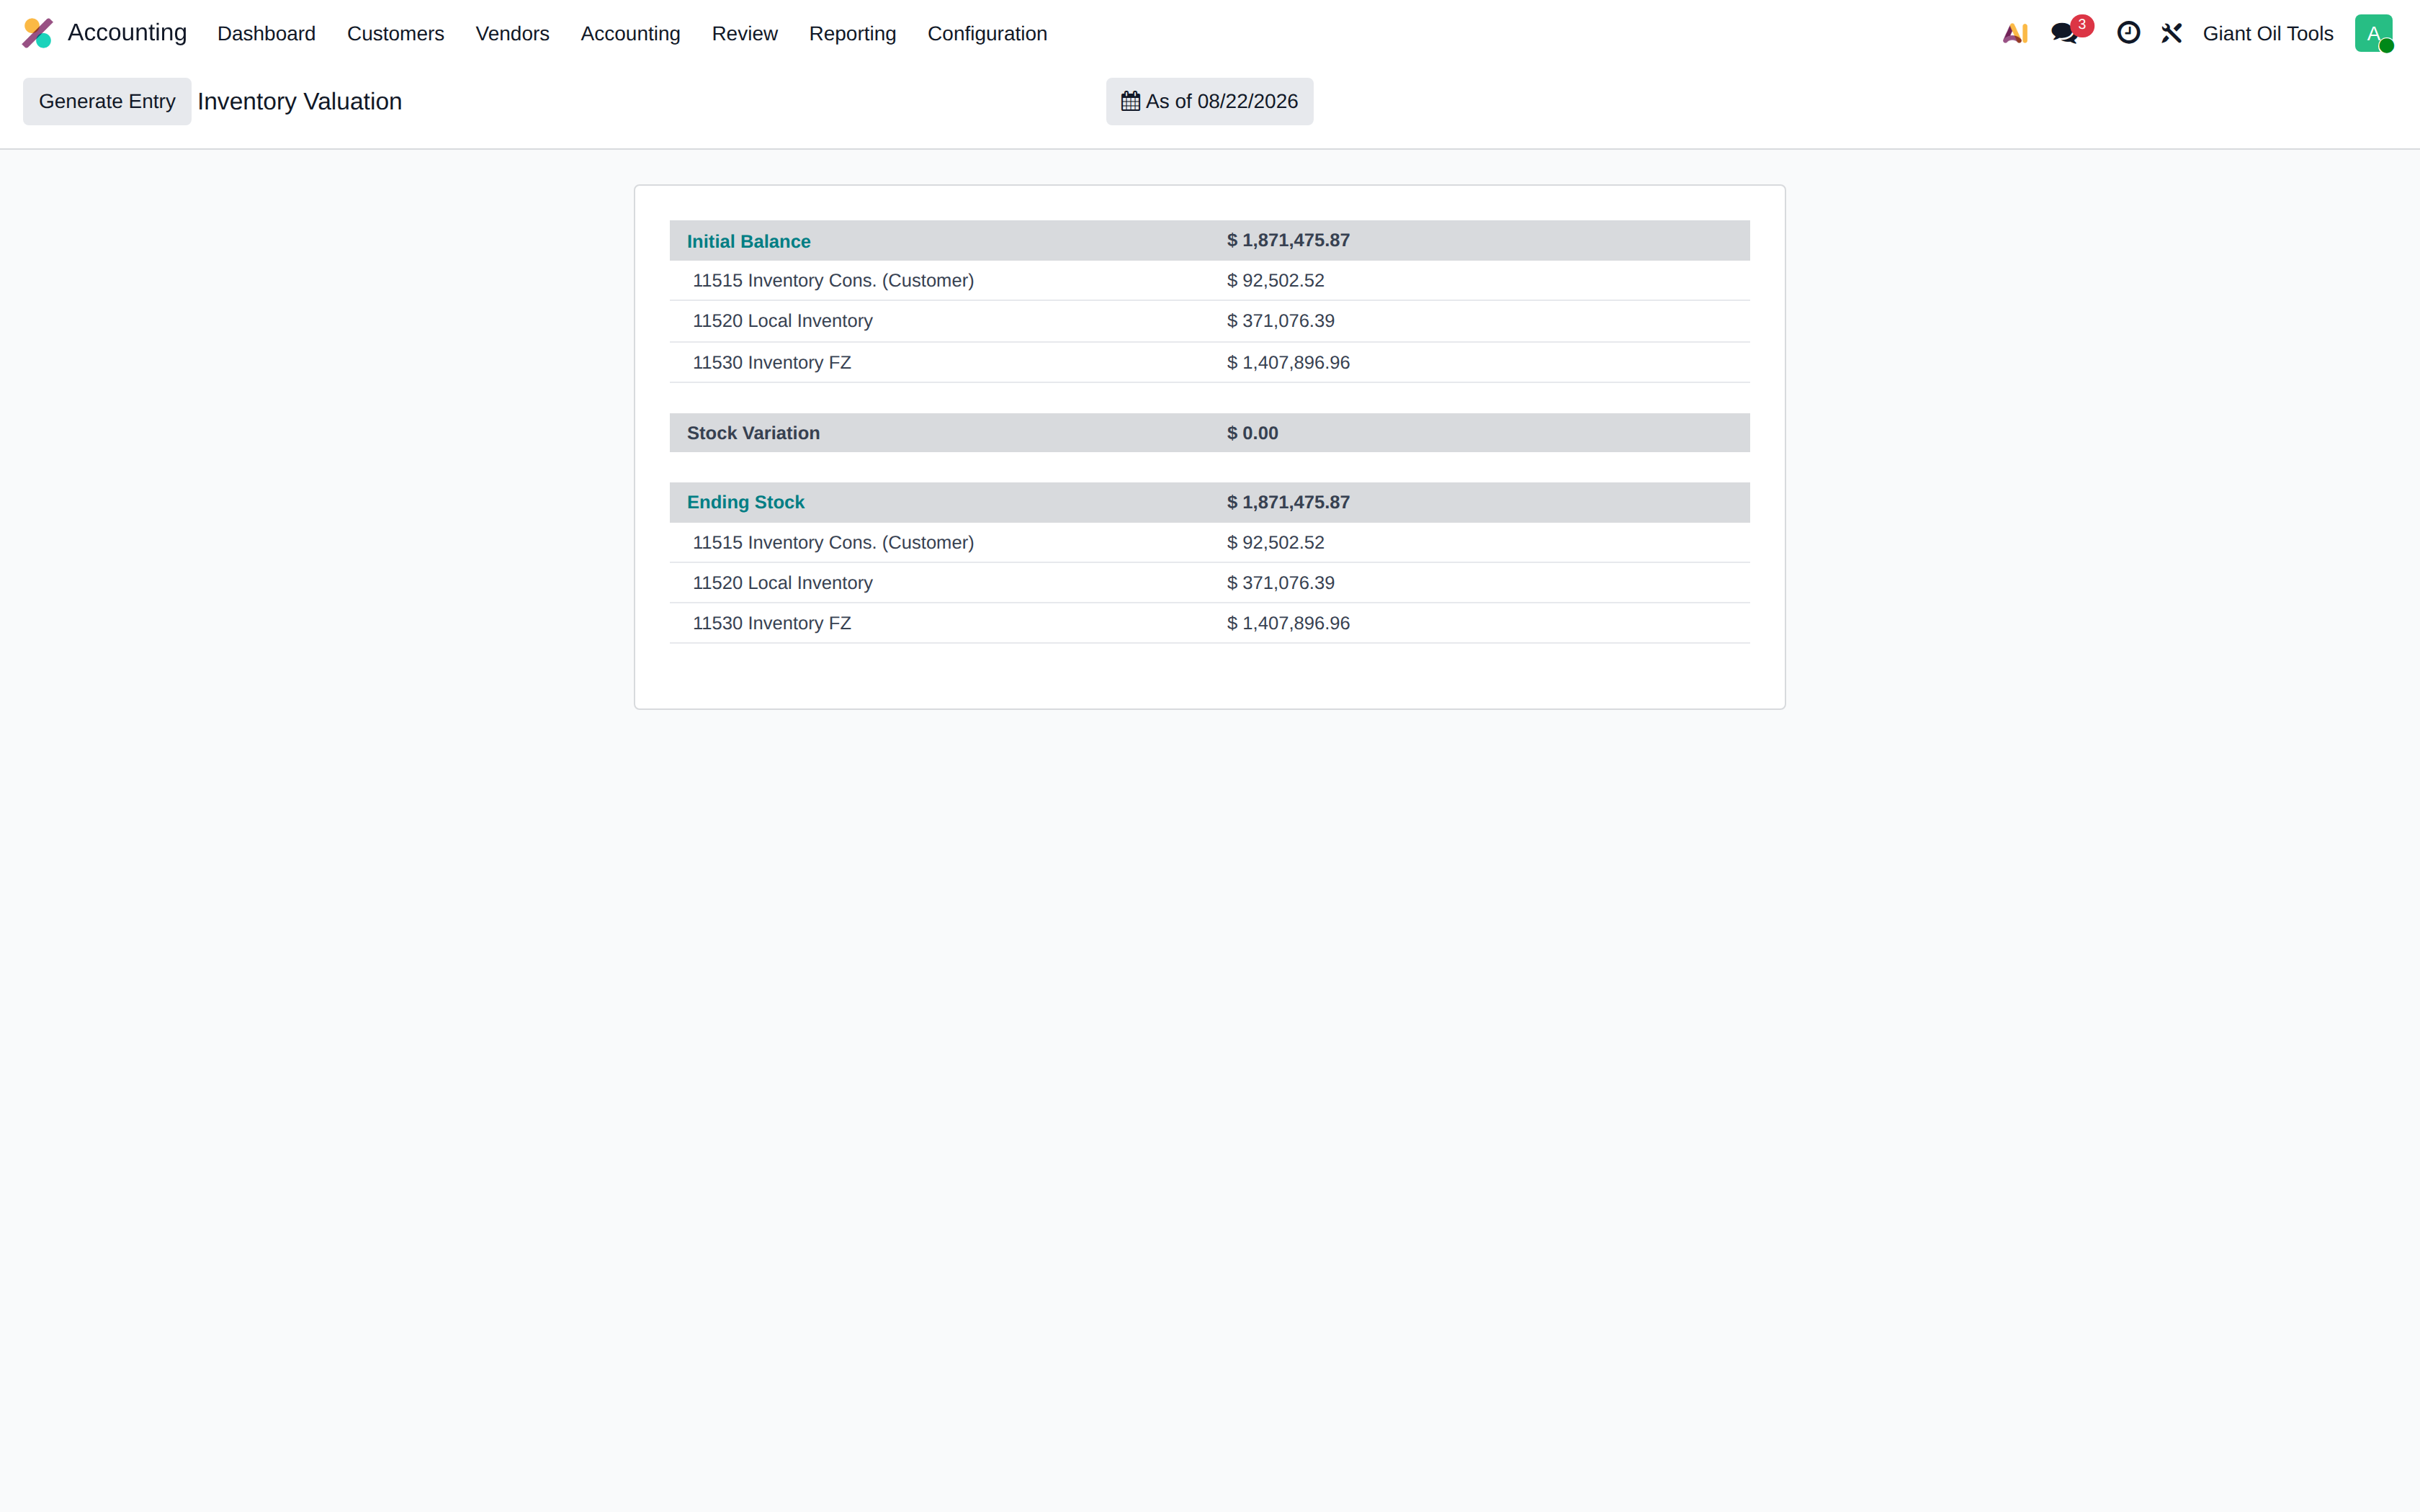
Accounting > Reporting > Inventory Valuation
Stock here is valued perpetually and FIFO: every receipt and every delivery posts to the ledger as it happens, at the cost of the goods actually moved
Initial Balance is the accounting side — what the general ledger says the stock is worth
It is broken out by the inventory account of each warehouse: 11515 Inventory Cons. (Customer), 11520 Local Inventory and 11530 Inventory FZ
Ending Stock is the other side — the goods actually held, valued item by item from the stock moves
Read the report by comparing the two totals: when Initial Balance and Ending Stock agree, the books match the warehouse
Both sides are grouped by the same accounts, so you can see per warehouse where the value sits
Stock Variation between them is the period's movements, debit against credit — value leaving one inventory account and arriving in another
11525 Stock Interim is the counterpart of every stock move: goods received sit there until the vendor bill is posted against them
Any gap between the two totals is real work to chase: goods received and not yet invoiced, a movement posted with no value, or a value posted with no movement
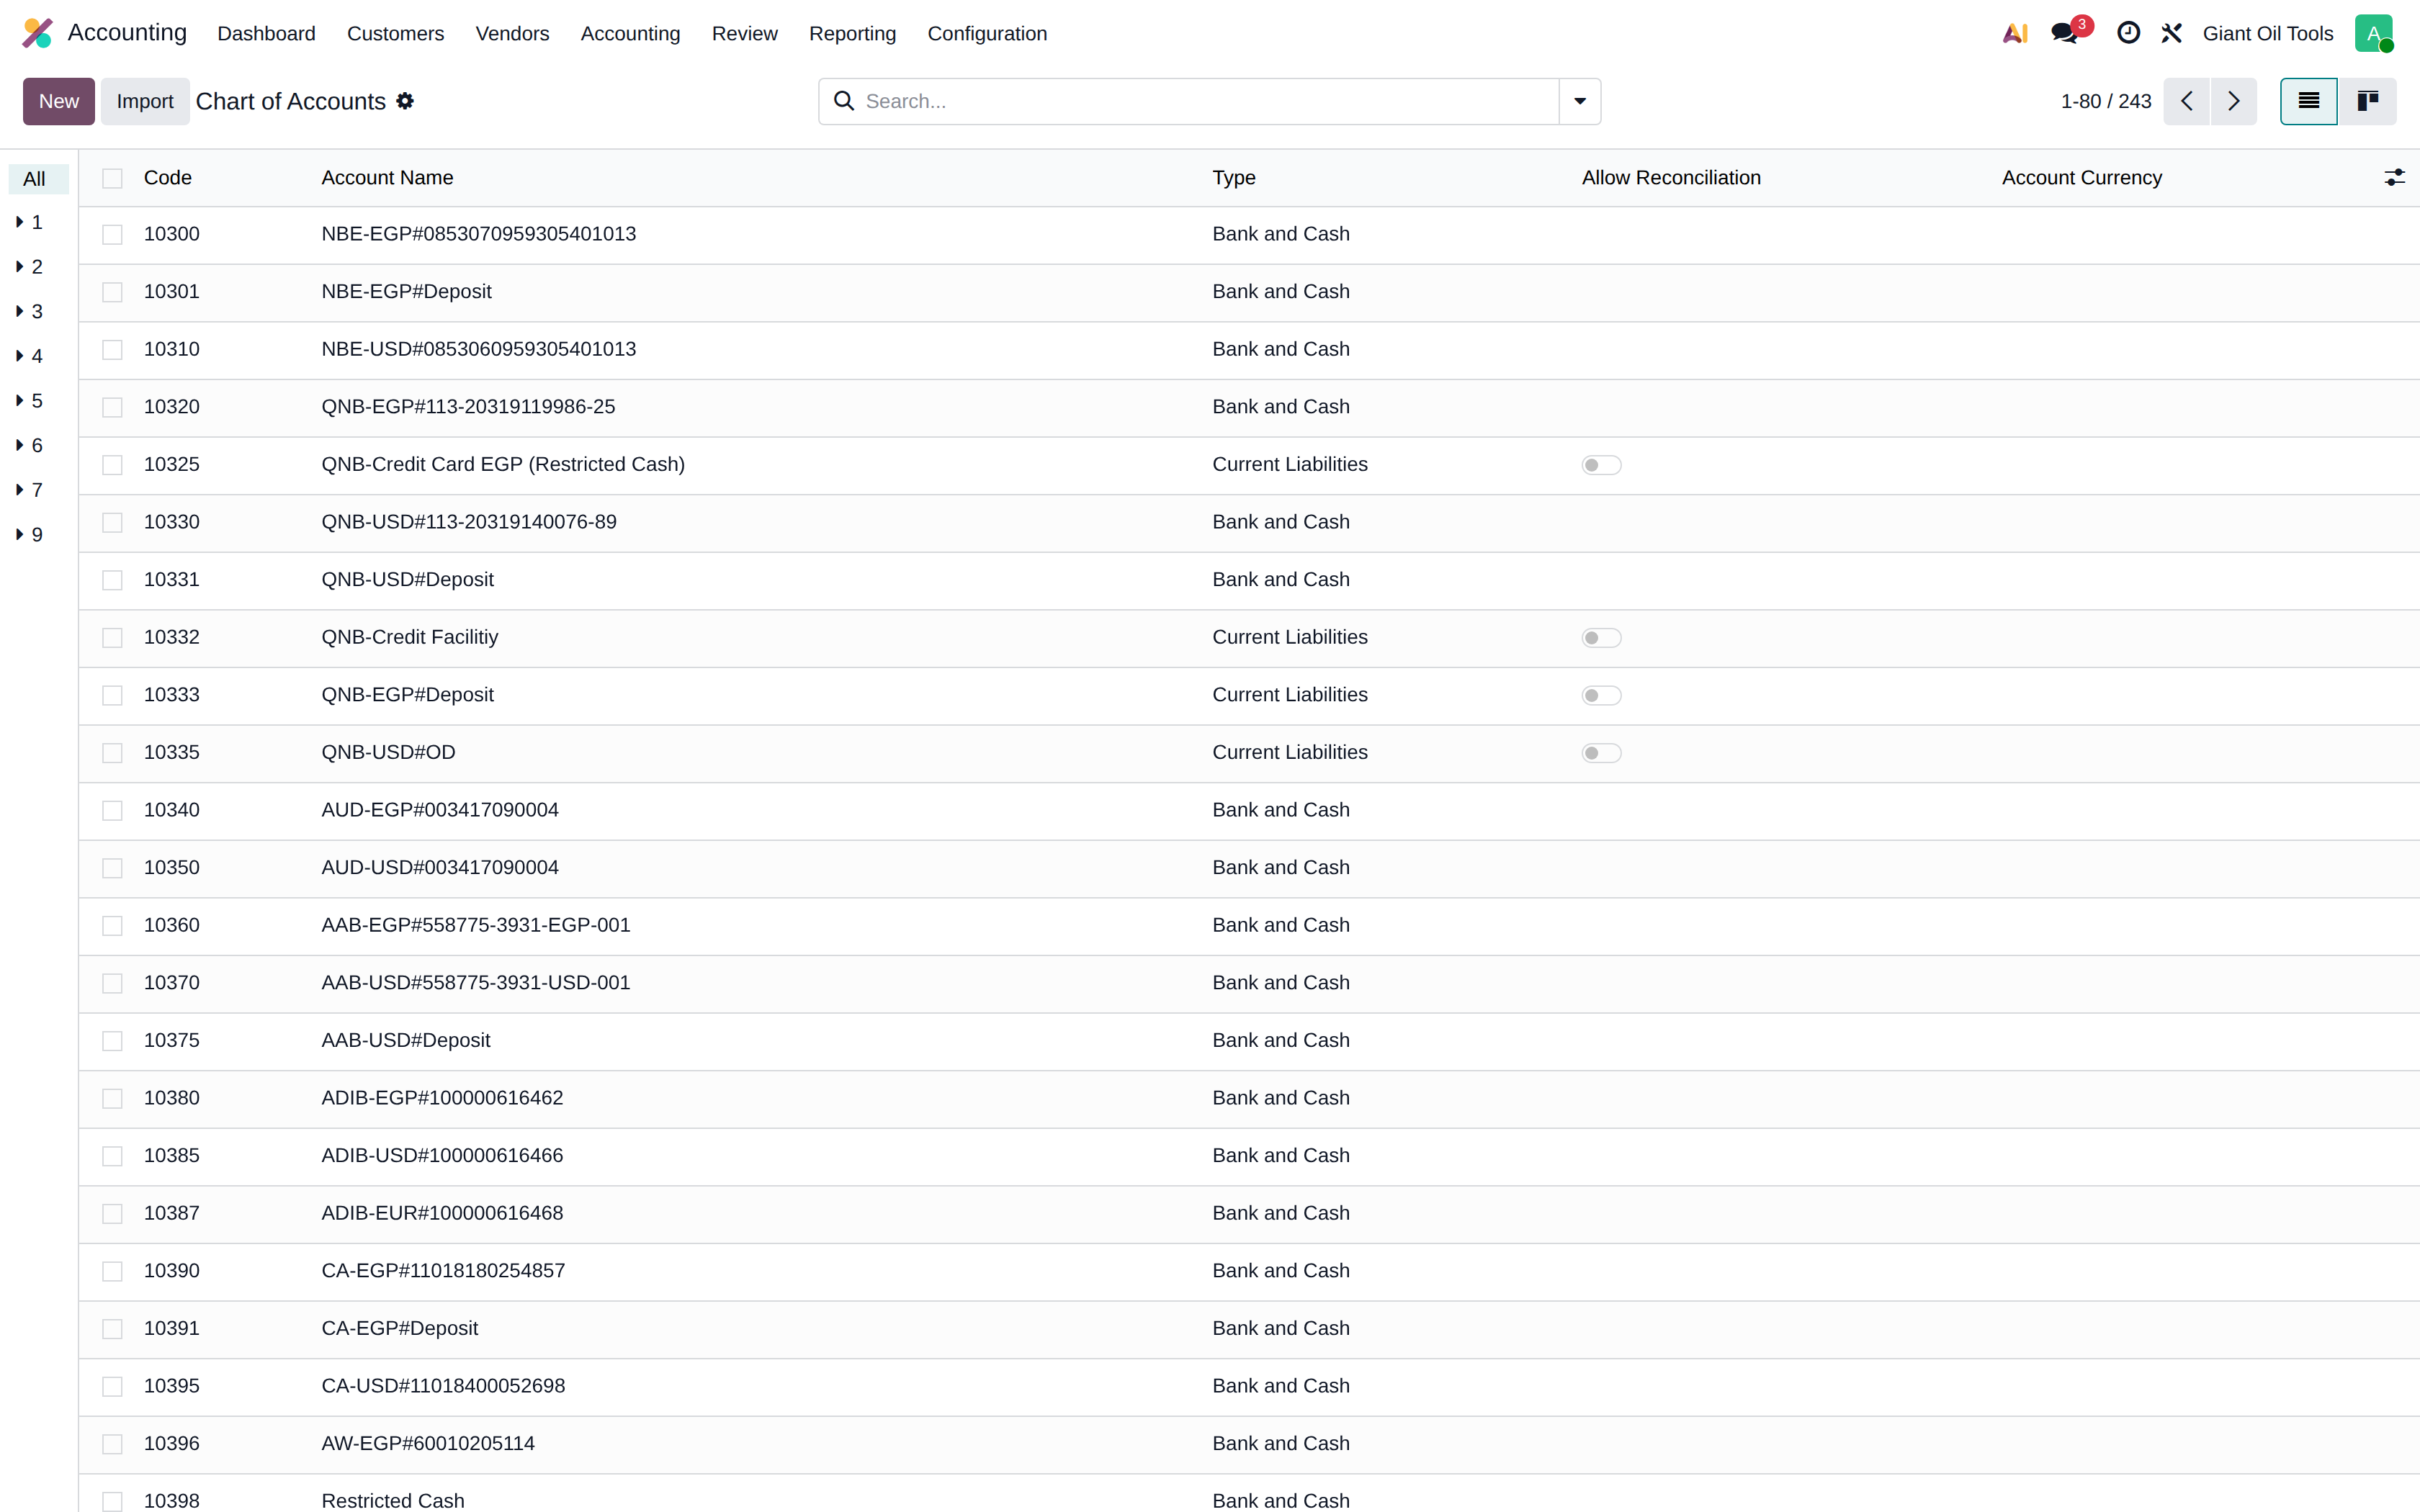
Configuration > Chart of Accounts holds the same accounts the report is grouped by
Search for Inventory
11515, 11520 and 11530 are the three the report splits by — and 11540 Inventory Adj. is where an unexplained difference of about 57,354.75 is still sitting, waiting for the accountants
Show the steps
Screens and reference
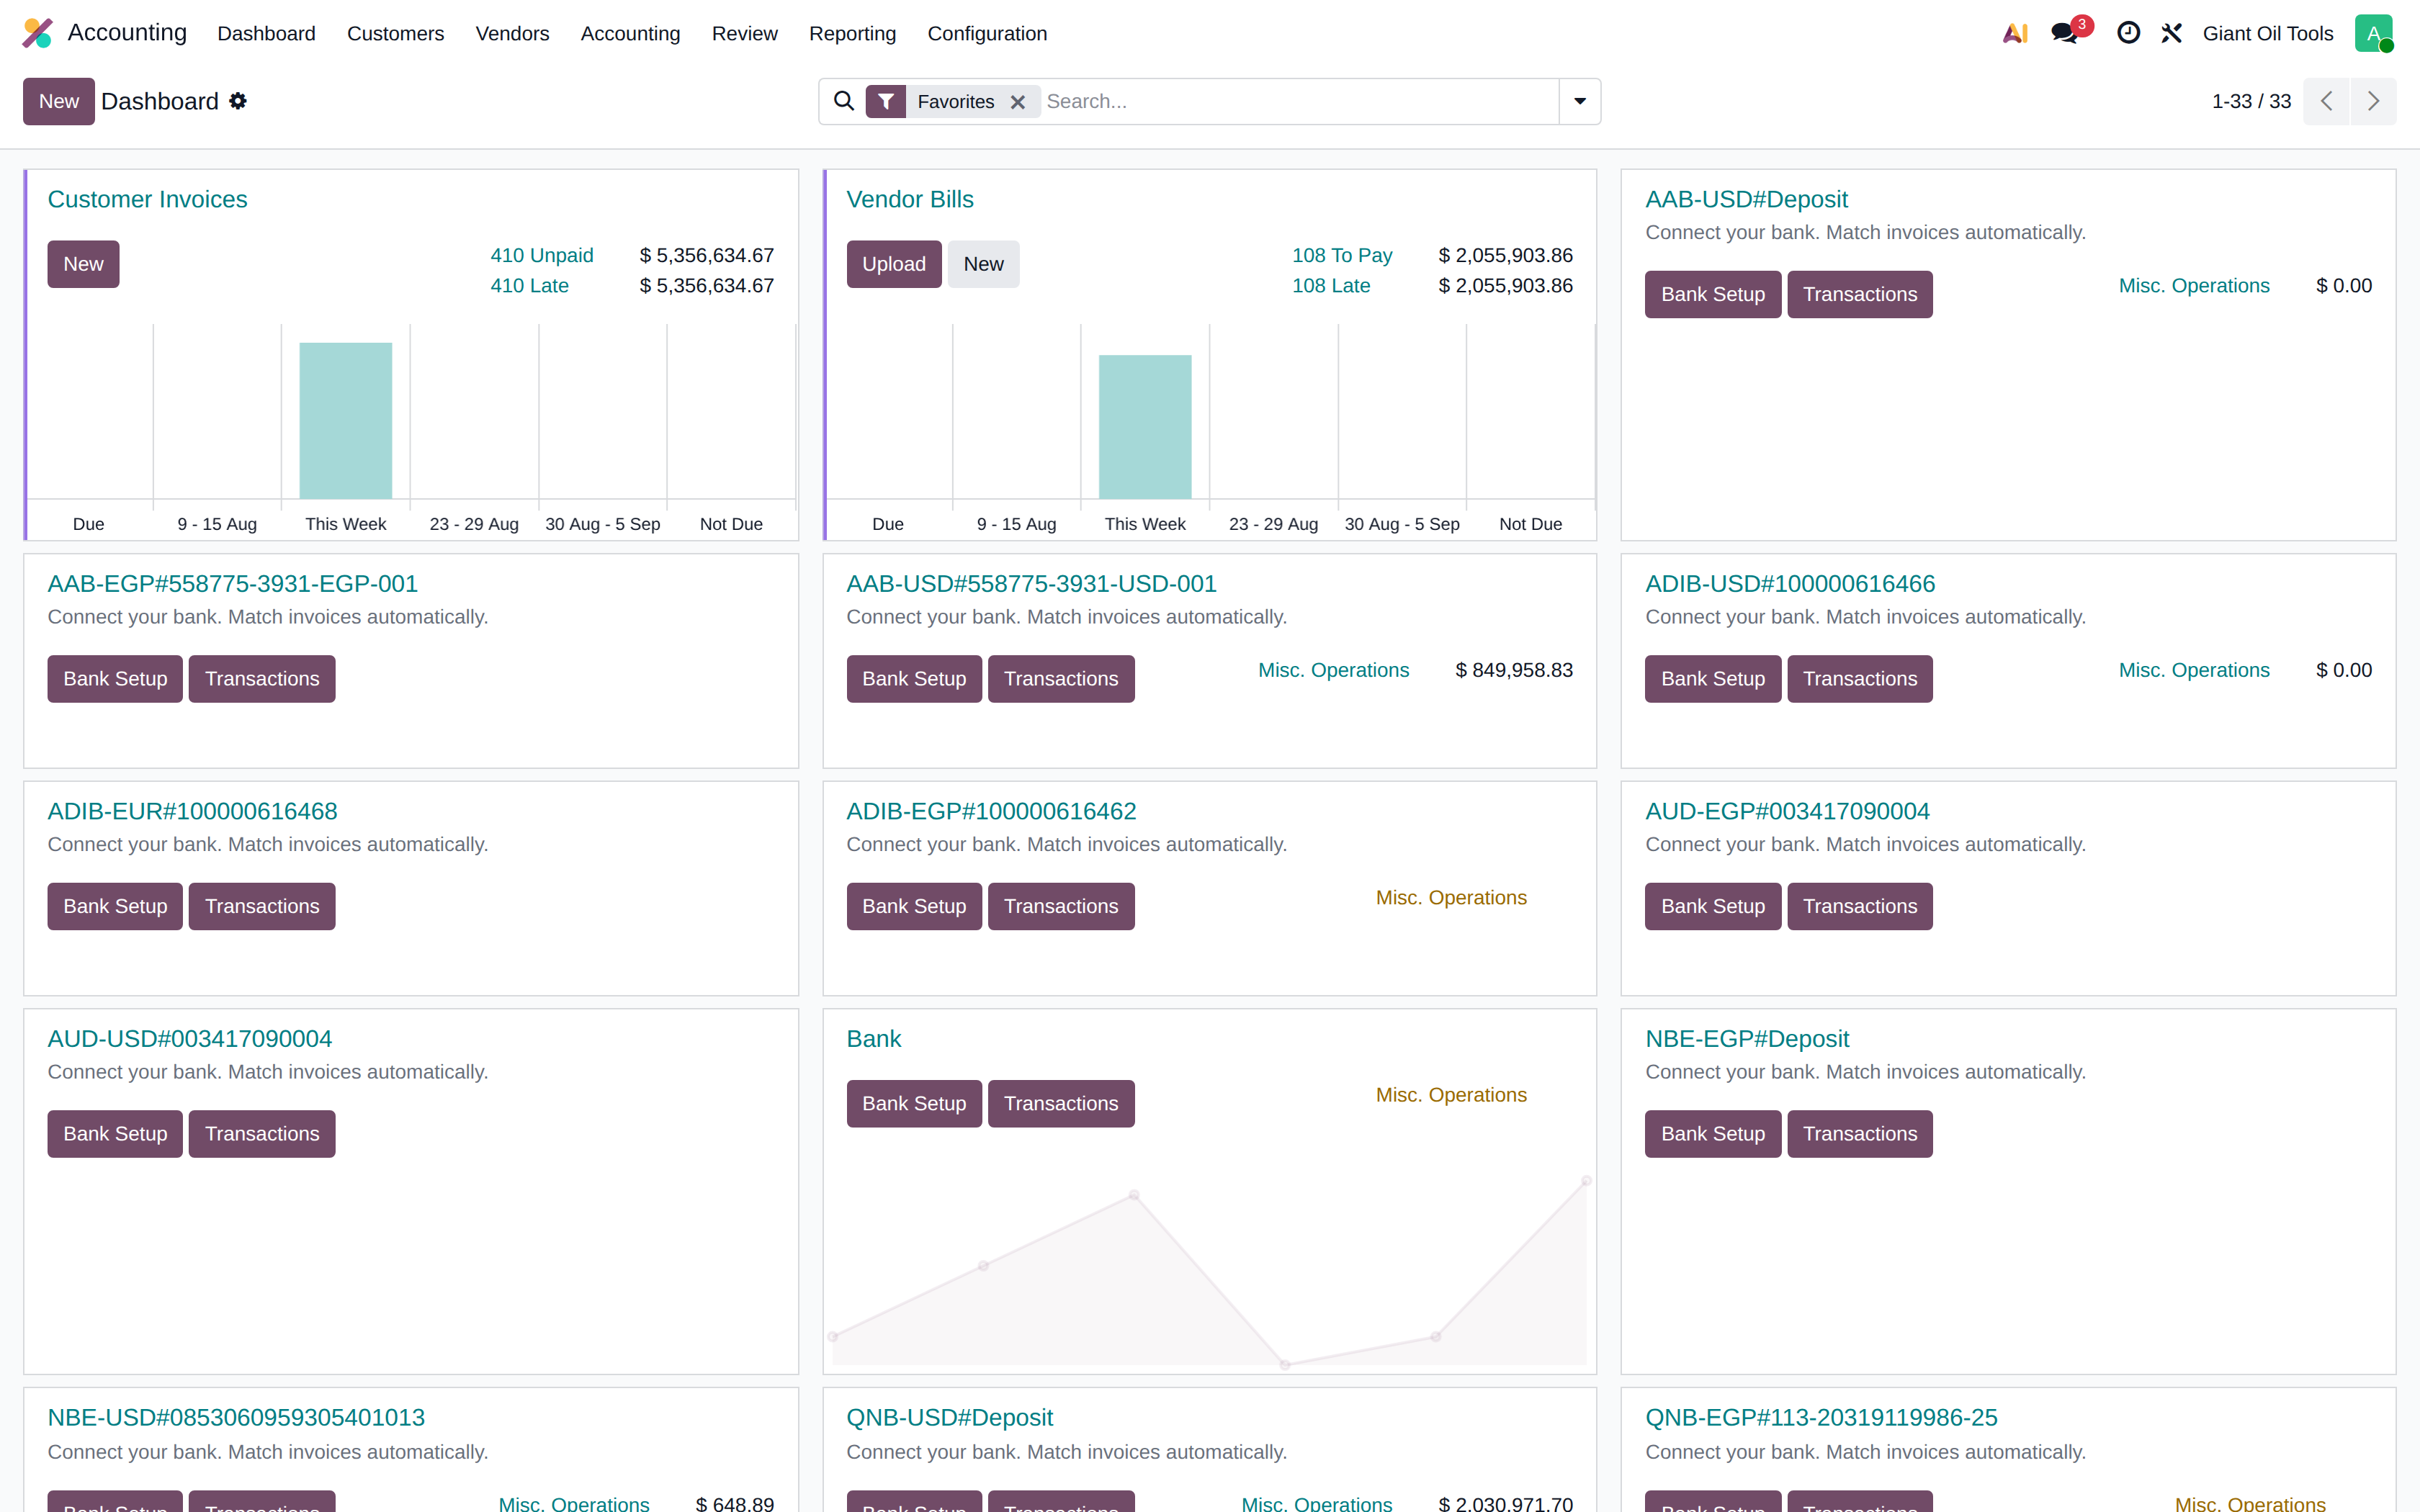
The accounting dashboard
One card per journal — sales, purchases, bank, cash and miscellaneous. Each card shows the balance and the items needing attention, and its menu gives direct access to that journal's entries and to actions such as recording a payment.
Customer invoices
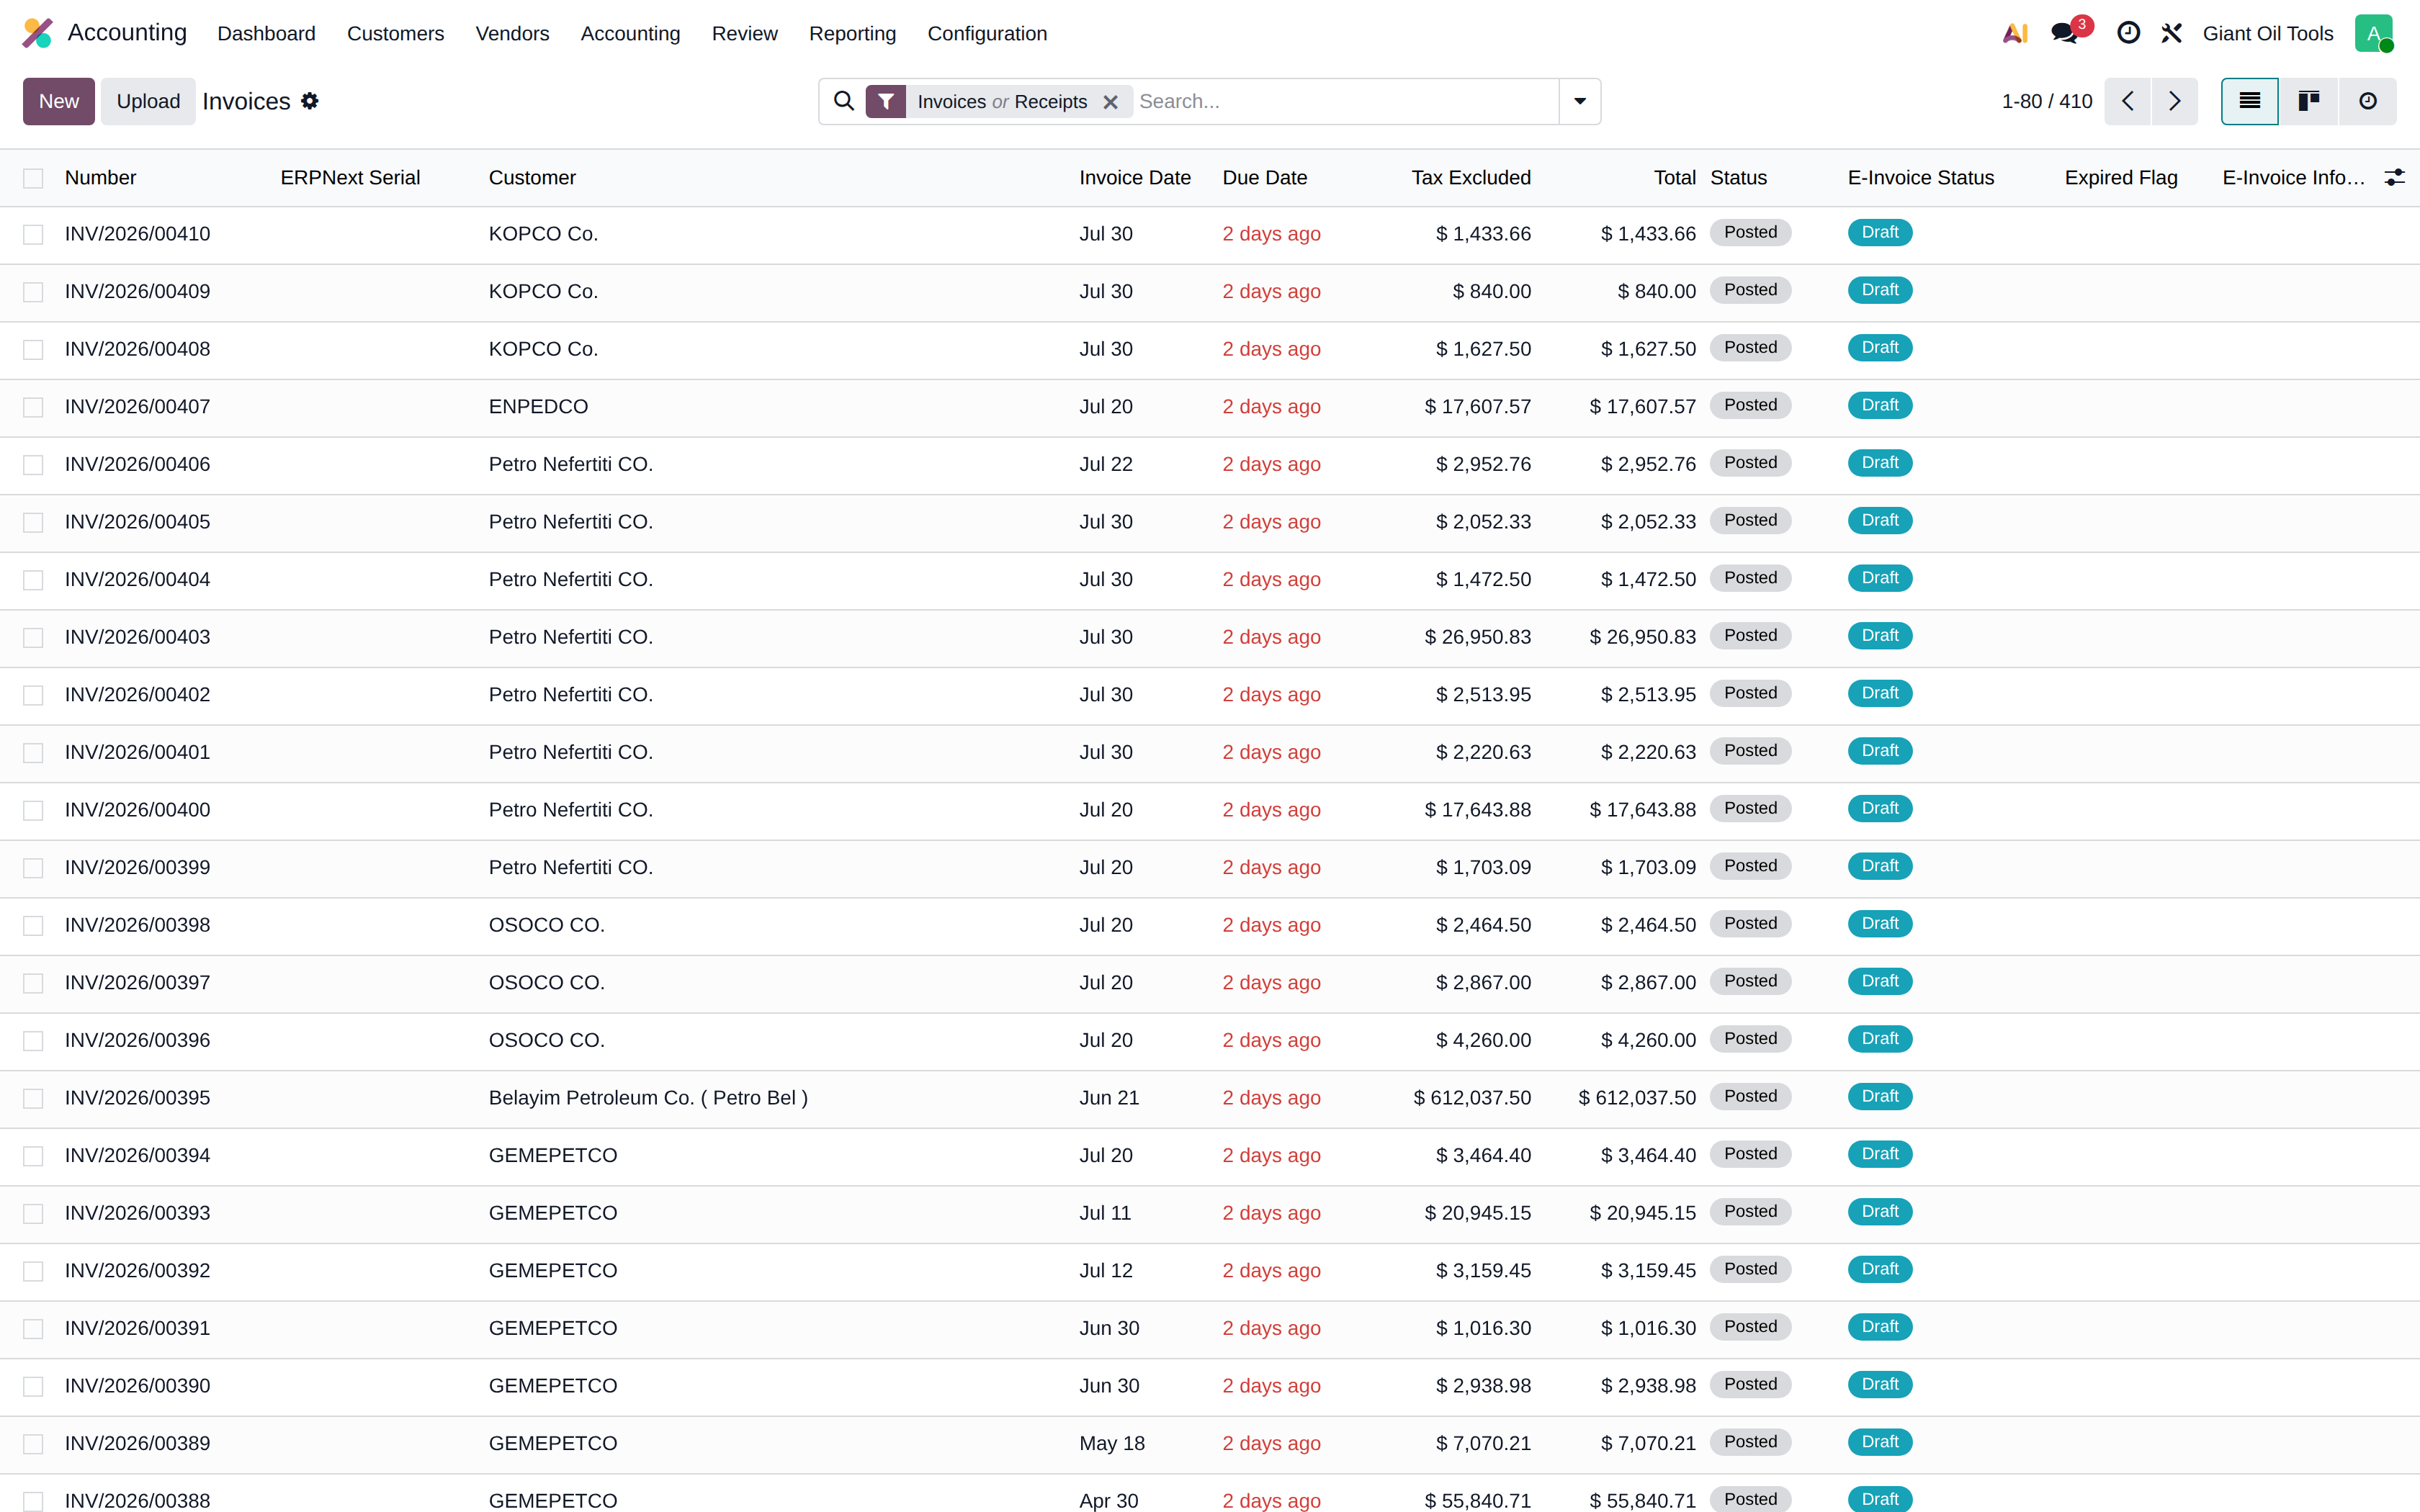
All customer invoices with number, customer, dates, amounts and status. The E-Invoice Status column tracks submission to the Egyptian Tax Authority (ETA) portal.
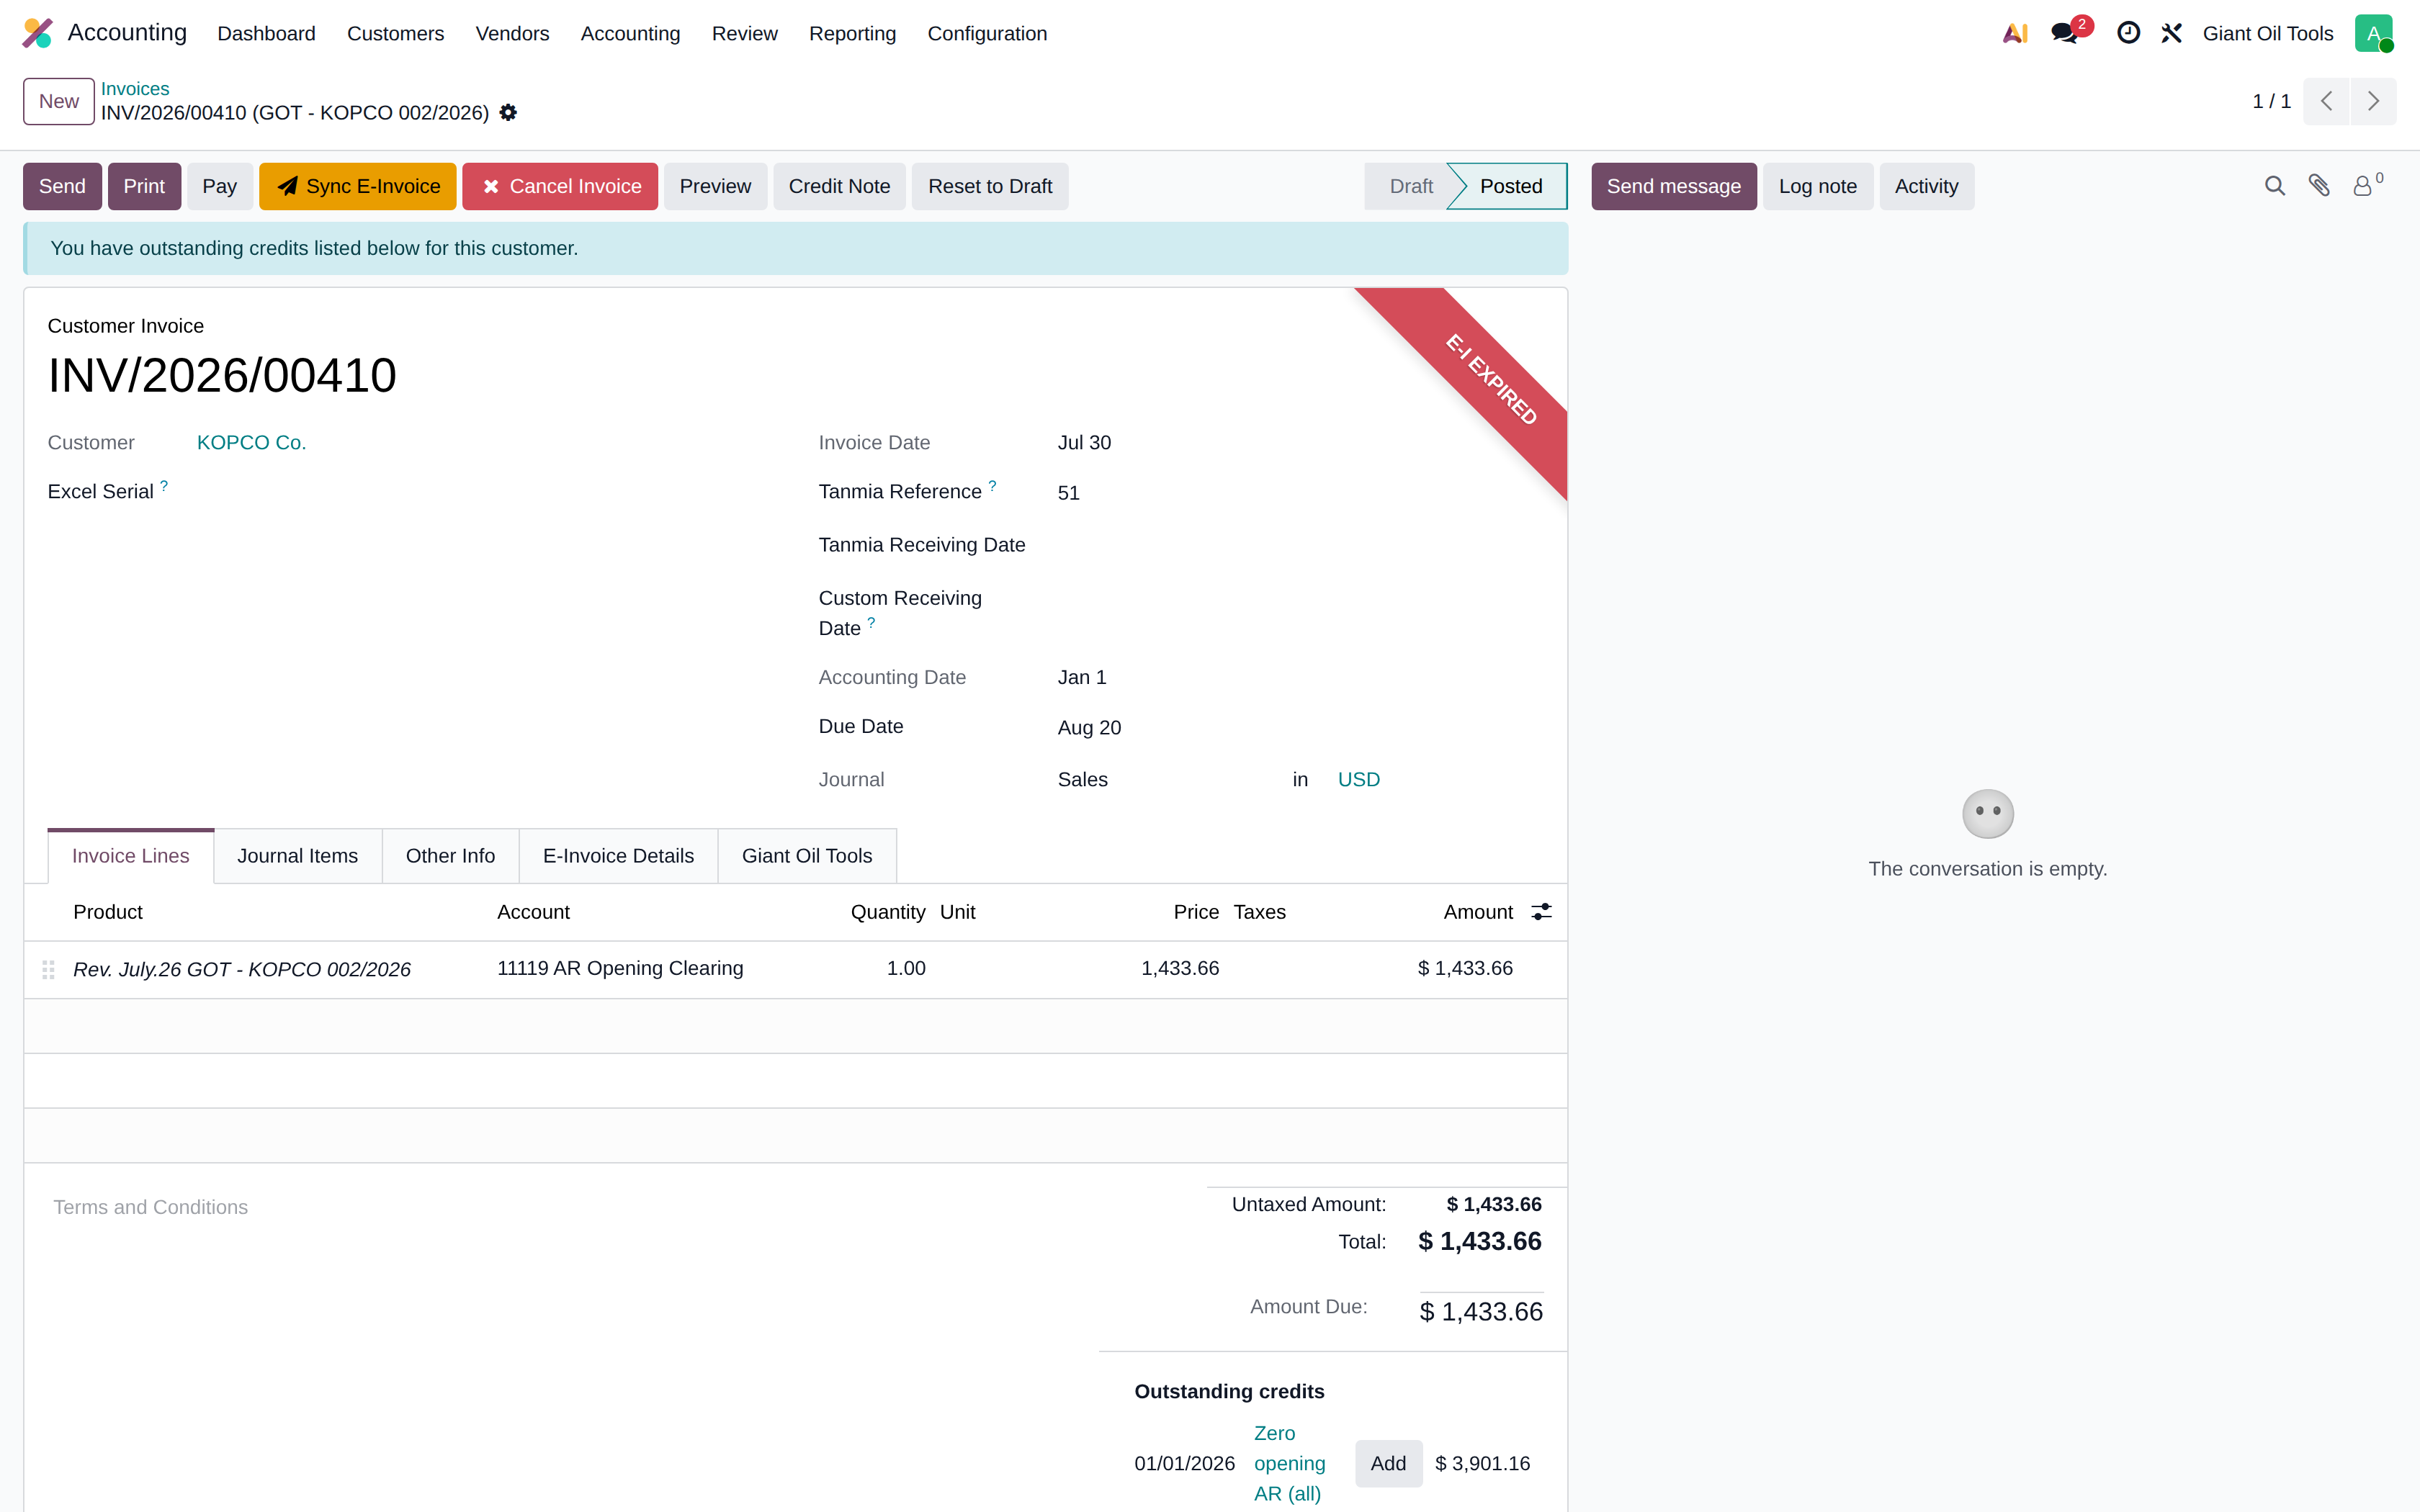
The customer invoice form
Header: customer, invoice date, due date (from payment terms) and journal. Lines carry the product, quantity, unit price, taxes and the analytic distribution.
An invoice is created in Draft, where it can still be edited freely. Confirm posts it to the ledger, assigns the final number and makes it read-only. Register Payment then records receipt and reconciles it against the invoice.
The Other Info tab carries the Tanmia fields added for Giant Oil Tools reporting on customer invoices.
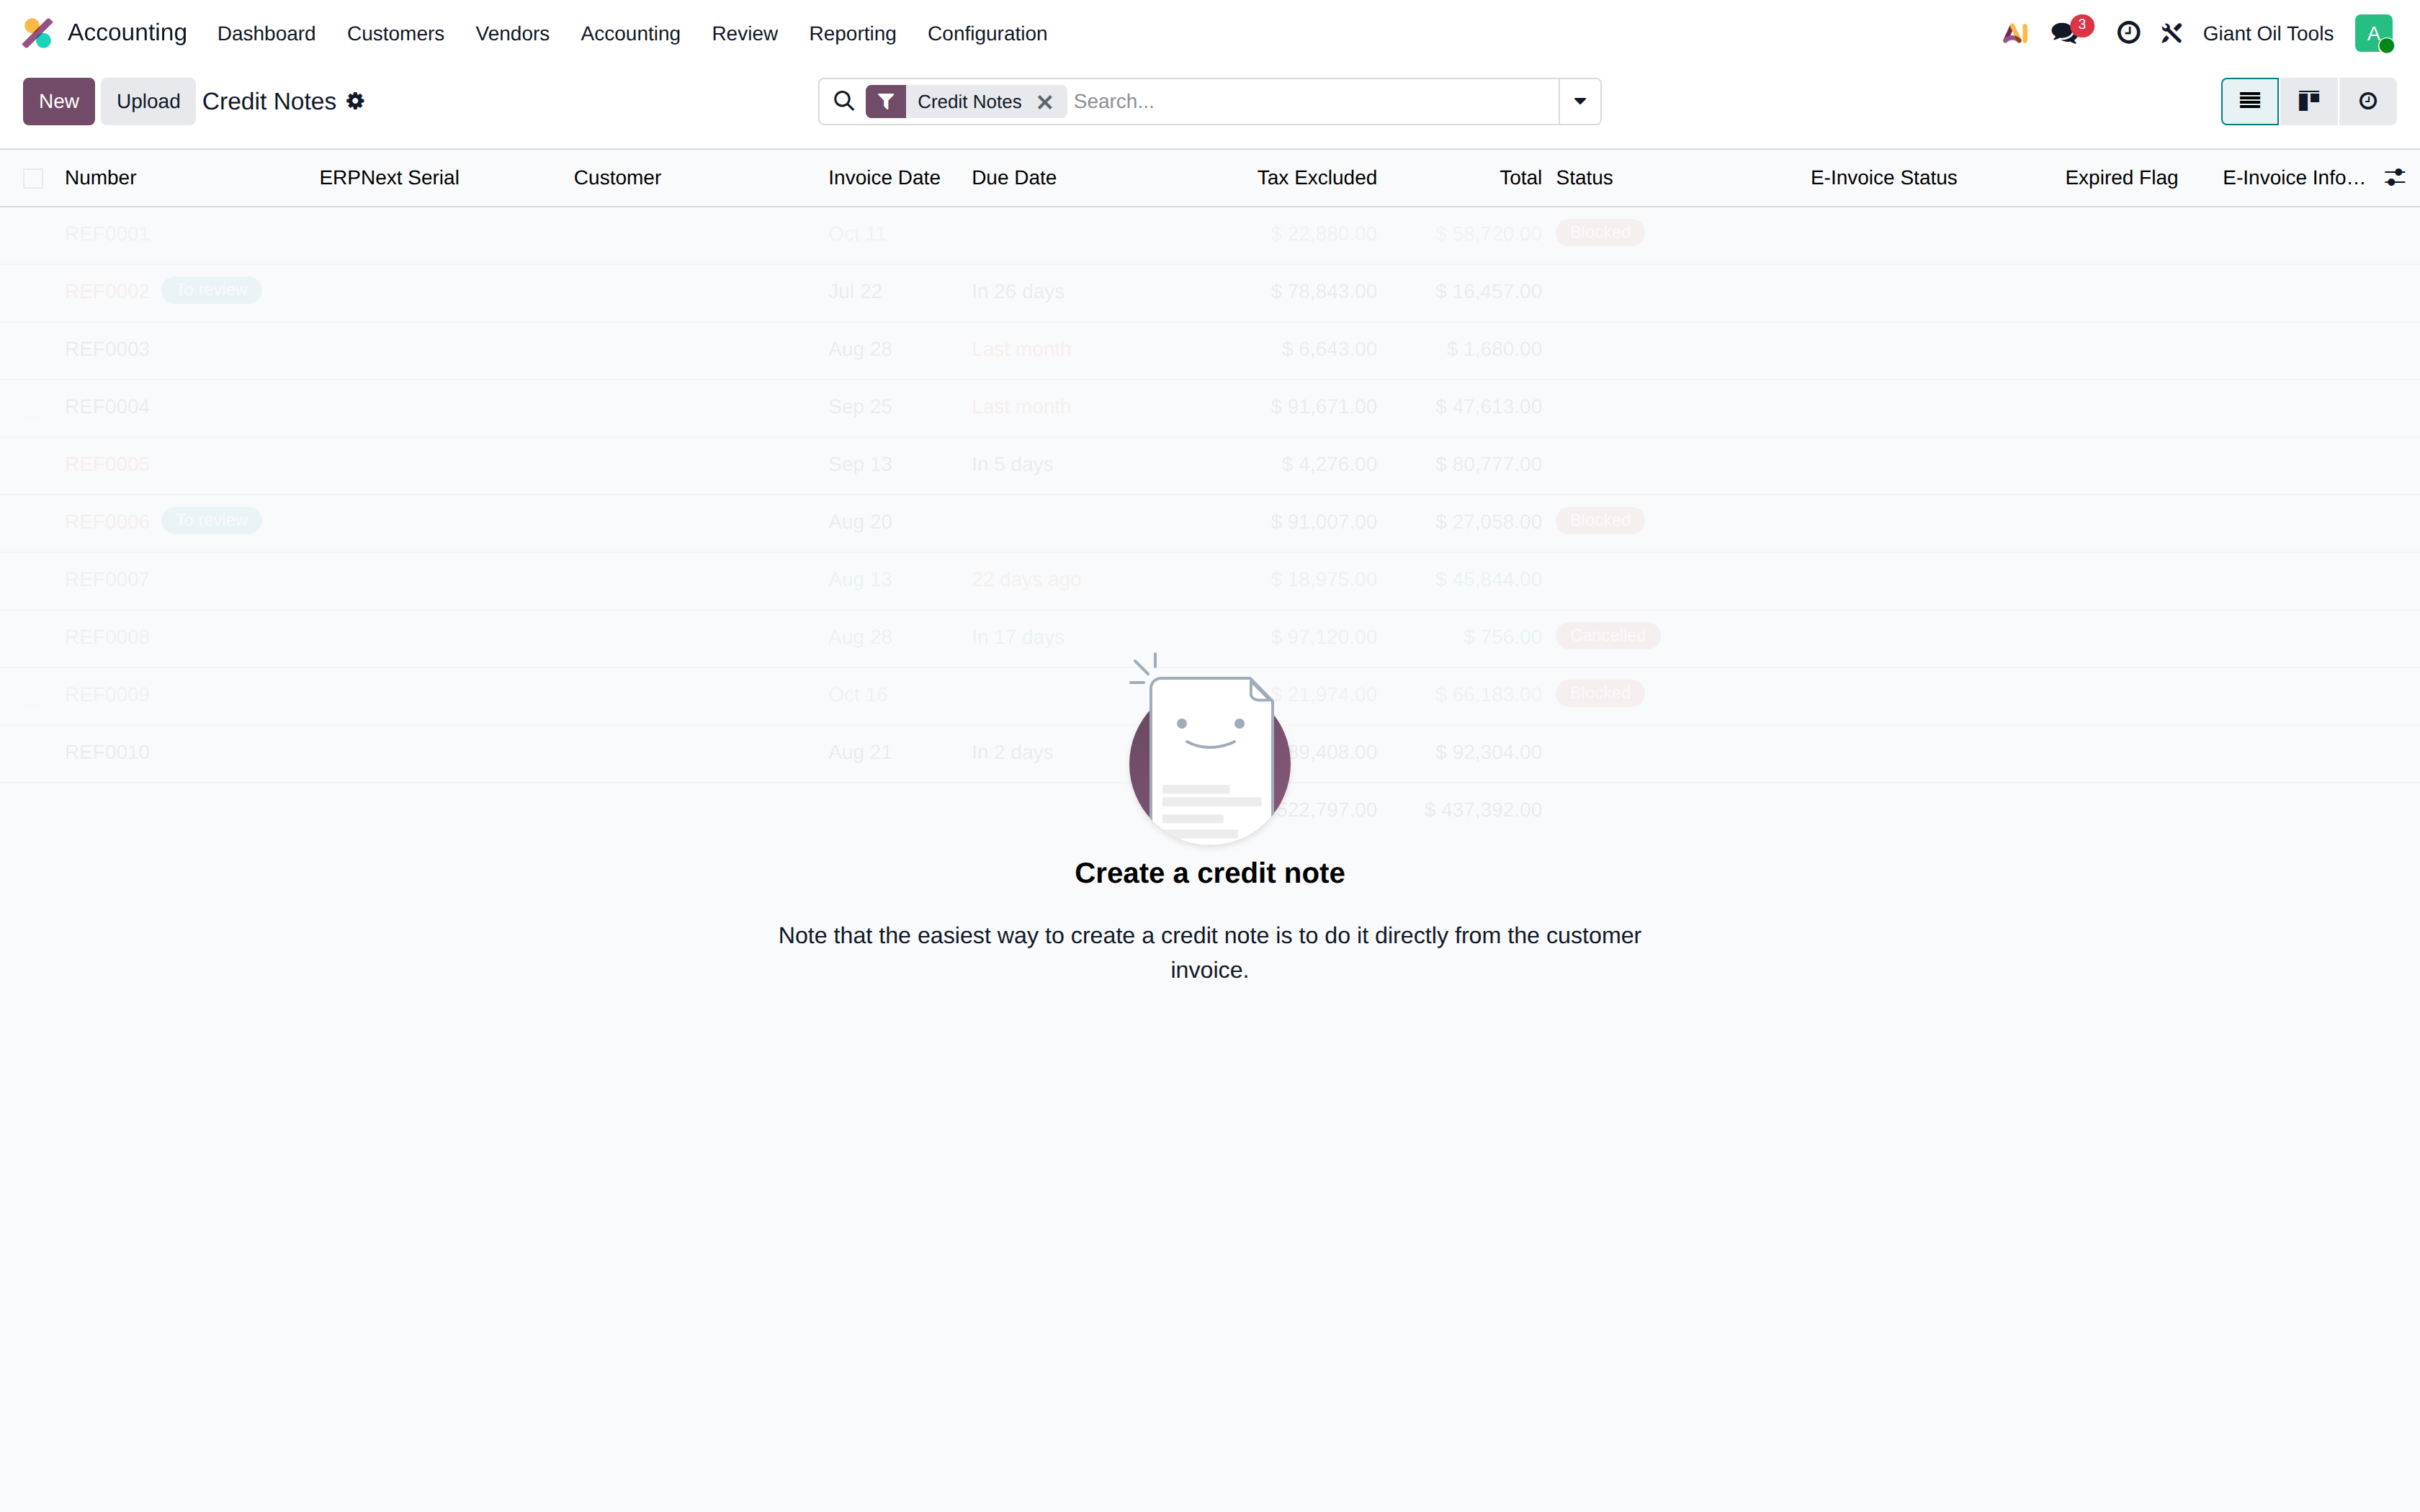
Credit notes
Reversals of customer invoices. Always issue a credit note rather than deleting a posted invoice — posted documents must never be removed from the ledger.
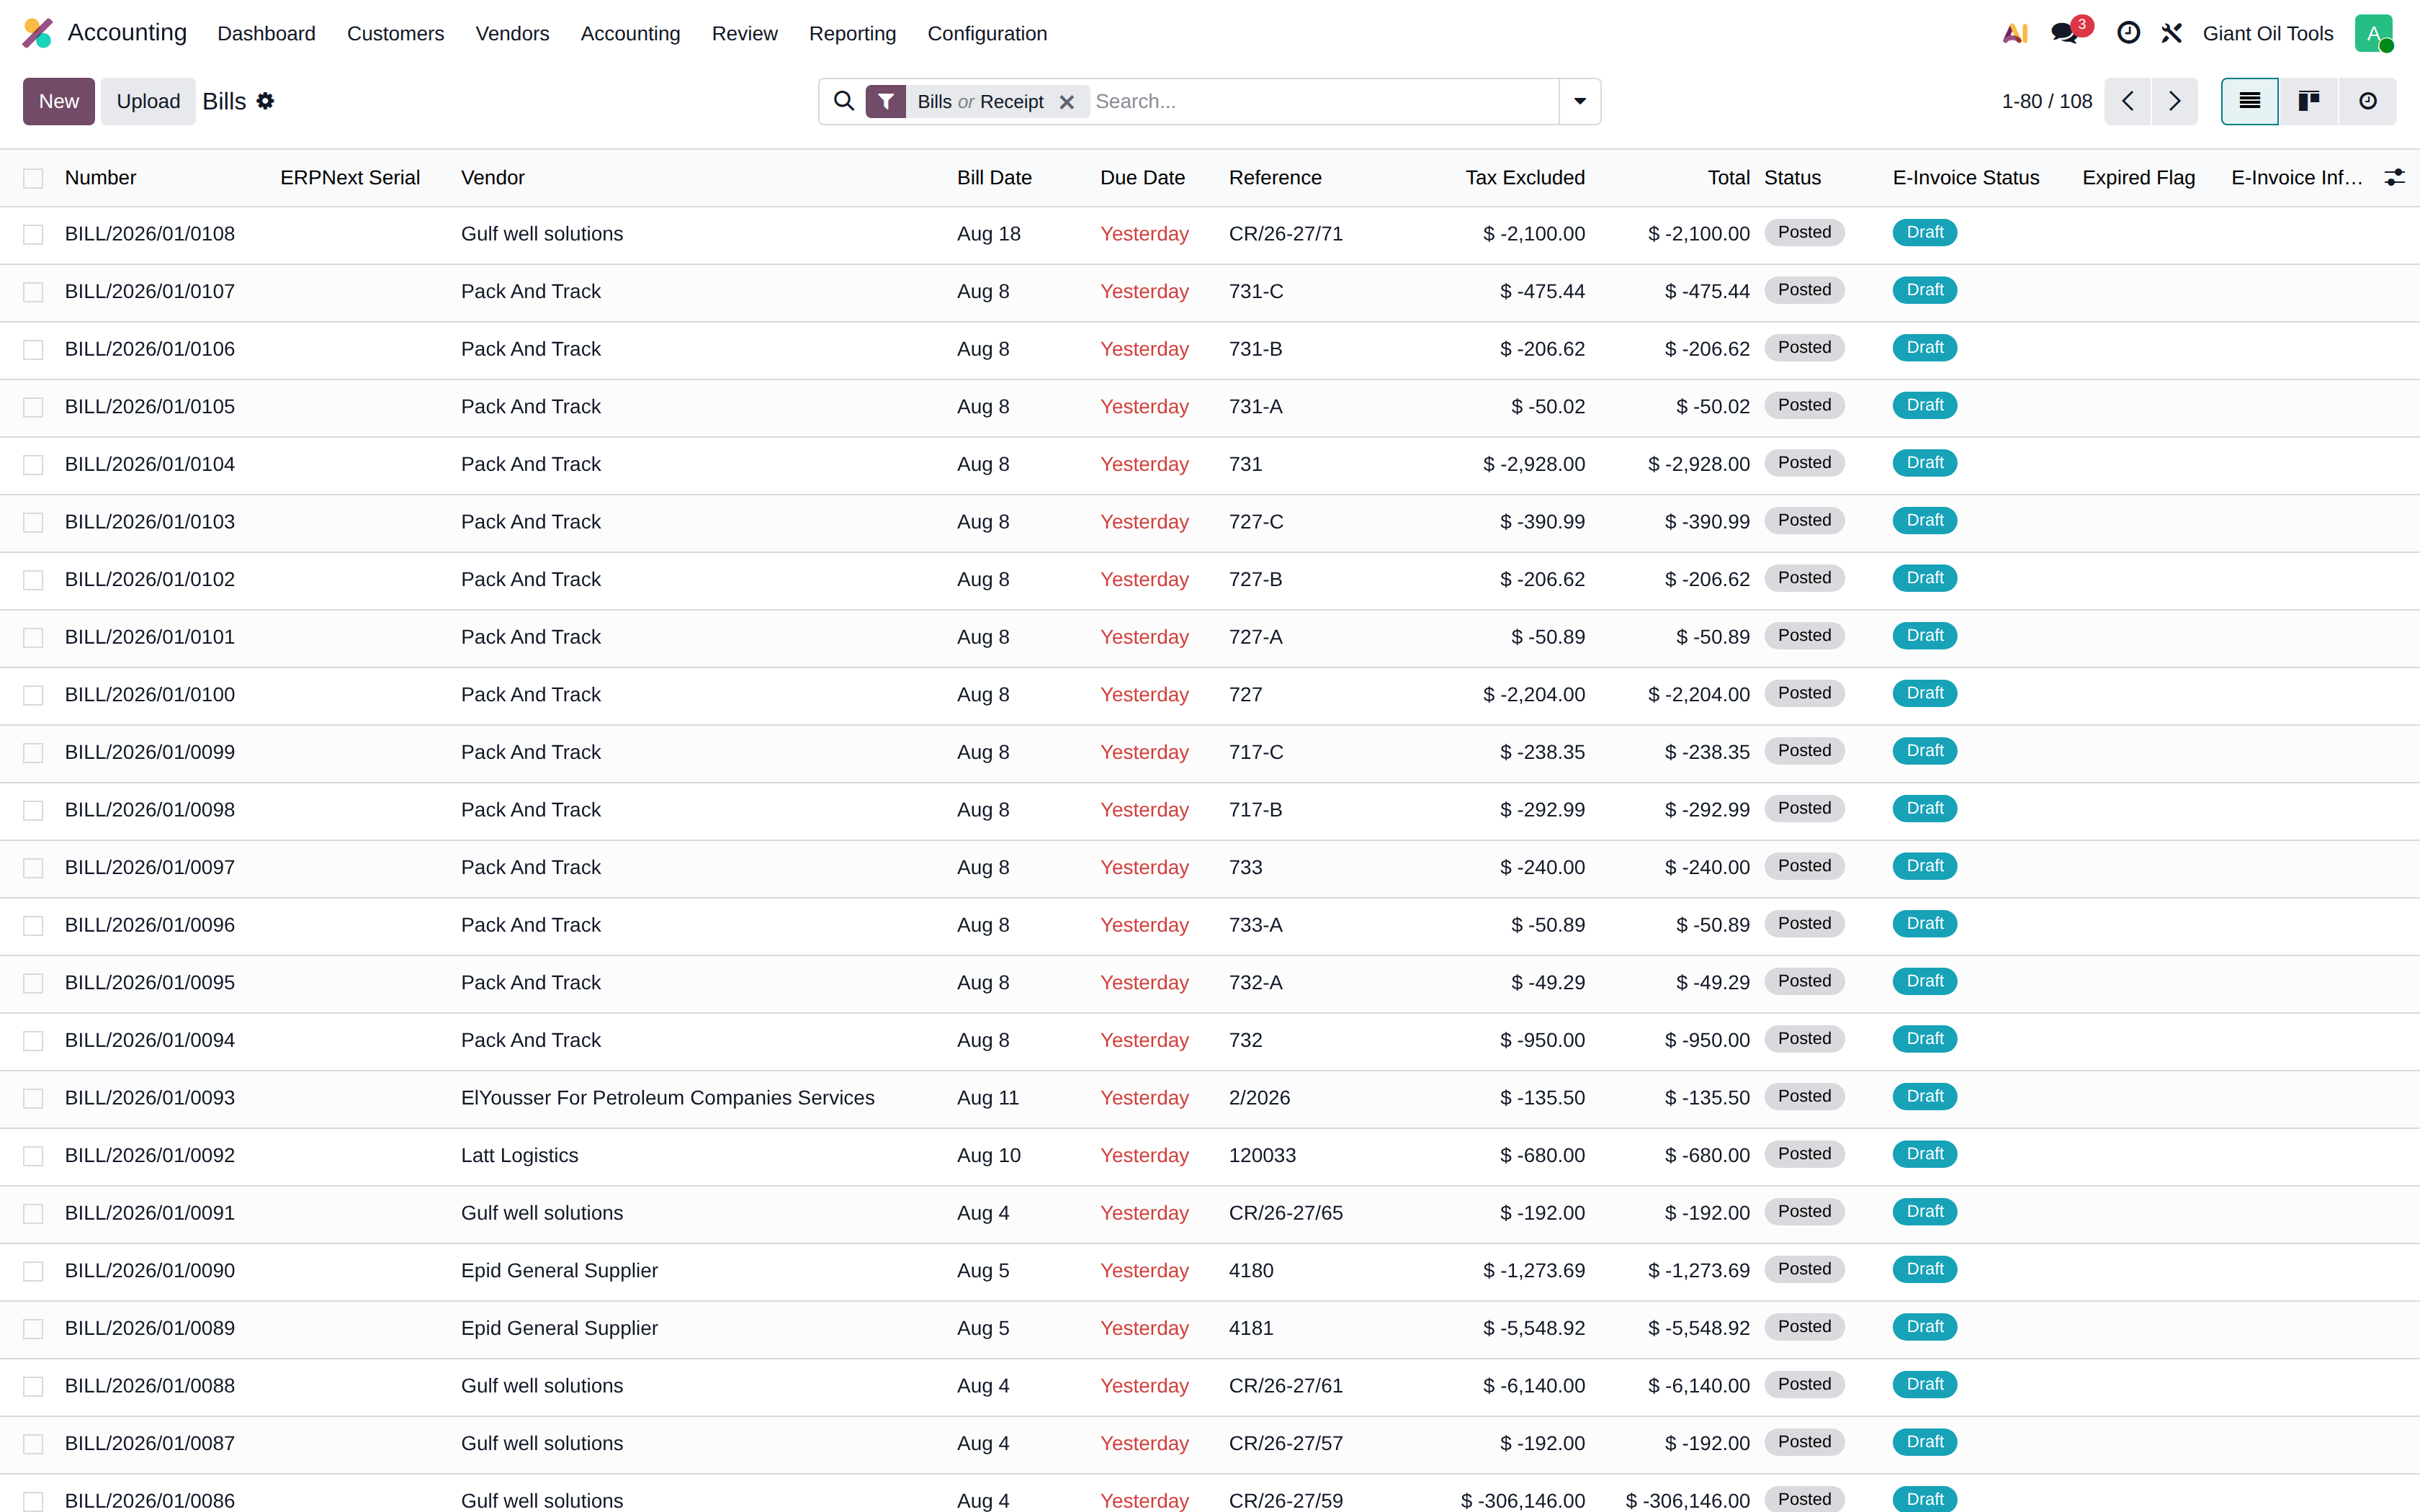
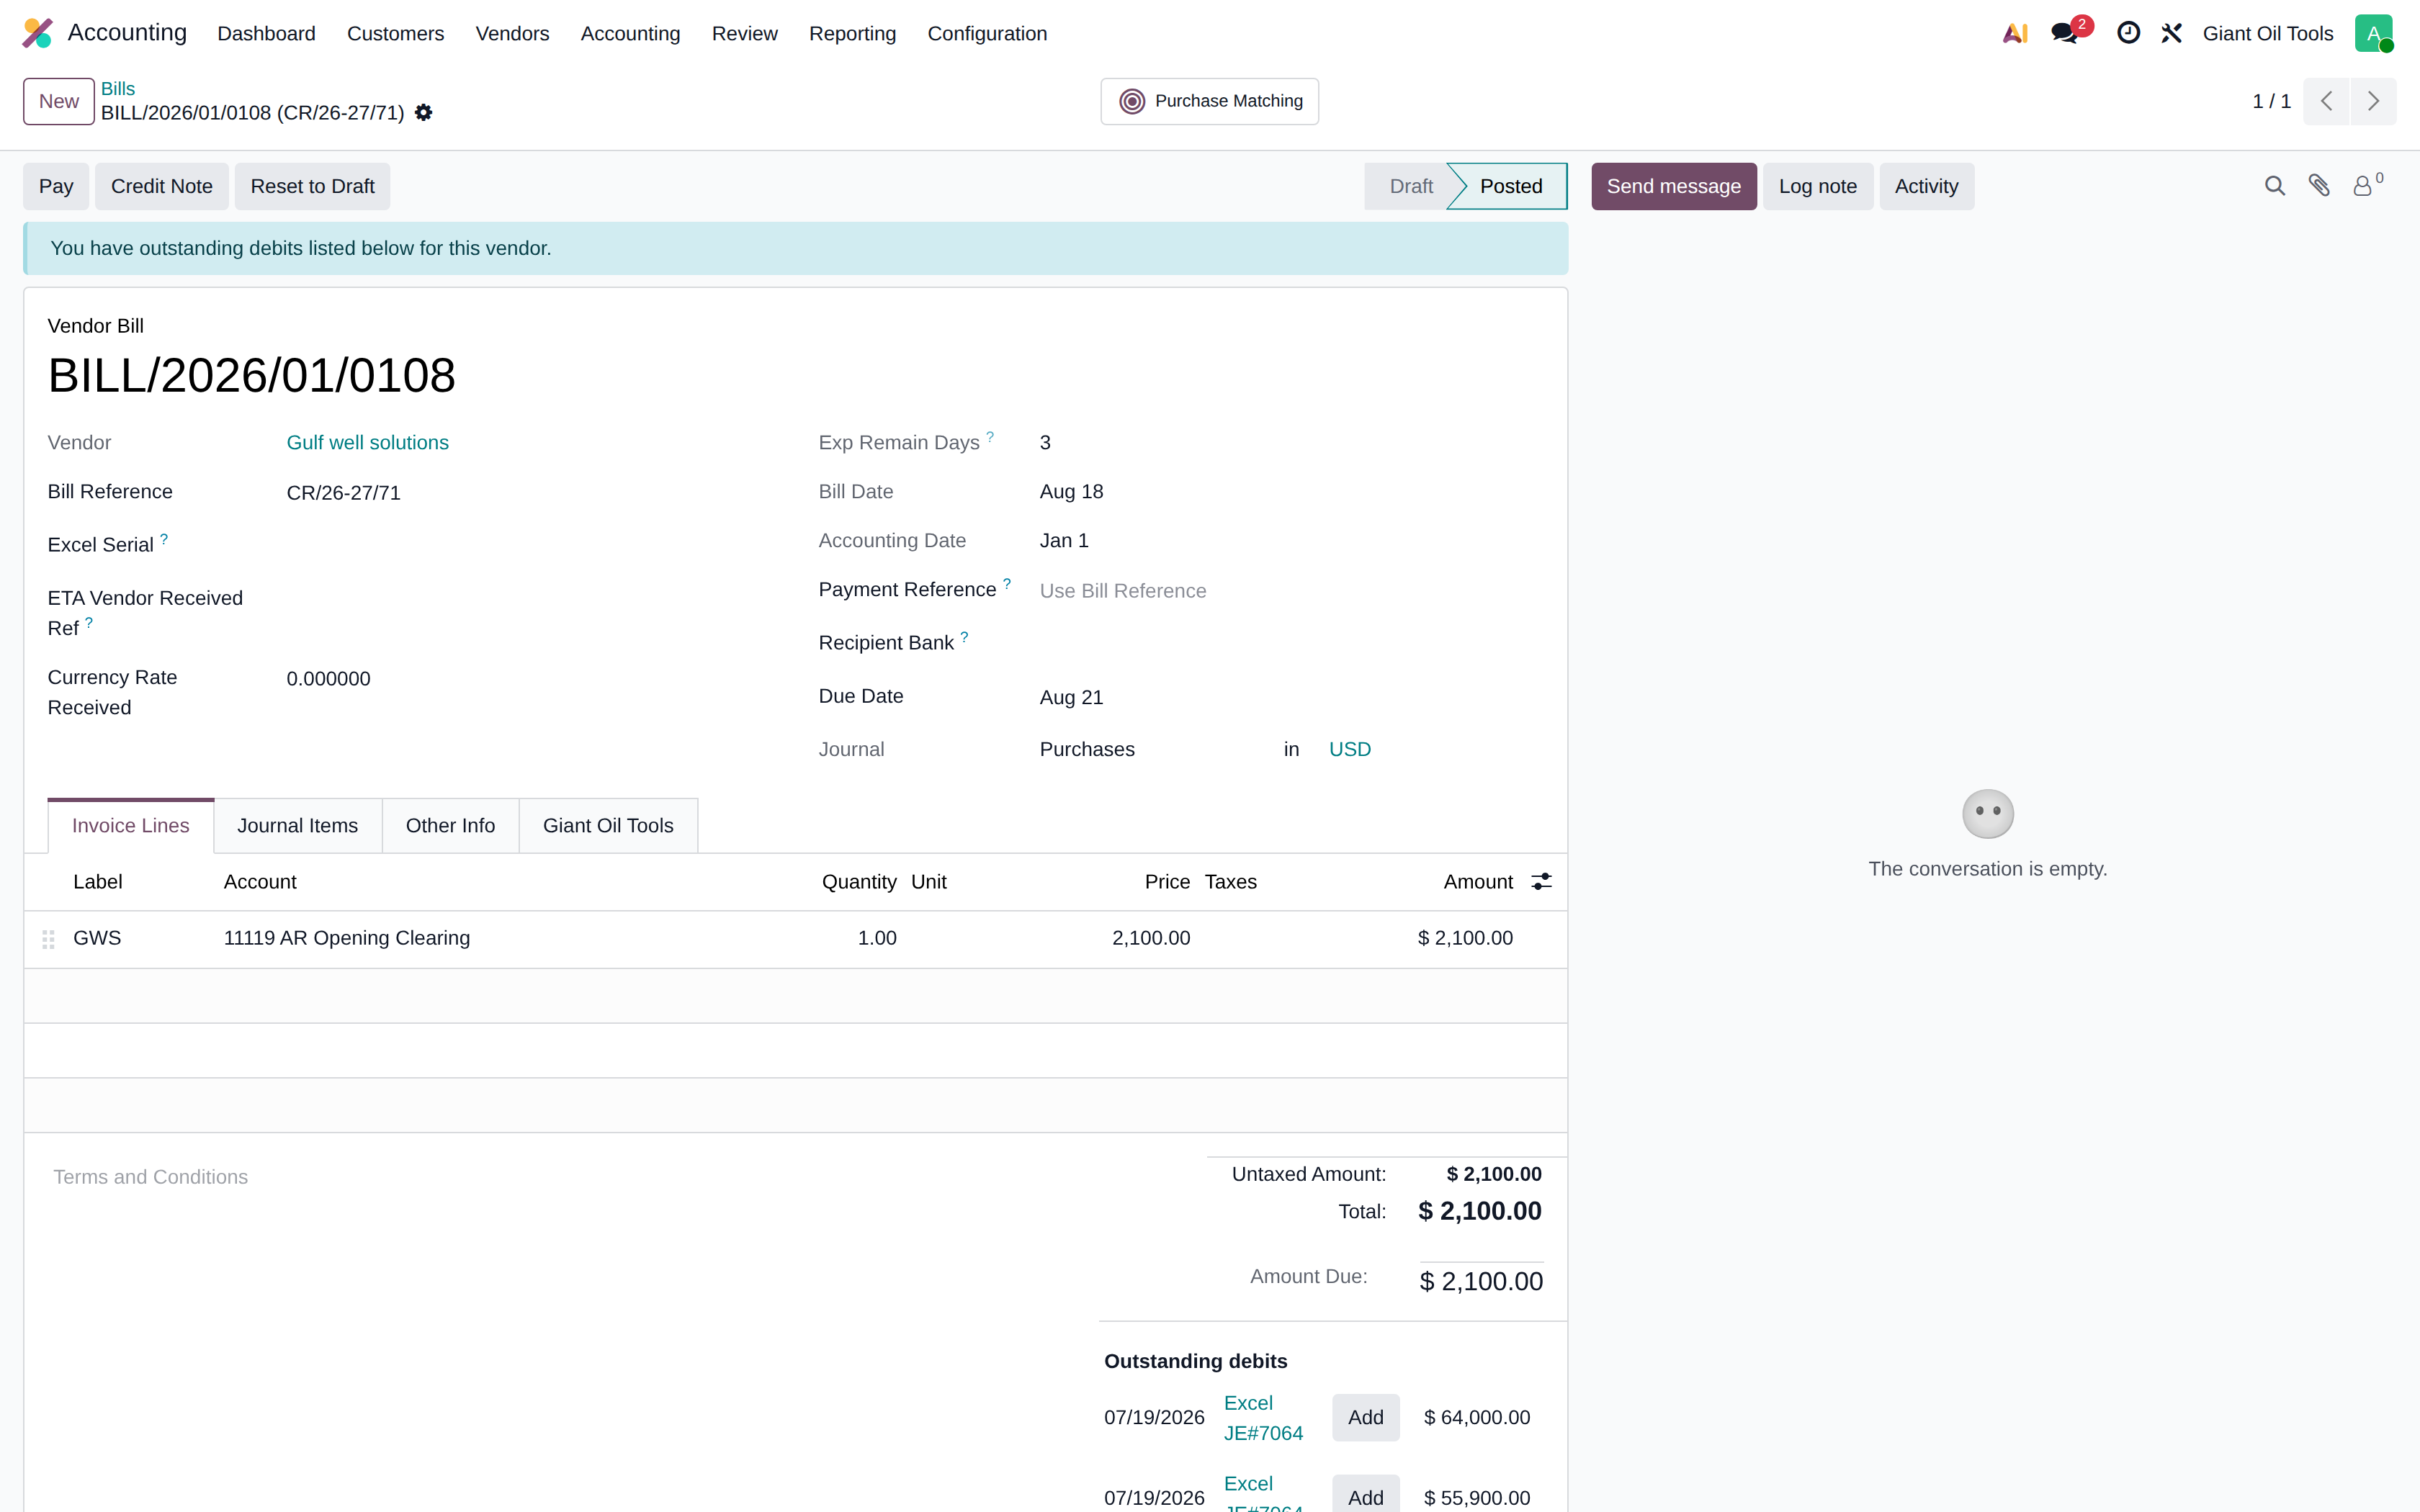
Vendor bills
Supplier invoices awaiting validation and payment.
The vendor bill form
Enter the vendor, the Bill Reference (the vendor's own document number), the bill date and the due date, then the lines. Where the bill relates to a purchase order, use Auto-Complete to pull its lines in rather than typing them — this is how every bill against a purchase order is raised, since the order itself has no Create Bill button.
Confirm posts the bill; Register Payment settles it.
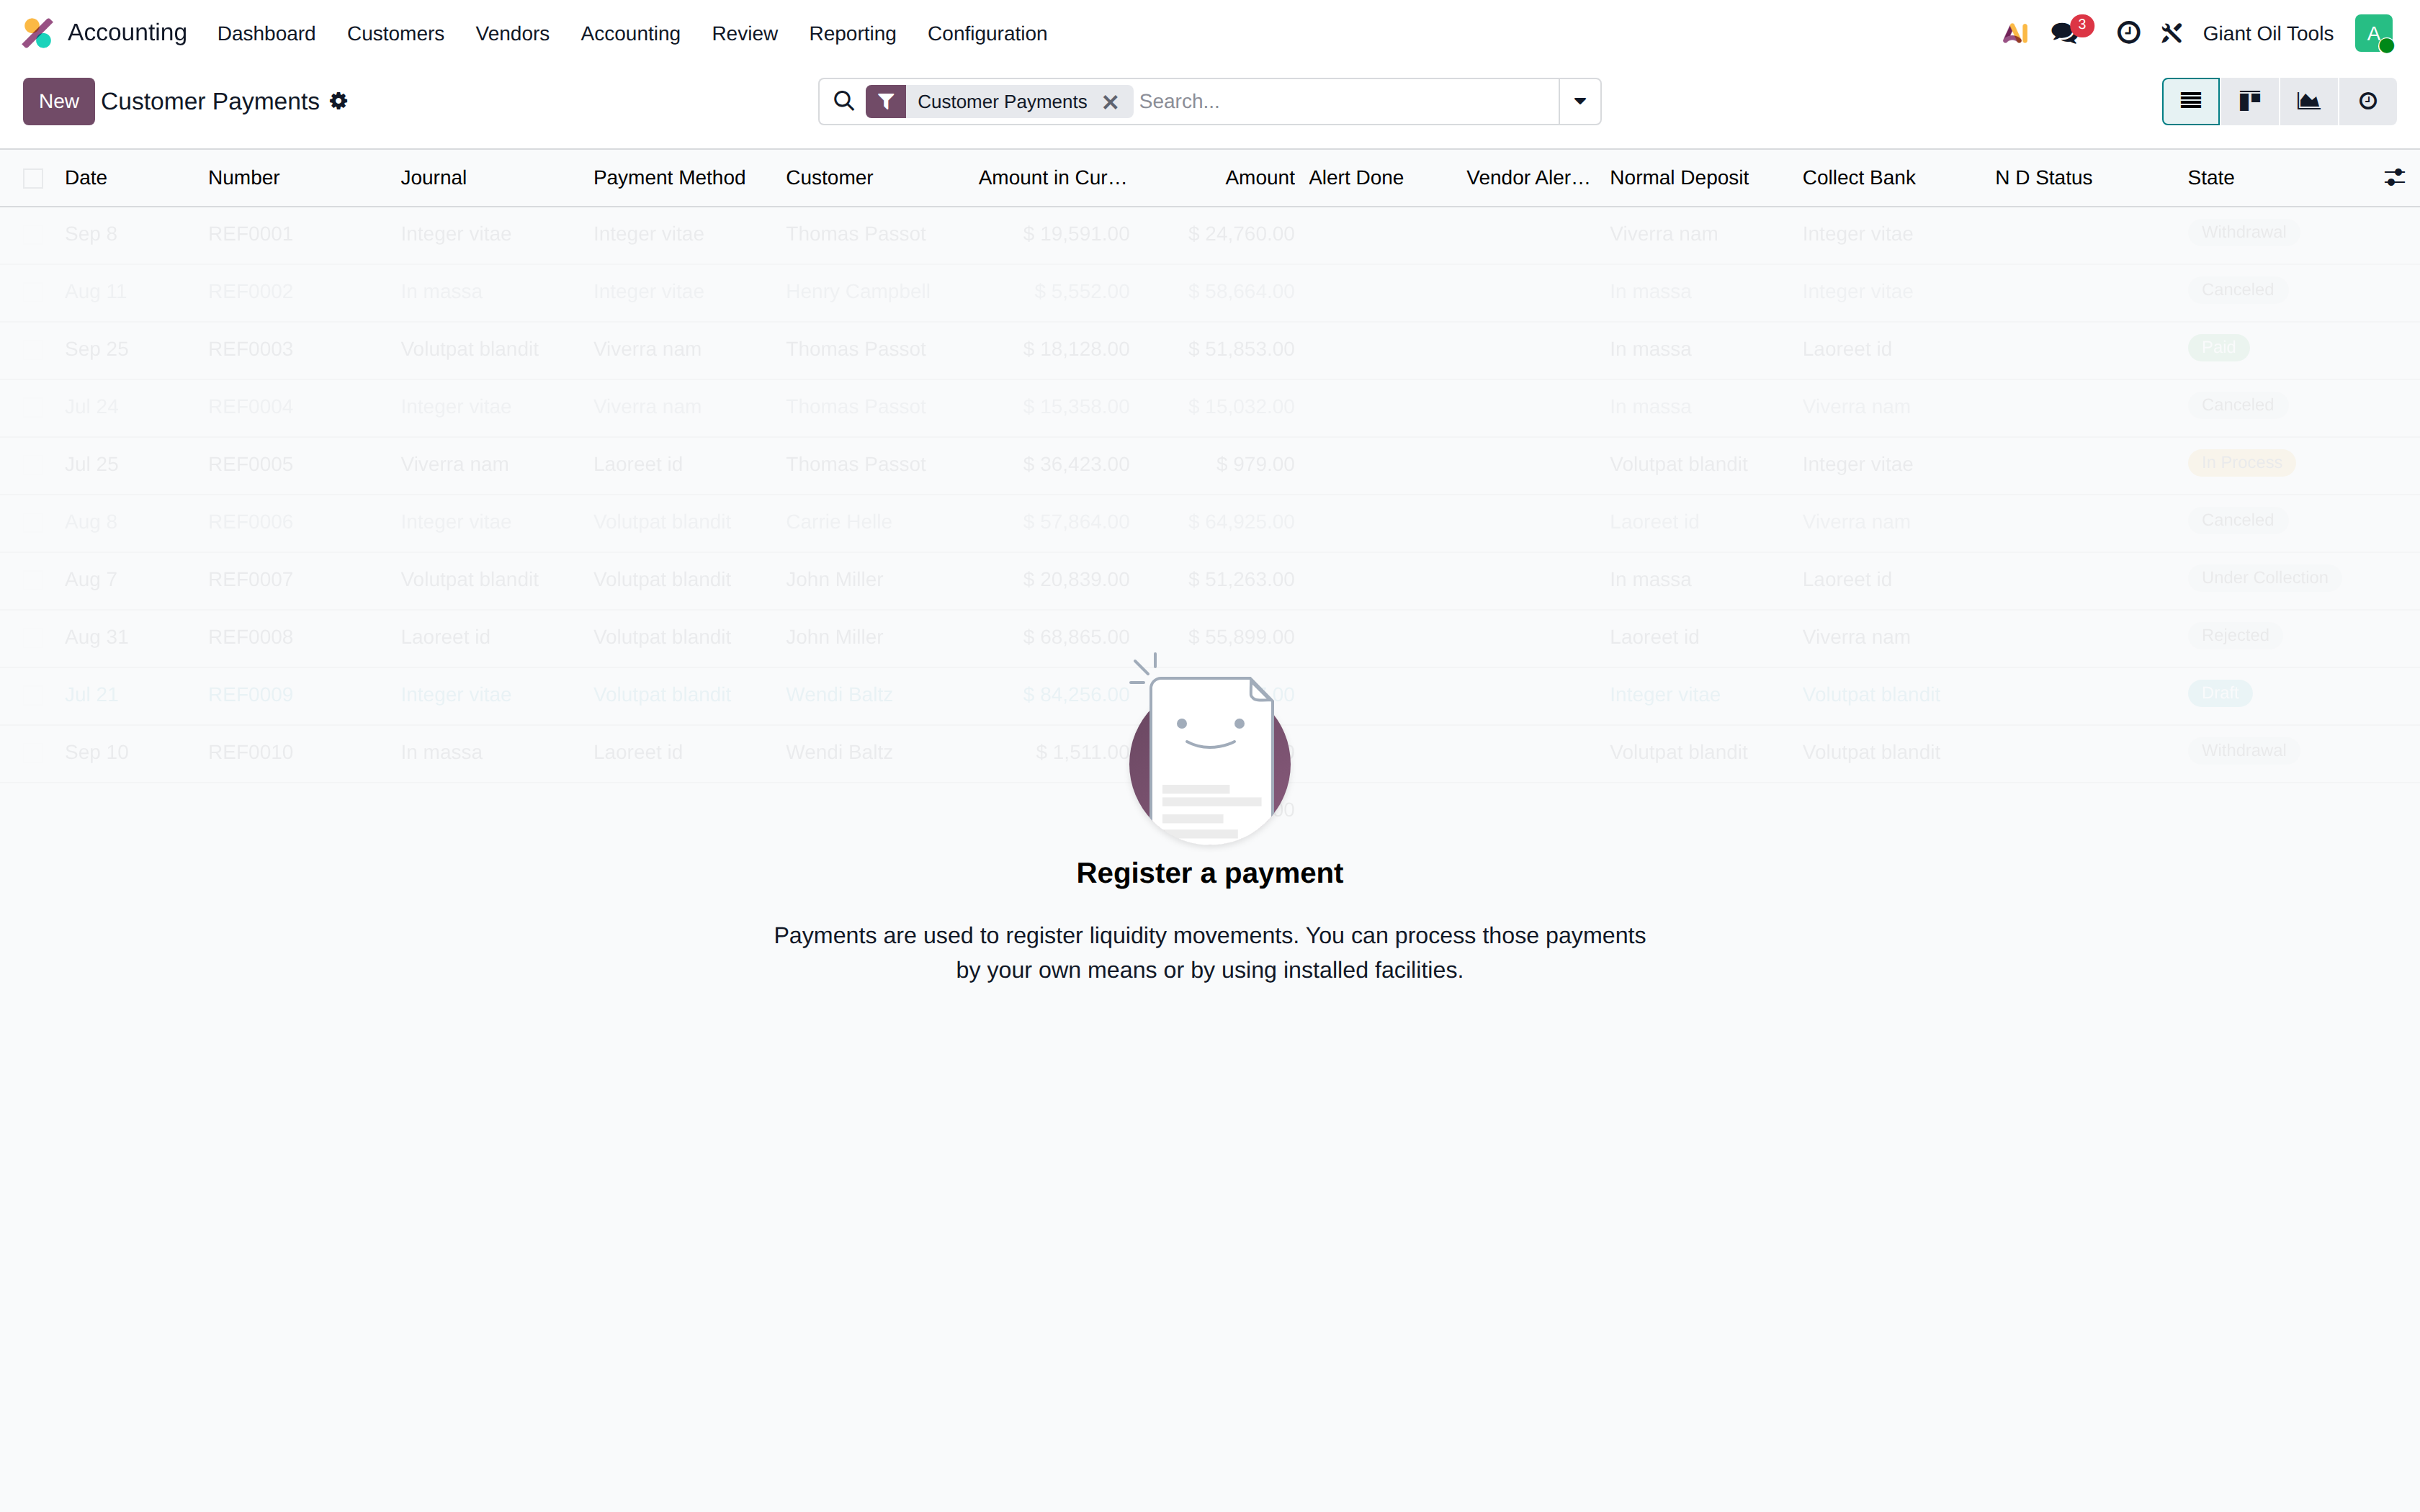
Payments
All customer receipts and vendor payments, with their journal, method, amount and reconciliation status.
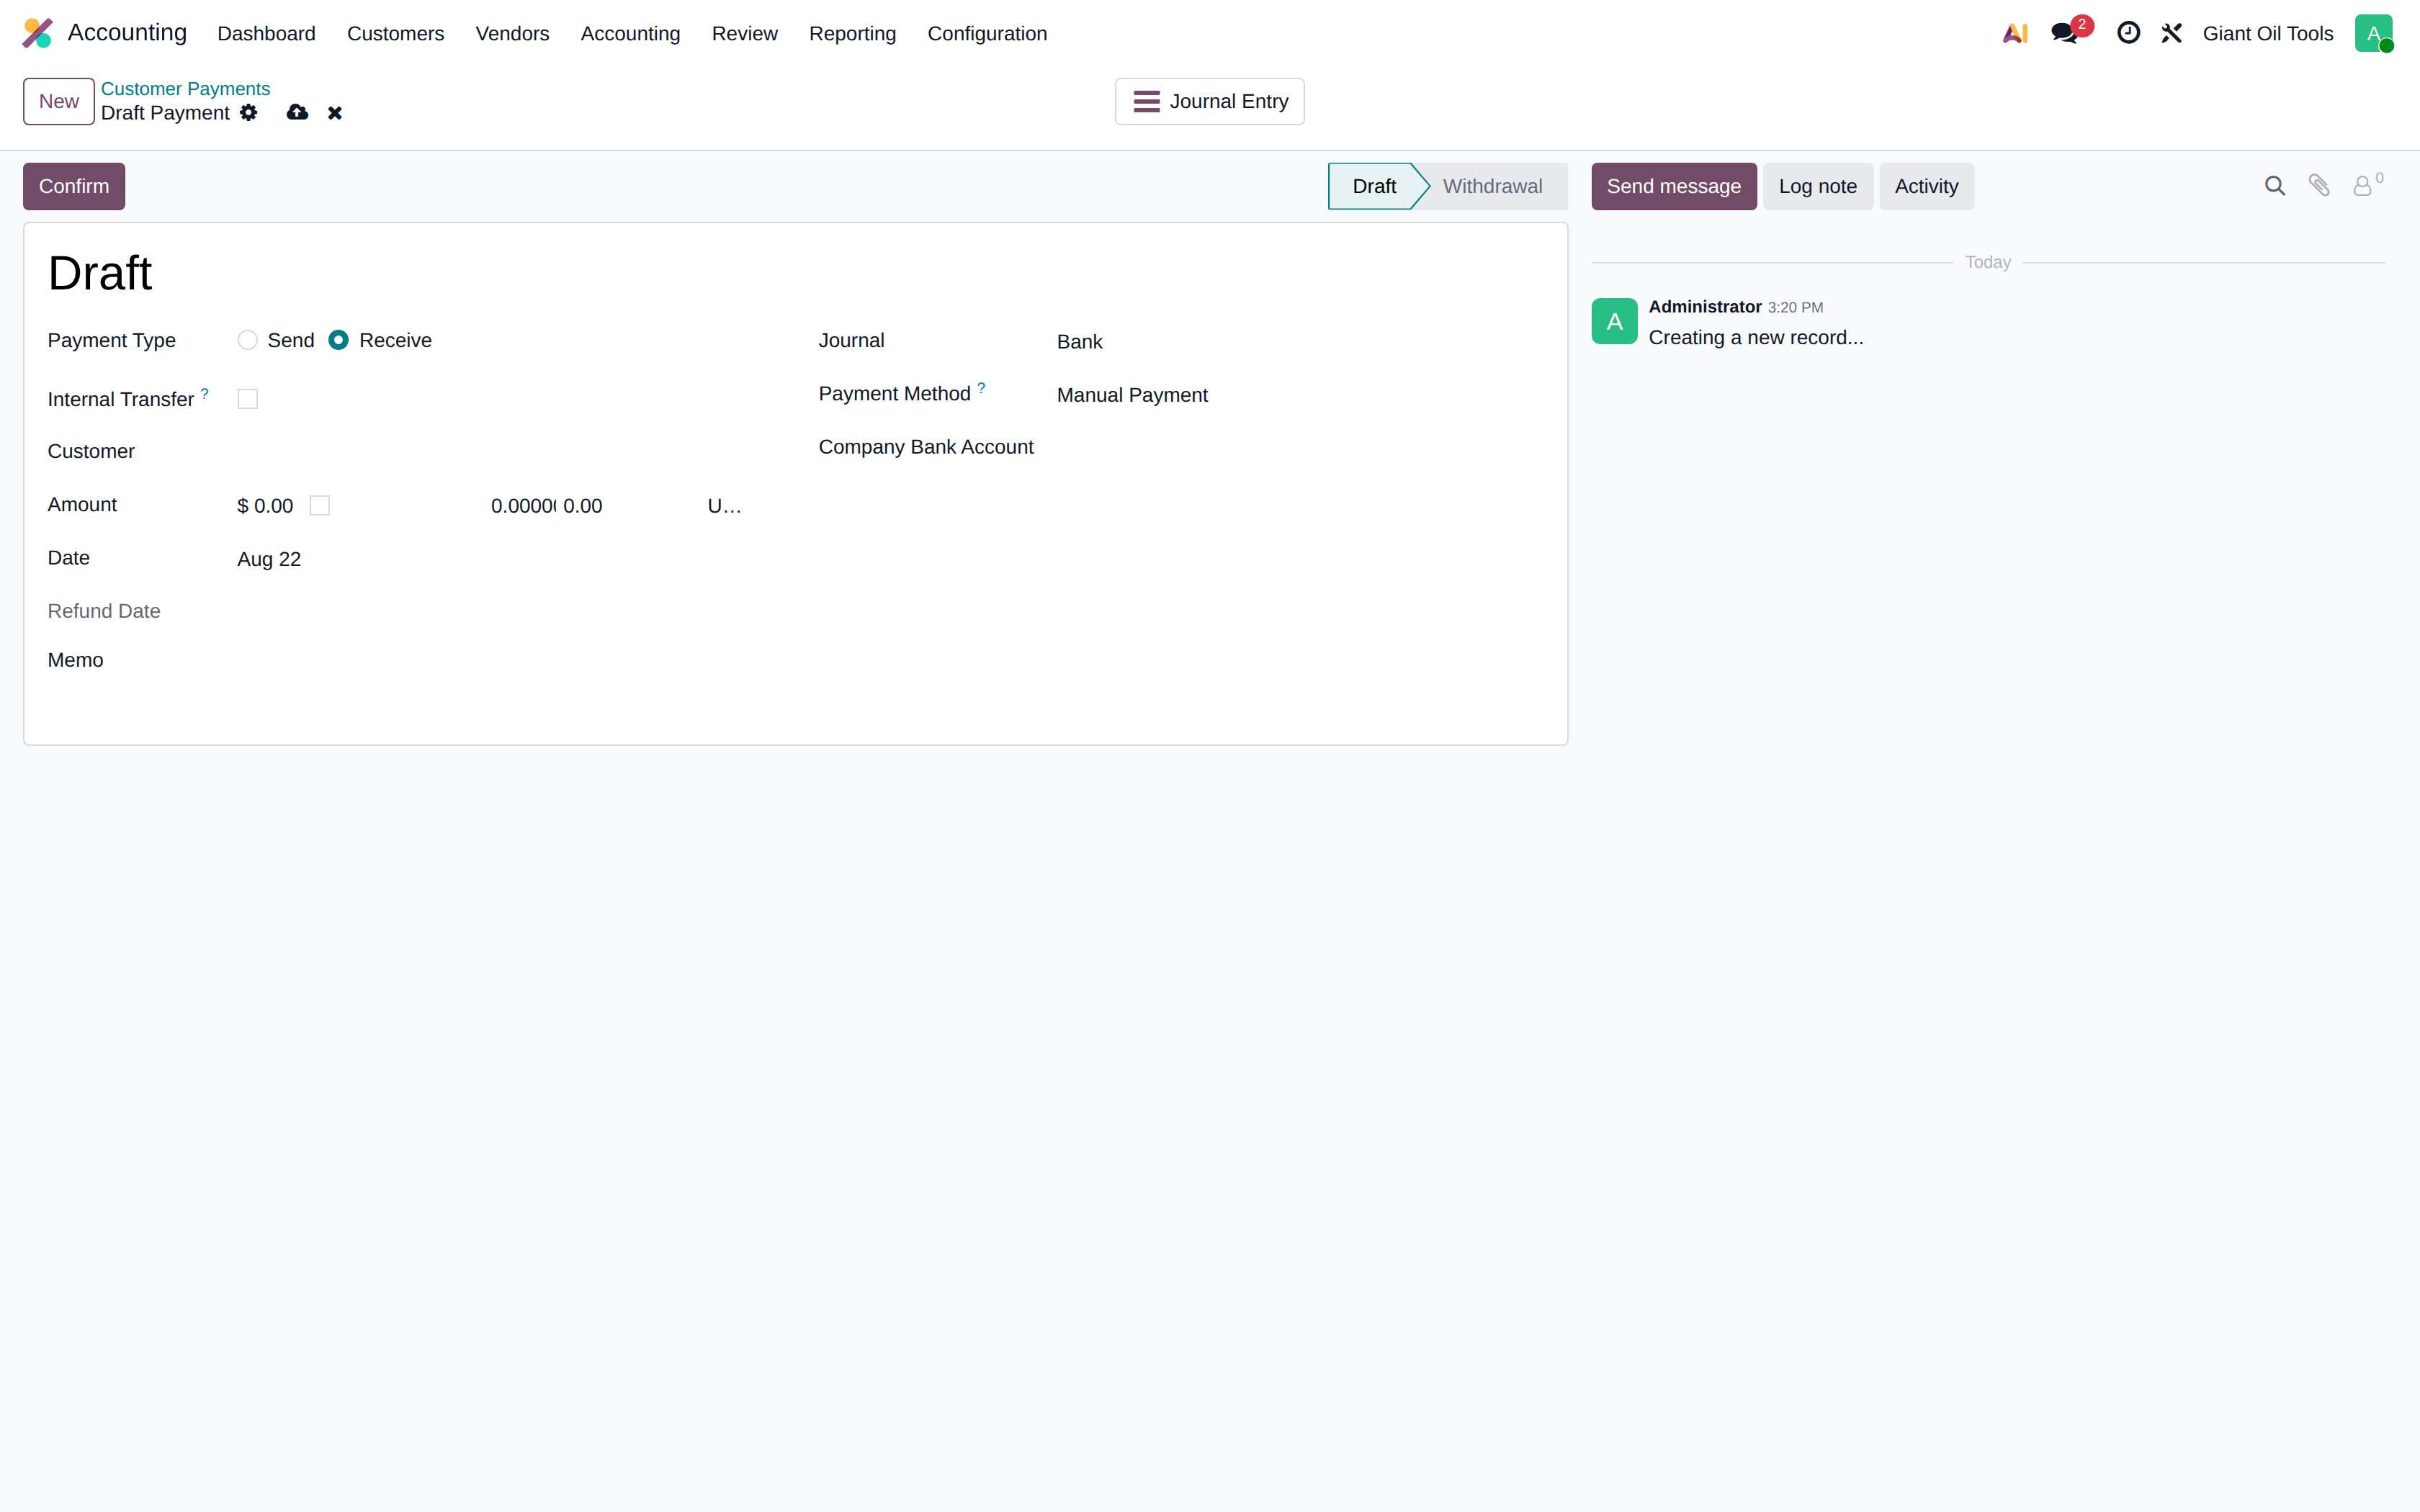
The payment form
Choose Receive or Send, the partner, the amount and currency, the journal (bank or cash) and the payment method. Confirming the payment posts it; it can then be matched against the open invoices of that partner.
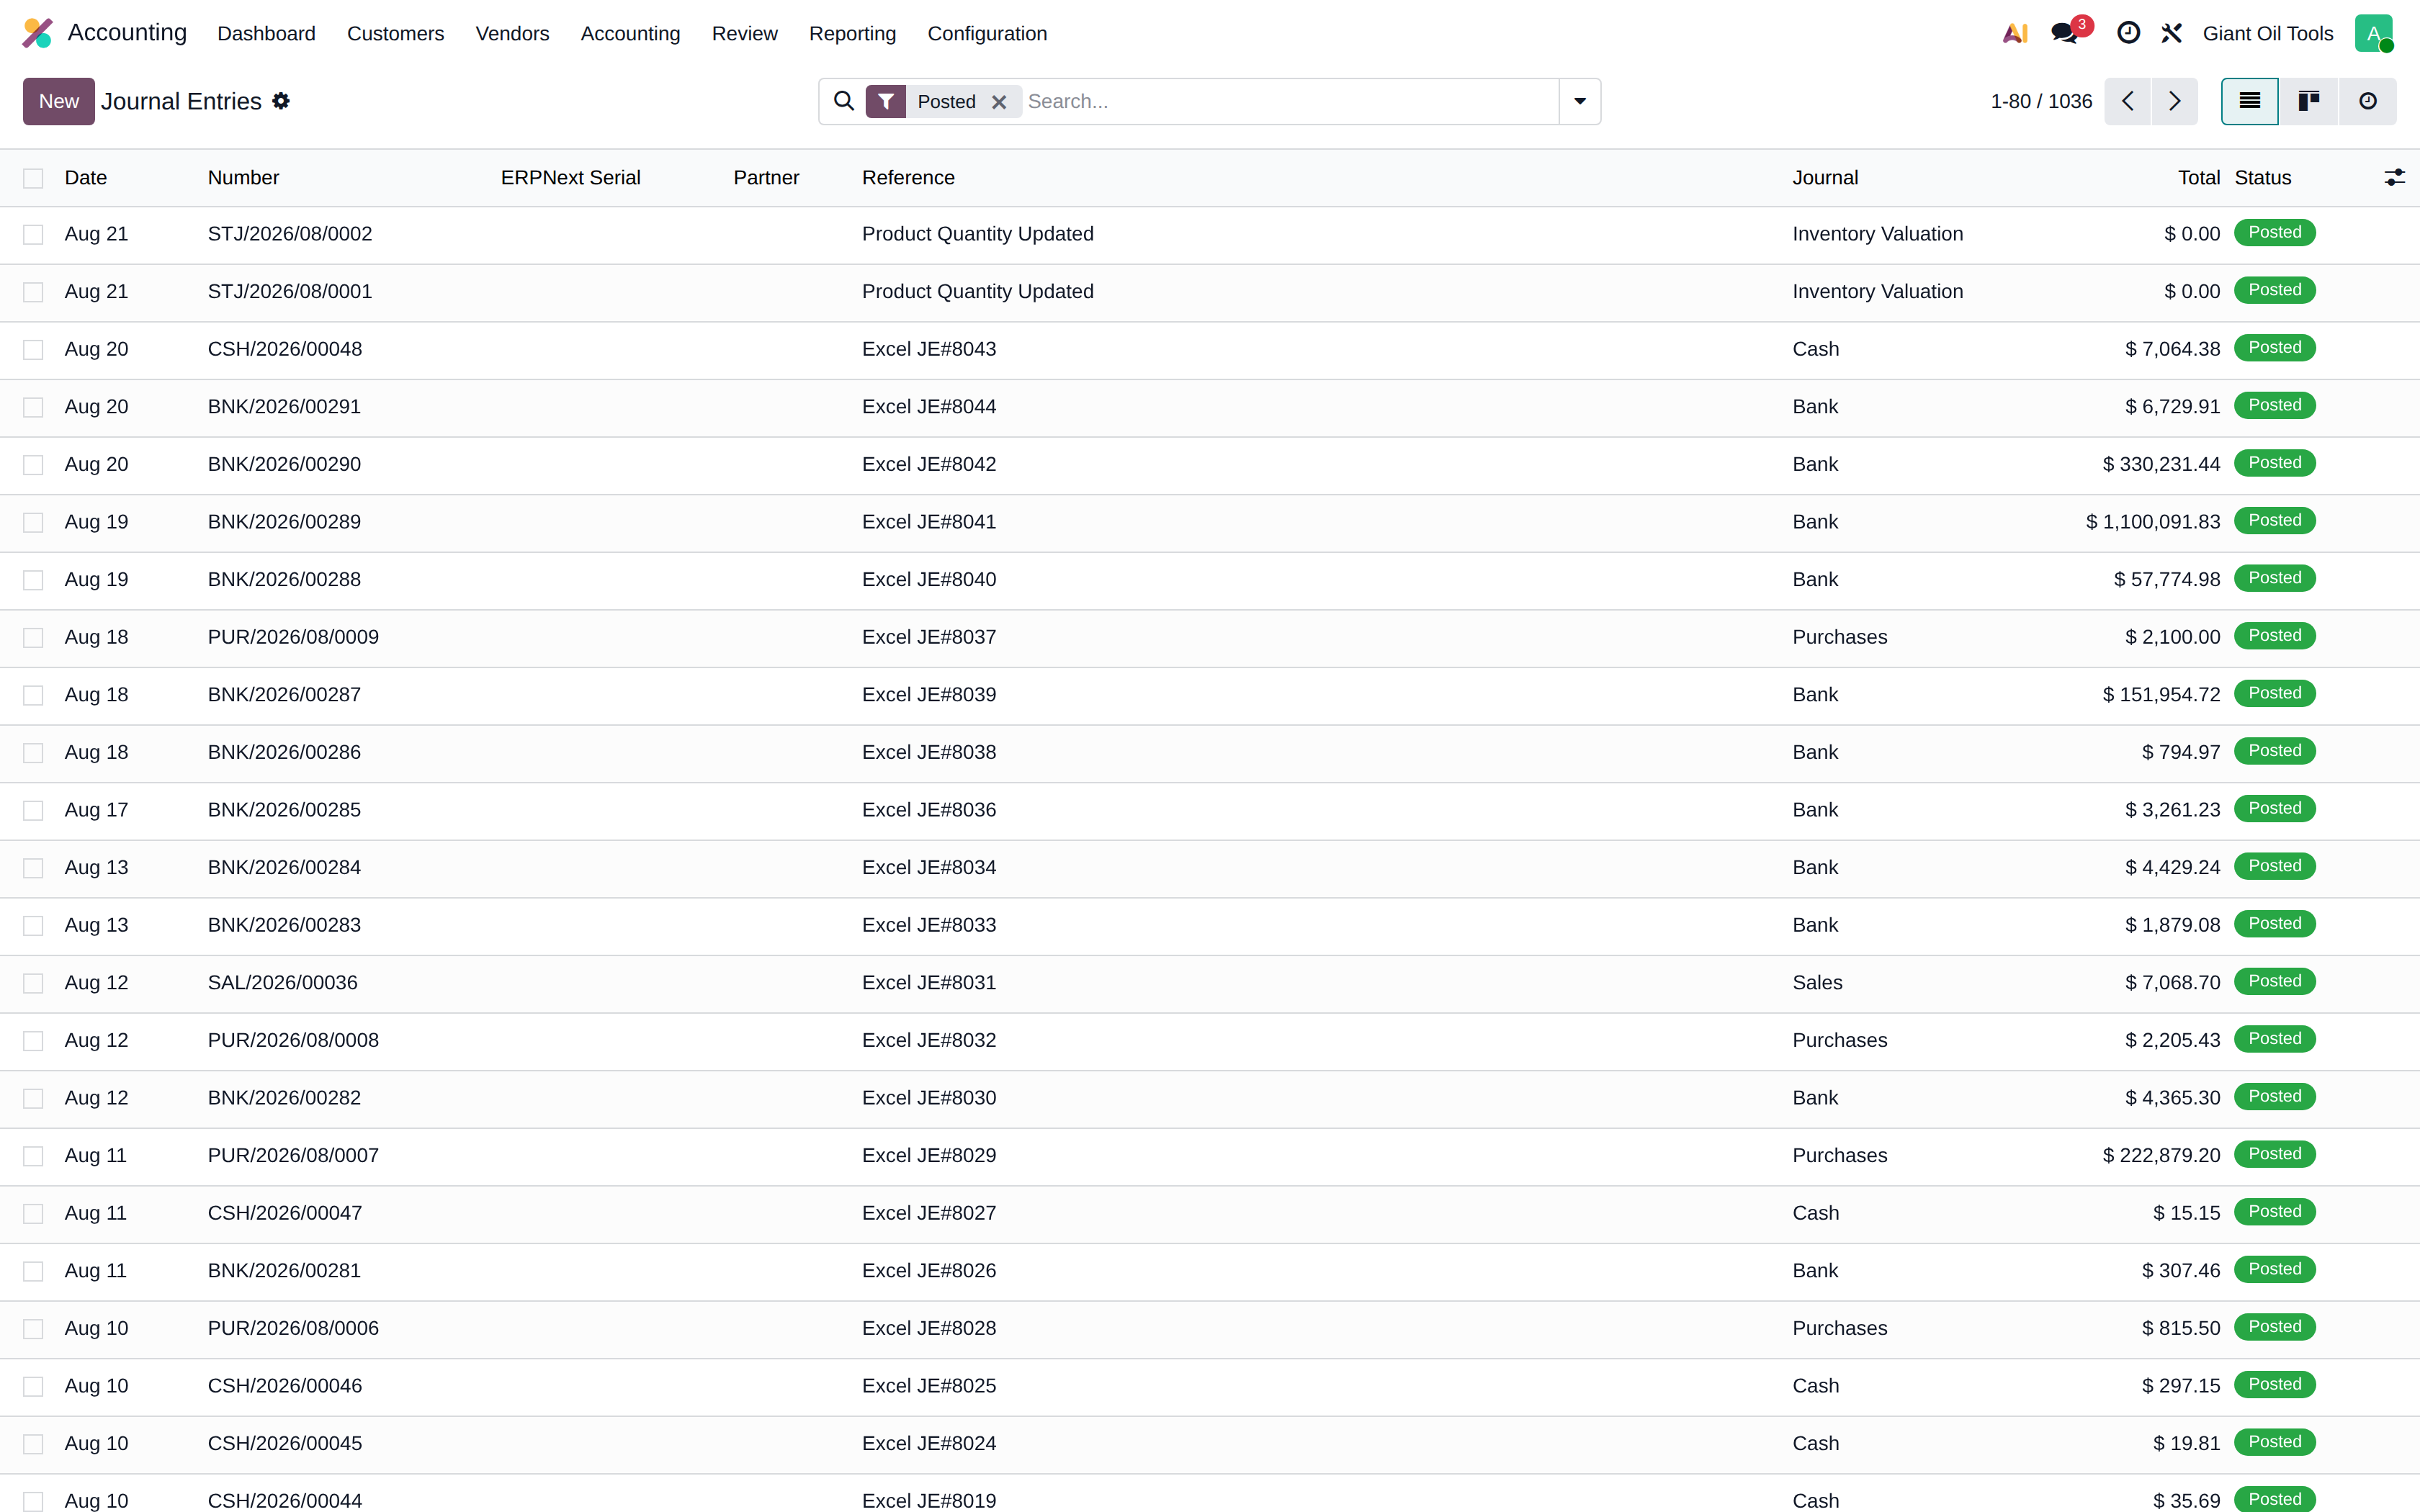
Journal entries
Every accounting document, whether generated by an invoice, a payment, a stock move or entered manually. Manual entries are created here for accruals, provisions and adjustments.
Journal items
The individual debit and credit lines behind those entries. This is the working screen for reconciliation and for investigating an account balance line by line.
Chart of accounts
All 234 accounts with their code, name, type and current balance. The account type governs how the account behaves in the financial statements and whether it can be reconciled.
The inventory family is worth knowing: 11510 in transit, 11515 consignment at customer, 11520 local, 11530 free zone hold the value of the goods, while 11525 Stock Interim (GR-IR & COGS clearing) is the counterpart of every stock movement — it is credited when goods are received and cleared when the vendor bill is posted, so its balance is what has been received but not yet invoiced. 11540 Inventory Adj. holds differences awaiting review.
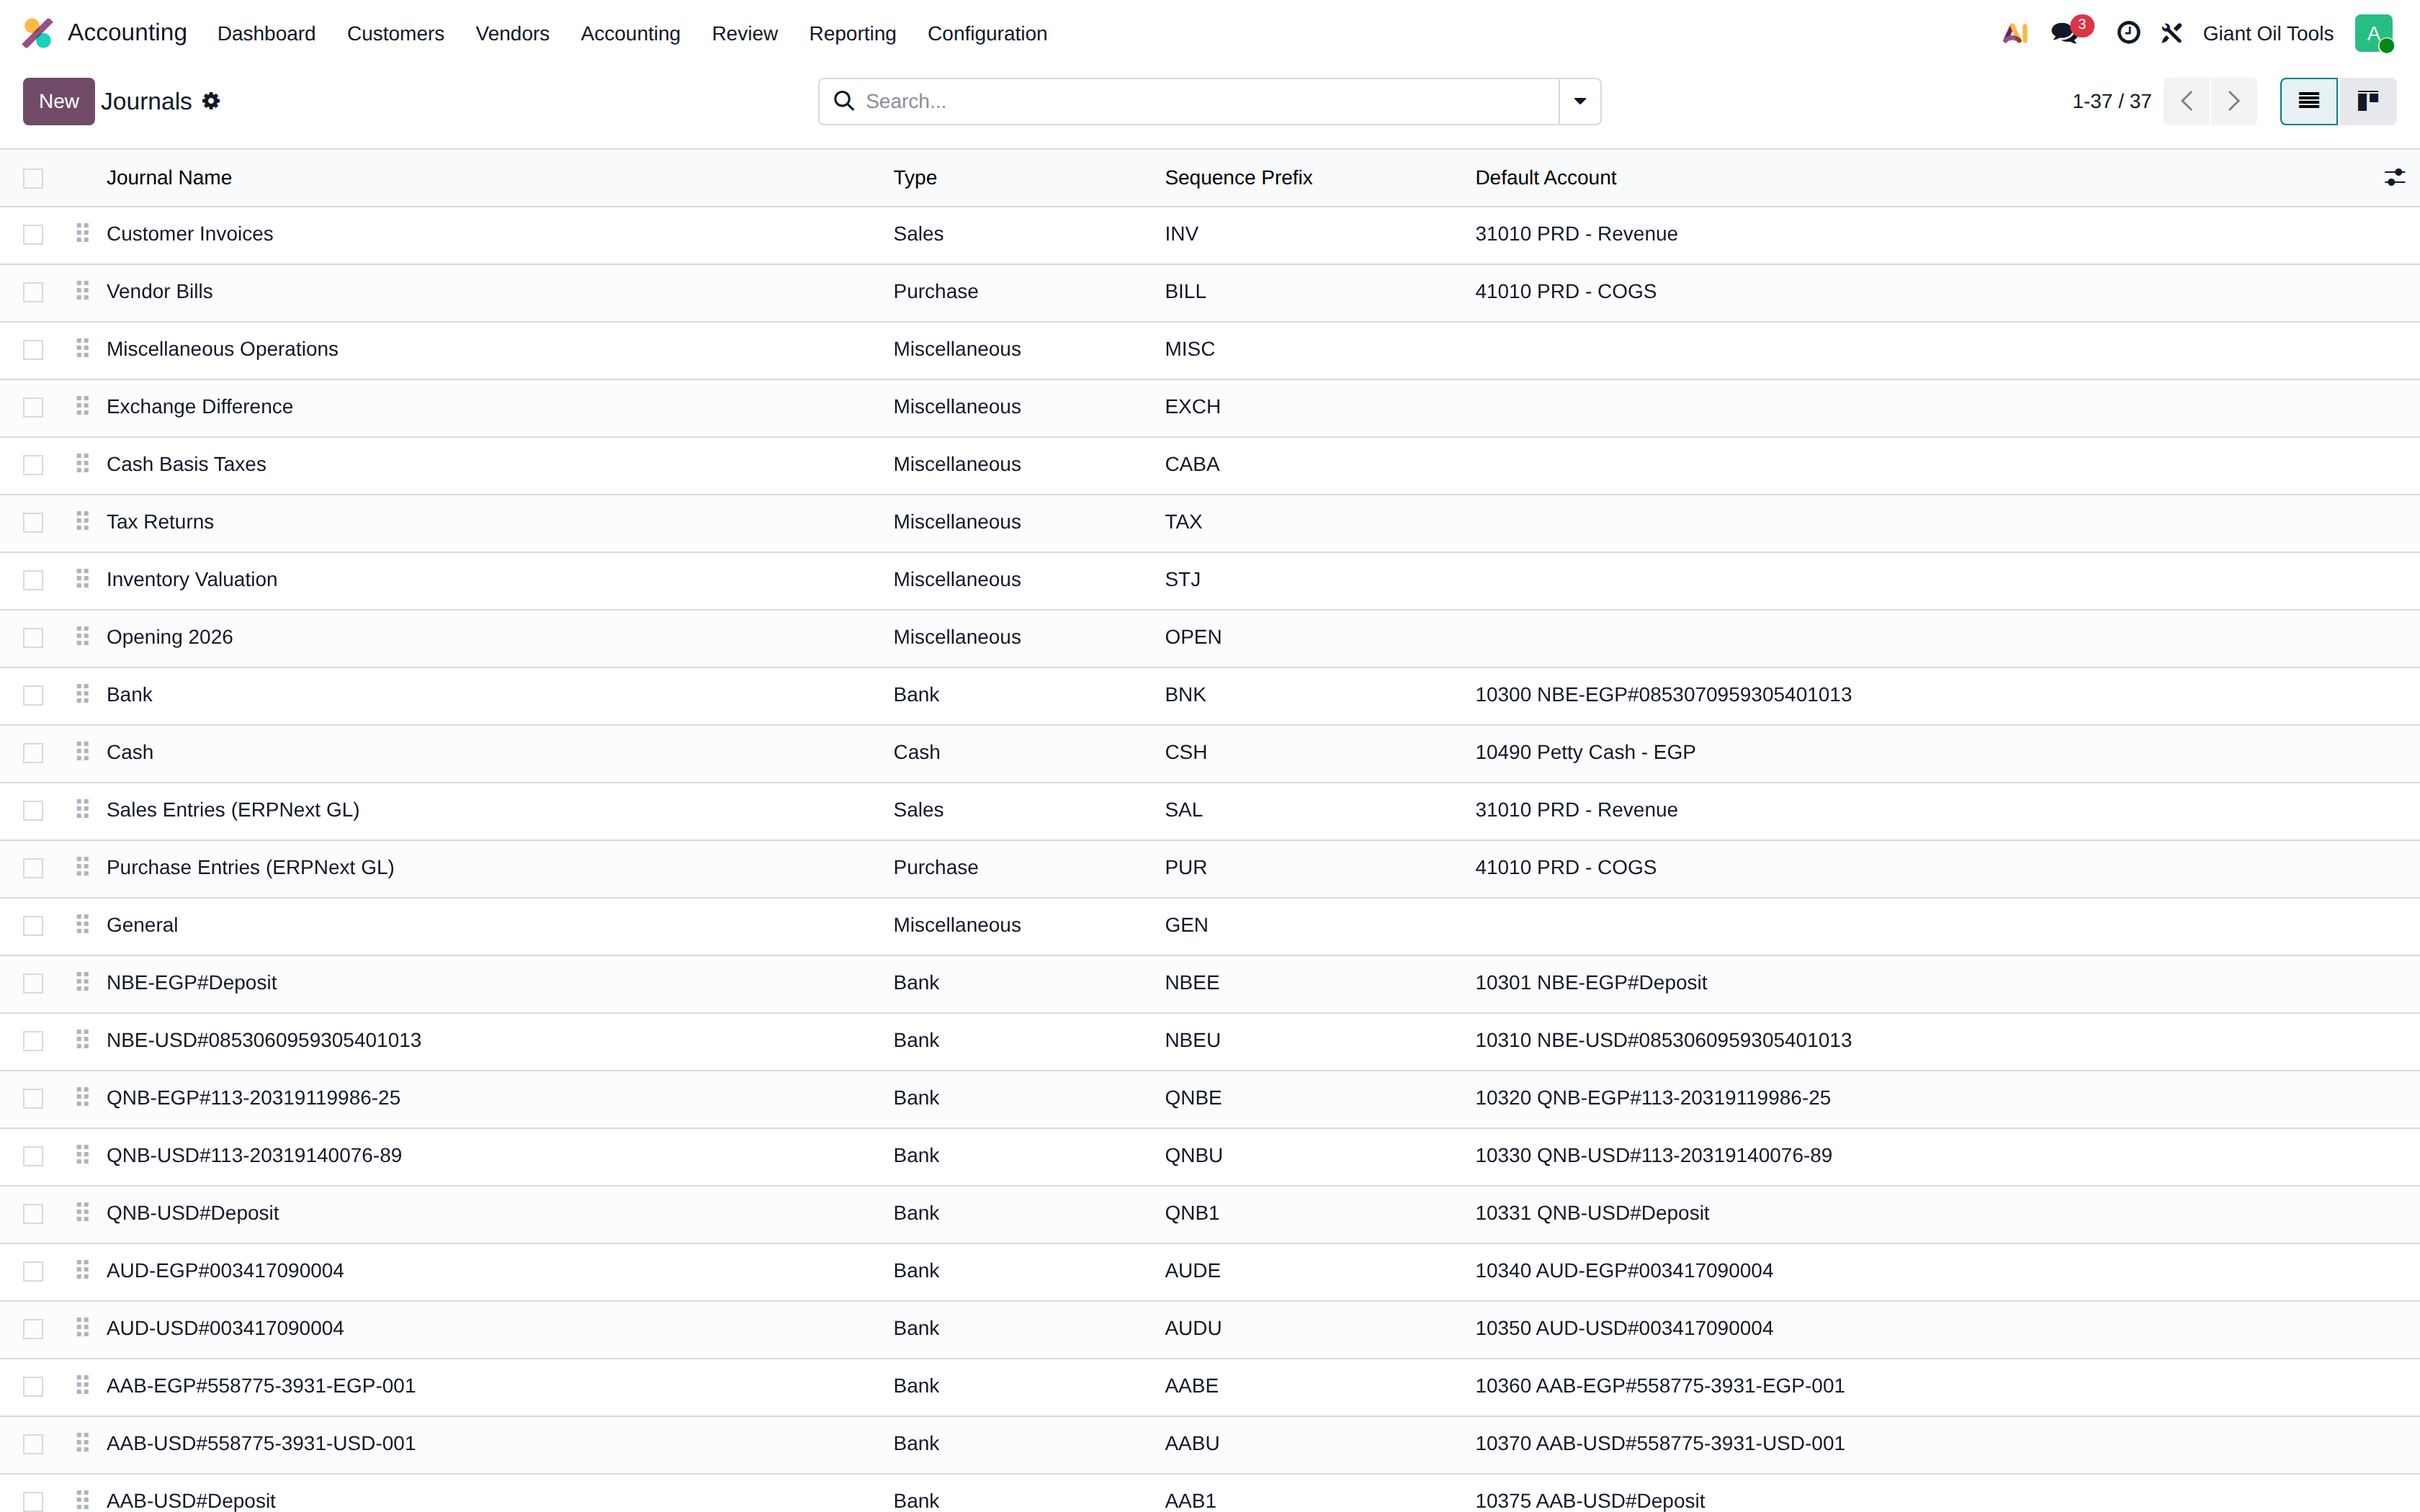
Journals
The books that entries are posted into, each with its own sequence and default accounts: • Customer Invoices (INV) and Vendor Bills (BILL) — the invoice documents. • Sales Entries and Purchase Entries (ERPNext GL) — the general-ledger entries carried over from the previous system. • Bank and Cash journals — one per account, 26 in total. • Inventory Valuation (STJ) — every stock movement. • Opening 2026, Asset Depreciation and other general journals.
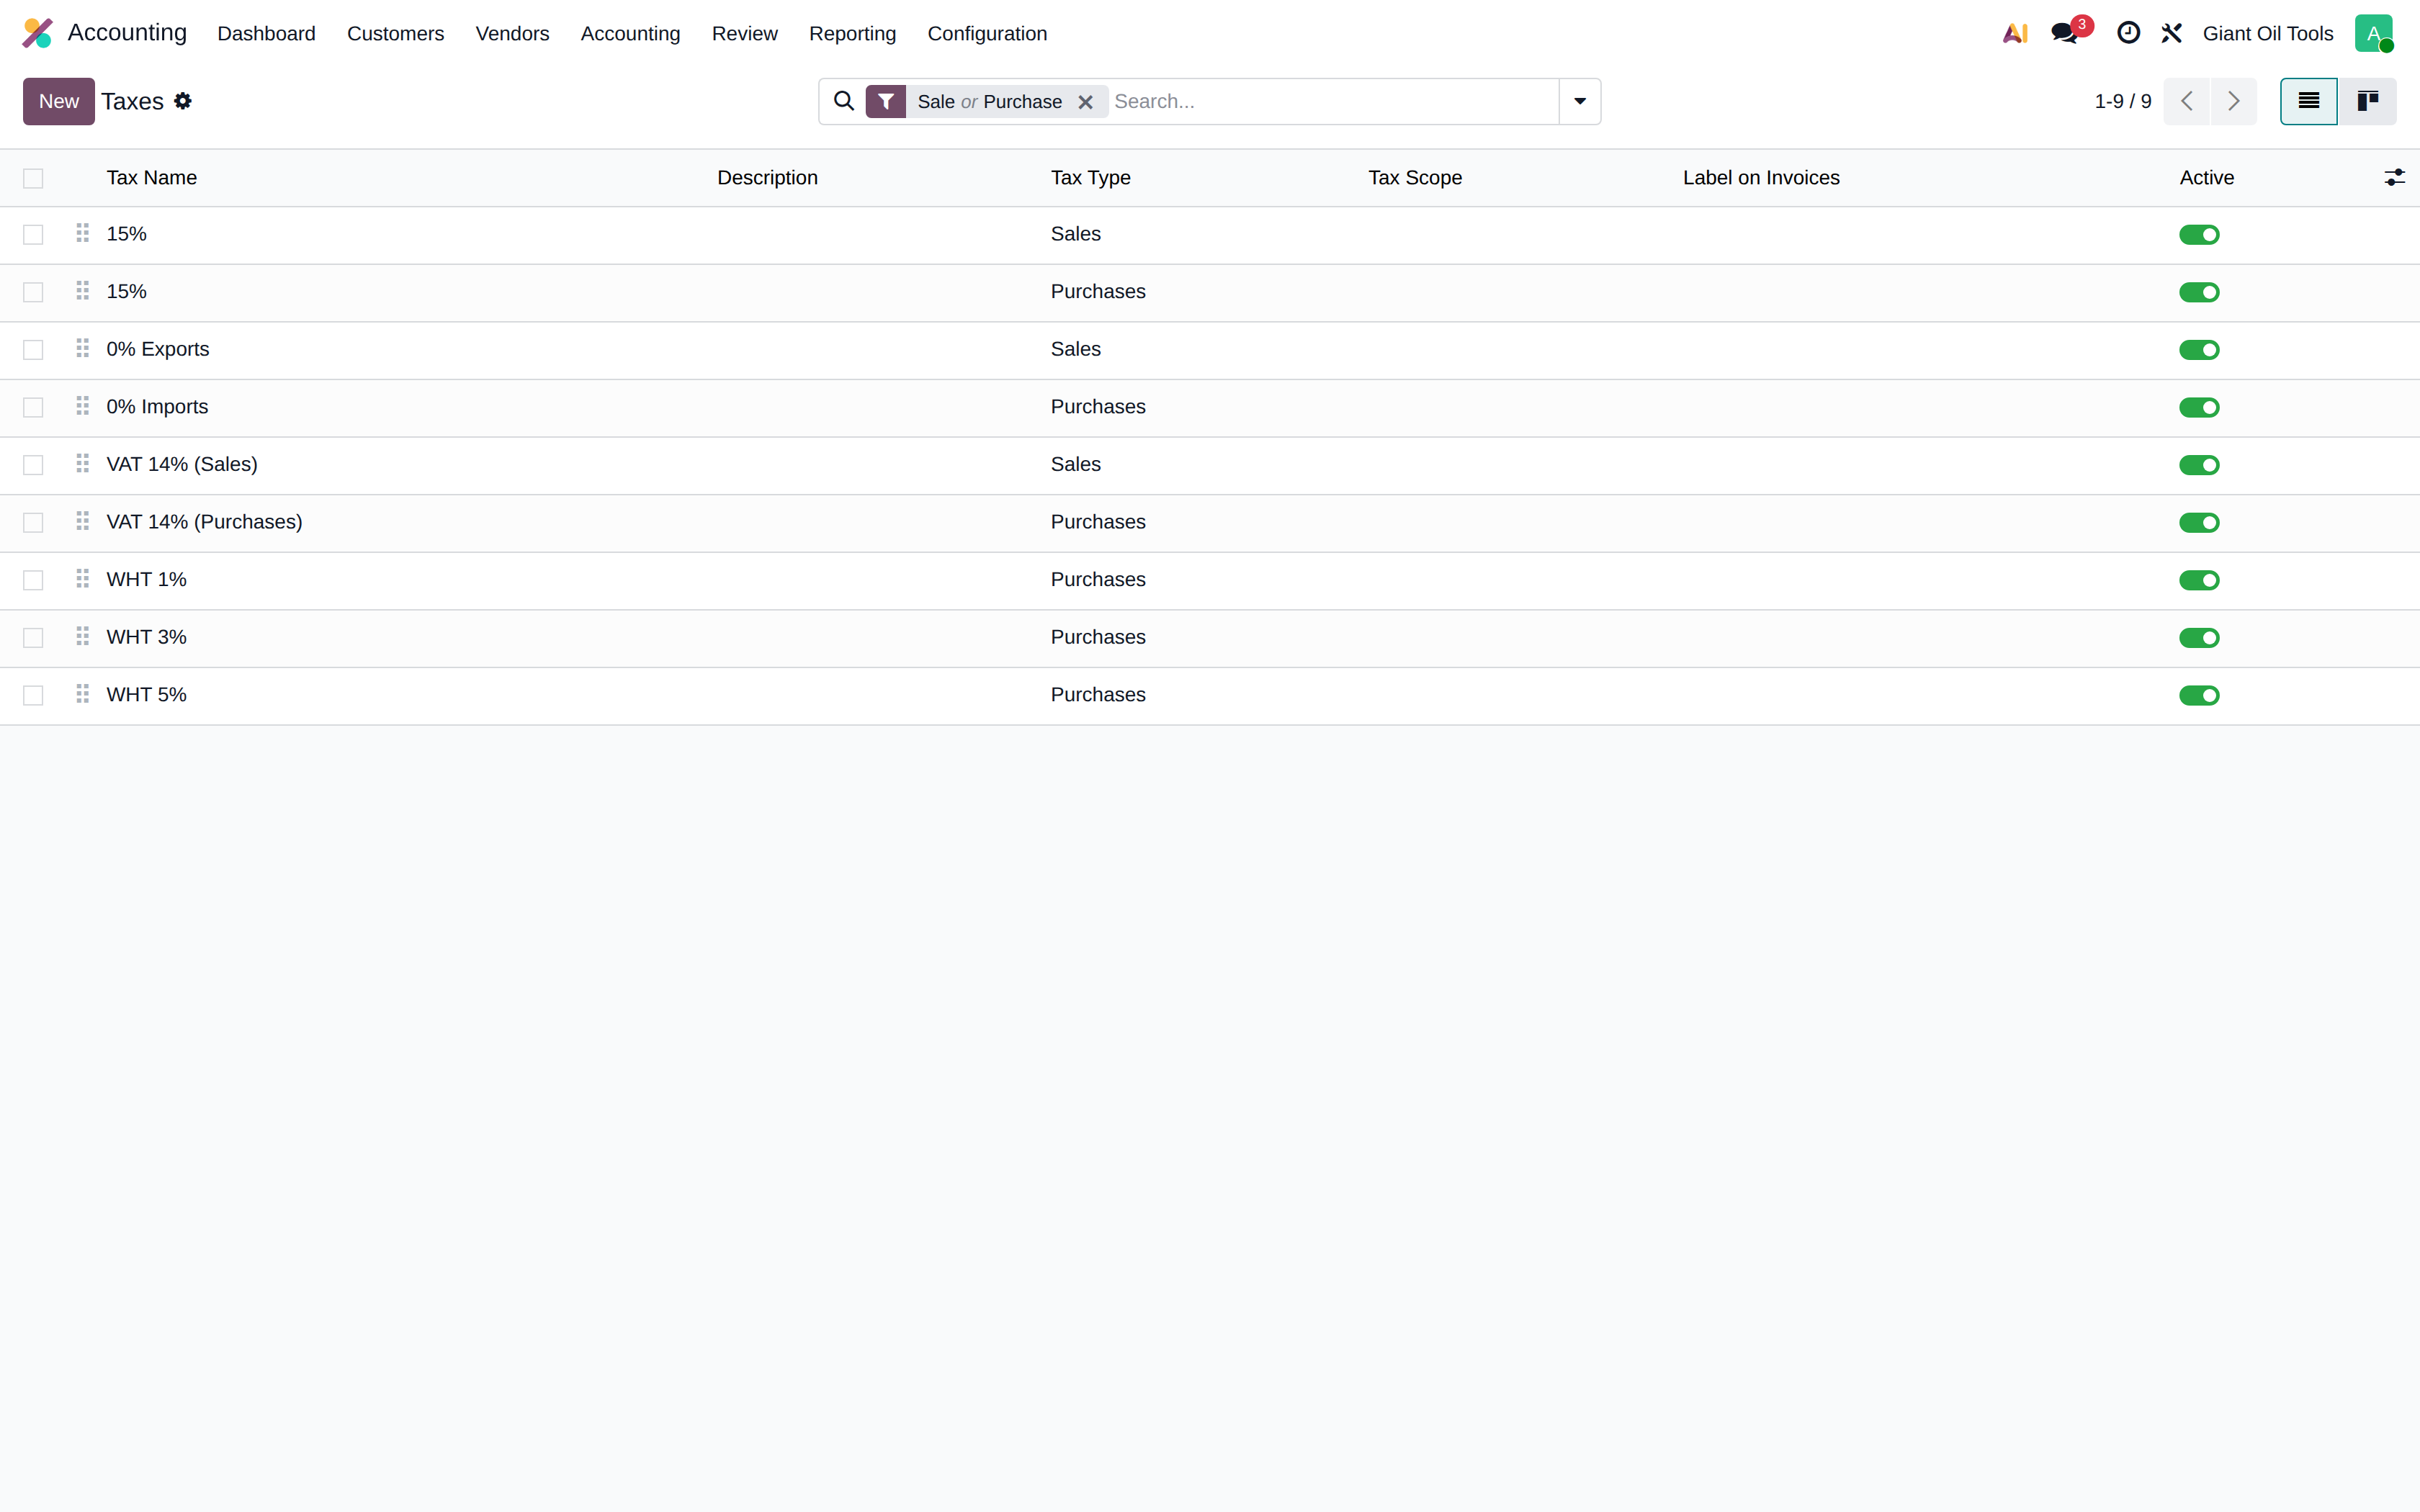
Taxes
Tax definitions with their rate, computation basis, the accounts they post to and their mapping into the tax report.
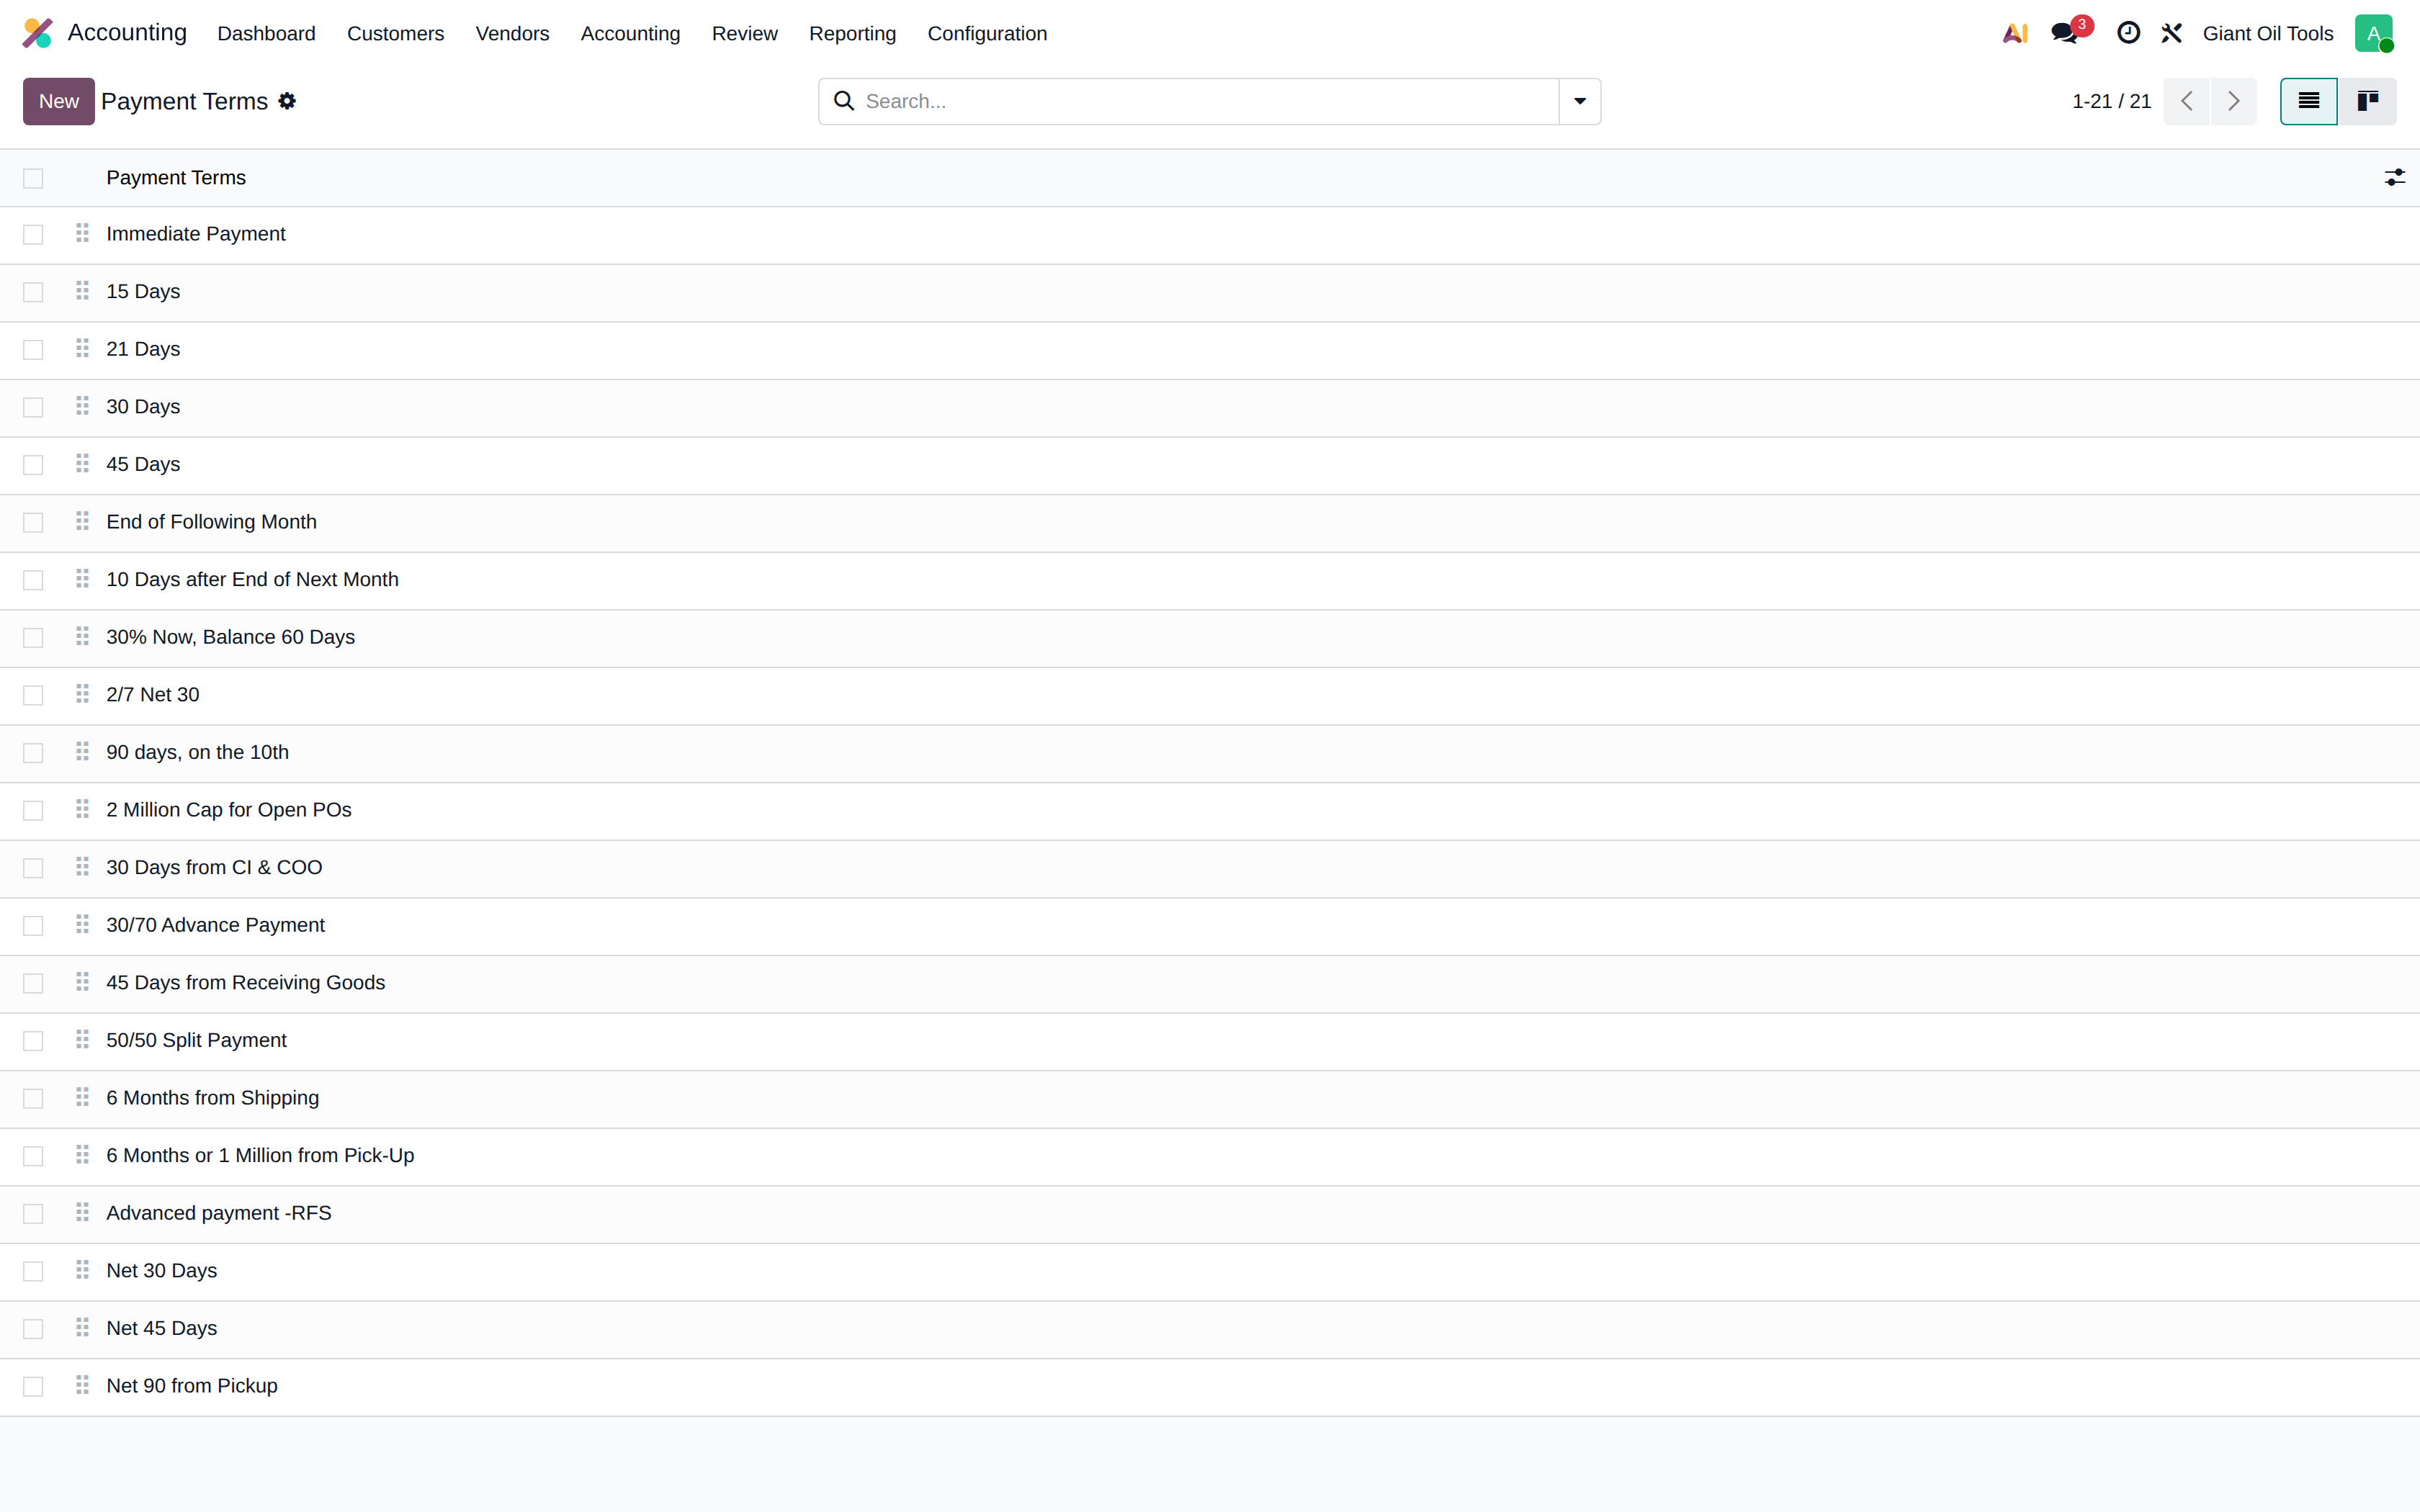
Payment terms
Rules that translate an invoice date into one or more due dates — 30 days, end of month, or instalments.
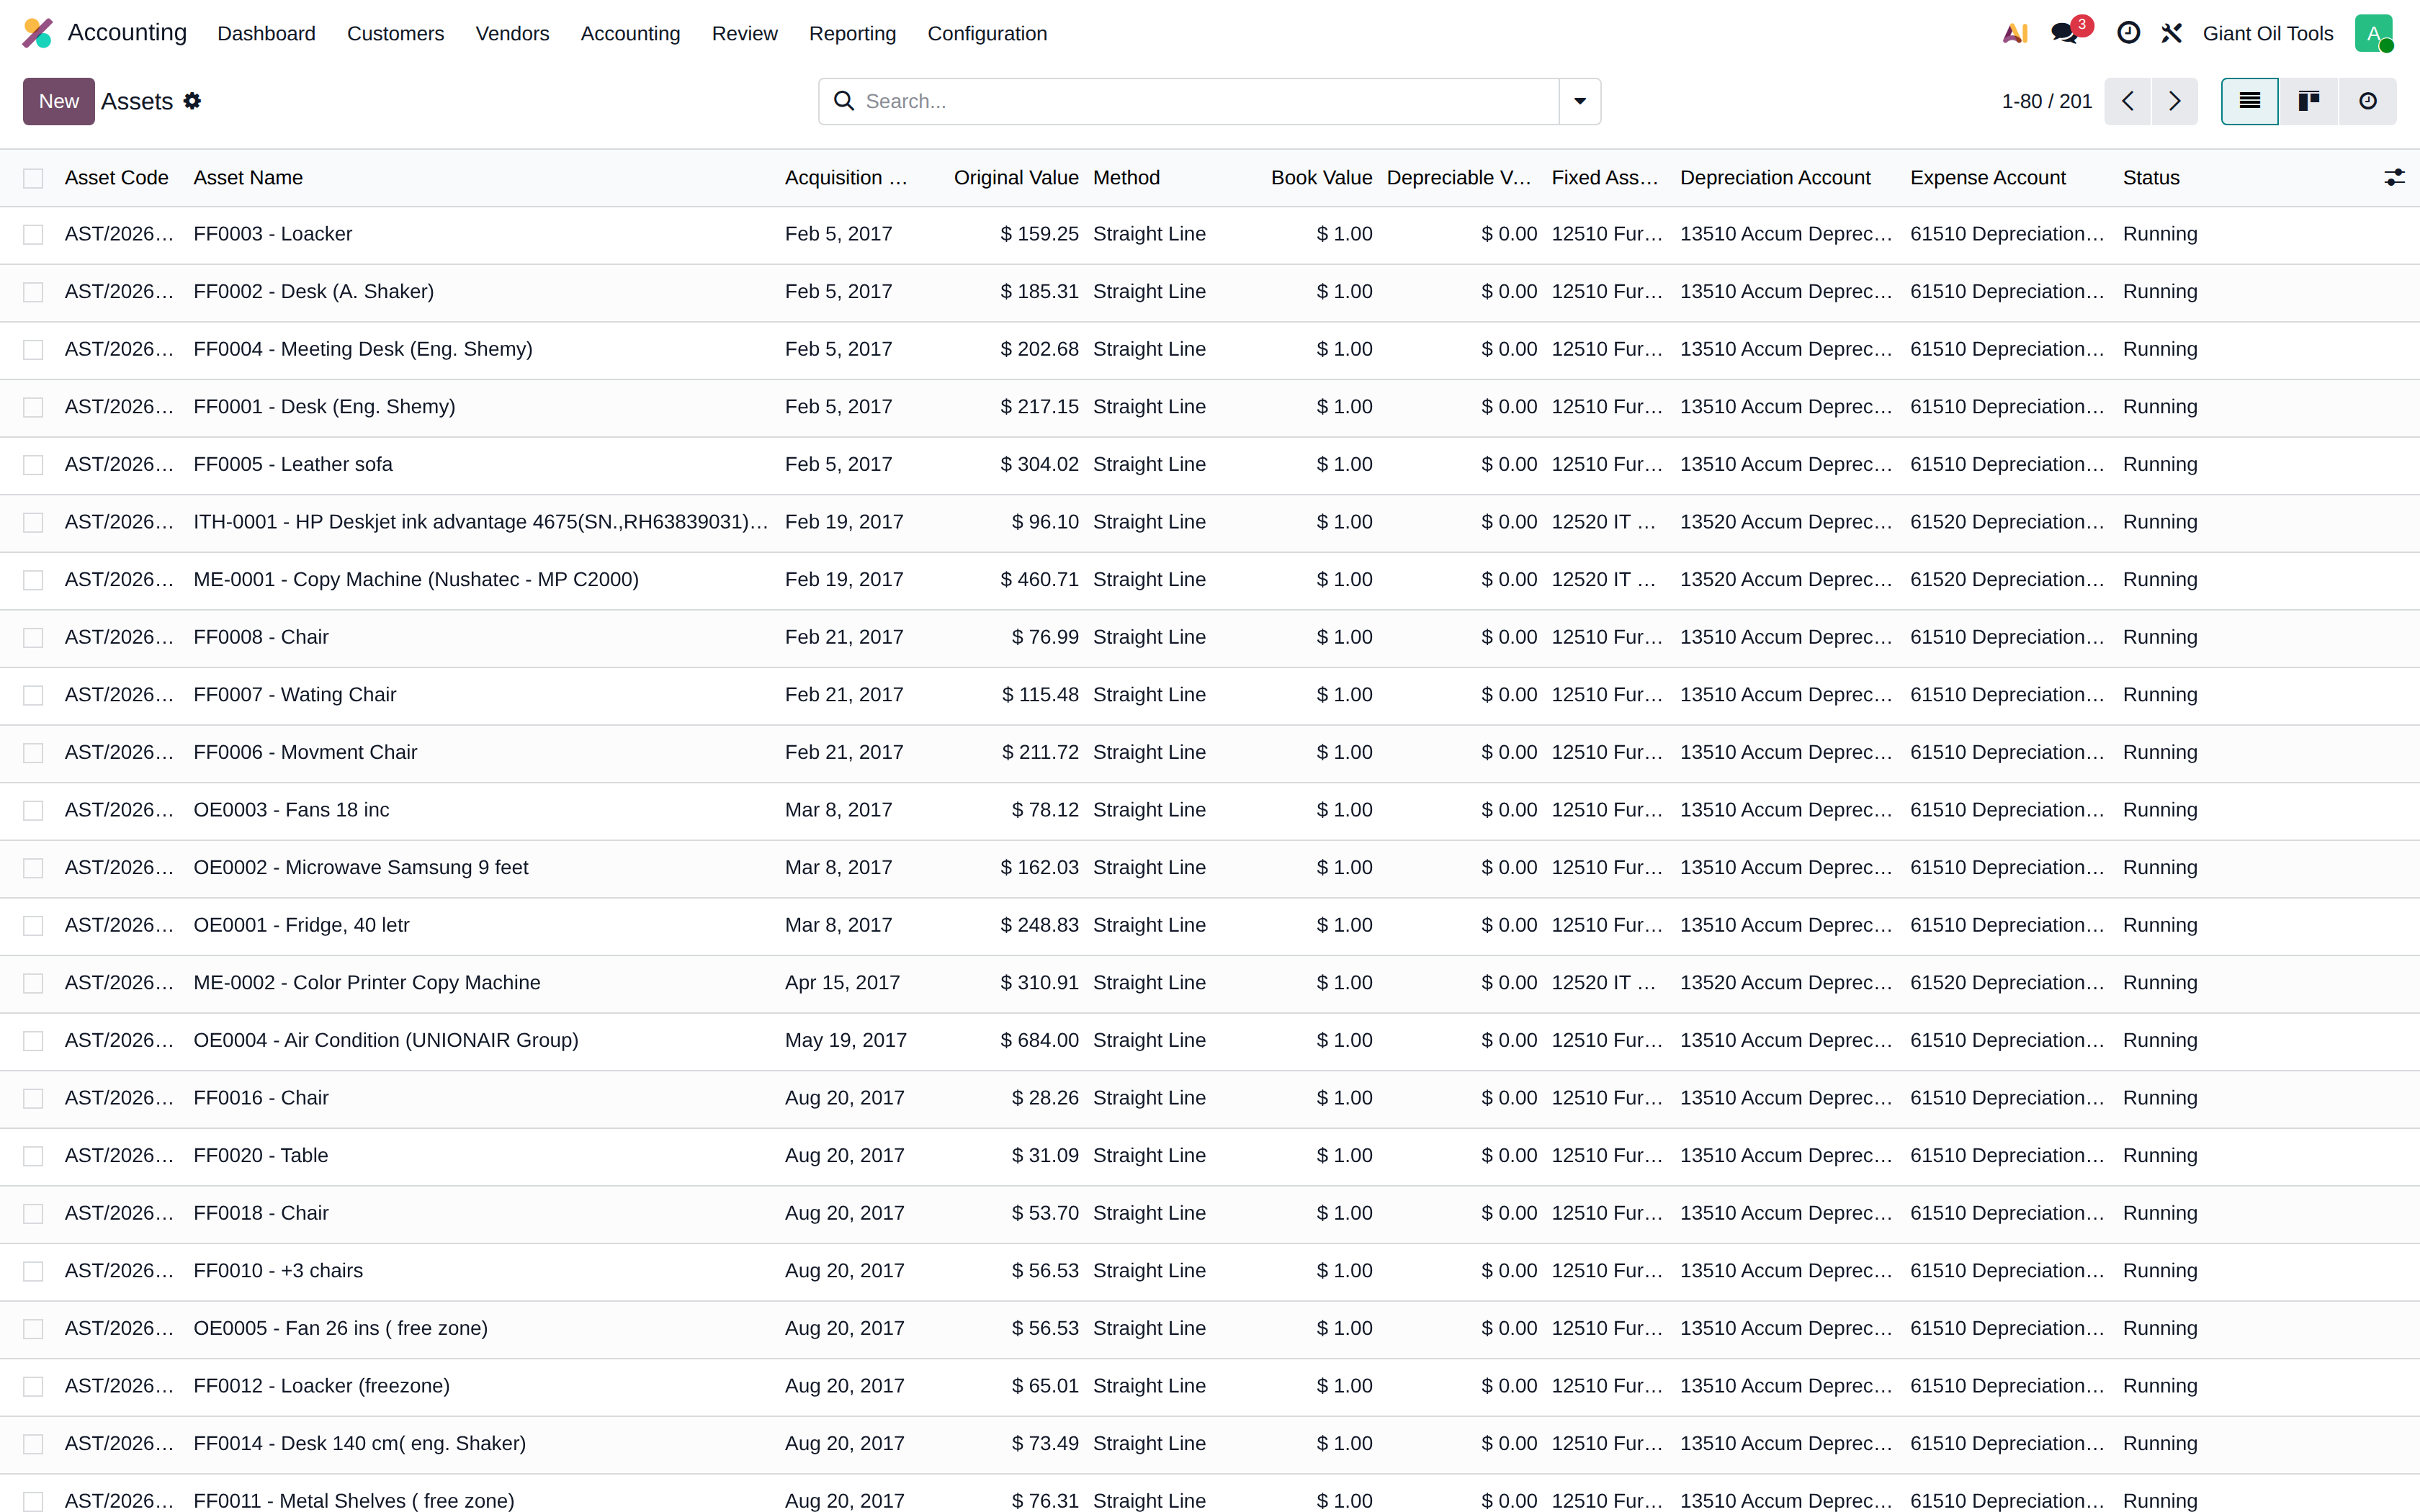
Fixed assets
The fixed asset register: 201 assets with their acquisition value, depreciation method and accumulated depreciation.
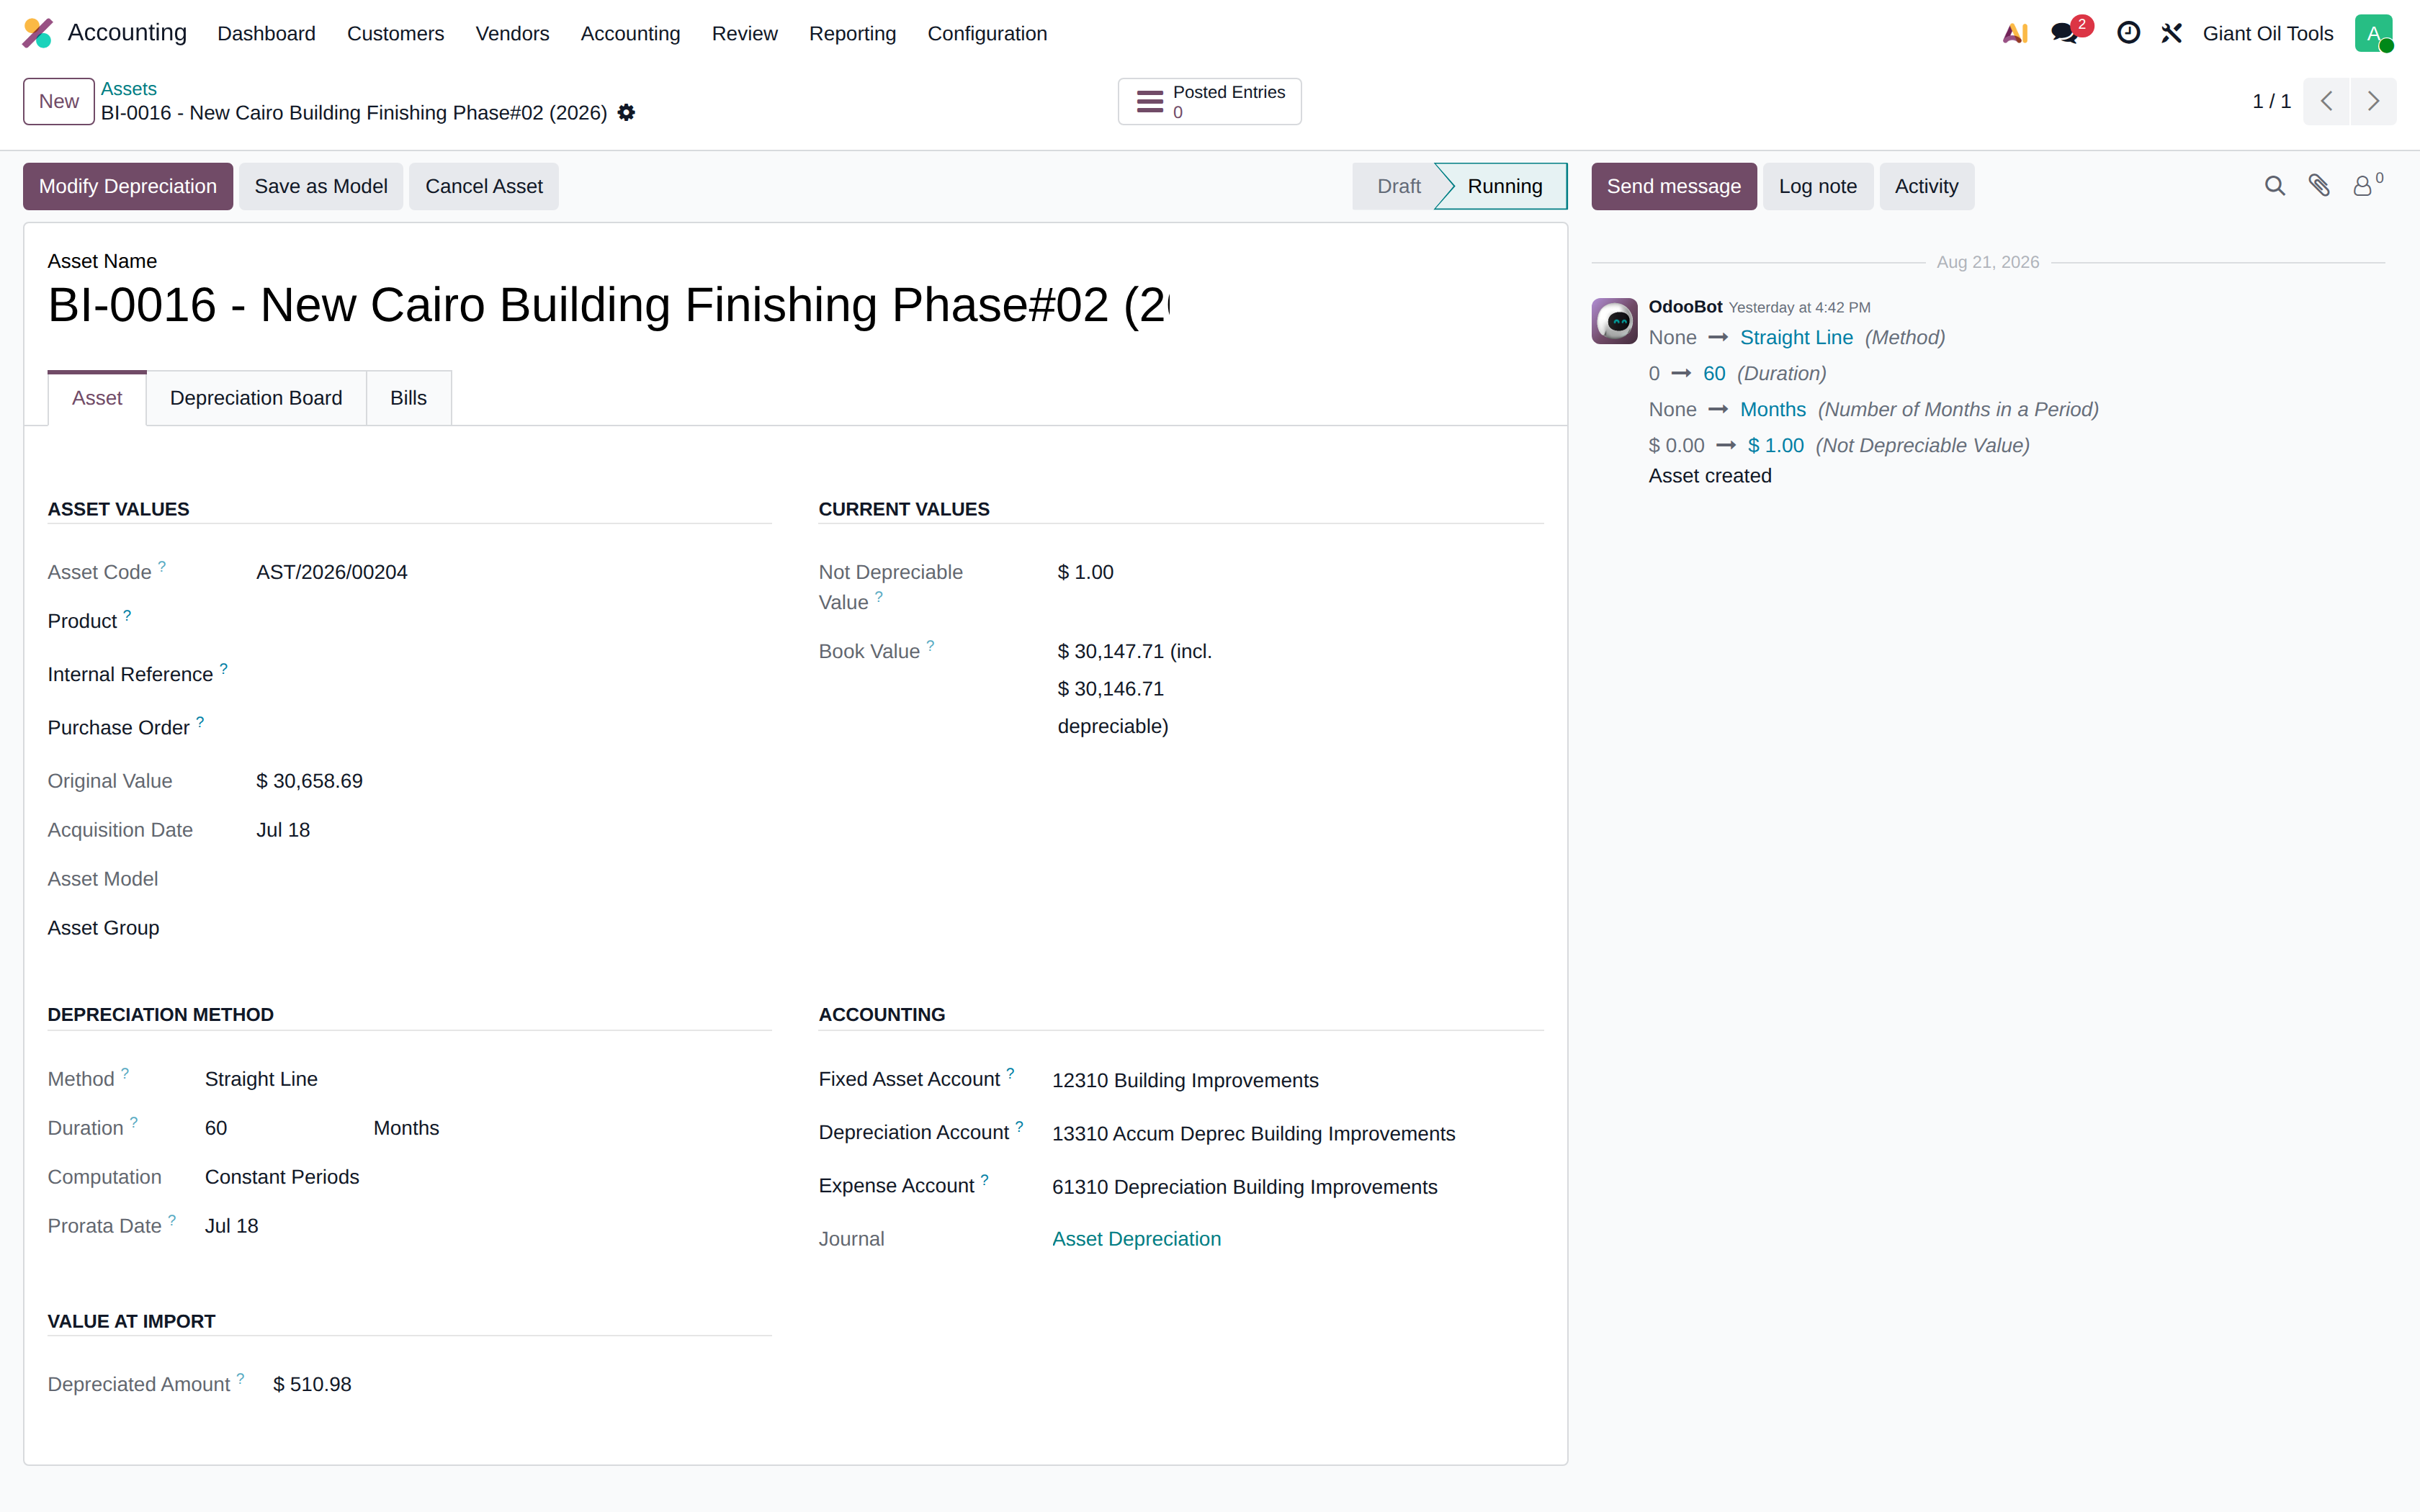
The fixed asset form
The asset carries its original value, salvage value, method (straight line or declining), duration and the accounts used for the asset, the depreciation expense and the accumulated depreciation.
The Depreciation Board lists every past and future instalment; posted lines are linked to their journal entries. Assets can also be sold or disposed of from this form, which computes the gain or loss automatically.
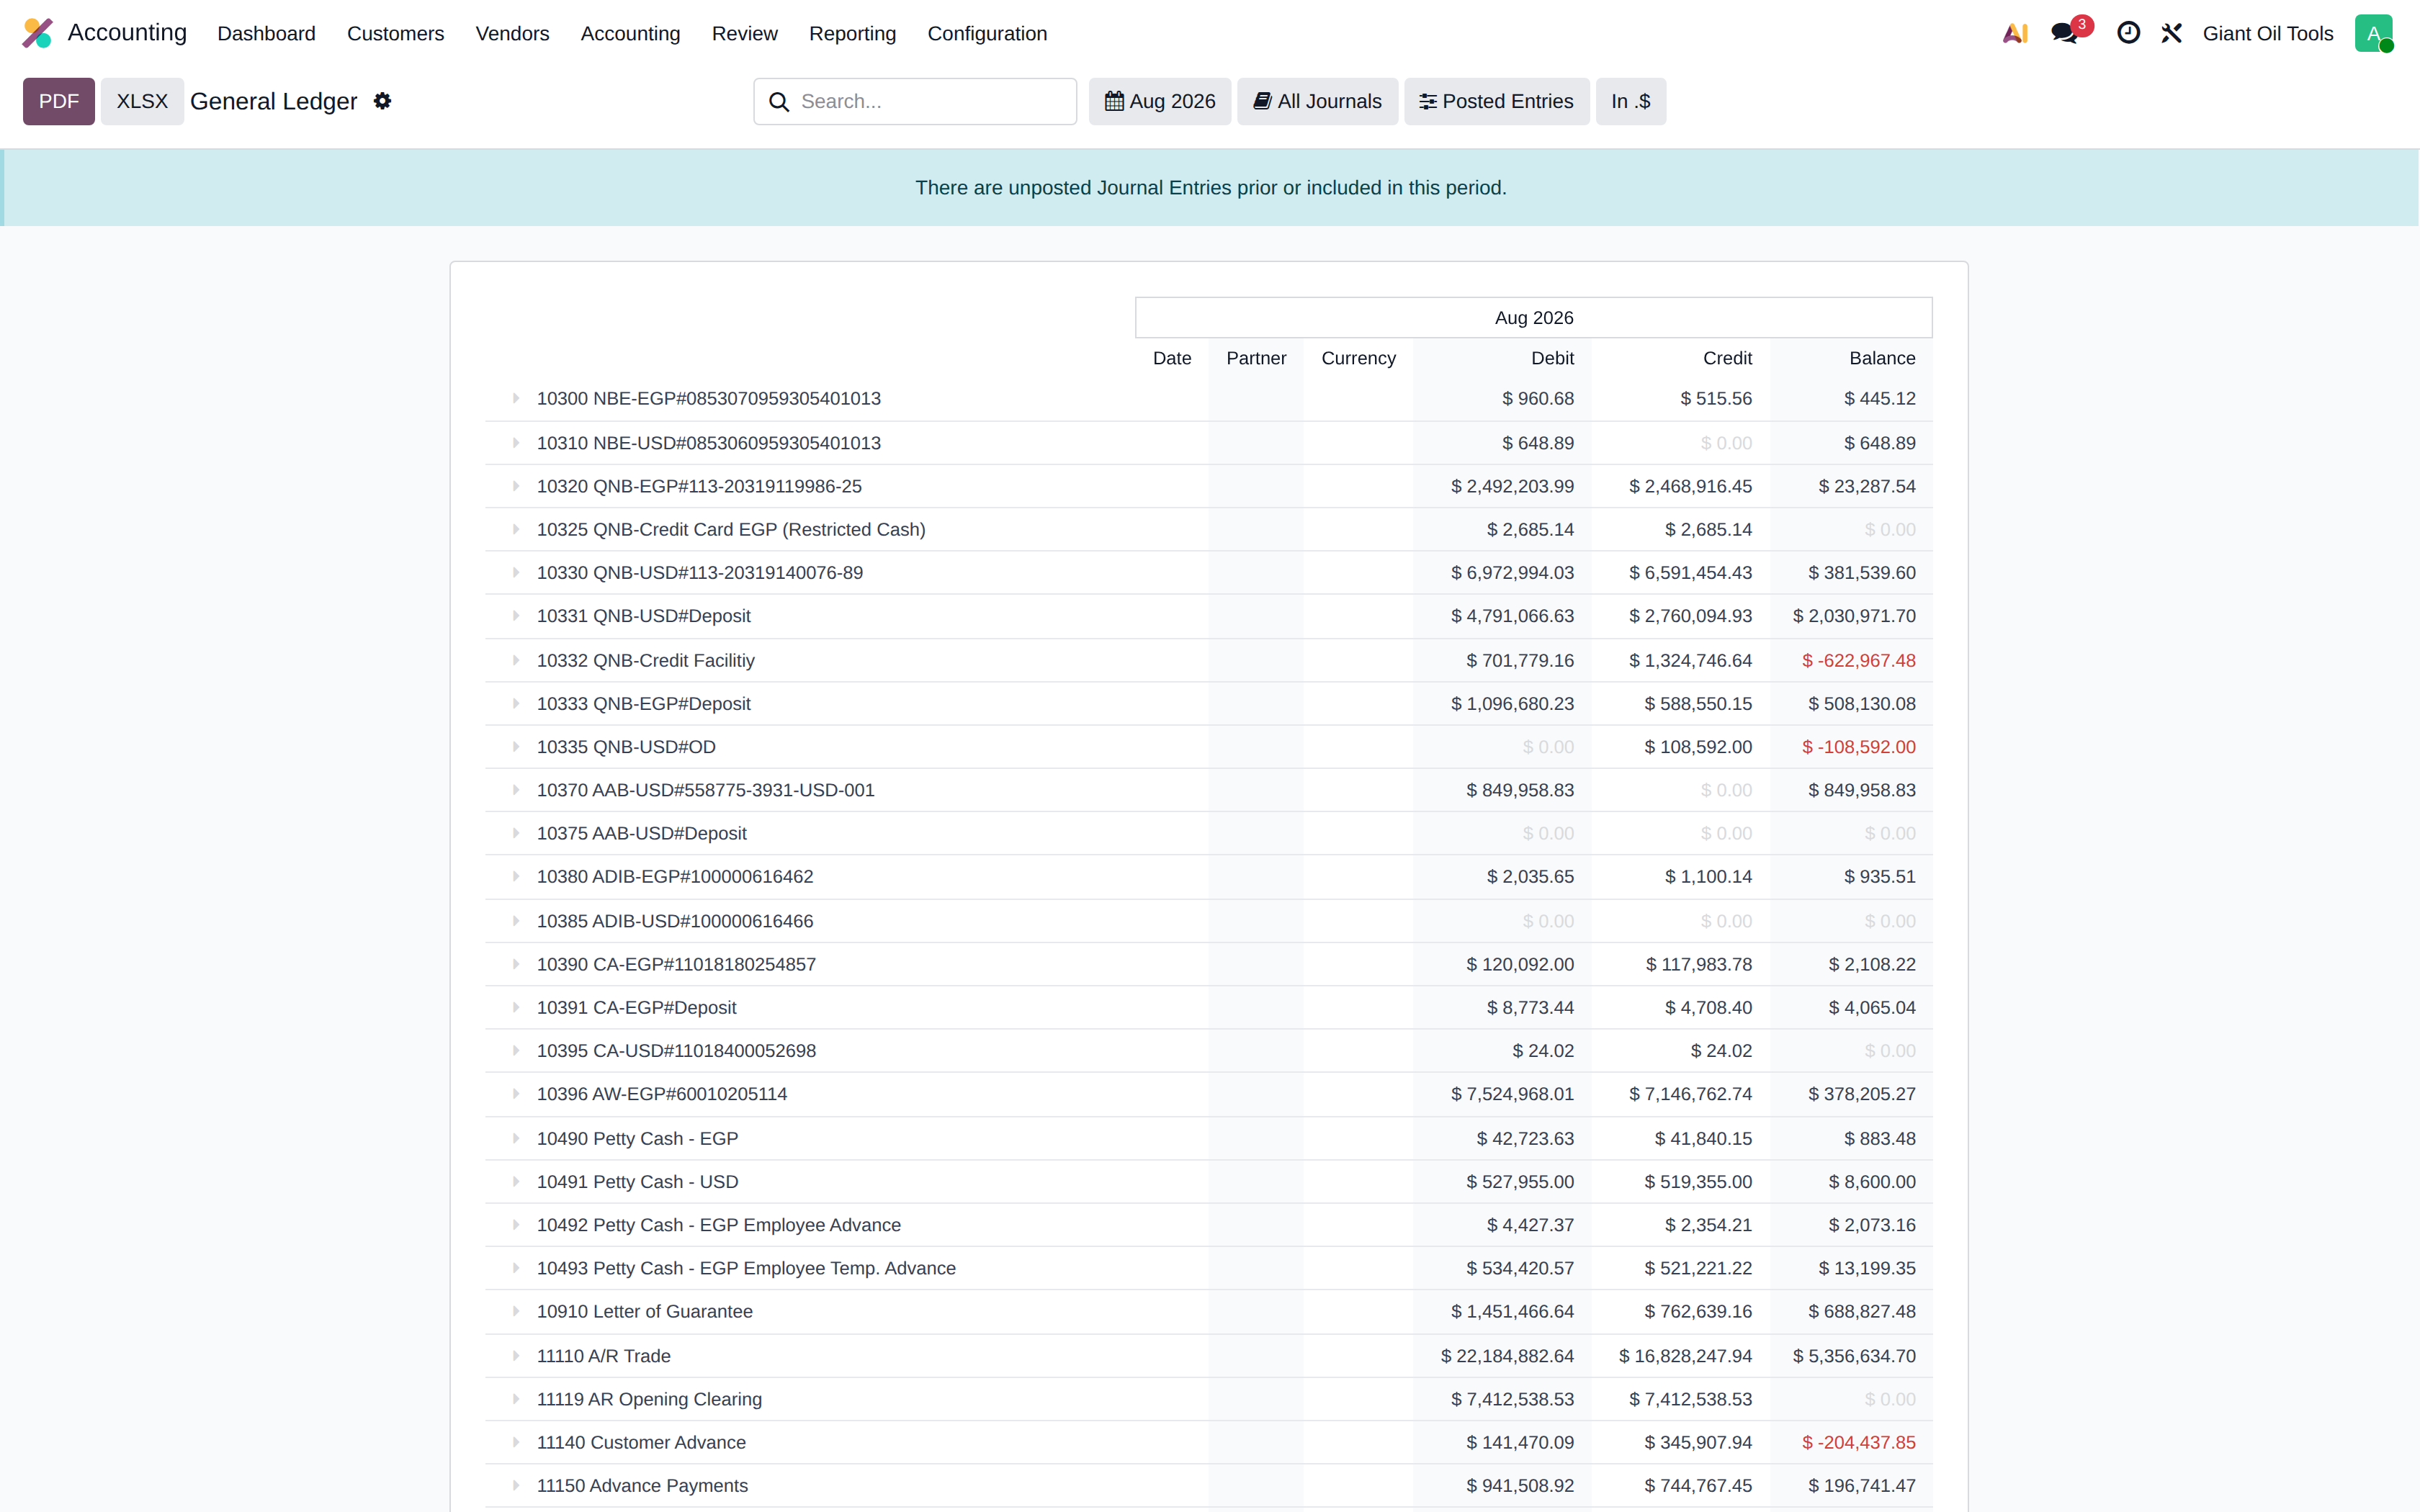
General ledger
All movements by account for the selected period, expandable to the individual entries. Use the date selector at the top to change the period and the comparison, and the export buttons for Excel or PDF.
Trial balance
Opening balance, period movement and closing balance for every account — the standard starting point for the monthly close.
Balance sheet
Assets, liabilities and equity at a chosen date, with comparison to a prior period. Every figure drills down to the accounts and then to the entries behind it.
Profit and loss
Income and expenses for the period, with comparatives.
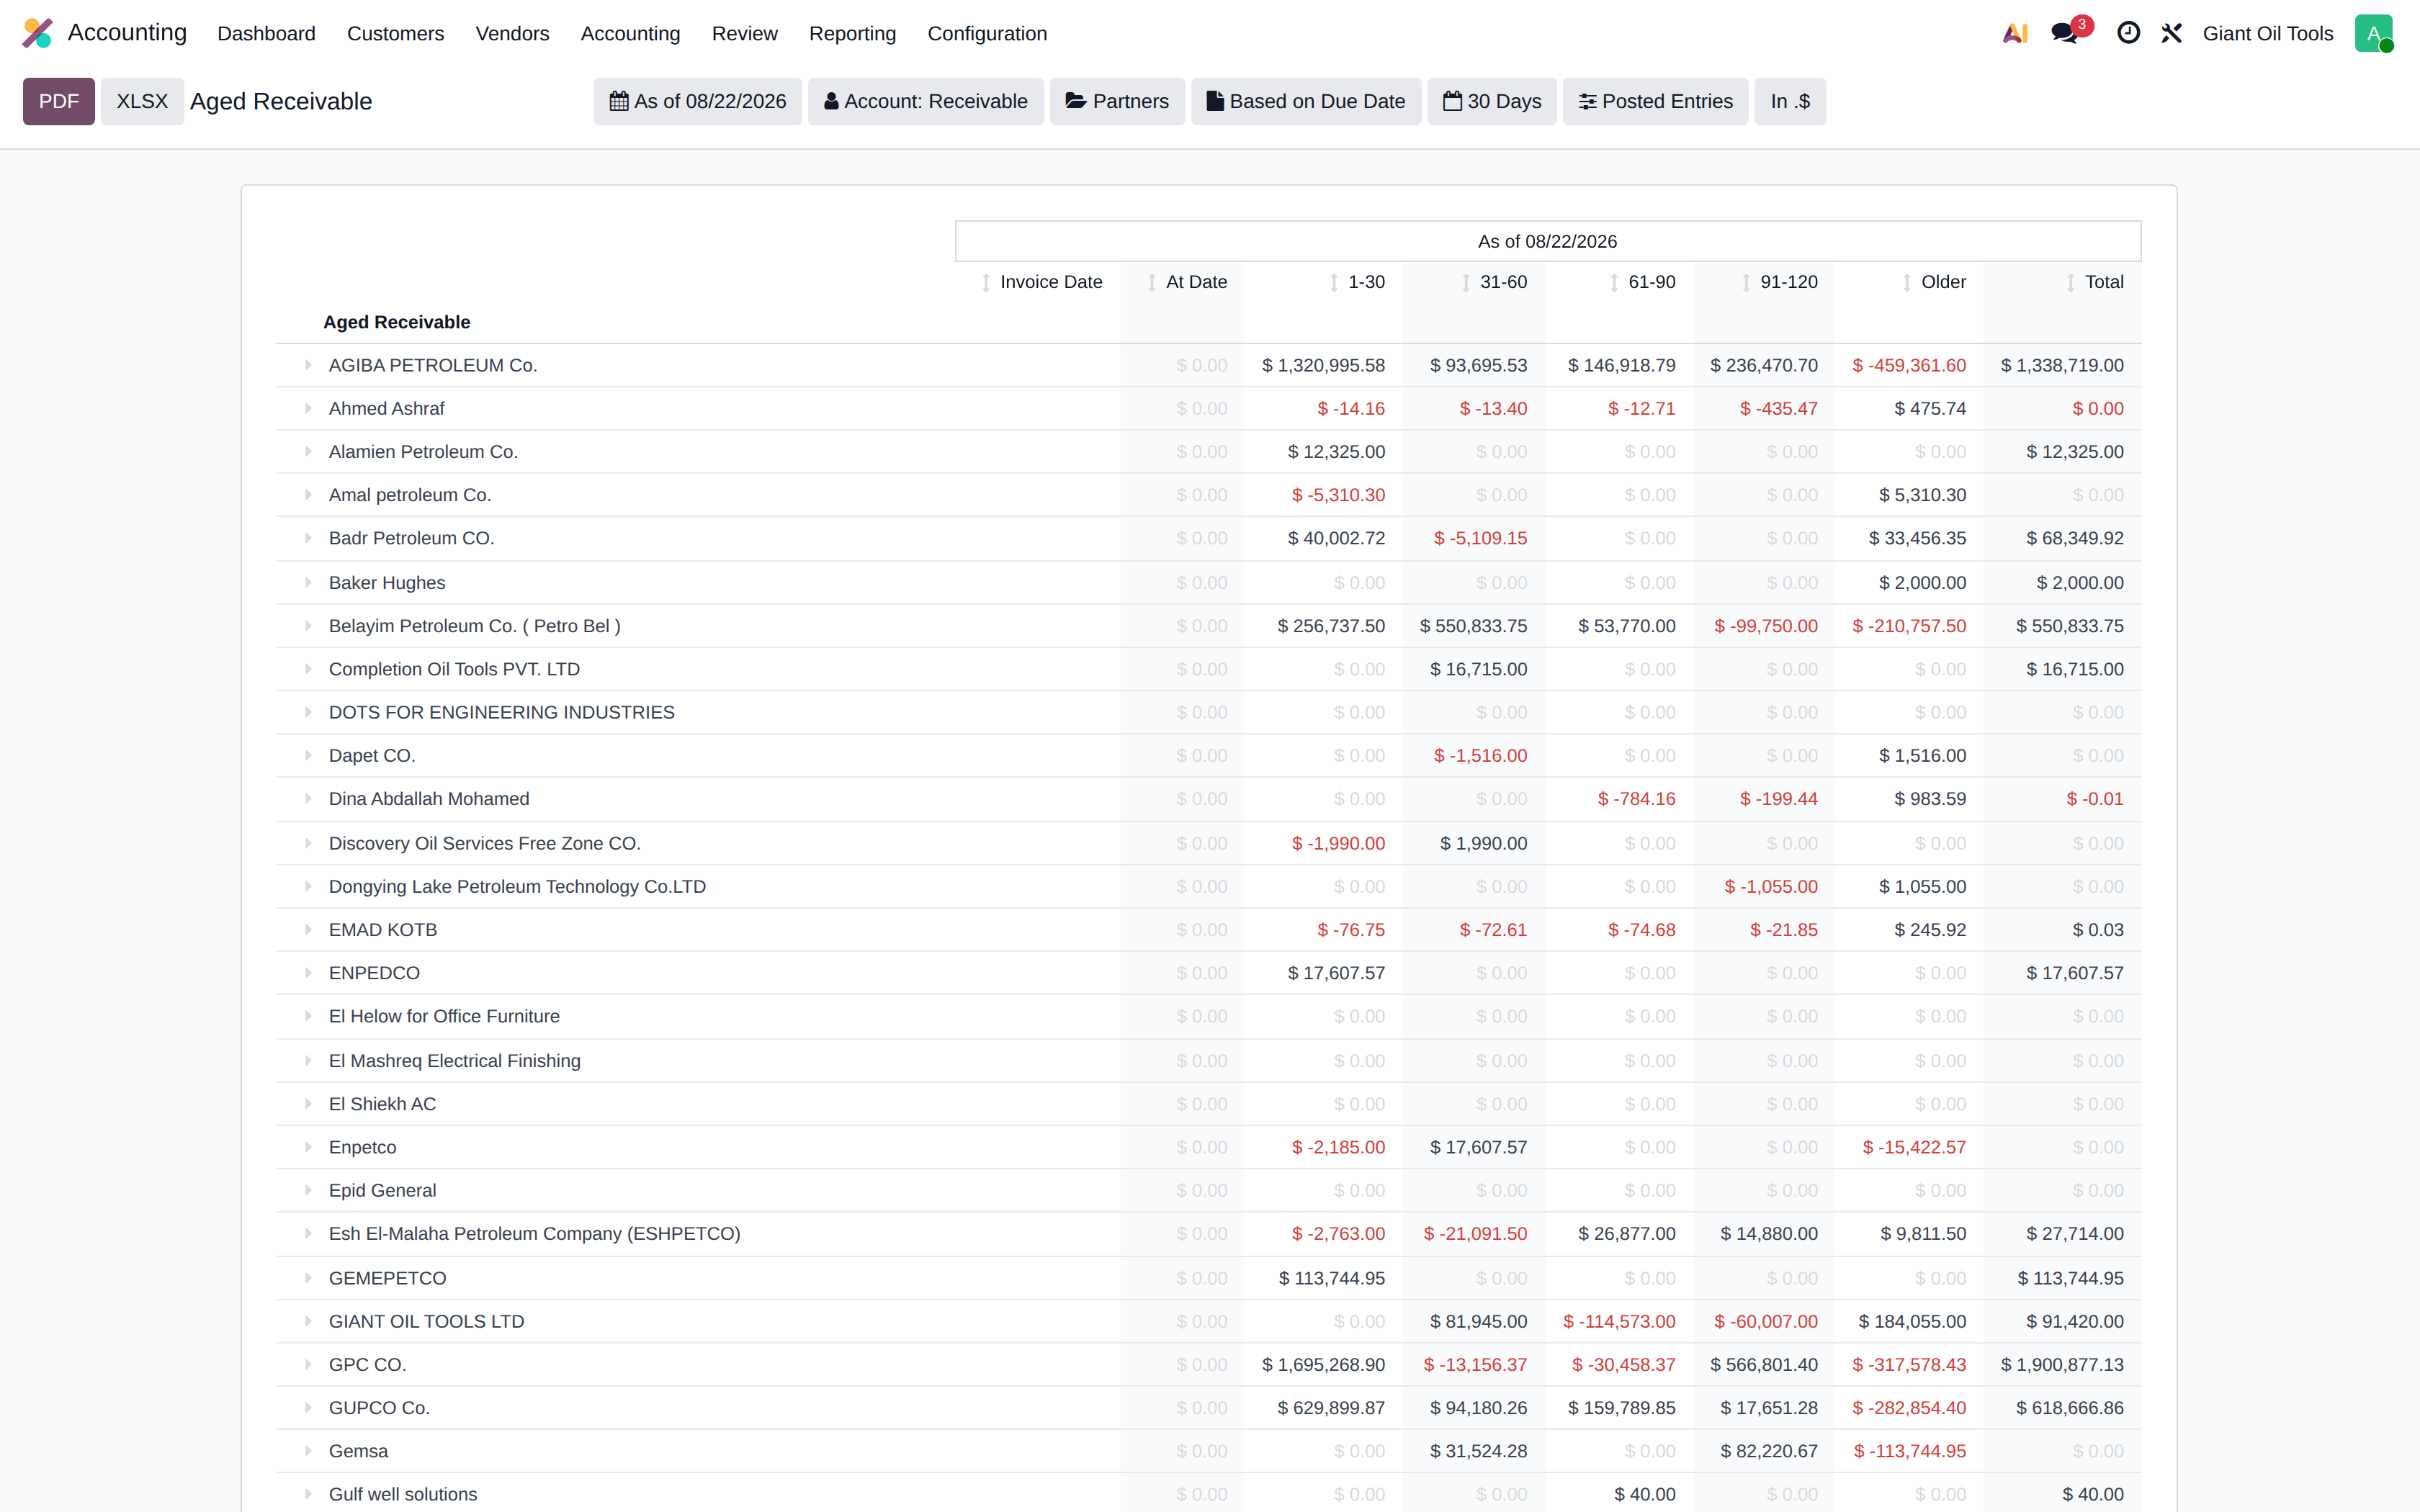
Aged receivable
Outstanding customer balances bucketed by age. The collections working list.
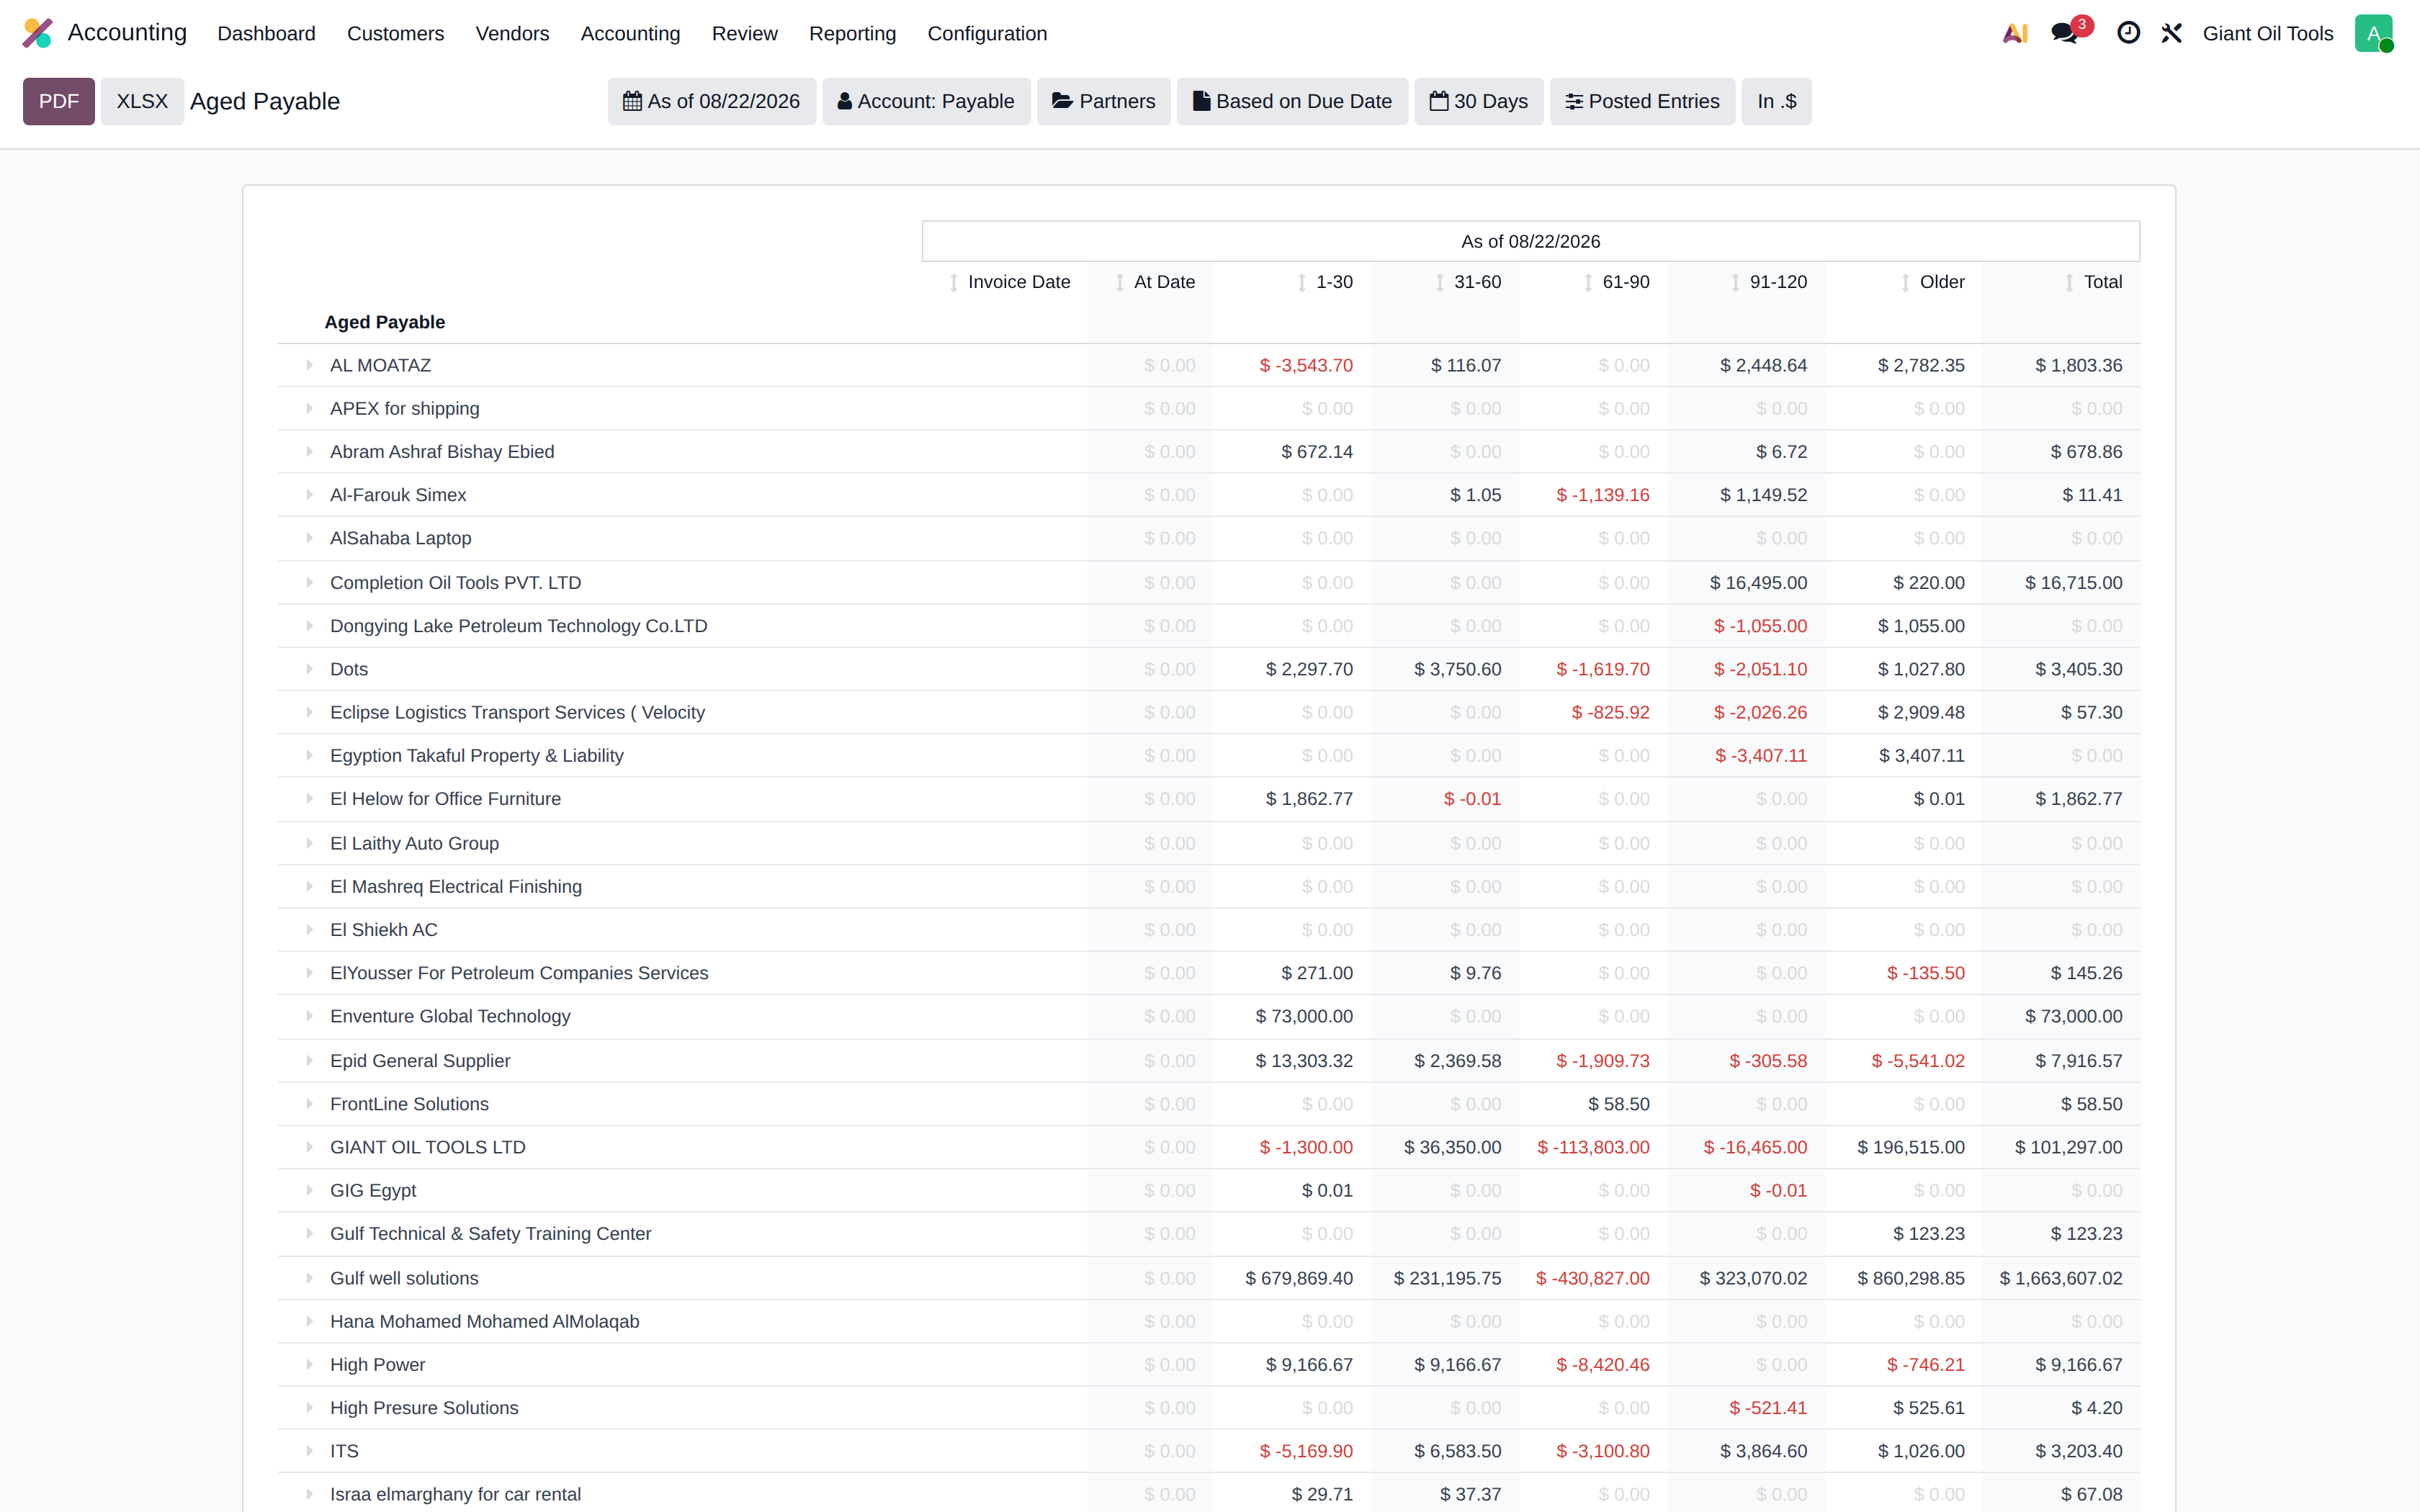
Aged payable
The same analysis for what is owed to vendors, used to plan payment runs.
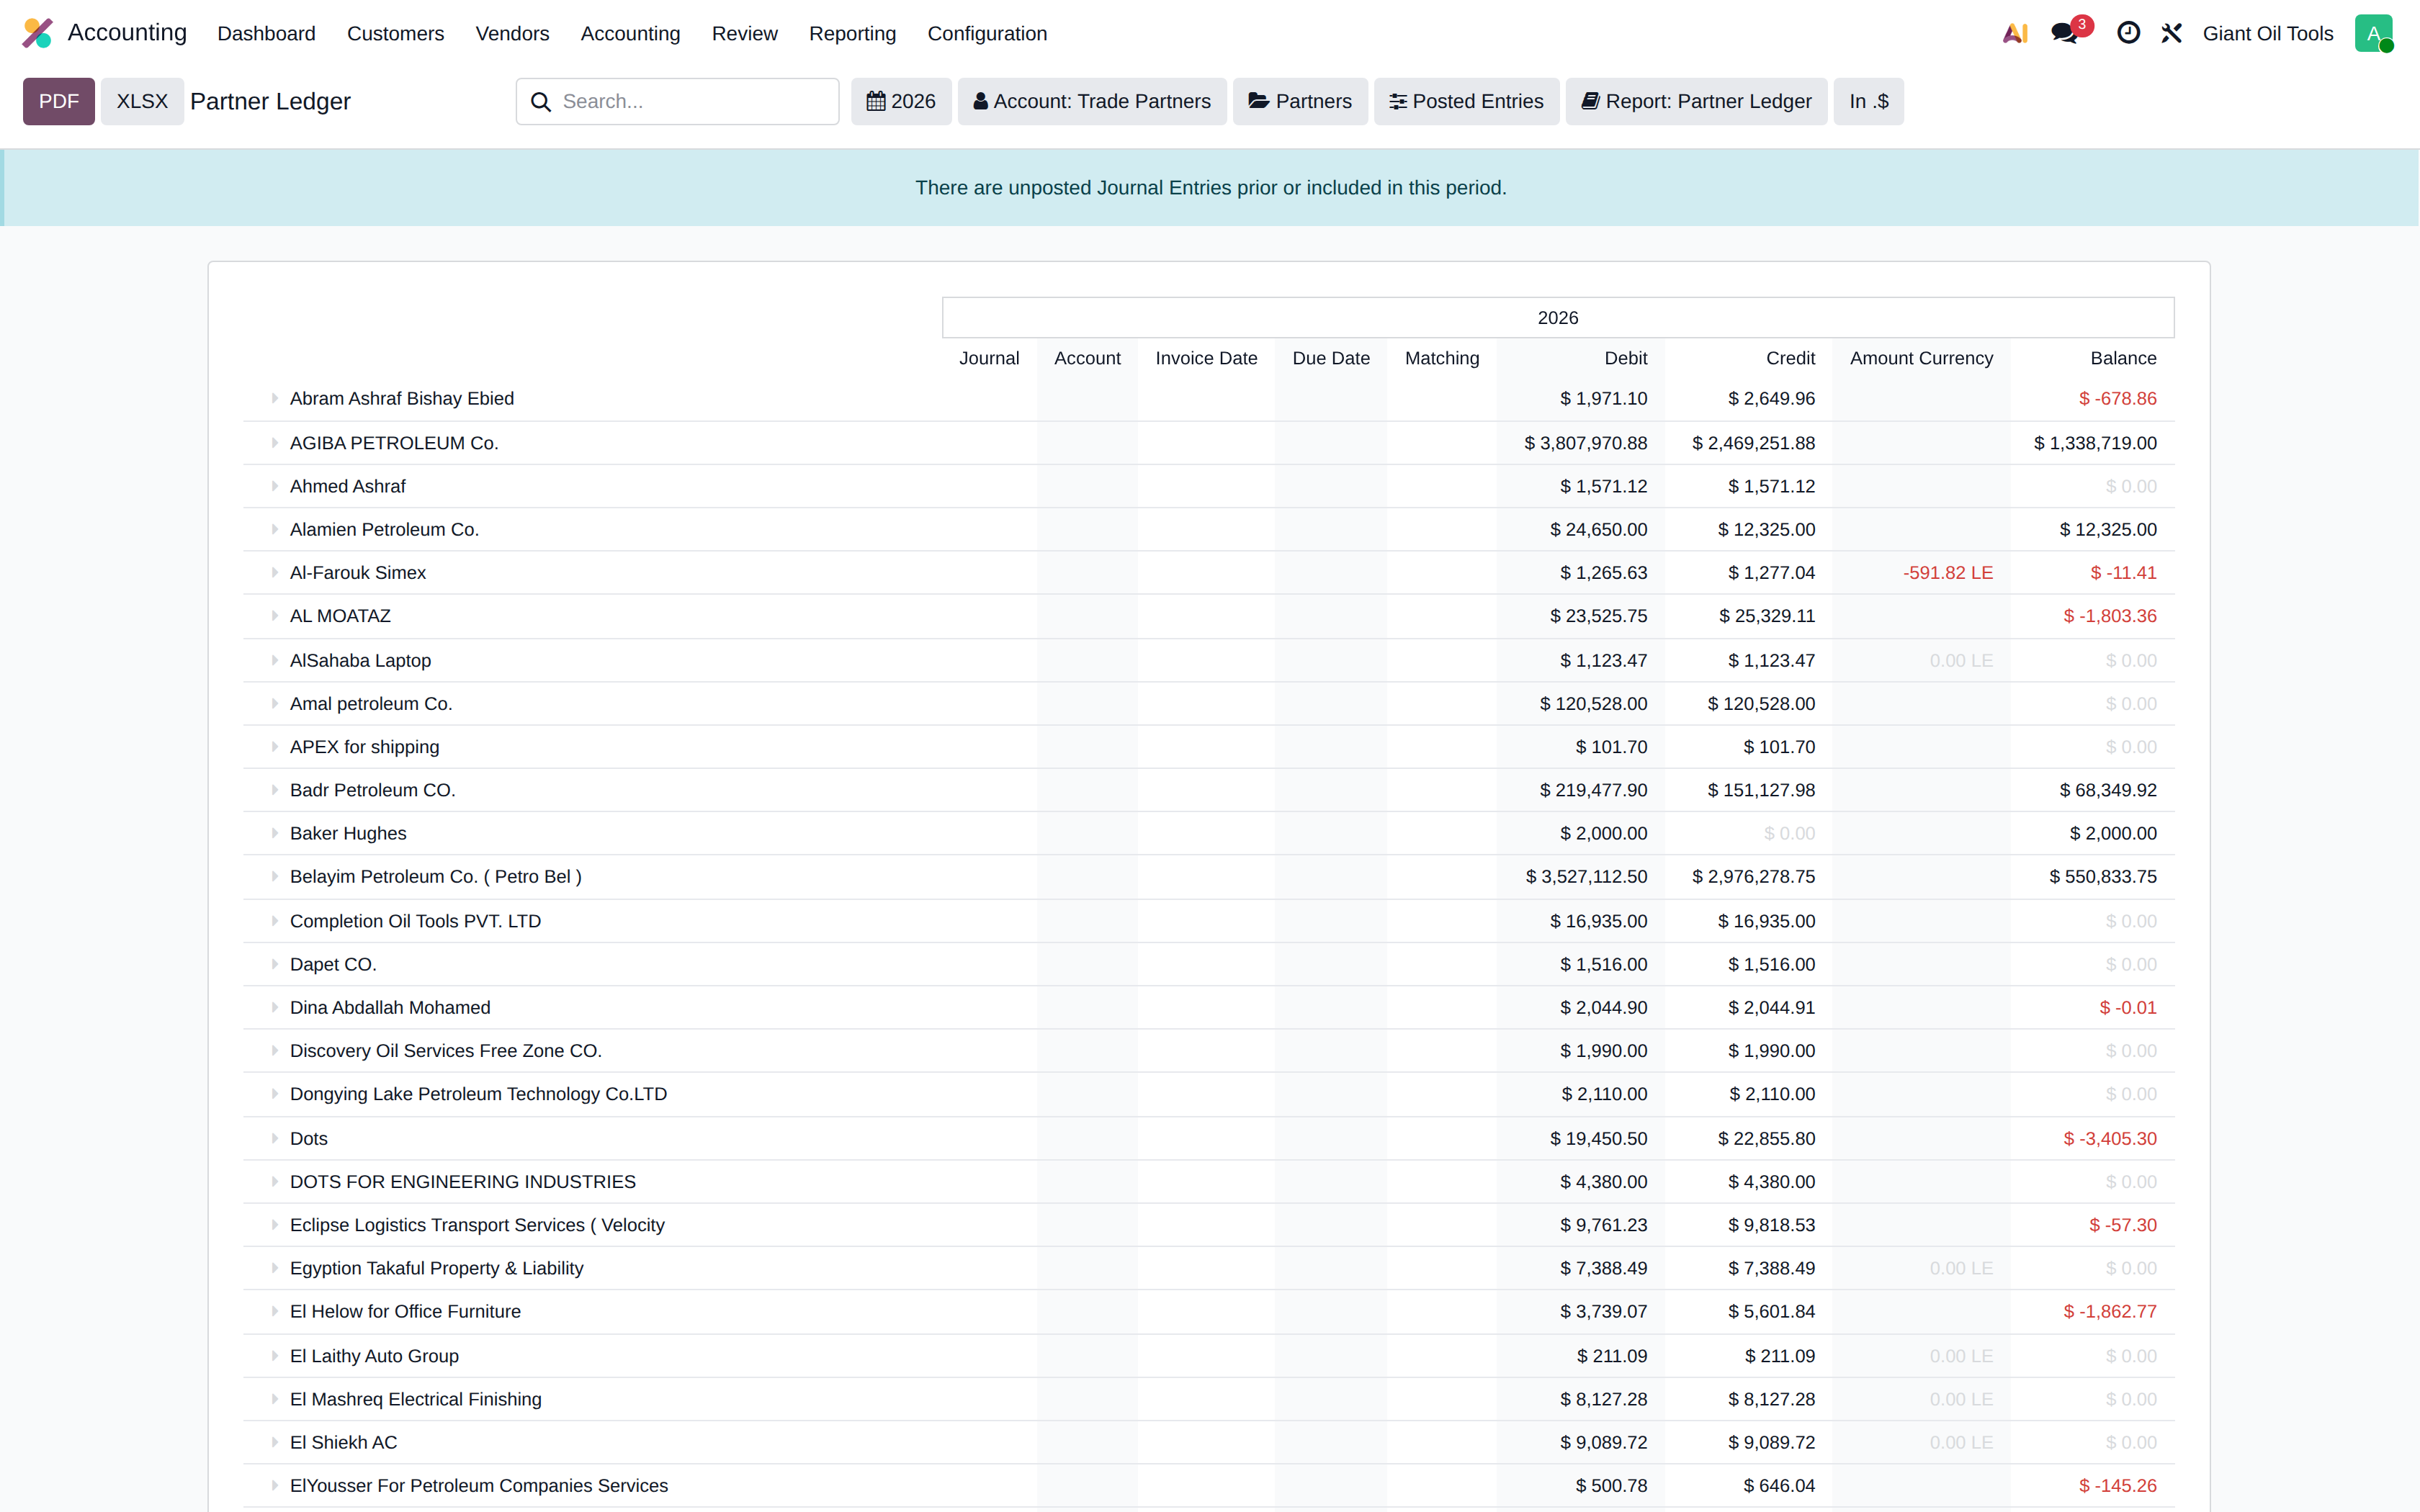
Partner ledger
A full statement of account per customer or vendor — every invoice, credit note and payment, with the running balance.
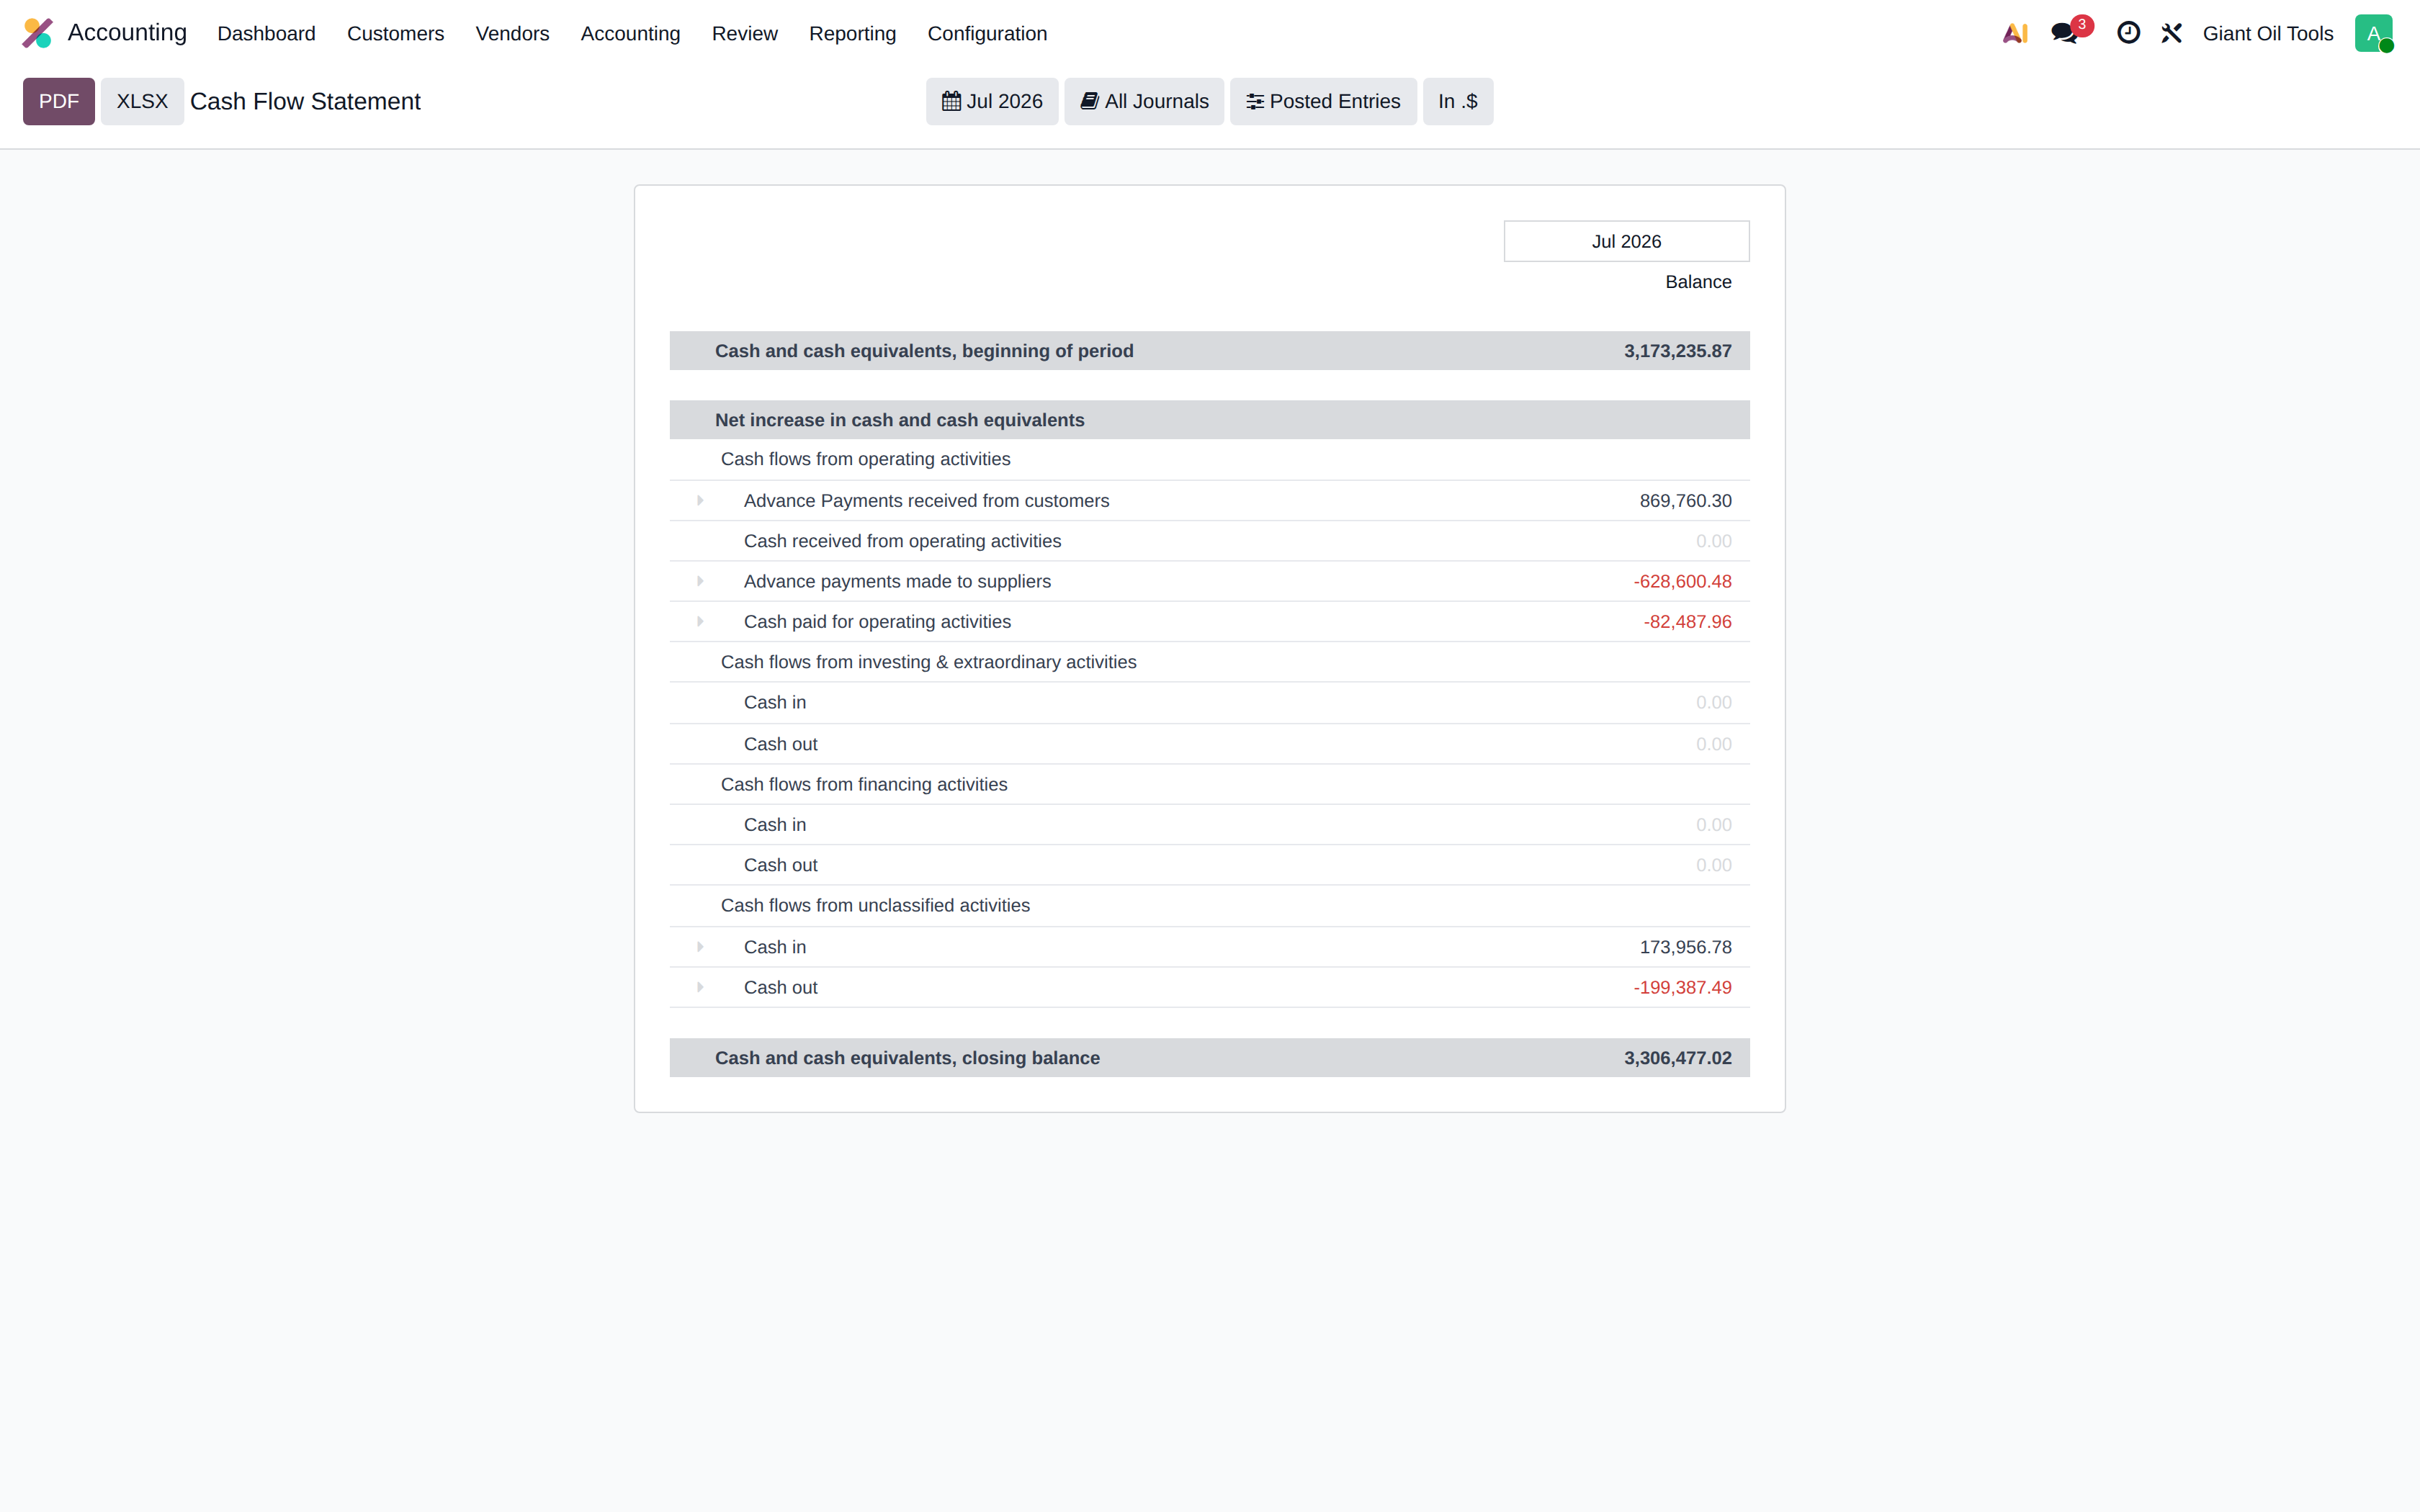
Cash flow statement
Cash generated and used by operating, investing and financing activities.
Inventory valuation
The accounting value of stock, reconciling the general ledger to the goods on hand, per warehouse inventory account: • Initial Balance — what the ledger says. • Ending Stock — what the goods are worth. • Stock Variation — the movement behind the two, and the entry that would be needed if they did not agree.
The check that matters is the first two: Initial Balance and Ending Stock should show the same figure on the same account. Because valuation is perpetual, every stock movement posts its entry the moment it happens, so they stay equal without any month-end closing entry — and if they ever drift apart on one account, the goods in that warehouse and its ledger balance have stopped matching.
Depreciation schedule
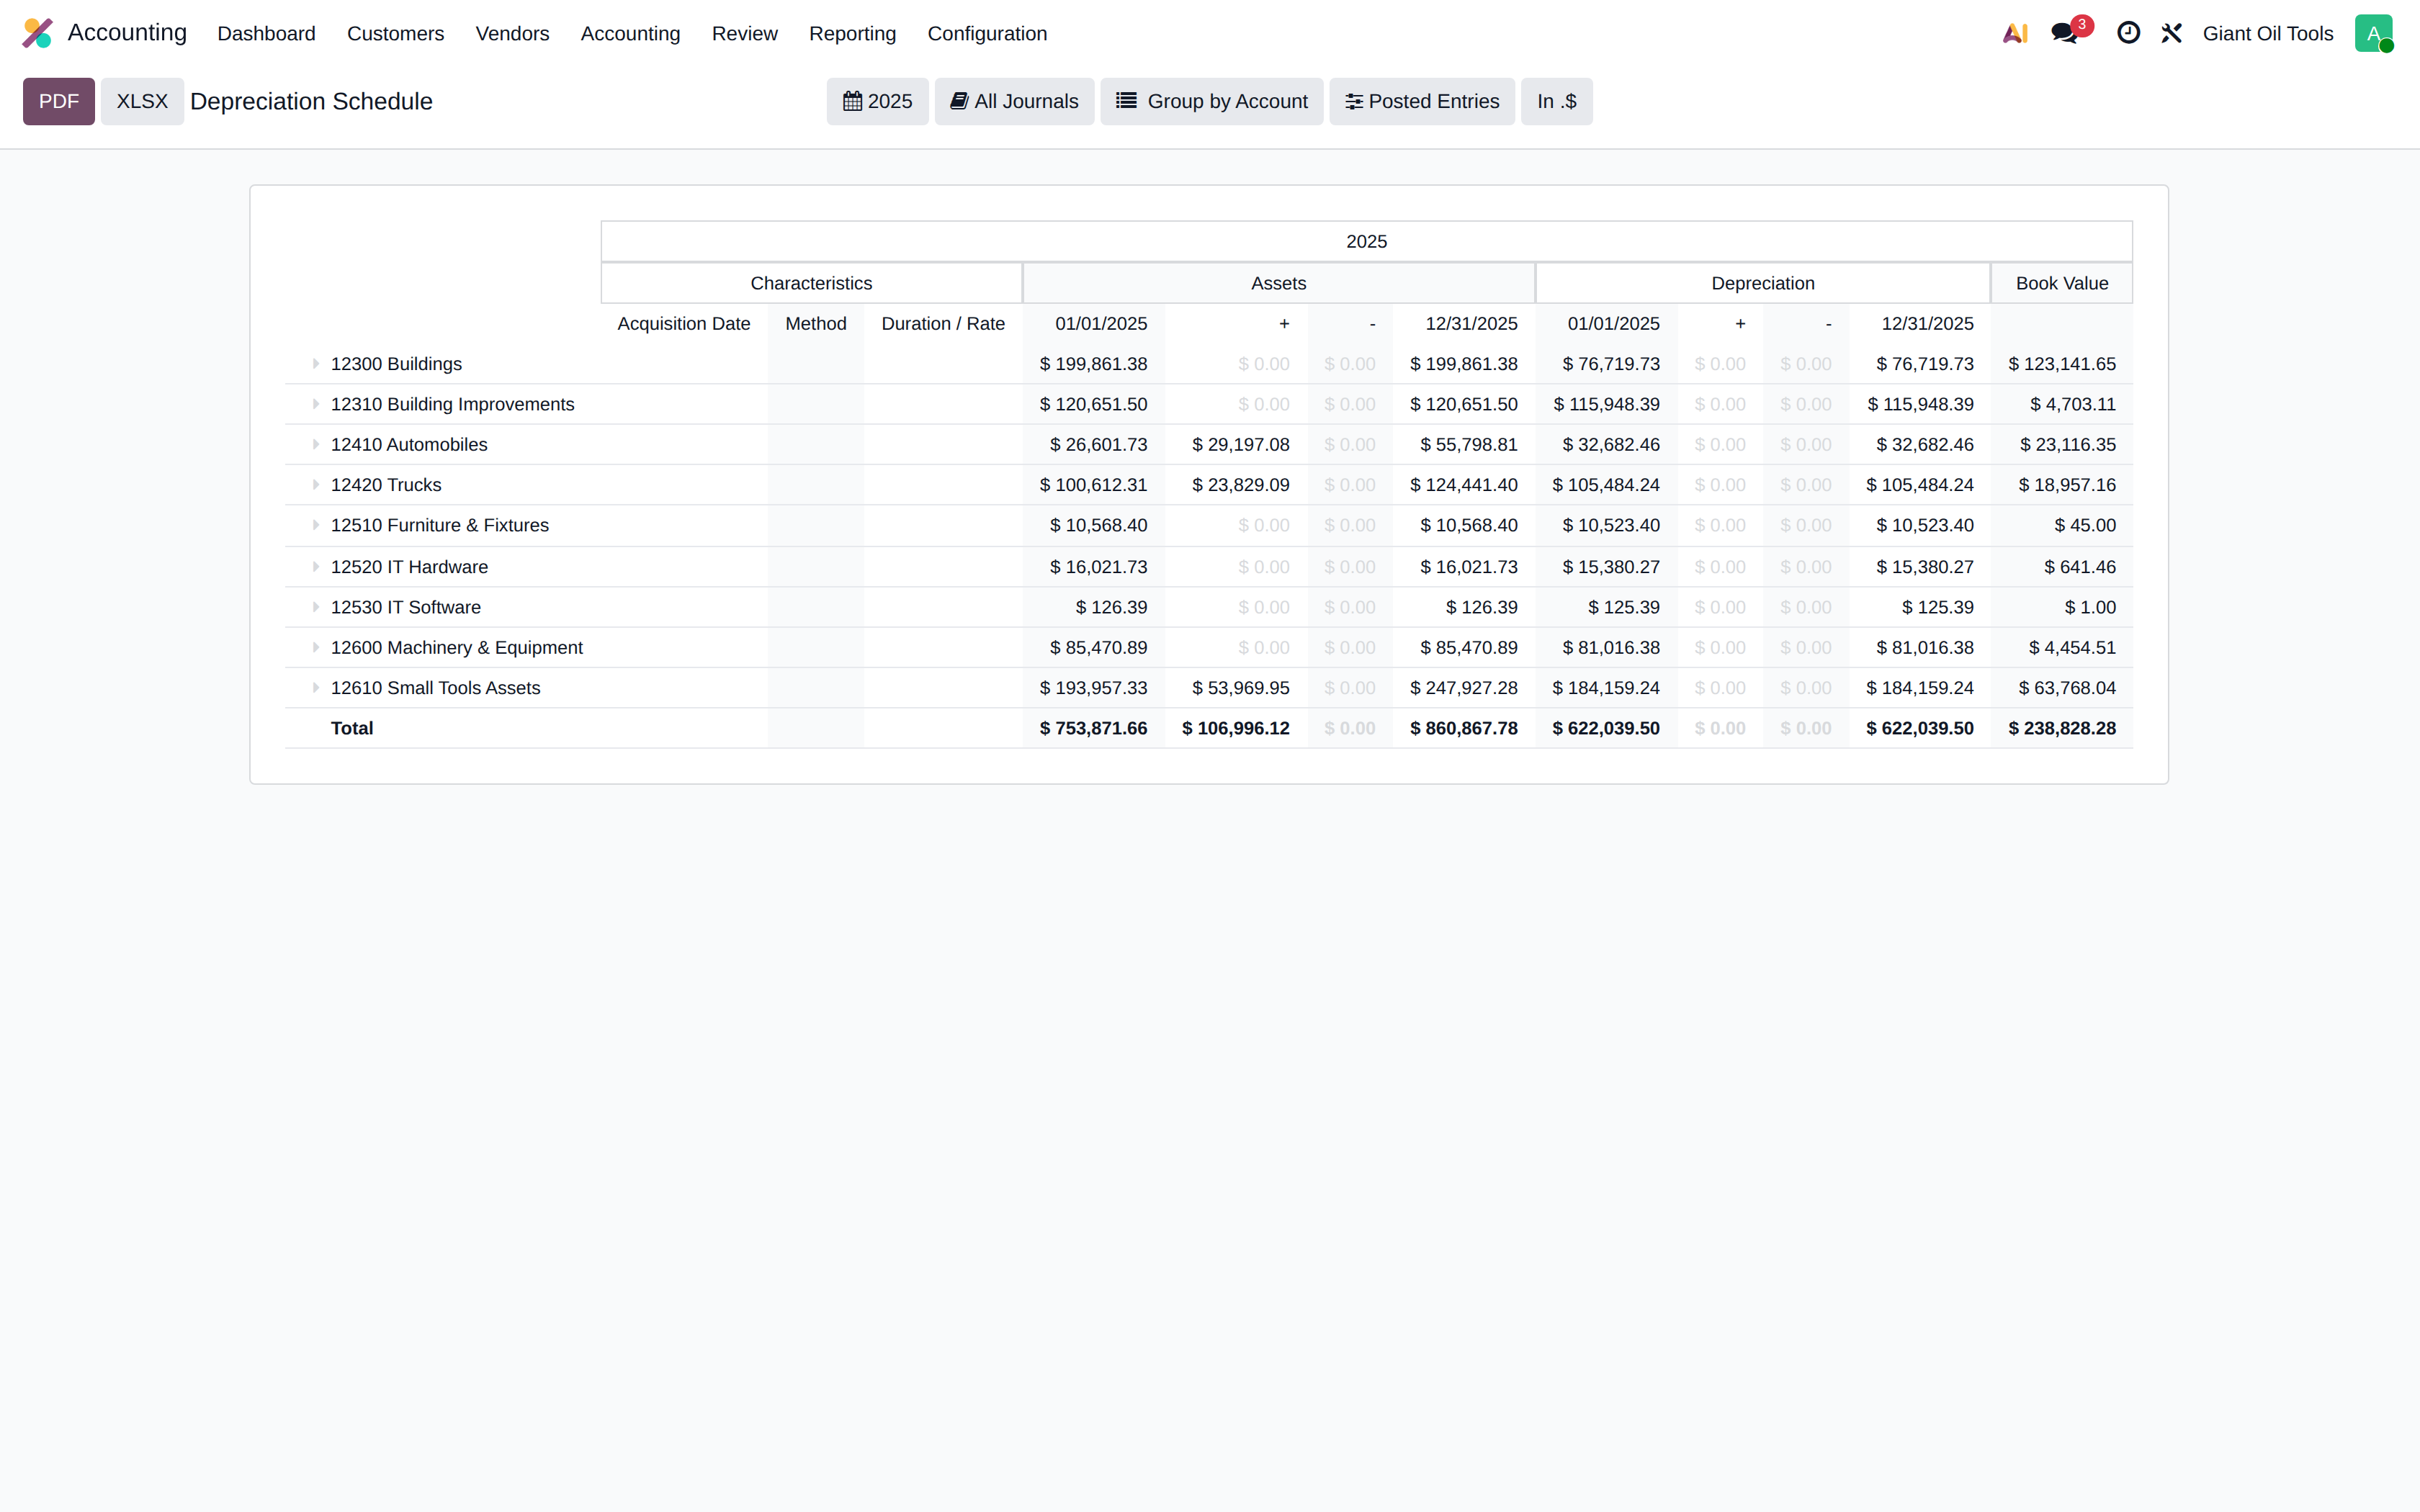
Depreciation charged per asset and per period, and the resulting net book value.
Invoice analysis
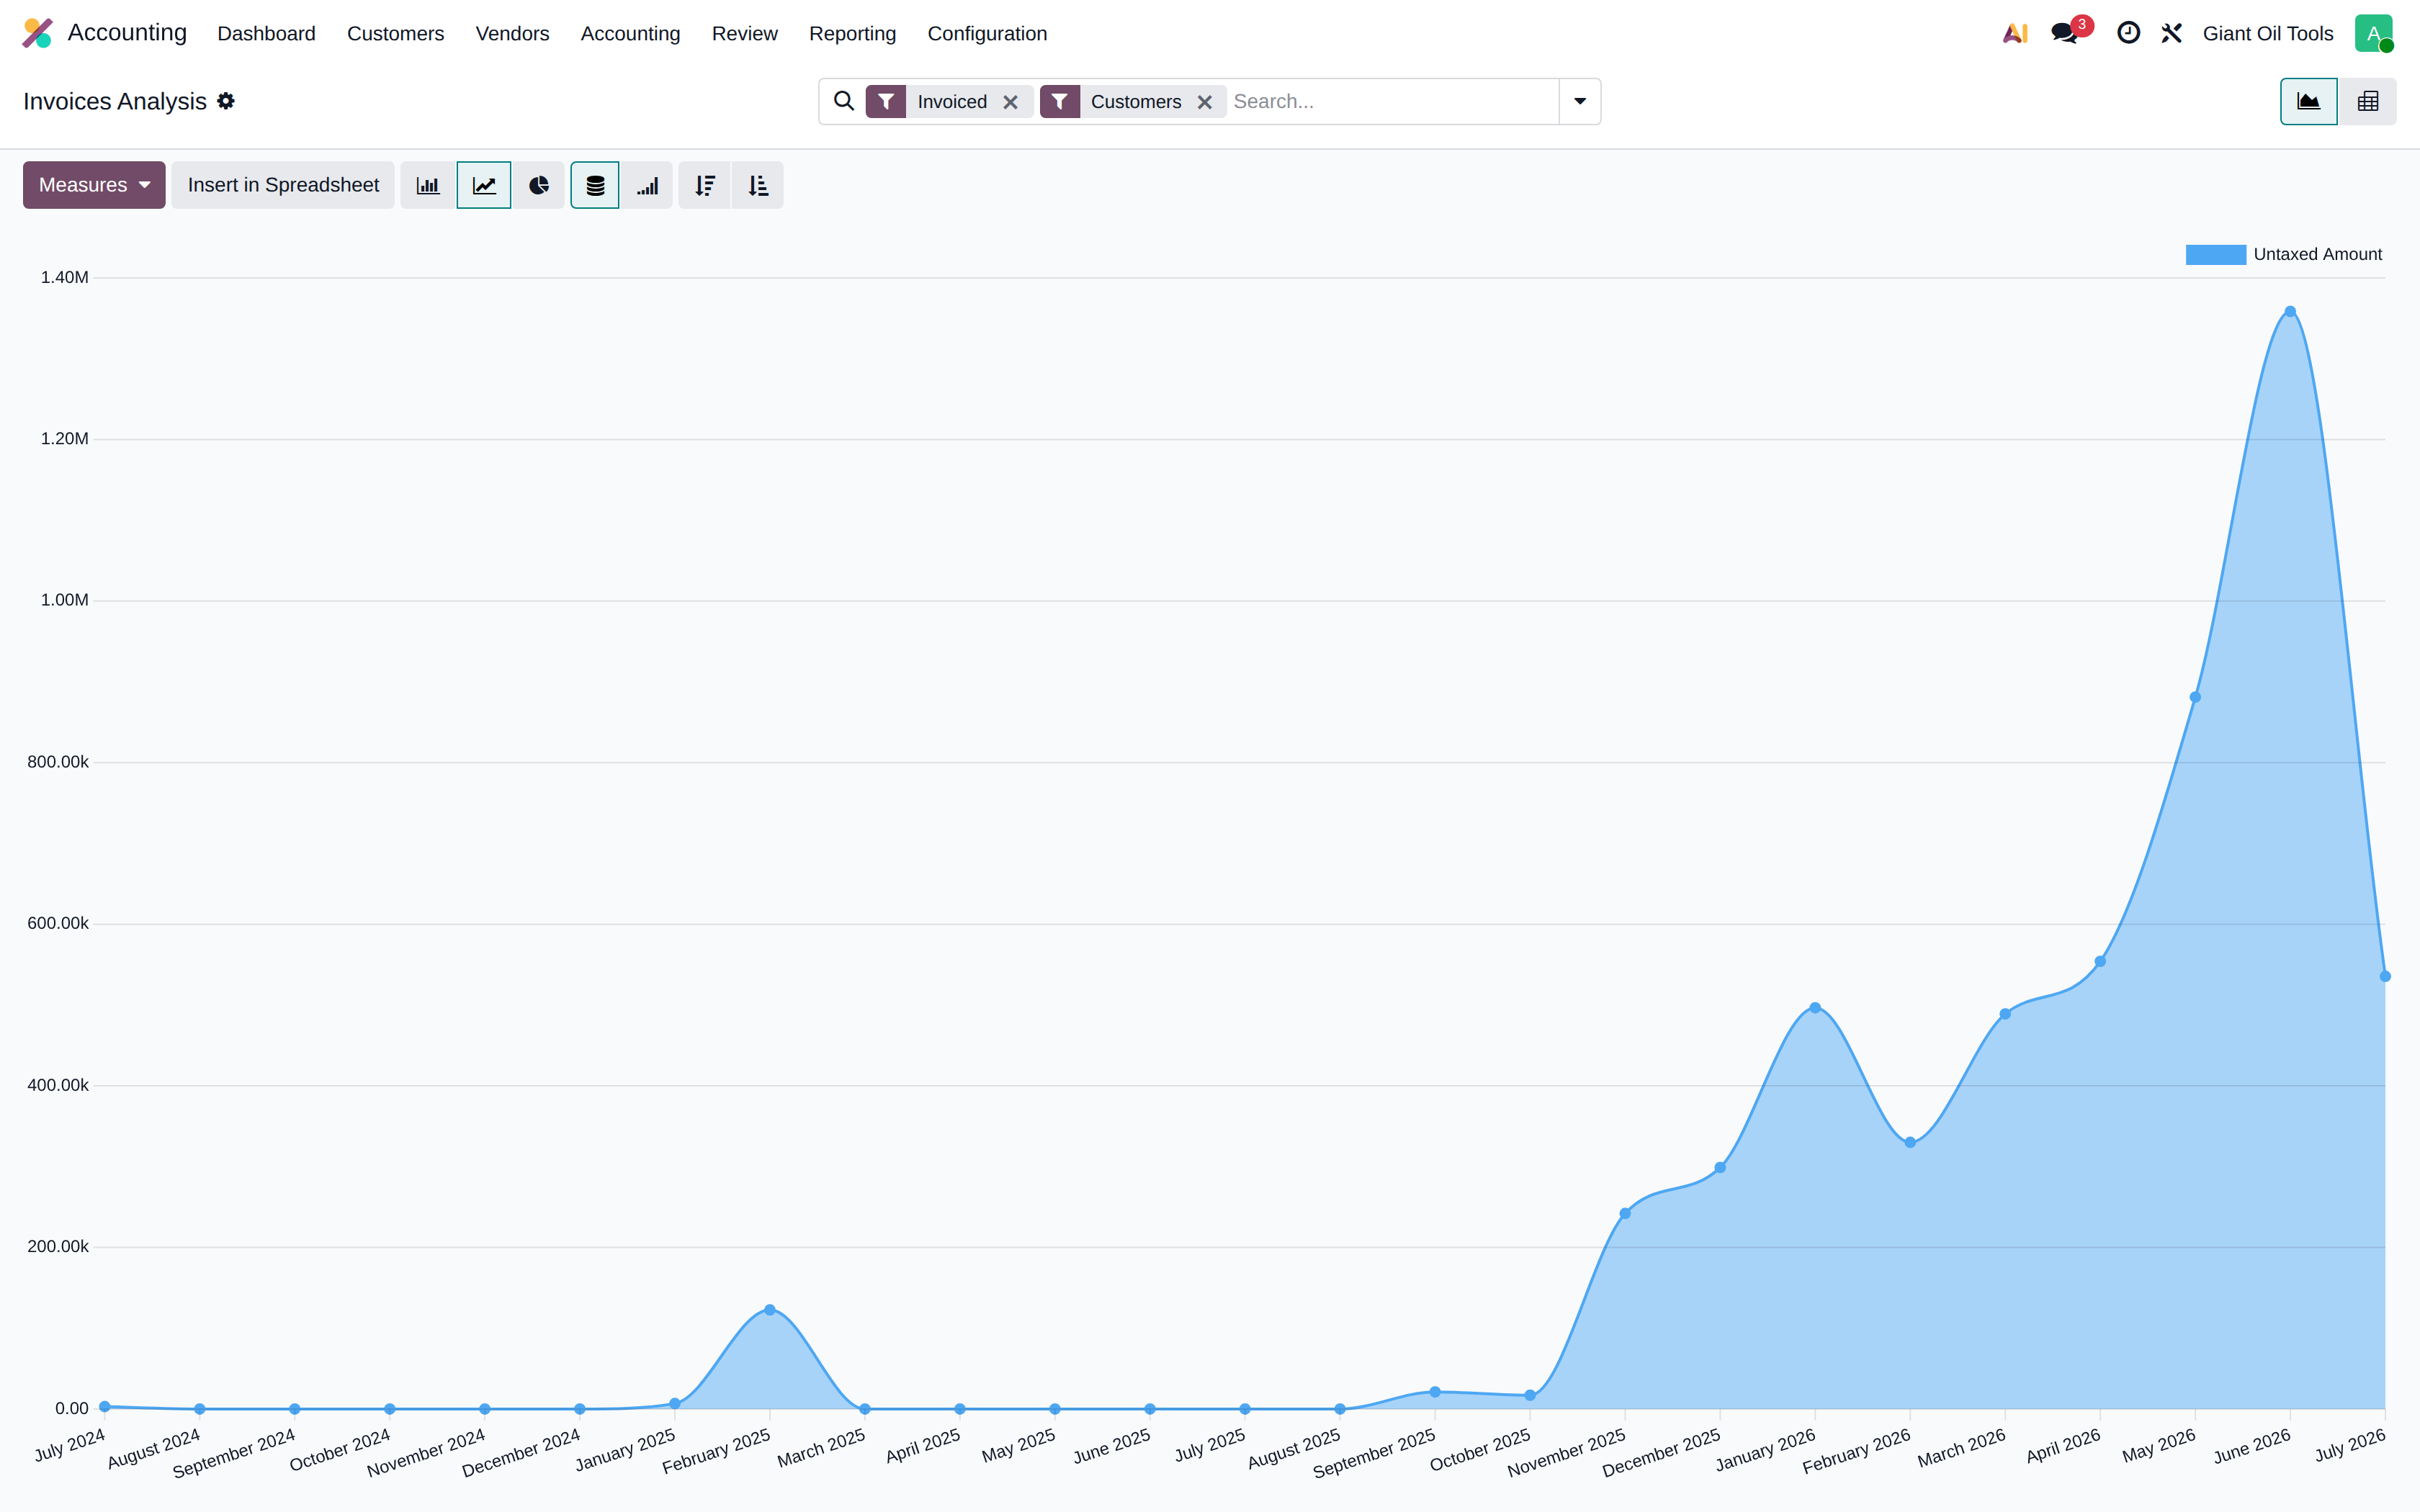
A pivot and graph report over invoiced amounts, by customer, product, salesperson or period.
Financial budgets
Budget figures per account and period, reported against actuals so variances are visible during the year.
Reconciliation
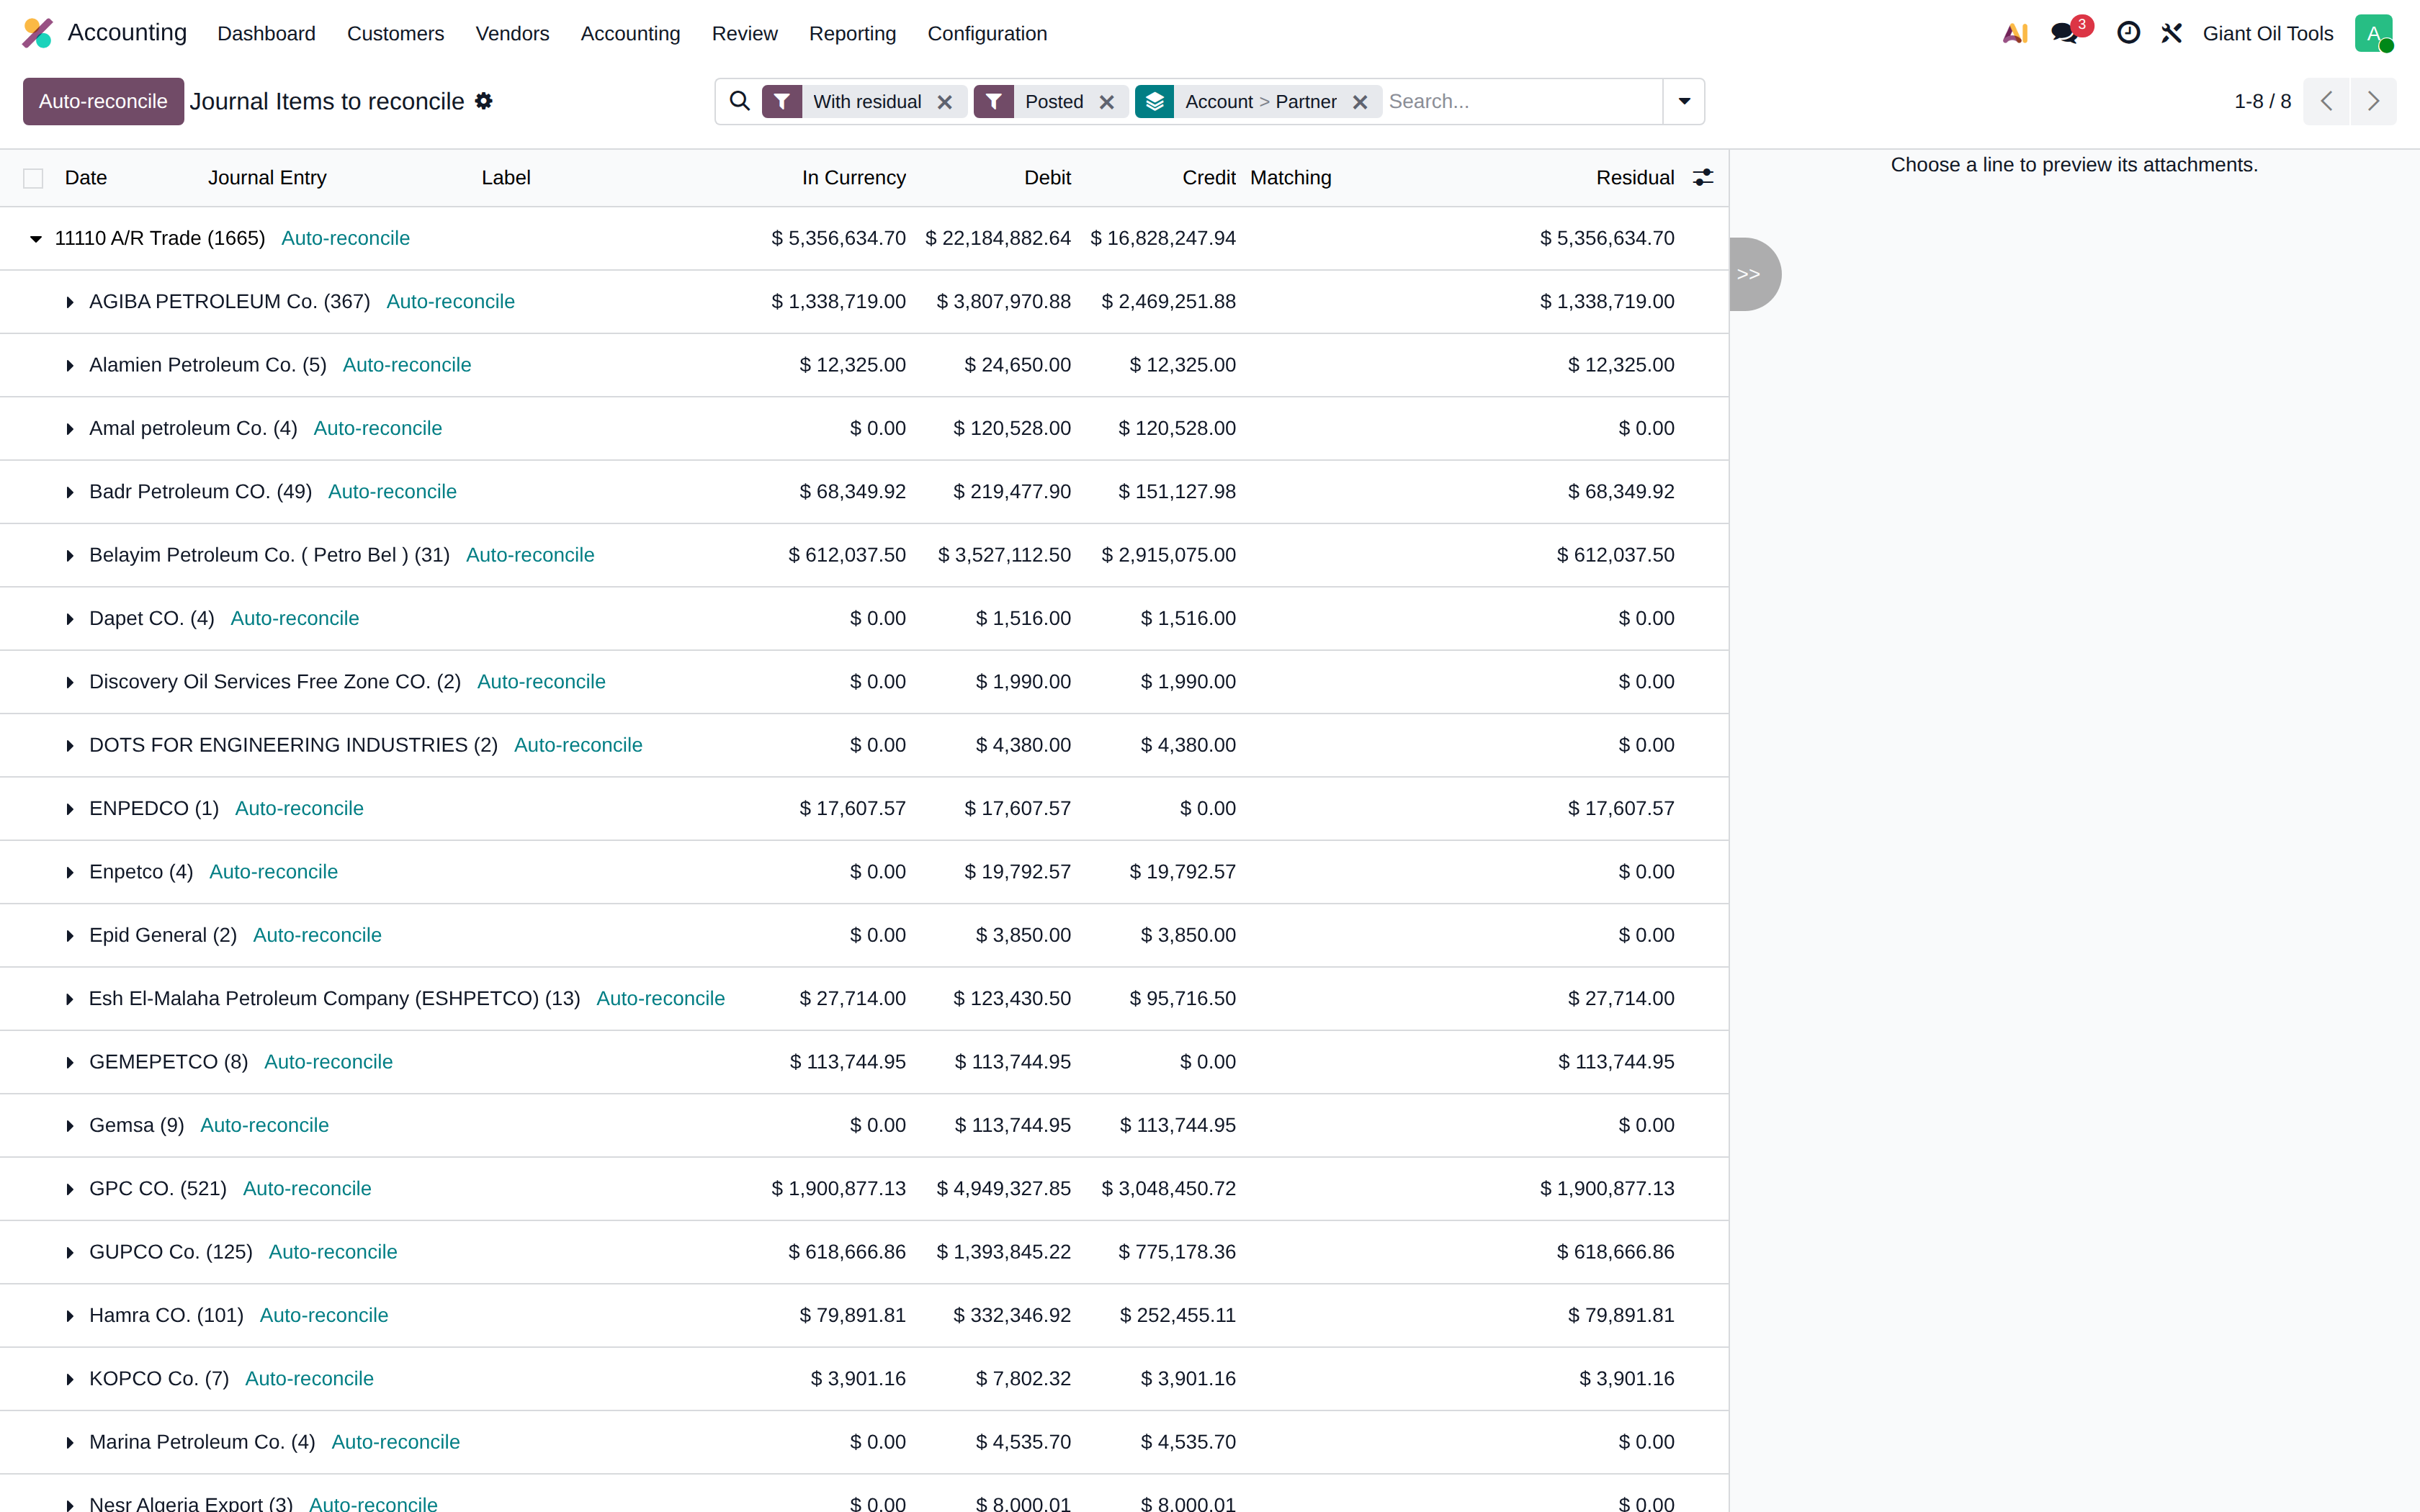
The matching screen for open receivable, payable and bank items. Matching an invoice against its payment clears both and updates the partner balance.
9Employees, Projects and Communication
Supporting applications used alongside the core operational flow.
Screens
Employees
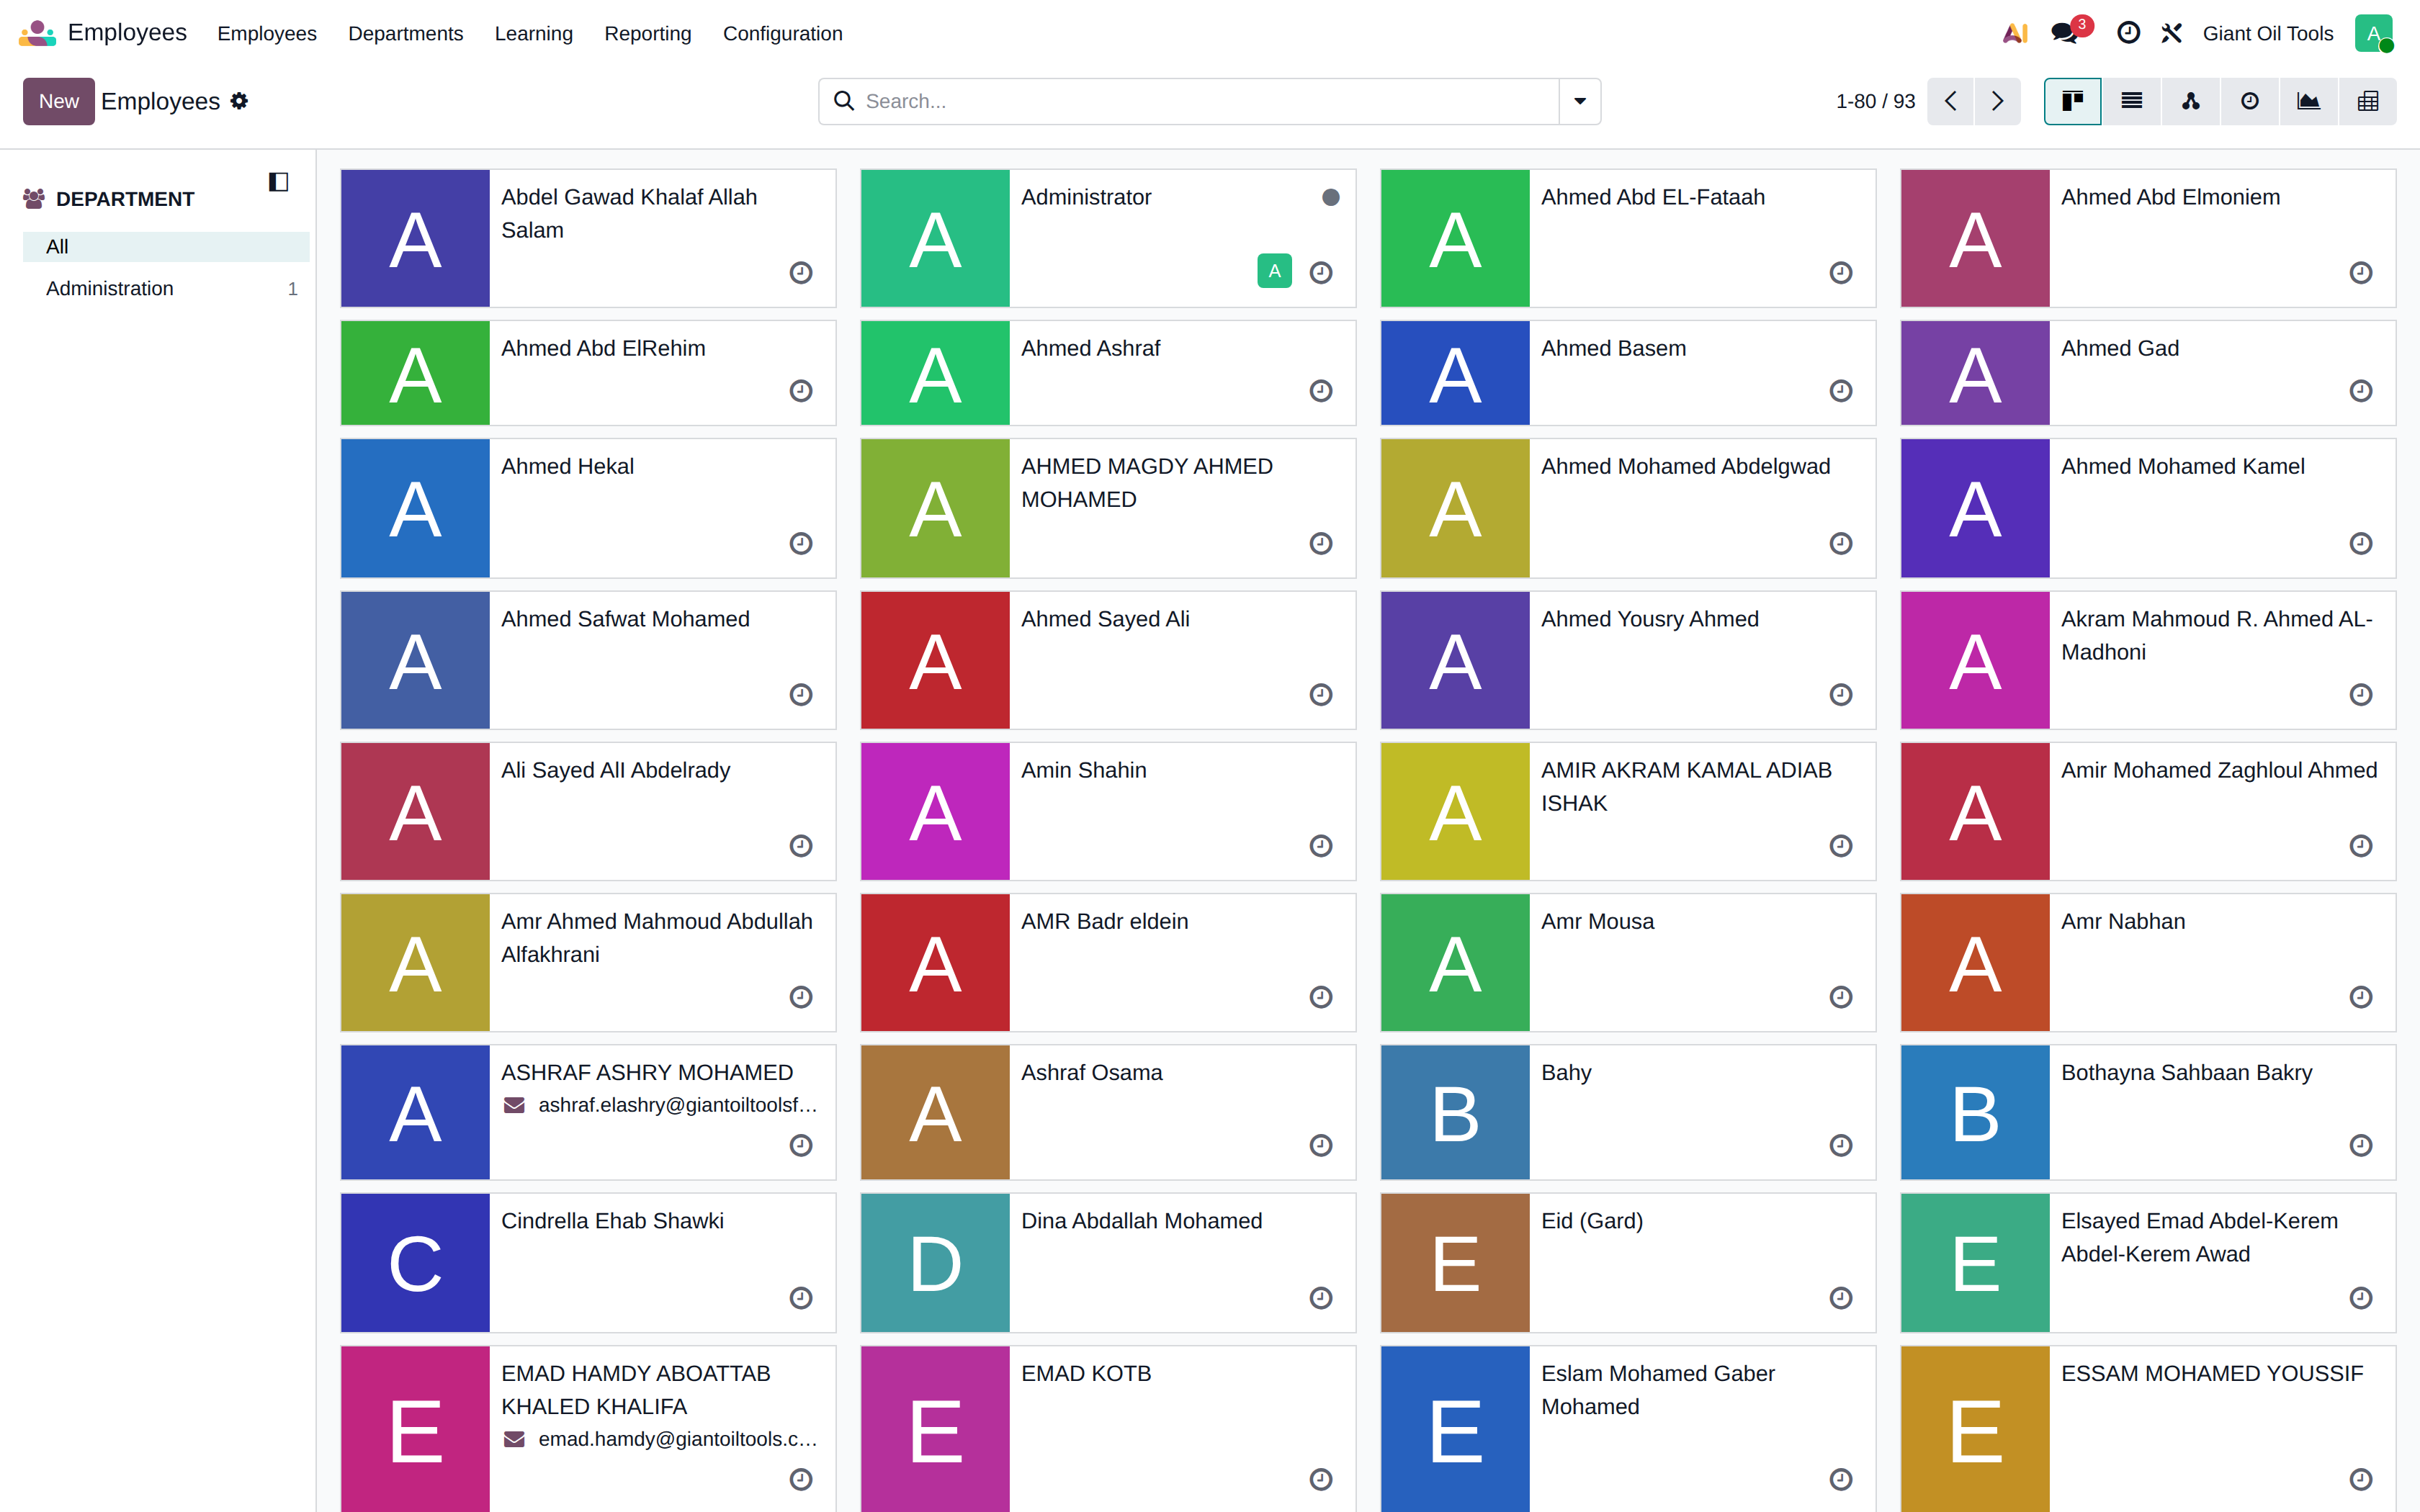
The employee directory with job position, department, manager and contact details.
Projects
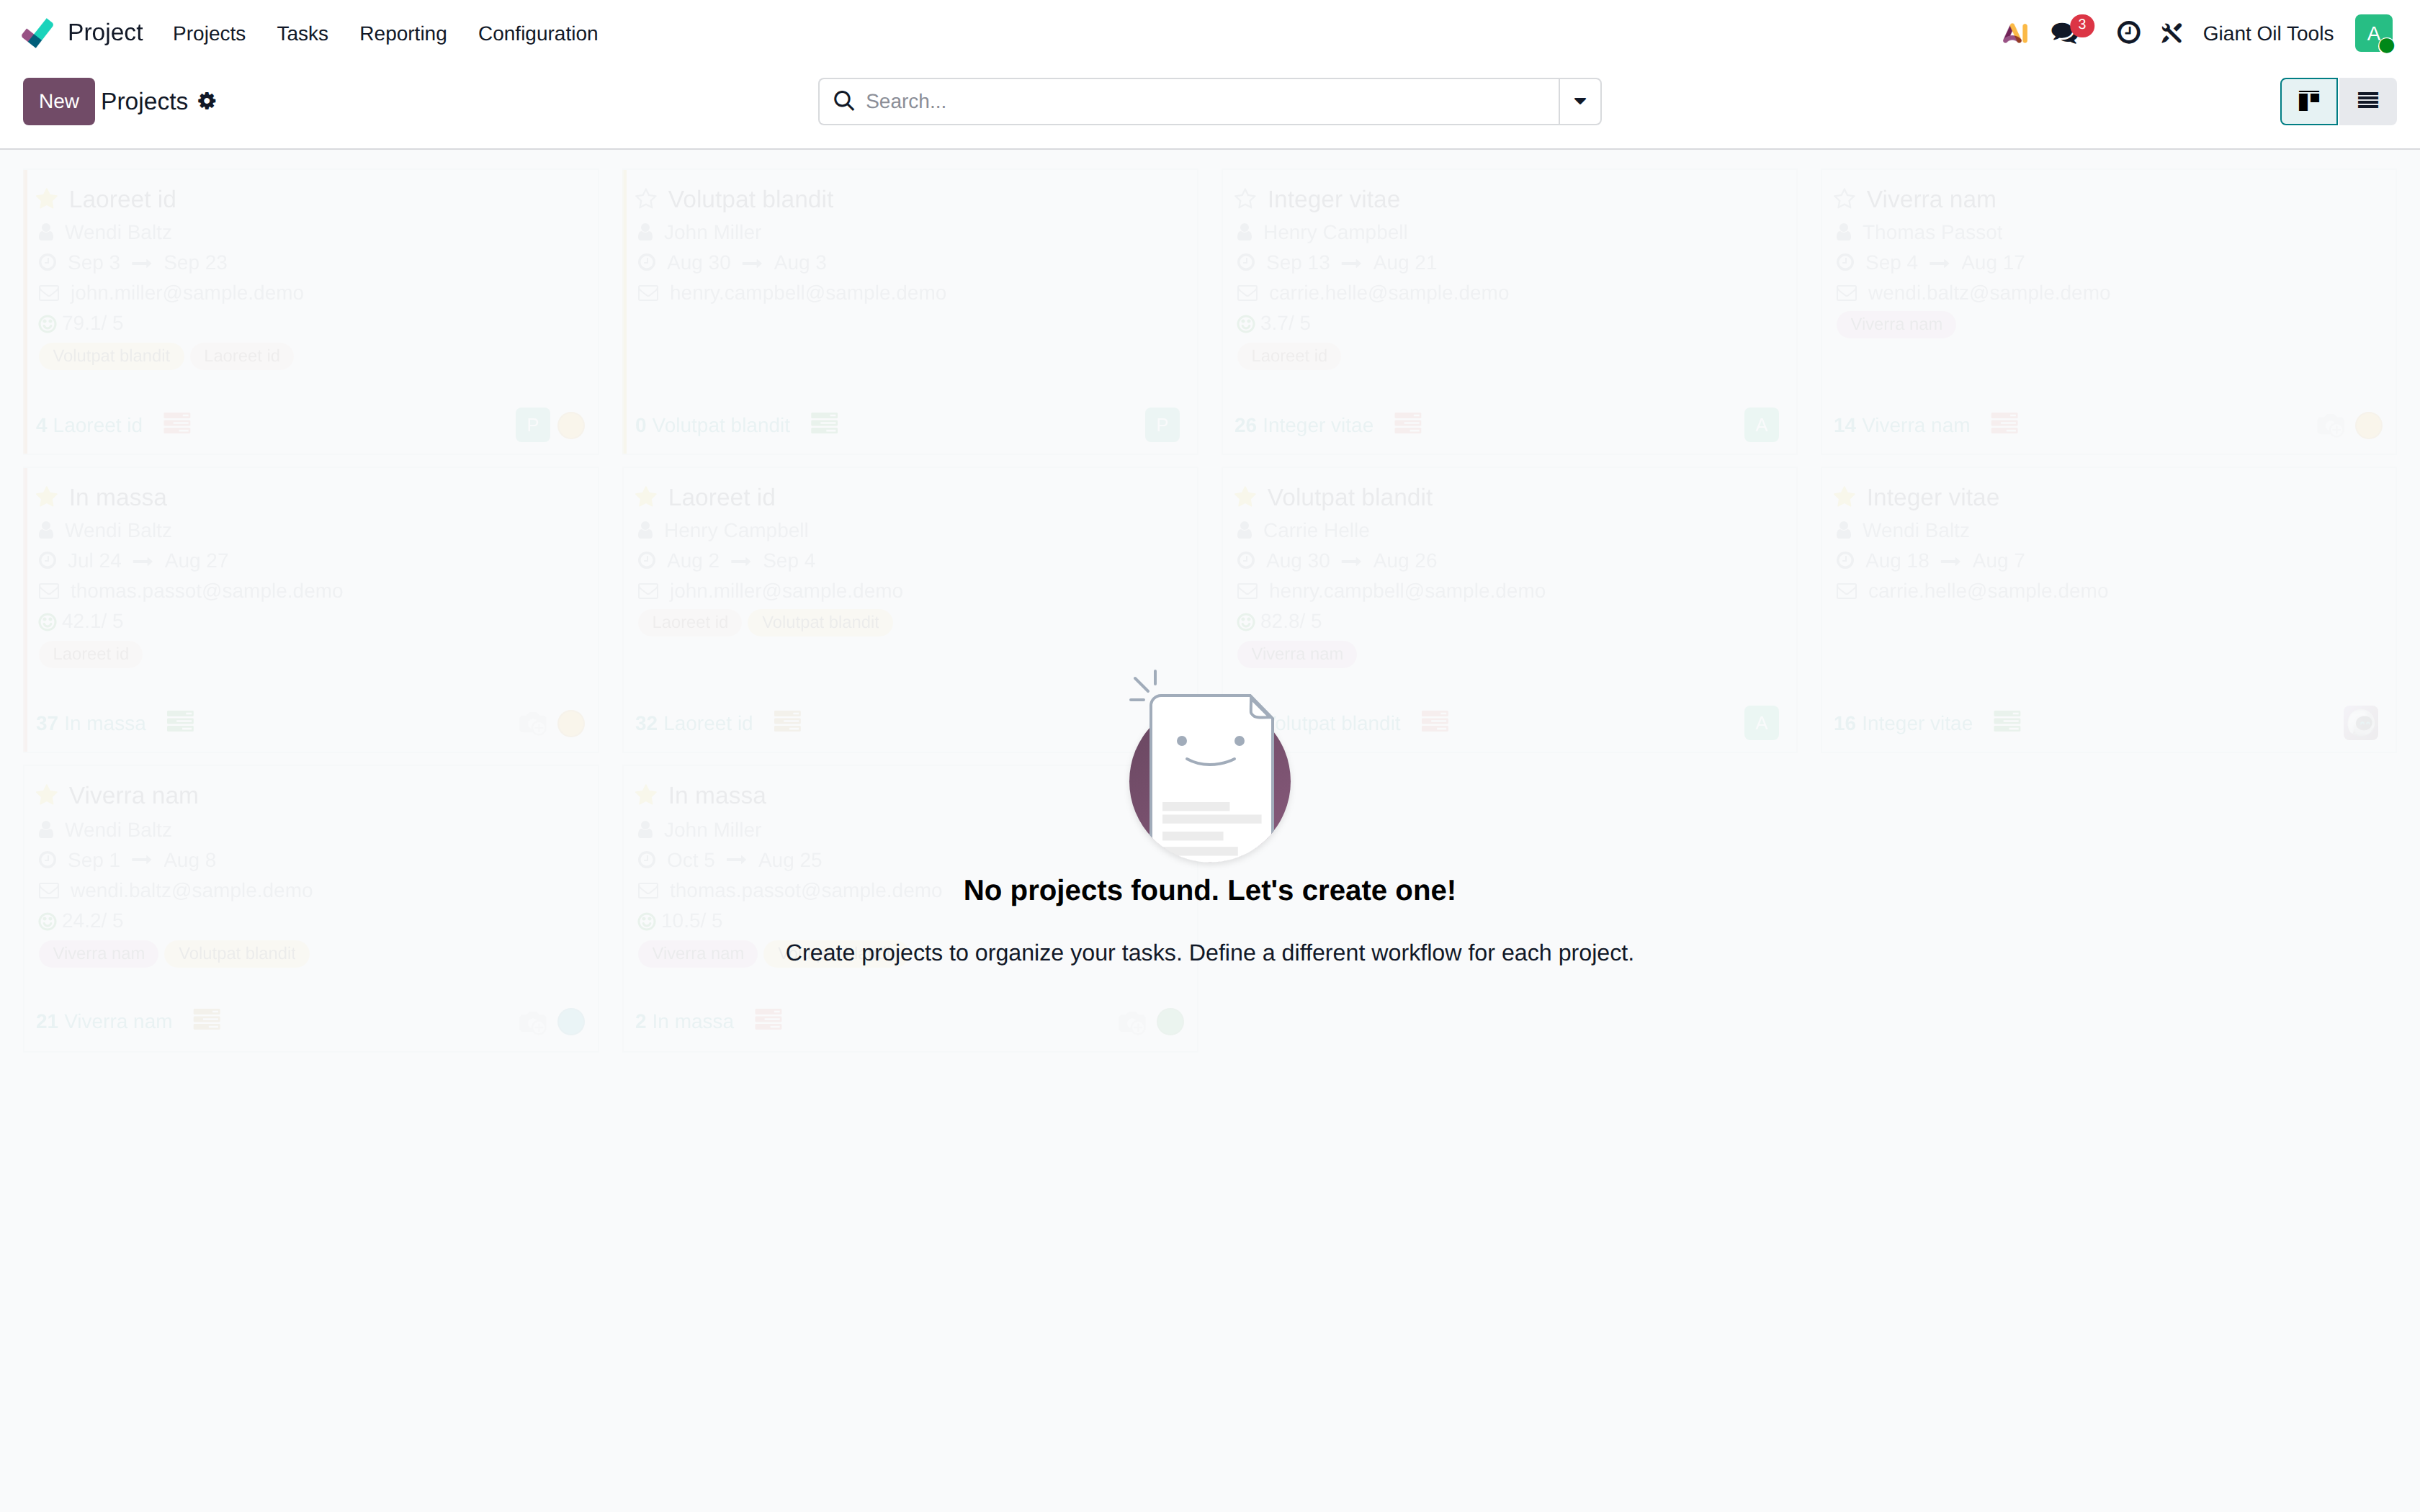
Projects and their task boards, used to follow jobs and internal work through their stages.
Discuss
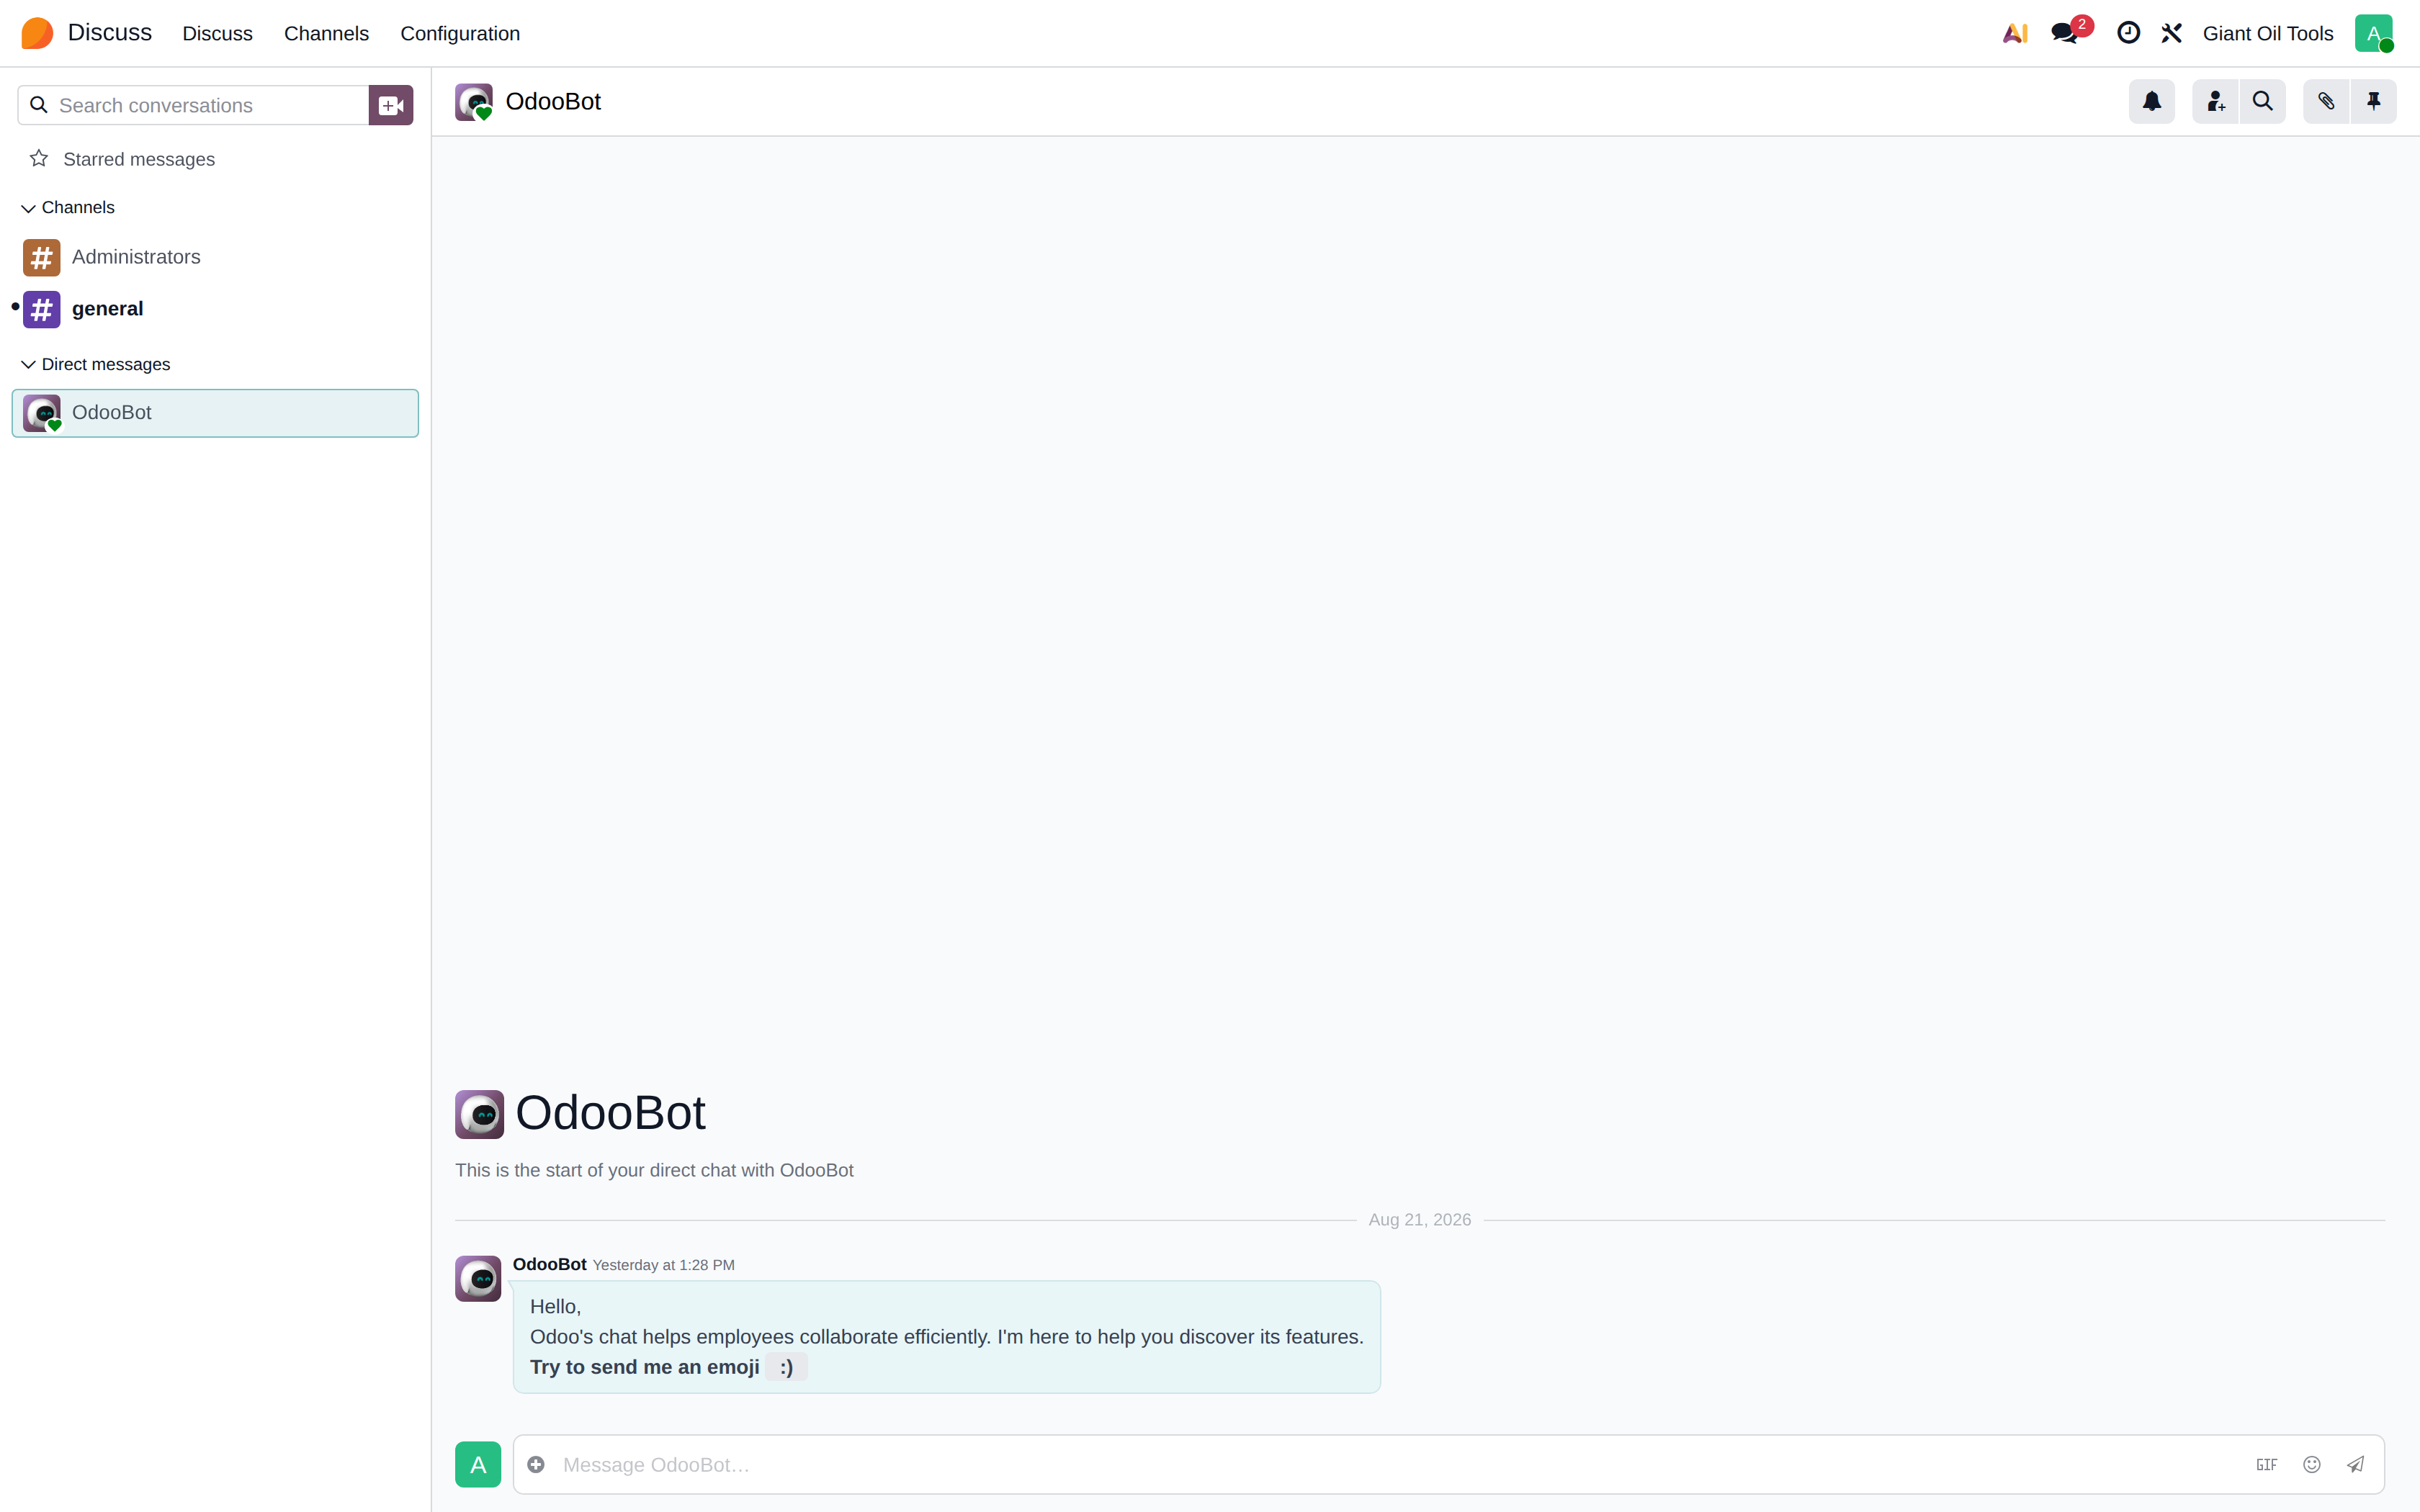
Internal messaging: direct messages, channels, and the notification inbox where mentions and document follow-ups arrive.
10Administration
These screens are restricted to system administrators. Changes made here affect every user, so
apply them on the test environment first.
Screens
General settings
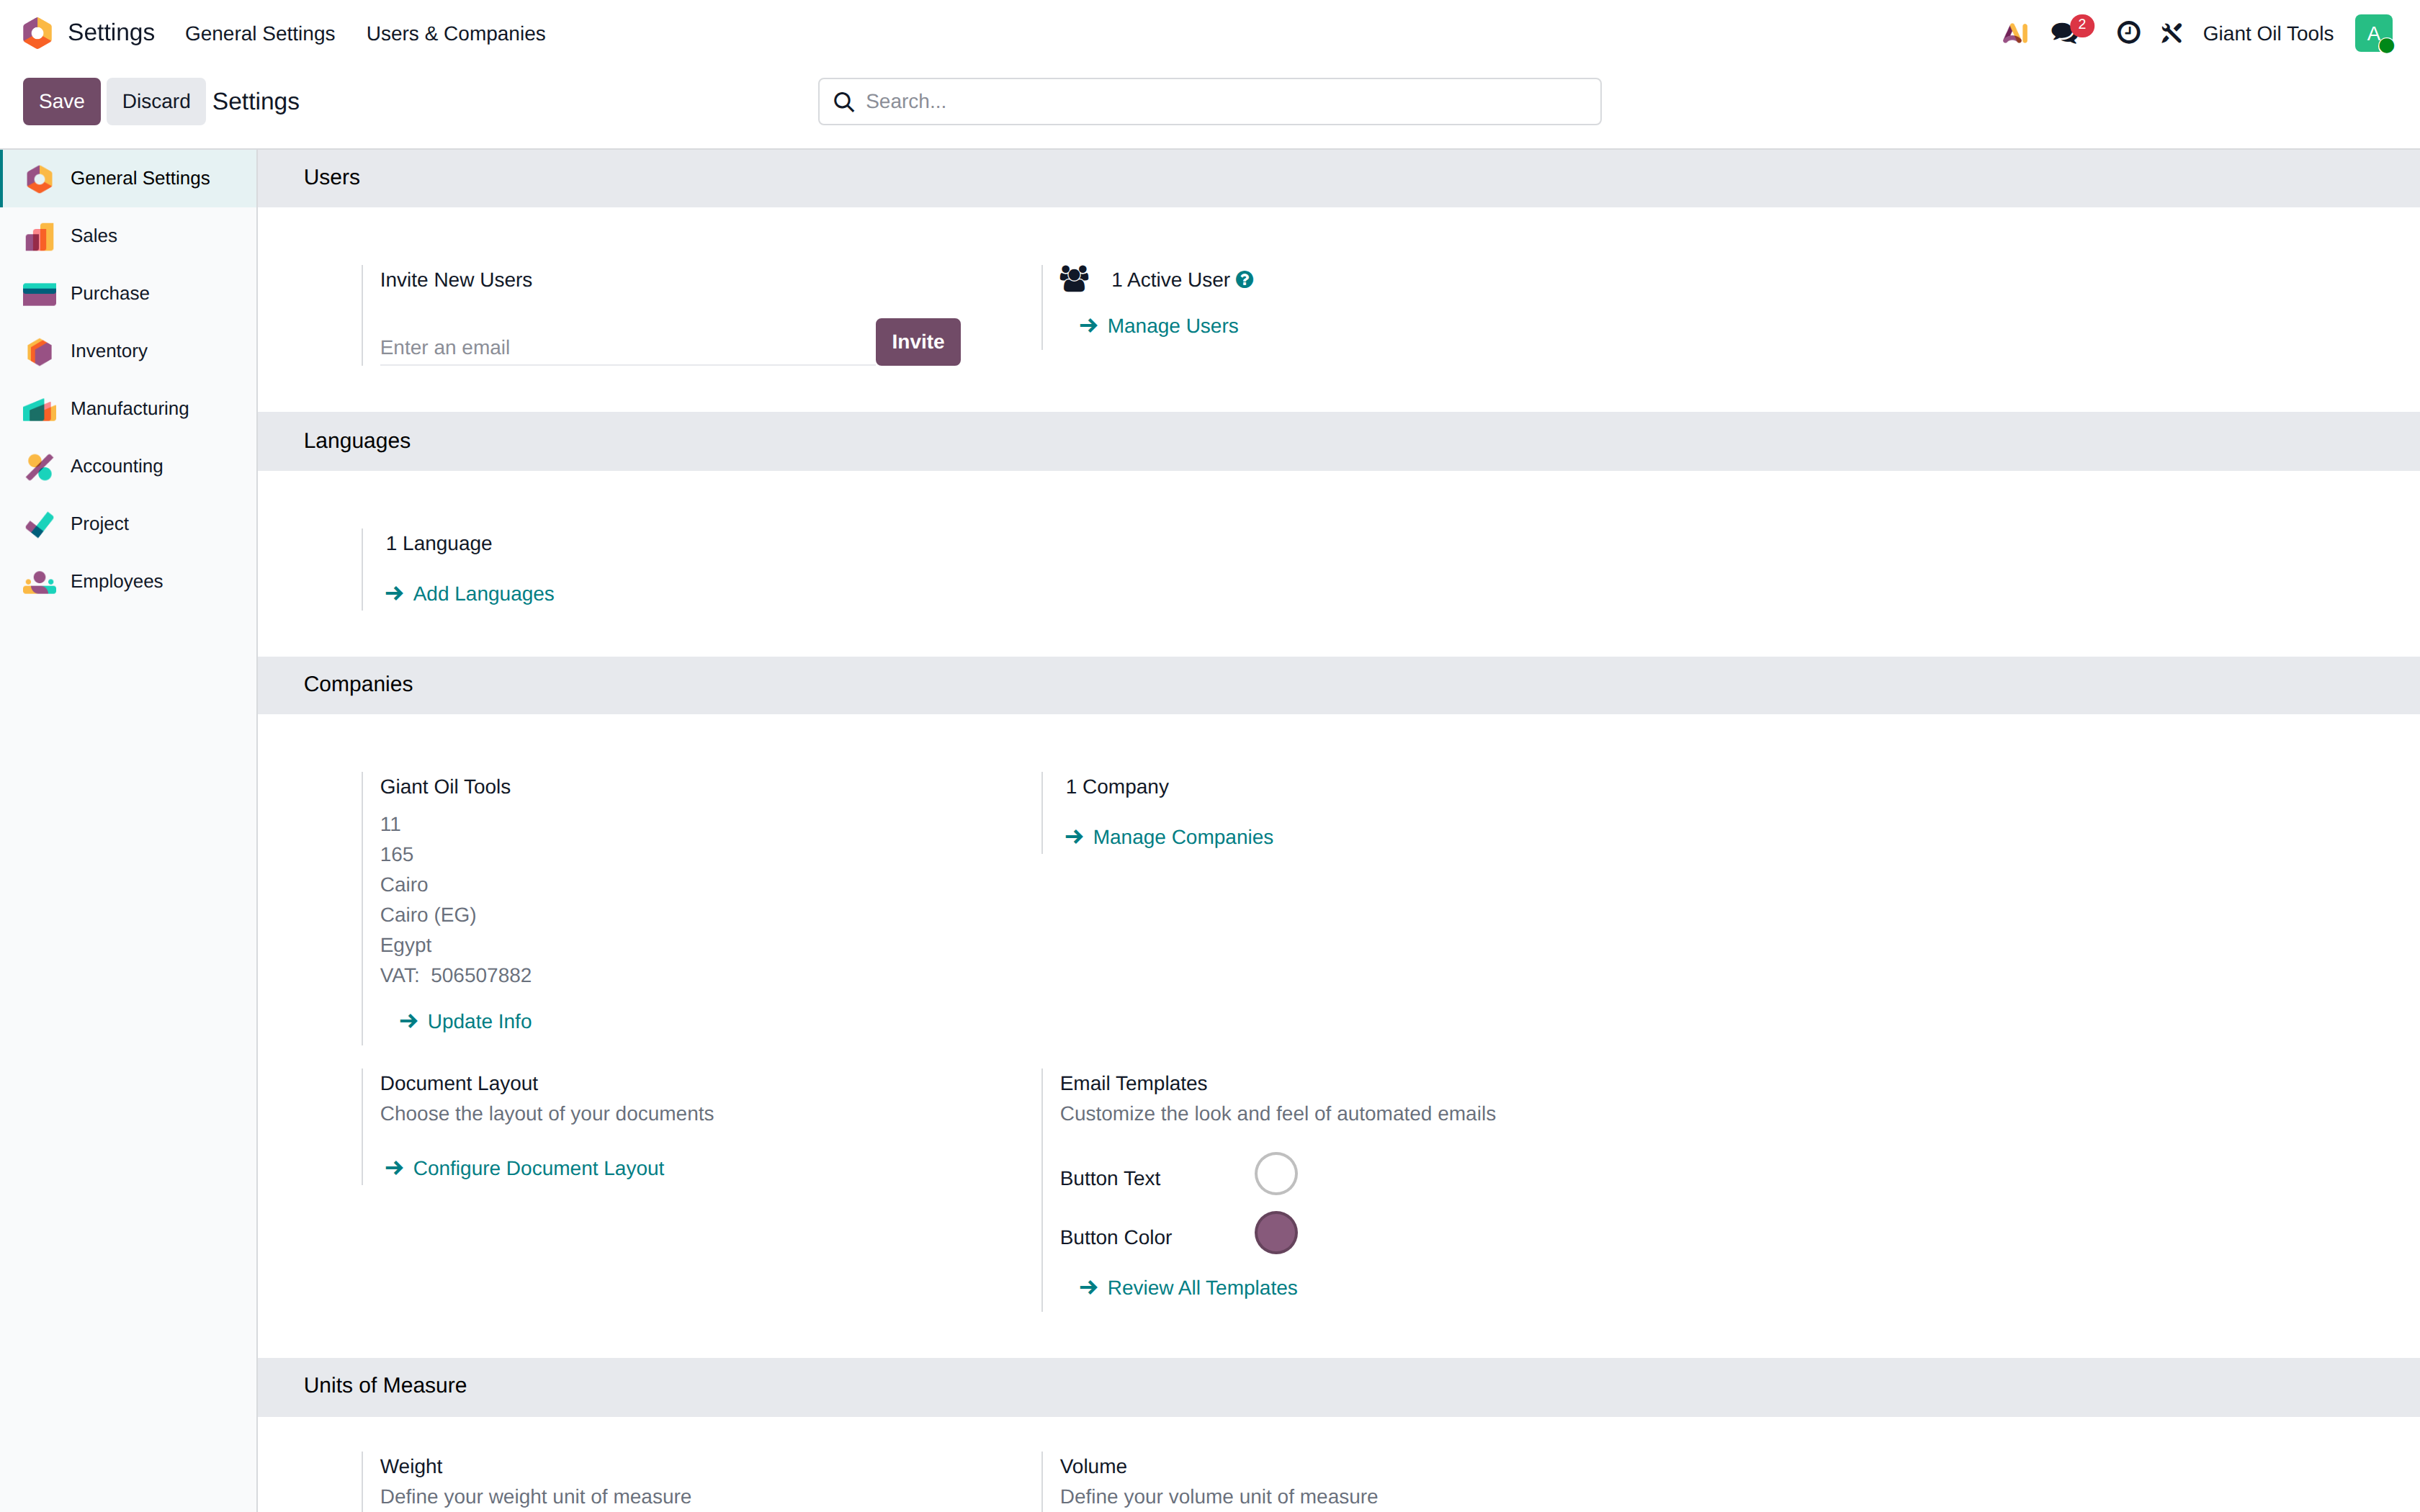
The master switch panel for the whole system. Features are grouped by application — enabling Lots & Serial Numbers or Units of Measure, for example, is done here rather than inside Inventory.
The Companies section holds the company name, address, currency and the logo used on printed documents.
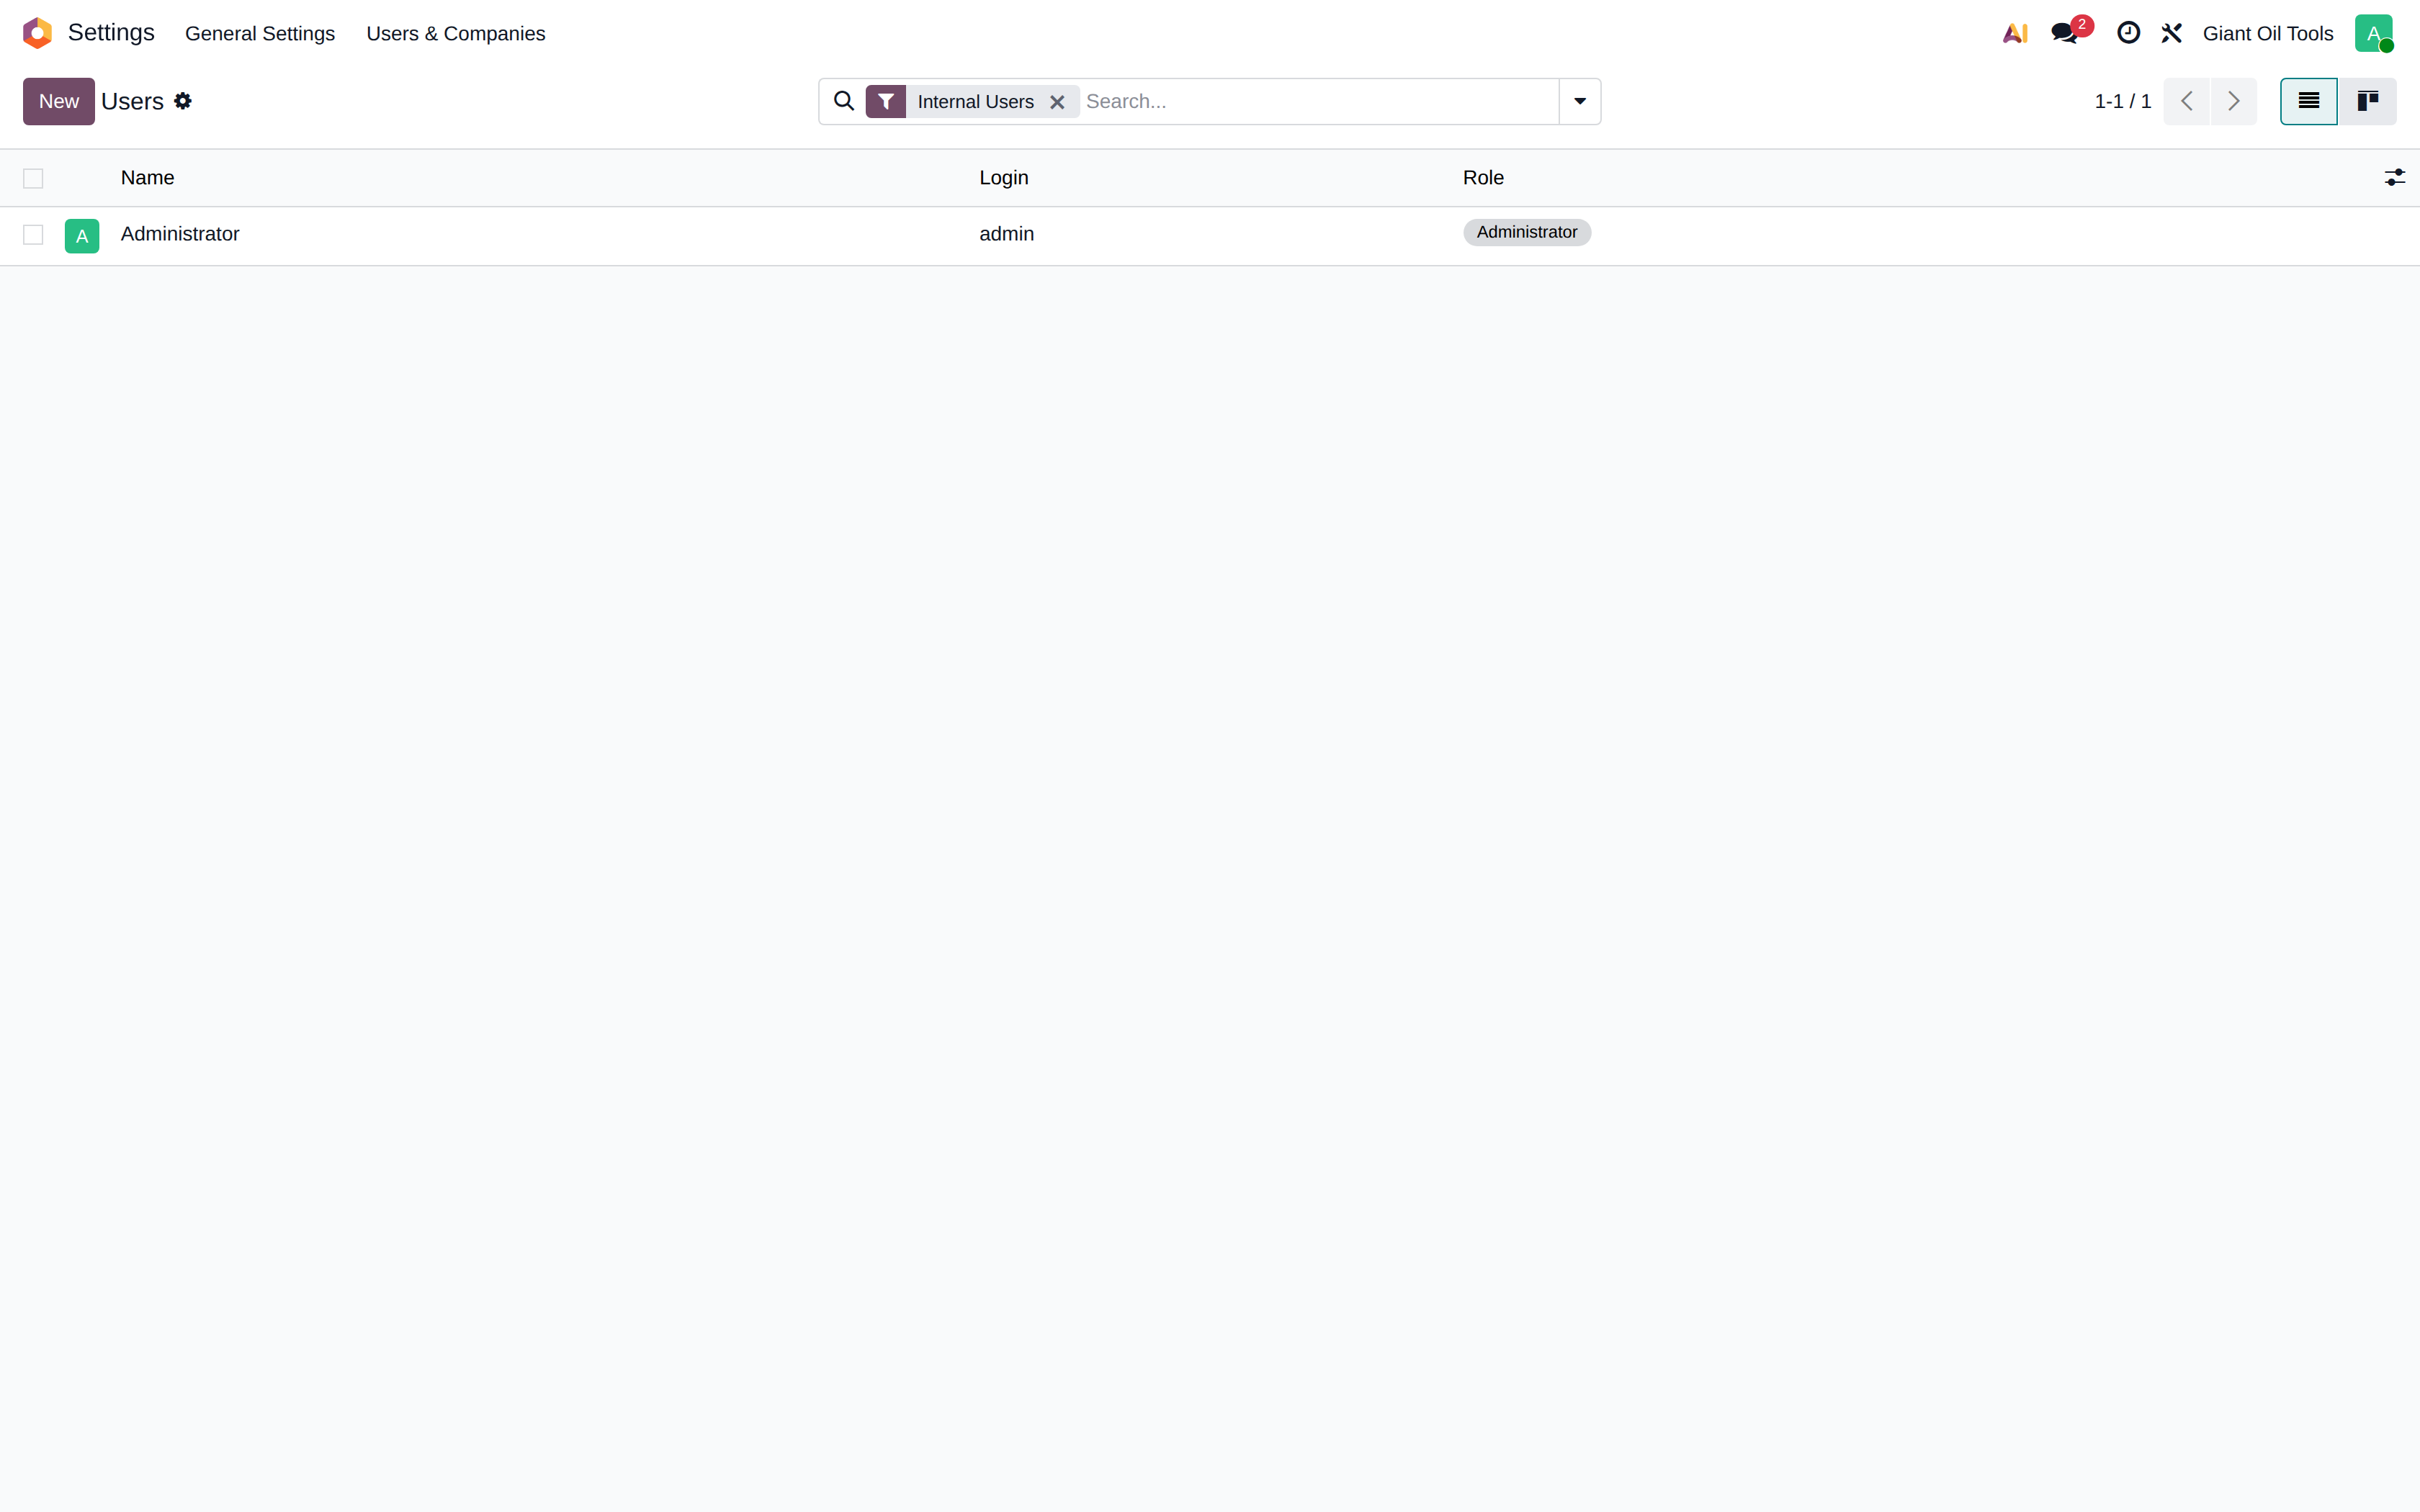
Users
User accounts and their access rights. Each user is granted a level per application — for instance Billing or Accountant for Accounting, User or Administrator for Inventory. Grant the lowest level that lets someone do their job.
Deactivate leavers rather than deleting them, so their historical documents keep a valid author.
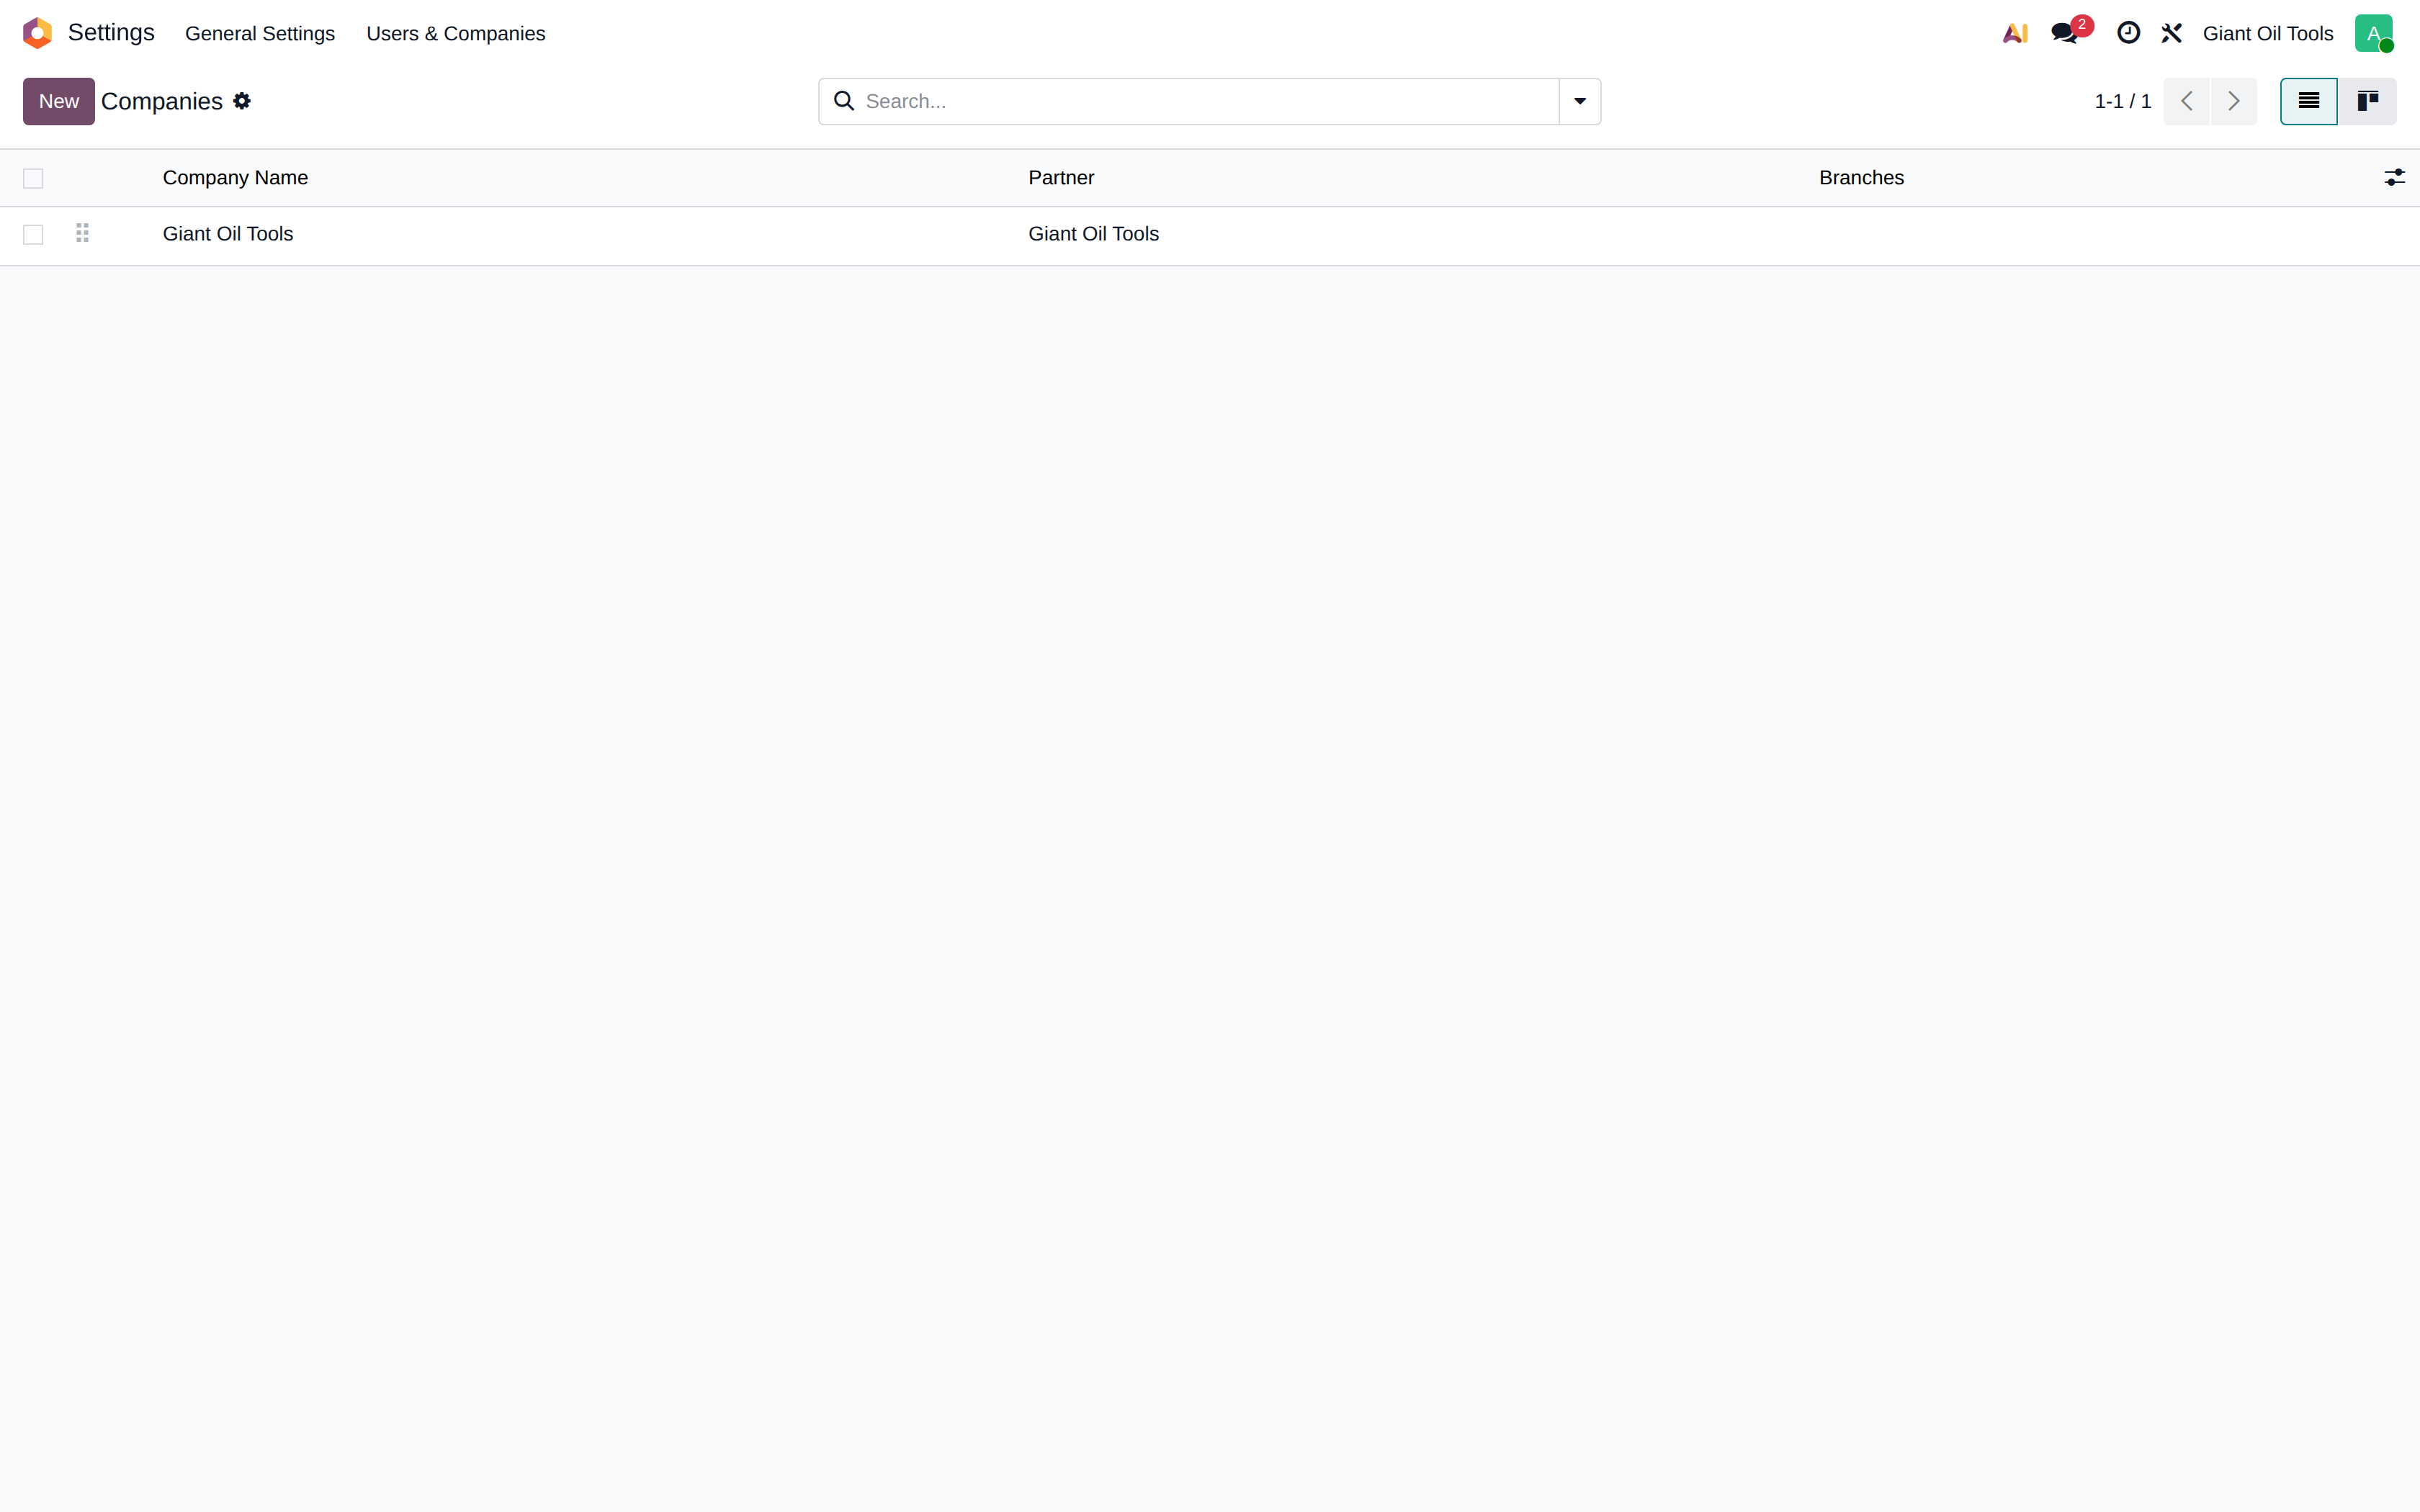
Companies
Company records with their legal details, tax identification and the logo used on invoices and reports.
GGlossary and shortcuts
Terms
Term
Meaning
Lot / Serial number
The identifier that follows an individual tool through the system. At Giant Oil Tools the lot number is the part number (PartNu); a downgraded tool produced by a repair receives the same number with a -B suffix.
FIFO
First in, first out — the costing method used for all stock. The oldest cost in stock is the one released when goods move out.
Perpetual valuation
Stock accounting entries are posted at the moment of each stock move, so the stock accounts in the general ledger are always current.
Landed cost
An additional cost added to the value of received goods. Customs duty is added automatically at 2% on purchase receipts.
Fiscal position
The rule set that substitutes taxes and accounts based on the customer's or vendor's location or status.
Analytic distribution
The management-accounting dimension recorded alongside the general ledger, used to analyse cost and revenue by activity.
Chatter
The message and history panel attached to every document.
Activity
A scheduled task attached to a document — a call, a follow-up, a document to upload — that appears in the owner's activity list.